1.函数指针
编译时,系统会为每个函数分配一段存储空间,这段存储空间的首地址称为这个函数的地址,函数名表示这个地址。我们可以用指针变量来存放这个地址,这个指针变量就叫作函数指针变量,简称函数指针。
所以函数指针的定义方式为:
函数返回值类型 (* 指针变量名) (函数参数列表);int(*p)(int, int);定义了一个指针变量 p,该指针变量可以指向返回值类型为 int 型,且有两个整型参数的函数。p 的类型为 int(*)(int,int)。
int Func(int x);   /*声明一个函数*/
int (*p) (int x);  /*定义一个函数指针*/
p = Func;          /*将Func函数的首地址赋给指针变量p*/
# include <stdio.h>
int Max(int, int); //函数声明
int main(void)
{
int(*p)(int, int); //定义一个函数指针
int a, b, c;
p = Max; //把函数Max赋给指针变量p, 使p指向Max函数
printf("please enter a and b:");
scanf("%d%d", &a, &b);
c = (*p)(a, b); //通过函数指针调用Max函数
printf("a = %d\nb = %d\nmax = %d\n", a, b, c);
return 0;
}
int Max(int x, int y) //定义Max函数
{
int z;
if (x > y)
{
z = x;
}
else
{
z = y;
}
return z;
}最后需要注意的是,指向函数的指针变量没有 ++ 和 -- 运算。
2.引用
编译器不会为引用开辟新的内存空间,它不是一个变量,而是已存在变量的一个别名。它与被引用的变量共用同一块内存空间。
#include <iostream>
#include <Windows.h>
using namespace std;
//定义左值引用并初始化为变量a,以16进制打印a、temp的地址
int main()
{
	int a = 23;
	int& temp = a;
	cout << "a:" << a << '\t' << "temp:" << temp << endl;
	cout << "&a:" << std::hex << &a << '\t' << "&temp:" << &temp << endl;
	system("pause");
	return 0;
}

引用的特点:
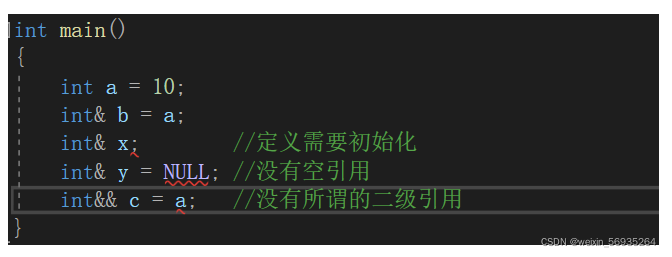
- 定义引用时必须给初始化
- 没有空引用
- 没有所谓的二级引用
- 一个变量可以有多个引用(就相当于一个变量有好几个别名,这是可以的)
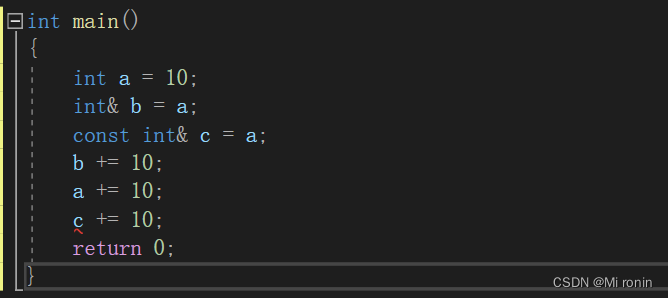
关于常量引用:
常引用实际上是一种万能引用
(1)引用普通变量,但是不能修改变量
(2)引用常量
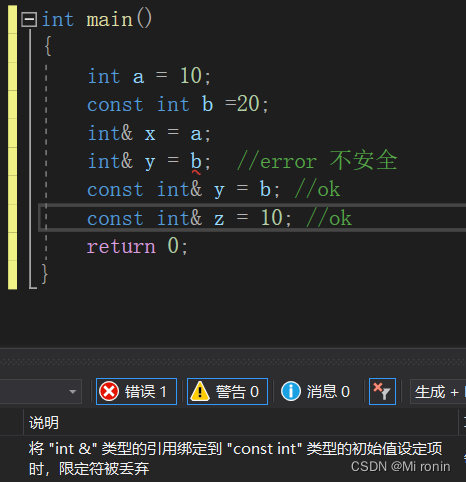
(3)引用字面常量
//常量引用的格式:const int &a。
const int & a = 10;
//引用字面常量时,分两步走,首先定义一个临时量 去引用临时量 不是引用真实的字面常量10。
(4)引用其他类型的变量
double dval = 3.14;
const int& a= dval;
//实际情况为编译器生成了一个临时变量b,常量引用绑定的是临时变量b。
//const int b = dval;
//const int&a =b;
总结

int main(){

  double dval = 3.14159;

  const int &ir = 1024;                       //仅对const引用才是合法的

  const int &ir2 = dval;                      //仅对const引用才是合法的

  const double &dr = dval + 1.0;        //仅对const引用才是合法的

}
关于对数组的引用:
在引用数组时,必须知道数组的大小
int main()
{
    int a = 10;
    int b = 10;
    int ar[5] = { 1,2,3,4,5 };
    int& x = ar[0];  //ok
    int(&x)[5] = ar; //ok   没有[5]无法编译通过

    return 0;
}
关于对指针的引用:
int main()
{
	int a = 100;
	int *p = &a;
	int * &rp = p;

	cout << a << endl;
	cout << *p << endl;
	cout << *rp << endl; //这里为什么要将*放在前面,因为p的类型是 int * 作为一个整体哦!!

	cout << p << endl;
	cout << rp << endl;

	getchar();
	return 0;
}
/*
100
100
100
012FF84C
012FF84C
*/
引用作为返回值:
当函数返回一个引用时,则返回一个指向返回值的隐式指针。这样,函数就可以放在赋值语句的左边。
#include <iostream>

using namespace std;

double vals[] = {10.1, 12.6, 33.1, 24.1, 50.0};

double& setValues(int i) {
   double& ref = vals[i];
   return ref;   // 返回第 i 个元素的引用,ref 是一个引用变量,ref 引用 vals[i]


}

// 要调用上面定义函数的主函数
int main ()
{

   cout << "改变前的值" << endl;
   for ( int i = 0; i < 5; i++ )
   {
       cout << "vals[" << i << "] = ";
       cout << vals[i] << endl;
   }

   setValues(1) = 20.23; // 改变第 2 个元素
   setValues(3) = 70.8;  // 改变第 4 个元素

   cout << "改变后的值" << endl;
   for ( int i = 0; i < 5; i++ )
   {
       cout << "vals[" << i << "] = ";
       cout << vals[i] << endl;
   }
   return 0;
}
改变前的值 vals[0] = 10.1 vals[1] = 12.6 vals[2] = 33.1 vals[3] = 24.1 vals[4] = 50 改变后的值 vals[0] = 10.1 vals[1] = 20.23 vals[2] = 33.1 vals[3] = 70.8 vals[4] = 50
3.模板
泛型编程是编写与类型无关的逻辑代码,是实现代码复用的一种手段,其中模板是泛型编程的基础
模板:模板包含函数模板和类模板
(1)函数模板:代表了一个函数家族,该函数与类型无关,在使用时被参数化,根据实参类型产生函数的特定类型版本 。
格式:
template<typename T1,typename T2,...>
返回值类型  函数名(参数列表)
{
  ...
}
//typename是定义模板函数的关键字,在这里也可以使用class,
//不可使用struct,为了便于区分,建议尽量使用typename,
//使用class容易与C++中的类混淆。
例子:
#include <iostream>
using namespace std;
template<class T>
void Swap(T & x, T & y)
{
T tmp = x;
x = y;
y = tmp;
}
int main()
{
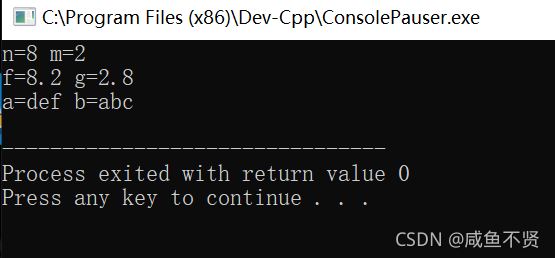
int n = 2, m = 8;
Swap(n, m); //编译器自动生成 void Swap (int &, int &)函数
cout<<"n="<<n<<" "<<"m="<<m<<endl;
double f = 2.8, g = 8.2;
Swap(f, g); //编译器自动生成 void Swap (double &, double &)函数
cout<<"f="<<f<<" "<<"g="<<g<<endl;
char *a = "abc",*b = "def"; //编译器自动生成 void Swap (char &, char &)函数
Swap(a,b);
cout<<"a="<<a<<" "<<"b="<<b<<endl;
return 0;
}
模板函数的特殊化:
尽管模板函数能够对多种类型值进行操作,但是不同类型值在有些操作时需要先进行一定处理即特化,比如字符串是无法直接进行大小比较的,但我们可以比较其字符串长短,下面我们以Compare函数为例。
#include <iostream>
#include <cstring>
using namespace std;
//函数模板
template<class T>
bool Compare(T t1,T t2){
    return t1==t2;
}

template<> //函数模板特化
bool Compare(char *t1,char *t2){
    return strcmp(t1,t2)==0;
}

int main(int argc, char* argv[])
{
    int a = 2;
    int b = 2;
    int c = 8;
    double d = 2.8;
    double e = 2.8;
    double f = 8.2;
	char str1[] = "abc";
    char str2[] = "abc";
    char str3[] = "def";
    cout<<Compare(a,b)<<endl;
    cout<<Compare(a,c)<<endl;
    cout<<Compare(d,e)<<endl;
    cout<<Compare(e,f)<<endl;
    cout<<Compare(str1,str2)<<endl;
	cout<<Compare(str1,str3)<<endl;
    return 0;
}
#include<iostream>
#include<algorithm>
#include<ctime>
using namespace std;
/*
1.自动生成一个随机数组
2.对其进行选择排序
3.使用模板函数进行不同类型数据的排序
如:整型,浮点型,字符型,结构体类型(自定义)
*/
//定义模板函数
template <typename T>
void SelectSort(T a[],int n){
for(int i=0;i<n;i++){
int min_index=i;
for(int j=i+1;j<n;j++)
if(a[j]<a[min_index])
min_index=j;
swap(a[i],a[min_index]);
}
}
template <typename P>
void PrintArray(P a[],int n){
for(int i=0;i<n;i++){
cout<<a[i]<<" ";
}
cout<<endl;
}
//随机数组
int* RandomArray(int n,int rangeL,int rangeR){
int *arr=new int[n];//创建一个大小为n的数组
srand(time(NULL));//以时间为"种子"产生随机数
for(int i=0;i<n;i++){
arr[i]=rand()%(rangeR-rangeL+1)+rangeL;//生成指定区间[rangeL,rangeR]里的数
}
return arr;
}
int main(){
float b[5]={0.5,2.7,1.5,15.8,10.2};
char c[5]={'e','a','c','d','b'};
int n;
cout<<"请输入数据规模n:";cin>>n;
int* a=RandomArray(n,1,100);//生成[1,100]内的随机数组成的数组
cout<<"整型排序:";SelectSort(a,n); PrintArray(a,n);//整型
cout<<"浮点型排序:";SelectSort(b,5); PrintArray(b,5);//浮点型
cout<<"字符型排序:";SelectSort(c,5); PrintArray(c,5);//字符型
return 0;
} (2)模板类:如果一个类中的数据成员的数据类型不能确定,或者是某个成员函数的参数或返回值的类型不能确定,就可以将此类声明为模板,它的存在不是代表一个具体的、实际的类
例子:
template <typename T>
class A
{
public:
	A(T t){
		this->t = t;
	}

	T& getT(){
		return t;
	}

private:
	T t;
};
#include <iostream>
using namespace std;

template <typename T>
class A
{
public:
	//函数的参数列表使用虚拟类型
	A(T t = 0){
		this->t = t;
	}
	//成员函数返回值使用虚拟类型
	T& getT(){
		return t;
	}

private:
	//成员变量使用虚拟类型
	T t;
};

void printA(A<int>& a) {
	cout << a.getT() << endl;
}

int main(void) {
	//1.模板类定义类对象,必须显示指定类型
	//2.模板种如果使用了构造函数,则遵守以前的类的构造函数的调用规则
	A<int>  a(666);
	cout << a.getT() << endl;

	//模板类做为函数参数
	printA(a);
	system("pause");
	return 0;
}
模板类的全特化和偏特化
全特化:对所有模板类型进行特化
偏特化:对模板类型做一些限制特化
#include <iostream>//全特化
using namespace std;

template<typename T1, typename T2>
class A{
        public:
                void function(T1 value1, T2 value2){
                        cout<<"value1 = "<<value1<<endl;
                        cout<<"value2 = "<<value2<<endl;
                }
};

template<>
class A<int, double>{ // 类型明确化,为全特化类
        public:
                void function(int value1, double value2){
                        cout<<"intValue = "<<value1<<endl;
                        cout<<"doubleValue = "<<value2<<endl;
                }
};

int main(){
        A<int, double> a;
        a.function(28, 28.8);
        return 0;
}
#include <iostream>//偏特化
using namespace std;
template<typename T1, typename T2>
class A{
public:
void function(T1 value1, T2 value2){
cout<<"value1 = "<<value1<<endl;
cout<<"value2 = "<<value2<<endl;
}
};
template<typename T>
class A<T, double>{ // 部分类型明确化,为偏特化类
public:
void function(T value1, double value2){
cout<<"charValue = "<<value1<<endl;
cout<<"doubleValue = "<<value2<<endl;
}
};
int main(){
A<char, double> a;
a.function('a', 28.8);
return 0;
}1.父类一般类,子类是模板类, 和普通继承的玩法类似
2.子类是一般类,父类是模板类,继承时必须在子类里实例化父类的类型参数
3.父类和子类都时模板类时,子类的虚拟的类型可以传递到父类中
class A {
public:
	A(int temp = 0) {
		this->temp = temp;
	}
	~A(){}
private:
	int temp;
};

template <typename T>
class B :public A{
public:
	B(T t = 0) :A(666) {
		this->t = t;
	}
	~B(){}
private:
	T t;
};
class A {
public:
A(int temp = 0) {
this->temp = temp;
}
~A(){}
private:
int temp;
};
template <typename T>
class B :public A{
public:
B(T t = 0) :A(666) {
this->t = t;
}
~B(){}
private:
T t;
};template <typename T>
class A {
public:
A(T t = 0) {
this->t = t;
}
~A(){}
private:
T t;
};
class B:public A<int> {
public:
//也可以不显示指定,直接A(666)
B(int temp = 0):A<int>(666) {
this->temp = temp;
}
~B() {}
private:
int temp;
};4宏
首先说一下预处理指令:
以#开头的行,都是预处理指令,用于指示编译器做一些预处理工作。例如#include "xxx.h"
预处理指令不是语句,结尾不用加分号
其实宏就是在源码在编译前一个预处理指令,将代码中指定宏命令找到并以文本的形式进行替换而已。
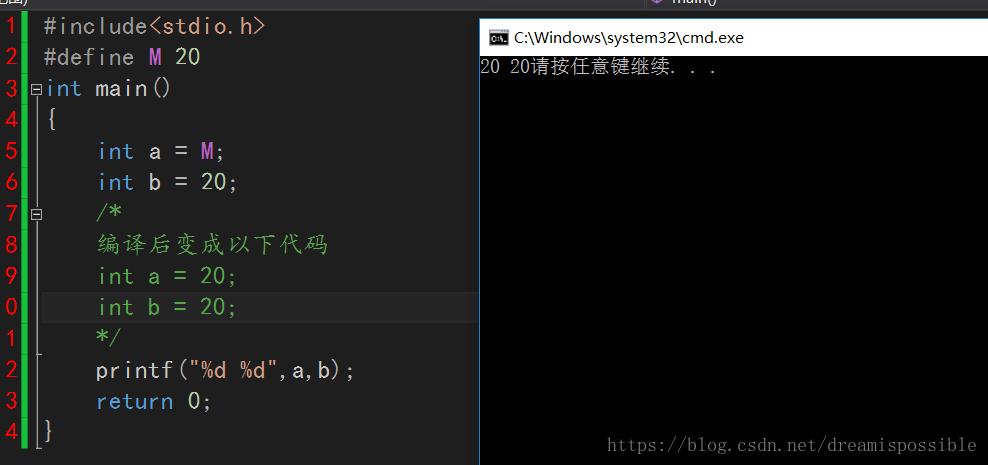
1)使用宏定义常量 示例:#define MAXSIZE 200
#include<stdio.h>
#define M 20
int main()
{
    int a = M;
    int b = 20;
    /*
    编译后变成以下代码
    int a = 20;
    int b = 20;
    */
    printf("%d %d",a,b);
    return 0;
}
2)使用宏定义表达式 示例:define MAX(a,b) ((a)<(b)?(b):(a))


额外加一个例子
#define LOG(x) std::cout << x << std::endl

int main(int argc, char const *argv[])
{
    LOG("hello");
    std::cin.get();
}
3) 使用宏来调用多个语句 示例播放mp3文件,并打印语句


4)使用宏定义函数
#include <iostream>
#include <string>

#define MAIN            \
    int main()          \
    {                   \
        std::cin.get(); \
    }
MAIN
还有一个重要的点就是宏的条件编译
1)如果没有定义debug,就定义一下

2)如果定义了MY_MAX,我们就定义MY_MAX_EX

3) 如果定义了PR_DEBUG就将LOG(x) 定义为 std::cout << x << std::endl进行输出。否则定义为空不进行任何输出。
#include <iostream>
#include <string>

#ifdef PR_DEBUG
#define LOG(x) std::cout << x << std::endl
#else
#define LOG(x)
#endif

int main(int argc, char const *argv[])
{

    LOG("hello");
    std::cin.get();
}
4) #if的后面接的是表达式
#if (MAX10)||(MAX20)
code…
#endif它的作用是:如果(MAX10)||(MAX20)成立,那么编译器就会把其中的#if 与 #endif之间的代码编译进去(注意:是编译进去,不是执行!!)
5虚函数
那些被virtual关键字修饰的成员函数,就是虚函数
其作用就是实现多态性
例子:
#include<iostream>
using namespace std;
class A
{
    public:
        void print()
        {
            cout<<"This is A"<<endl;
        }
};

class B : public A
{
    public:
        void print()
        {
            cout<<"This is B"<<endl;
        }
};

int main()
{
    //为了在以后便于区分,我这段main()代码叫做main1
    A a;
    B b;
    a.print();
    b.print();
    return 0;
}
输出:分别是“This is A”、“This is B”。
此时我们修改main函数
int main()
{
    //main2
    A a;
    B b;
    A *p1 = &a;
    A *p2 = &b;
    p1->print();
    p2->print();
    return 0;
}
输出:两个“This is A”
问题来了,p2明明指向的是class B的对象但却是调用的class A的print()函数,这不是我们所期望的结果,那么解决这个问题就需要用到虚函数。
class A
{
    public:
        virtual void print(){cout<<"This is A"<<endl;}
};
class B : public A
{
    public:
    void print(){cout<<"This is B"<<endl;}
};
毫无疑问,class A的成员函数print()已经成了虚函数,那么class B的print()成了虚函数了吗?回答是Yes,我们只需在把基类的成员函数设为virtual,其派生类的相应的函数也会自动变为虚函数。所以,class B的print()也成了虚函数。那么对于在派生类的相应函数前是否需要用virtual关键字修饰,那就是你自己的问题了(语法上可加可不加,不加的话编译器会自动加上,但为了阅读方便和规范性,建议加上)。
修改后的输出结果:This is A和This is B