TurtleBot3笔记
引言
不是按照学习的时间顺序总结。
0、初始化TurtleBot3
[pc]
roscore
[turtlebot]
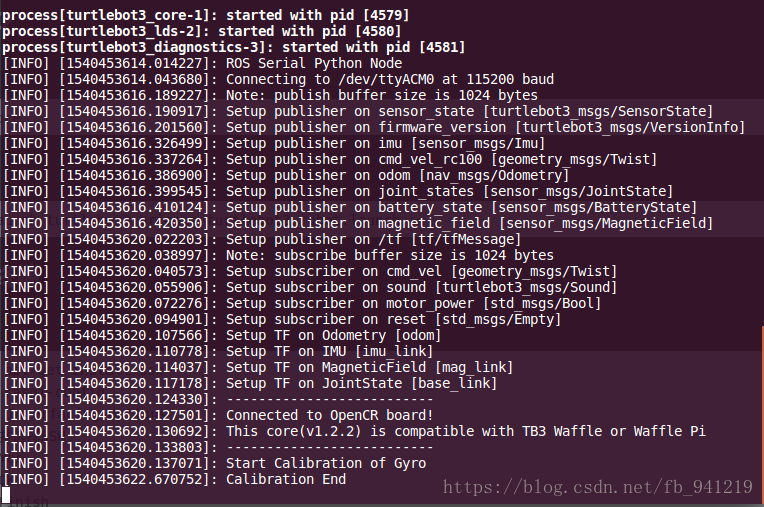
roslaunch turtlebot3_bringup turtlebot3_robot.launch
工作空间里,source一下环境变量。
source devel/setup.bash
1、远程终端
[turtleBot3]
sudo apt-get install ssh
sudo raspi-config
#选择 Interfacing Options
#导航并选择SSH
#选择Yes
#选择OK
#选择Finish
[PC]
ssh couny(usrName)@IP_OF_TurtleBot3
输入密码就OK.
2、PC 端安装TurtleBot3
安装turtlebot3依赖包:
sudo apt-get install ros-kinetic-joy ros-kinetic-teleop-twist-joy ros-kinetic-teleop-twist-keyboard ros-kinetic-laser-proc ros-kinetic-rgbd-launch ros-kinetic-depthimage-to-laserscan ros-kinetic-rosserial-arduino ros-kinetic-rosserial-python ros-kinetic-rosserial-server ros-kinetic-rosserial-client ros-kinetic-rosserial-msgs ros-kinetic-amcl ros-kinetic-map-server ros-kinetic-move-base ros-kinetic-urdf ros-kinetic-xacro ros-kinetic-compressed-image-transport ros-kinetic-rqt-image-view ros-kinetic-gmapping ros-kinetic-navigation ros-kinetic-interactive-markers
安装turtlebot3源码:
cd ~/catkin_ws/src/
git clone https://github.com/ROBOTIS-GIT/turtlebot3_msgs.git
git clone https://github.com/ROBOTIS-GIT/turtlebot3.git
cd ~/catkin_ws && catkin_make
环境设置:
echo "source ~/catkin_ws/devel/setup.bash" >> ~/.bashrc
3、Turtlebot3-waffle_pi网络设置
时间同步:
#主从分别安装chrony
sudo apt-get install chrony
#主从分别安装ntpdate
sudo apt-get install ntpdate
#主从分别同步时间
sudo ntpdate ntp.ubuntu.com
# 检测时间是否同步
date
ROS需要IP地址在turtlebot和远程PC之间进行通信,要求在同一个wifi局域网下。分别在turtlebot和PC,执行如下命令获得对应的IP地址:
ifconfig
#修改.bashrc
gedit ~/.bashrc
TURTLEBOT配置如下:
export ROS_MASTER_URI=http://IP_OF_PC:11311
export ROS_HOSTNAME=IP_OF_TURTLEBOT
PC配置如下:
export ROS_MASTER_URI=http://IP_OF_PC:11311
export ROS_HOSTNAME=IP_OF_PC
ROS_MASTER <roscore请大师!> PC端。
让环境生效:
source ~/.bashrc
4、Turtlebot3-waffle_pi-雷达安装
[Remote PC]安装驱动
sudo apt-get install ros-kinetic-hls-lfcd-lds-driver
[TurtelBot]设置权限
sudo chmod a+rw /dev/ttyUSB0
[Remote PC]增加view_laser.launch,用于显示激光雷达
roscd hls_lfcd_lds_driver
cd launch
sudo vim view_laser.launch
内容如下:
<launch>
  <node name="rviz" pkg="rviz" type="rviz" args="-d $(find hls_lfcd_lds_driver)/rviz/hlds_laser.rviz" />
</launch>
测试:
[TurtelBot] 启动雷达
roslaunch hls_lfcd_lds_driver hlds_laser.launch
[Remote PC] 启动rviz
roslaunch hls_lfcd_lds_driver view_laser.launch
串口权限问题
1、检测串口
ls -l /dev |grep ttyUSB
2、赋予权限
sudo chmod 666 /dev/ttyUSB0
3、在编译的ROS包中运行launch文件
roslaunch rplidar_ros view_rplidar.launch
5、Turtlebot3-waffle_pi安装树莓派v2摄像头
[TurtleBot] 在树莓派上进行摄像头设置:
sudo raspi-config
进入图形界面Tab、空格、enter键选择。
- 选择 3 Interfacing Options
- 选择 P1 Camera
- Enable camera interface
[TurtleBot] 设置完之后测试以下是否能正常使用,输入以下以下命令,正常情况下树莓派系统的桌面上会生成一张摄像头捕捉到的图像。
raspistill -v -o test.jpg
[TurtleBot] 安装ros驱动包
cd ~/catkin_ws/src
git clone https://github.com/UbiquityRobotics/raspicam_node.git
sudo apt-get install ros-kinetic-compressed-image-transport ros-kinetic-camera-info-manager
gedit /etc/ros/rosdep/sources.list.d/30-ubiquity.list
添加下面这段话到 30-ubiquity.list 后保存:
yaml https://raw.githubusercontent.com/UbiquityRobotics/rosdep/master/raspberry-pi.yaml
继续
rosdep update
cd ~/catkin_ws
rosdep install --from-paths src --ignore-src --rosdistro=kinetic -y
cd ~/catkin_ws && catkin_make
[TurtleBot] 运行raspicam节点
roslaunch turtlebot3_bringup turtlebot3_rpicamera.launch
或者执行下面这条命令进行测试
roslaunch raspicam_node camerav2_1280x960.launch
[Remote PC] 执行以下命令
rqt_image_view
桌面出现显示摄像头即时内容的gui界面时,说明已成功安装.
6、Turtlebot3-Cartographer-turtlebot 安装
修改ceres-solver地址:
github地址:https://github.com/ceres-solver/ceres-solver.git 注意:如果在树莓派下安装需要使用至少16G卡,并扩展2G的swap空间.
库安装
推荐使用rosdep.但更快安装推荐使用Ninja.
安装依赖:
sudo apt-get install -y google-mock libboost-all-dev libeigen3-dev libgflags-dev libgoogle-glog-dev liblua5.2-dev libprotobuf-dev libsuitesparse-dev libwebp-dev ninja-build protobuf-compiler python-sphinx ros-kinetic-tf2-eigen libatlas-base-dev libsuitesparse-dev liblapack-dev
安装步骤:
#Install wstool and rosdep.
sudo apt-get update
sudo apt-get install -y python-wstool python-rosdep ninja-build

#Create a new workspace in 'cartographer_ws'.
mkdir cartographer_ws
cd cartographer_ws
wstool init src

Merge the cartographer_turtlebot.rosinstall file and fetch code for dependencies.
wstool merge -t src https://raw.githubusercontent.com/googlecartographer/cartographer_turtlebot/master/cartographer_turtlebot.rosinstall

gedit src/.rosinstall
#更改ceres-solver中地址改为下面的地址:
#>>uri: https://github.com/ceres-solver/ceres-solver.git
wstool update -t src

#Install deb dependencies.
rosdep update

#install proto3
src/cartographer/scripts/install_proto3.sh
rosdep install --from-paths src --ignore-src --rosdistro=${ROS_DISTRO} -y

#Build and install.
catkin_make_isolated --install --use-ninja -j1
source install_isolated/setup.bash

#添加到.bashrc
echo "source ~/cartographer_ws/install_isolated/setup.bash" >> ~/.bashrc
7、Turtlebot3-waffle_pi建图
[Remote PC] 打开终端,然后运行SLAM启动文件和rviz
source devel/setup.bash
#<cartographer建图>
echo "source ~/cartographer_ws/install_isolated/setup.bash" >> ~/.bashrc
    # <cartographer建图>
source install_isolated/setup.bash
export TURTLEBOT3_MODEL=waffle_pi
roslaunch turtlebot3_slam turtlebot3_slam.launch slam_methods:=gmapping


#<!-- SLAM: Gmapping, Cartographer, Hector, Karto, Frontier_exploration, RTAB-Map -->
[Remote PC] 启动键盘操作
source devel/setup.bash
export TURTLEBOT3_MODEL=waffle_pi
roslaunch turtlebot3_teleop turtlebot3_teleop_key.launch
[Remote PC] 打开终端,然后运行地图保存节点
rosrun map_server map_saver -f ~/map
#map.pgm和map.yaml 在 ~/ 目录里创建
总结
持续更新。