之前关于ROS1的博文链接如下:
蓝桥ROS之f1tenth简单PID沿墙跑起来(Python)
那么,在ros2 humble下效果如何呢?
地图为:levine

地图为:Spielberg_map

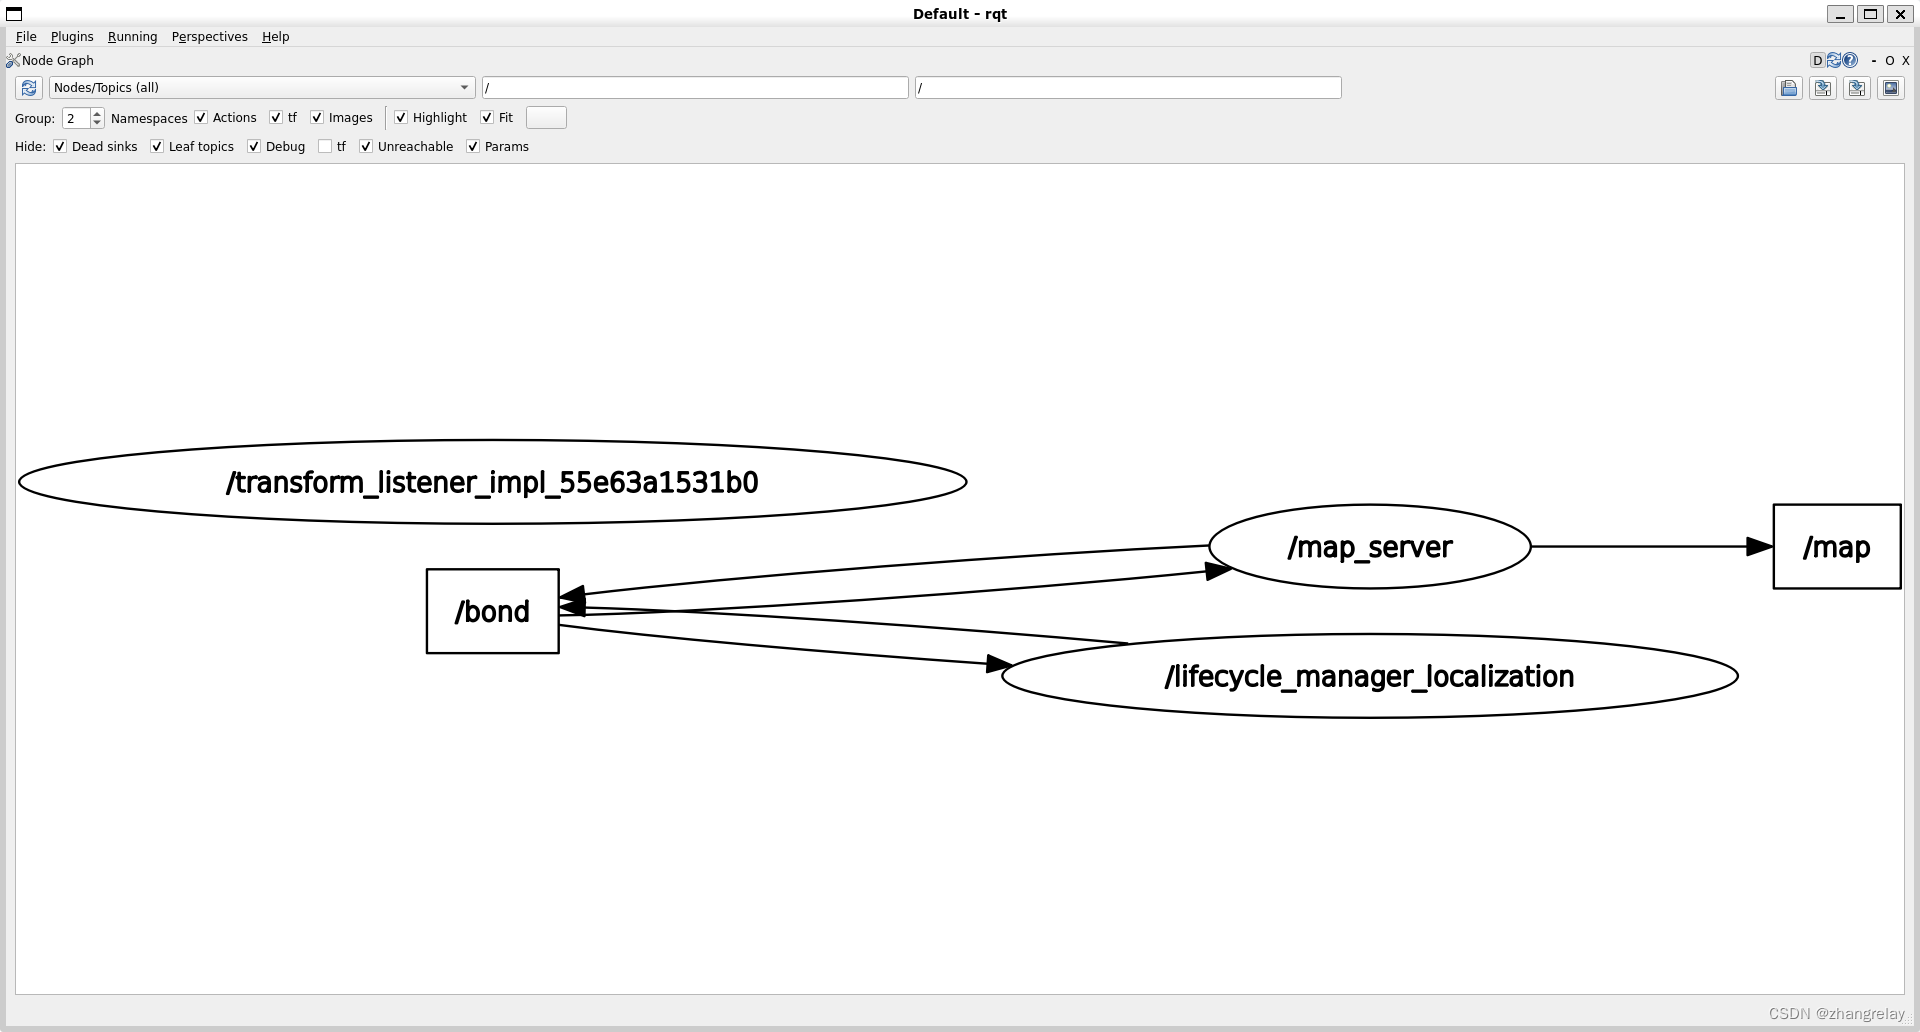
错误与对策:

:
注意环境正确配置。
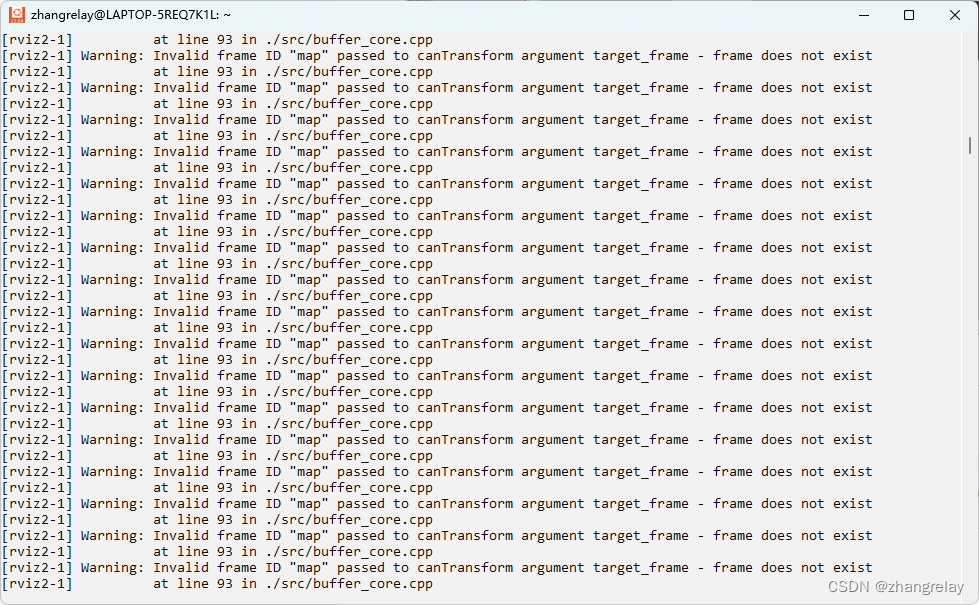
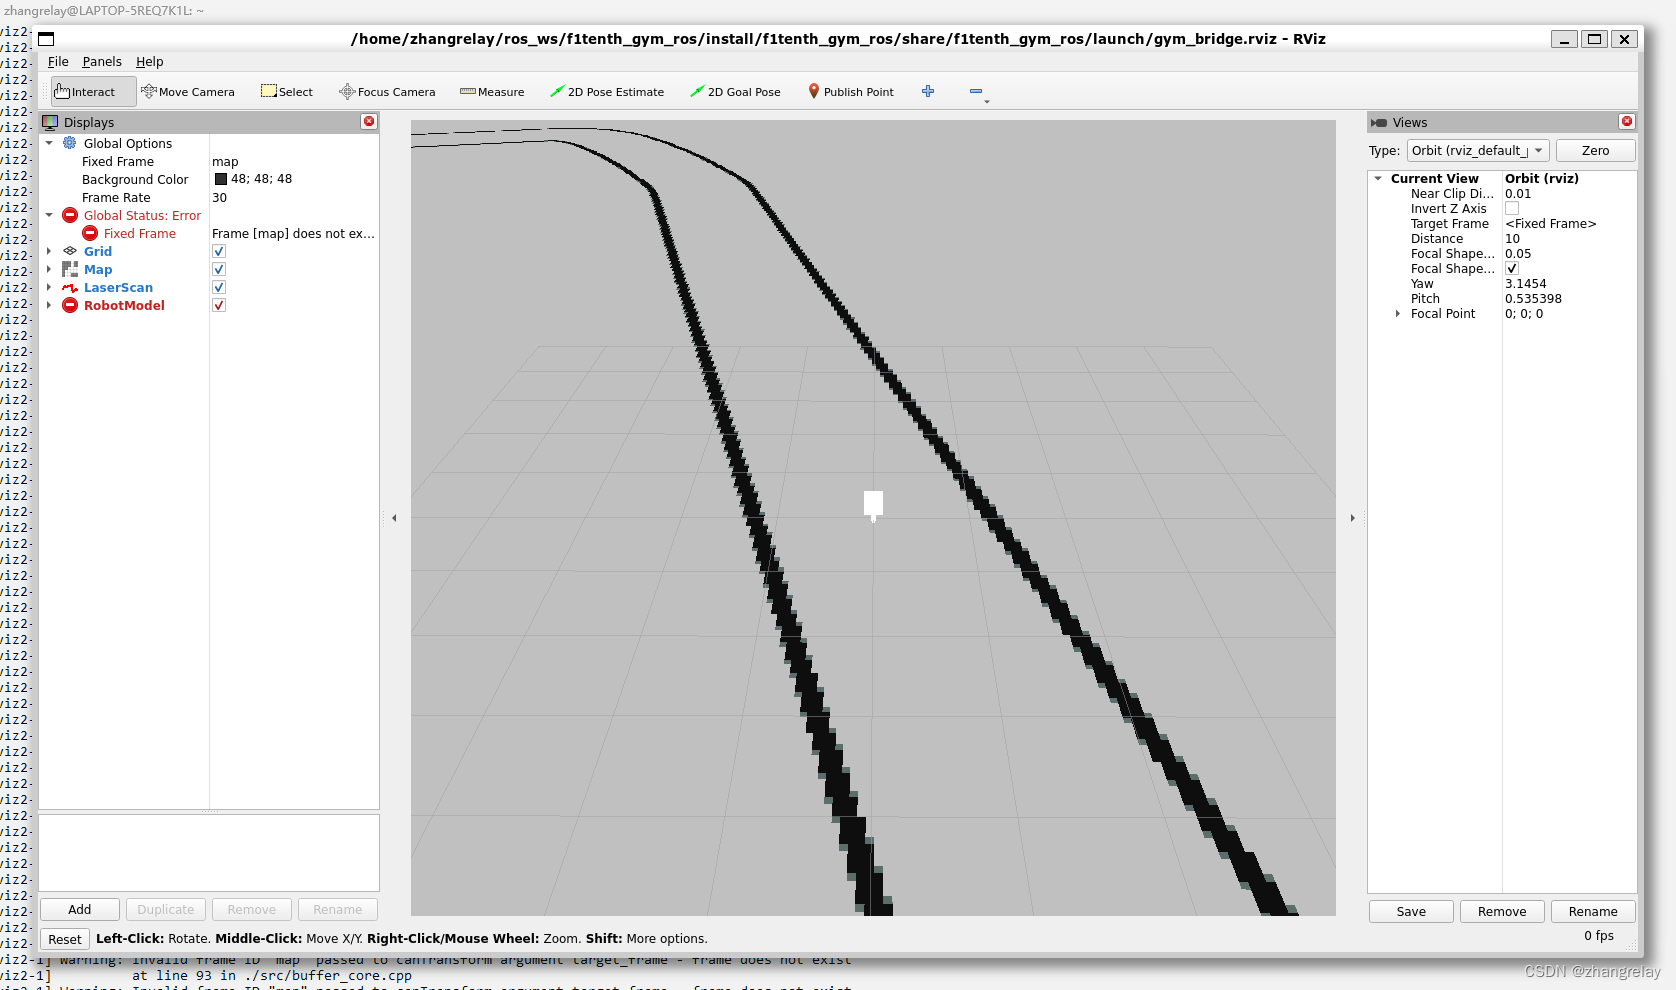
:
注意坐标系或tf是否配置正确。
过程全记录:
  695  cd ros_ws/
  696  unzip f1tenth_gym_ros-main.zip
  697  colcon build
  698  ls
  699  rm -rf build/
  700  rm -rf install/
  701  rm -rf log/
  702  cd f1tenth_gym_ros-main/
  703  ls
  704  colcon build
  705  source install/setup.sh
  706  ros2 launch f1tenth_gym_ros gym_bridge_launch.py
  707  sudo apt install ros-humble-nav2-lifecycle-manager
  708  ros2 launch f1tenth_gym_ros gym_bridge_launch.py
  709  sudo apt install ros-humble-nav2-map-server
  710  ros2 launch f1tenth_gym_ros gym_bridge_launch.py
  711  sudo apt install ros-humble-nav2-map-server
  712  ros2 launch f1tenth_gym_ros gym_bridge_launch.py
  713  sudo apt install tmux
  714  tmux
  715  cd src/maps/
  716  pwd
  717  cd ..
  718  ros2 launch f1tenth_gym_ros gym_bridge_launch.py
  719  sudo apt install ros-humble-ackermann-msgs
  720  sudo apt install ros-humble-launch-ros
  721  sudo apt install ros-humble-nav-msgs
  722  sudo apt install ros-humble-joint-state-publisher
  723  sudo apt install ros-humble-xacro
  724  sudo apt install ros-humble-lifecycle
  725  sudo apt install ros-humble-nav2-lifecycle-manager
  726  sudo apt install ros-humble-teleop-twist-keyboard
  727  colcon build
  728  source install/setup.sh
  729  ros2 launch f1tenth_gym_ros gym_bridge_launch.py
  730  cd ros_ws/
  731  cd f1tenth_gym_ros-main/
  732  ls
  733  rosdep install -i --from-path src
  734  sudo apt install python3-rosdep2
  735  rosdep install -i --from-path src
  736  rosdep update
  737  sudo pip3 install -i https://pypi.tuna.tsinghua.edu.cn/simple rosdepc
  738  rosdep update
  739  sudo rosdepc init
  740  rosdep install -i --from-path src
  741  colcon build
  742  source install/setup.sh
  743  ros2 launch f1tenth_gym_ros gym_bridge_launch.py
  744  sudo apt install --fix-missing
  745  rviz2
  746  gedit
  747  sudo apt install libeigen3-dev
  748  sudo apt install libeigen3-dev tmux
  749  cd ros_ws/
  750  unzip f1tenth_gym-main.zip
  751  cd f1tenth_gym-main/
  752  pip3 install -e .
  753  pip3 install -e . -i https://pypi.tuna.tsinghua.edu.cn/simple
  754  gedit
  755  gedti
  756  gedit
  757  glxgears
  758  rviz2
  759  ls
  760  cd ros_ws/
  761  ls
  762  cd f1tenth_gym-main/
  763  ls
  764  cd examples/
  765  ls
  766  cd ..
  767  ls
  768  gedit README.md
  769  rviz2
  770  ls
  771  cd ros_ws/
  772  ls
  773  cd f1tenth_gym-main/
  774  ls
  775  gedit README.md
  776  cd examples/
  777  ls
  778  python3 waypoint_follow.py
  779  cd ..
  780  ls
  781  cd ..
  782  ls
  783  cd f1tenth_gym_ros-main/
  784  ls
  785  colcon build
  786  source install/setup.sh
  787  ros2 launch f1tenth_gym_ros gym_bridge_launch.py
  788  cd ..
  789  ls
  790  cd f1tenth_gym
  791  cd ..
  792  cd ros_ws/
  793  ls
  794  cd f1tenth_gym_ros/
  795  ls
  796  rm -rf build/
  797  rm -rf install/
  798  rm -rf log/
  799  colcon build
  800  source install/setup.sh
  801  ros2 launch f1tenth_gym_ros gym_bridge_launch.py
  802  colcon build
  803  source install/setup.sh
  804  ros2 launch f1tenth_gym_ros gym_bridge_launch.py
  805  history
  806  ros2 launch f1tenth_gym_ros gym_bridge_launch.py
  807  source ros_ws/f1tenth_gym_ros/install/setup.sh
  808  ros2 launch f1tenth_gym_ros gym_bridge_launch.py
测试一下:
启动键盘遥控:


左转
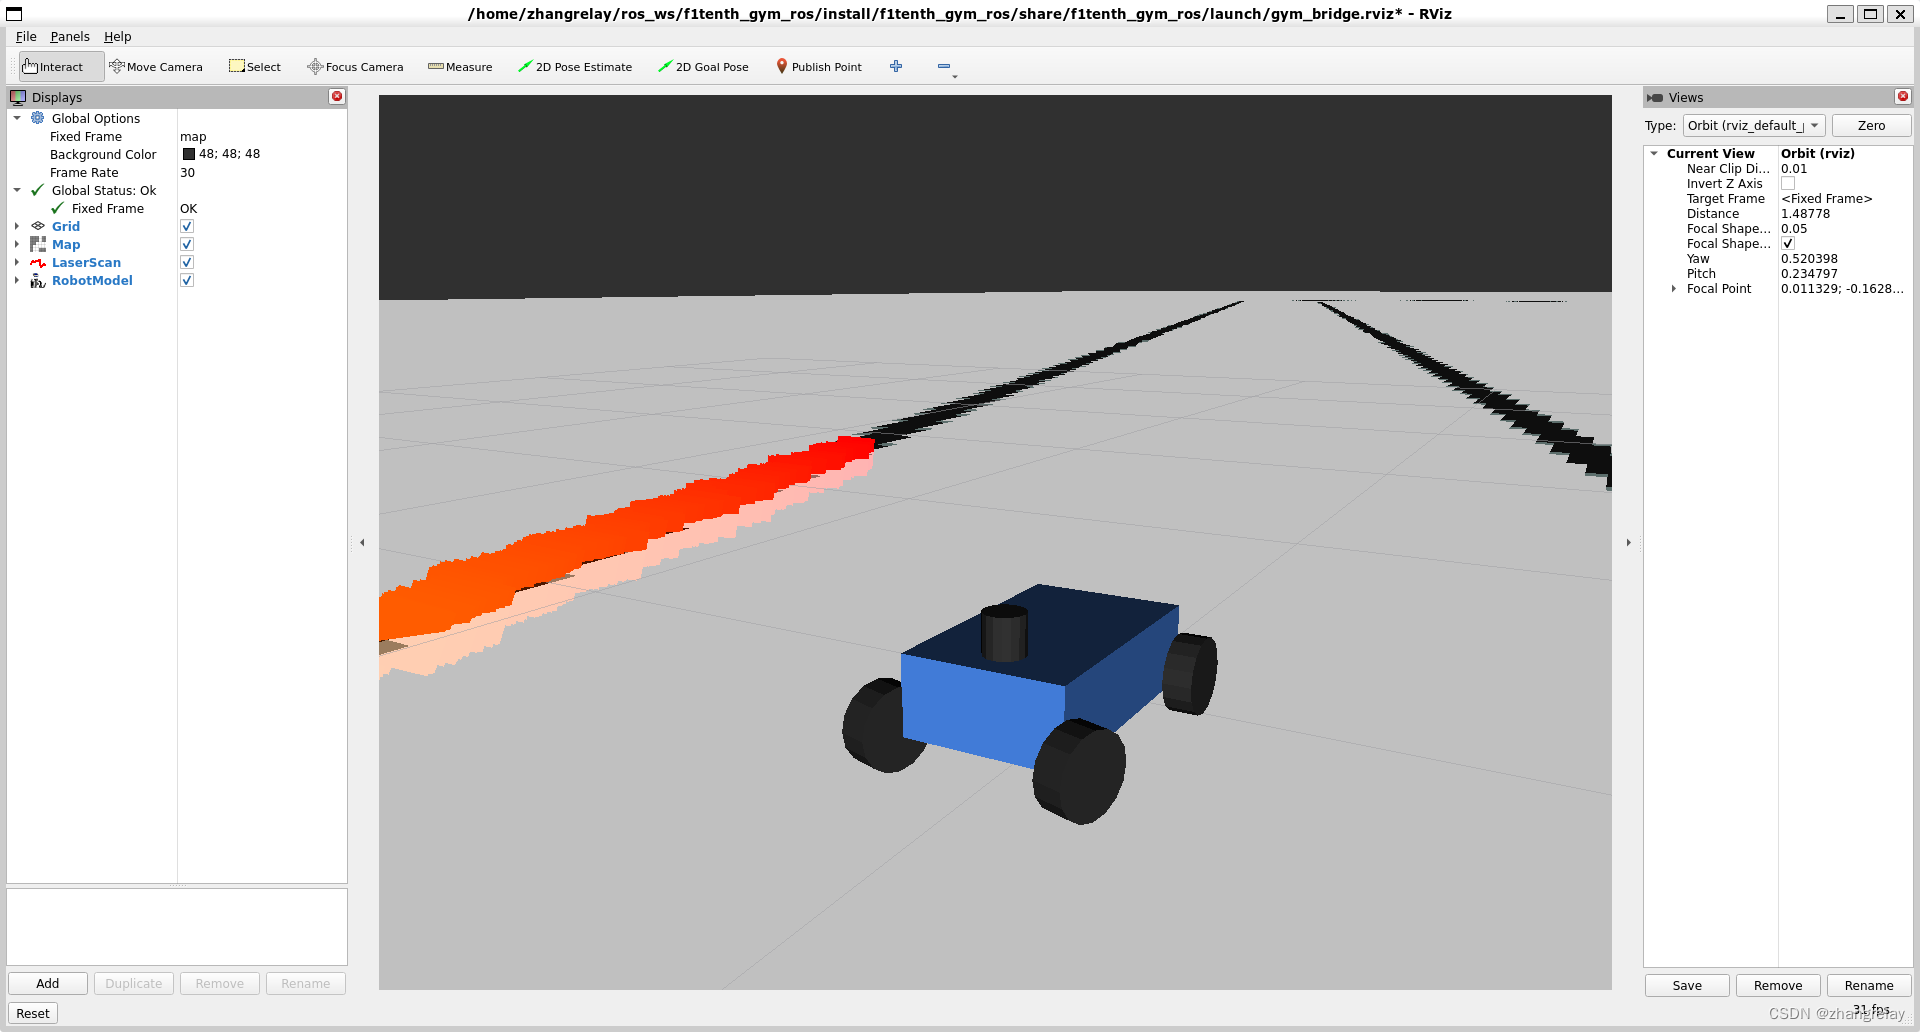
右转
官方文档如下:
官方推荐docker
# F1TENTH gym environment ROS2 communication bridge
This is a containerized ROS communication bridge for the F1TENTH gym environment that turns it into a simulation in ROS2.
# Installation
**Supported System:**
- Ubuntu (tested on 20.04) with an NVIDIA gpu and nvidia-docker2 support
- Windows 10, macOS, and Ubuntu without an NVIDIA gpu (using noVNC)
This installation guide will be split into instruction for systems with or without an NVIDIA gpu.
## With an NVIDIA gpu:
**Install the following dependencies:**
- **Docker** Follow the instructions [here](https://docs.docker.com/install/linux/docker-ce/ubuntu/) to install Docker. A short tutorial can be found [here](https://docs.docker.com/get-started/) if you're not familiar with Docker. If you followed the post-installation steps you won't have to prepend your docker and docker-compose commands with sudo.
- **nvidia-docker2**, follow the instructions [here](https://docs.nvidia.com/datacenter/cloud-native/container-toolkit/install-guide.html) if you have a support GPU. It is also possible to use Intel integrated graphics to forward the display, see details instructions from the Rocker repo. If you are on windows with an NVIDIA GPU, you'll have to use WSL (Windows Subsystem for Linux). Please refer to the guide [here](https://developer.nvidia.com/cuda/wsl), [here](https://docs.nvidia.com/cuda/wsl-user-guide/index.html), and [here](https://dilililabs.com/zh/blog/2021/01/26/deploying-docker-with-gpu-support-on-windows-subsystem-for-linux/).
- **rocker** [https://github.com/osrf/rocker](https://github.com/osrf/rocker). This is a tool developed by OSRF to run Docker images with local support injected. We use it for GUI forwarding. If you're on Windows, WSL should also support this.
**Installing the simulation:**
1. Clone this repo
2. Build the docker image by:
```bash
$ cd f1tenth_gym_ros
$ docker build -t f1tenth_gym_ros -f Dockerfile .
```
3. To run the containerized environment, start a docker container by running the following. (example showned here with nvidia-docker support). By running this, the current directory that you're in (should be `f1tenth_gym_ros`) is mounted in the container at `/sim_ws/src/f1tenth_gym_ros`. Which means that the changes you make in the repo on the host system will also reflect in the container.
```bash
$ rocker --nvidia --x11 --volume .:/sim_ws/src/f1tenth_gym_ros -- f1tenth_gym_ros
```
## Without an NVIDIA gpu:
**Install the following dependencies:**
If your system does not support nvidia-docker2, noVNC will have to be used to forward the display.
- Again you'll need **Docker**. Follow the instruction from above.
- Additionally you'll need **docker-compose**. Follow the instruction [here](https://docs.docker.com/compose/install/) to install docker-compose.
**Installing the simulation:**
1. Clone this repo
2. Build the docker image by:
```bash
$ cd f1tenth_gym_ros
$ docker build -t f1tenth_gym_ros -f Dockerfile .
```
3. Bringup the novnc container and the sim container with docker-compose:
```bash
$ docker-compose up
```
4. In a separate terminal, run the following, and you'll have the a bash session in the simulation container. `tmux` is available for convenience.
```bash
$ docker exec -it f1tenth_gym_ros_sim_1 /bin/bash
```
5. In your browser, navigate to [http://localhost:8080/vnc.html](http://localhost:8080/vnc.html), you should see the noVNC logo with the connect button. Click the connect button to connect to the session.
# Launching the Simulation
1. `tmux` is included in the contianer, so you can create multiple bash sessions in the same terminal.
2. To launch the simulation, make sure you source both the ROS2 setup script and the local workspace setup script. Run the following in the bash session from the container:
```bash
$ source /opt/ros/foxy/setup.bash
$ source install/local_setup.bash
$ ros2 launch f1tenth_gym_ros gym_bridge_launch.py
```
A rviz window should pop up showing the simulation either on your host system or in the browser window depending on the display forwarding you chose.
You can then run another node by creating another bash session in `tmux`.
# Configuring the simulation
- The configuration file for the simulation is at `f1tenth_gym_ros/config/sim.yaml`.
- Topic names and namespaces can be configured but is recommended to leave uncahnged.
- The map can be changed via the `map_path` parameter. You'll have to use the full path to the map file in the container. The map follows the ROS convention. It is assumed that the image file and the `yaml` file for the map are in the same directory with the same name. See the note below about mounting a volume to see where to put your map file.
- The `num_agent` parameter can be changed to either 1 or 2 for single or two agent racing.
- The ego and opponent starting pose can also be changed via parameters, these are in the global map coordinate frame.
The entire directory of the repo is mounted to a workspace `/sim_ws/src` as a package. All changes made in the repo on the host system will also reflect in the container. After changing the configuration, run `colcon build` again in the container workspace to make sure the changes are reflected.
# Topics published by the simulation
In **single** agent:
`/scan`: The ego agent's laser scan
`/ego_racecar/odom`: The ego agent's odometry
`/map`: The map of the environment
A `tf` tree is also maintained.
In **two** agents:
In addition to the topics available in the single agent scenario, these topics are also available:
`/opp_scan`: The opponent agent's laser scan
`/ego_racecar/opp_odom`: The opponent agent's odometry for the ego agent's planner
`/opp_racecar/odom`: The opponent agents' odometry
`/opp_racecar/opp_odom`: The ego agent's odometry for the opponent agent's planner
# Topics subscribed by the simulation
In **single** agent:
`/drive`: The ego agent's drive command via `AckermannDriveStamped` messages
`/initalpose`: This is the topic for resetting the ego's pose via RViz's 2D Pose Estimate tool. Do **NOT** publish directly to this topic unless you know what you're doing.
TODO: kb teleop topics
In **two** agents:
In addition to all topics in the single agent scenario, these topics are also available:
`/opp_drive`: The opponent agent's drive command via `AckermannDriveStamped` messages
`/goal_pose`: This is the topic for resetting the opponent agent's pose via RViz's 2D Goal Pose tool. Do **NOT** publish directly to this topic unless you know what you're doing.
# Keyboard Teleop
The keyboard teleop node from `teleop_twist_keyboard` is also installed as part of the simulation's dependency. To enable keyboard teleop, set `kb_teleop` to `True` in `sim.yaml`. After launching the simulation, in another terminal, run:
```bash
ros2 run teleop_twist_keyboard teleop_twist_keyboard
```
Then, press `i` to move forward, `u` and `o` to move forward and turn, `,` to move backwards, `m` and `.` to move backwards and turn, and `k` to stop in the terminal window running the teleop node.
# Developing and creating your own agent in ROS 2
There are multiple ways to launch your own agent to control the vehicles.
- The first one is creating a new package for your agent in the `/sim_ws` workspace inside the sim container. After launch the simulation, launch the agent node in another bash session while the sim is running.
- The second one is to create a new ROS 2 container for you agent node. Then create your own package and nodes inside. Launch the sim container and the agent container both. With default networking configurations for `docker`, the behavior is to put The two containers on the same network, and they should be able to discover and talk to each other on different topics. If you're using noVNC, create a new service in `docker-compose.yml` for your agent node. You'll also have to put your container on the same network as the sim and novnc containers.