Broken thoughts:
I want to increase the update frequency as much as possible in the future! _(:з)∠)_
As we all know, Vivado actually comes with its own simulation tool Vivado Simulator, but it is a bit stuck and delayed in use (although the UI is very beautiful).
Since Vivado itself supports a variety of third-party simulation tools, we can configure the required simulation environment ourselves. This article introduces Vivado2018.3 & Modelsim DE-64 10.6c to achieve more efficient code simulation.
Table of contents
1.1 Installation of Modelsim 10.6c
3 Simulation settings when creating a new project
5 Modify the code and simulate again
1 Software installation
The installation of Vivado 2018.3 is not introduced here. For details, please refer to the installation tutorial provided by Zhengdian Atom (or refer to other tutorials). By default, you have already installed the Vivado software.
The third-party simulation tools corresponding to different versions of Vivado are clearly written on the Xilinx official website. You must pay attention to installing the corresponding version, otherwise an error will be reported.
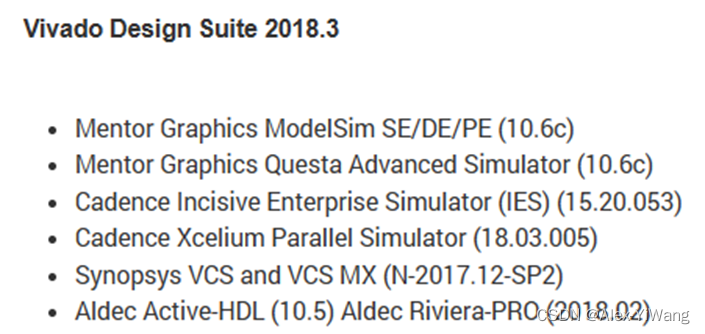
My computer system is Windows 10, and the software version used is Vivado 2018.3, so the above figure shows that ModelSim 10.6c needs to be installed.
1.1 Installation of Modelsim 10.6c
Download link: You can follow the official account "Alex's desk and laboratory", and reply "3MS" to get the download link.
Unzip the file after downloading:

Right-click the third installation file, run it as an administrator, and click Next. Note that Chinese characters or spaces cannot appear in the installation path.
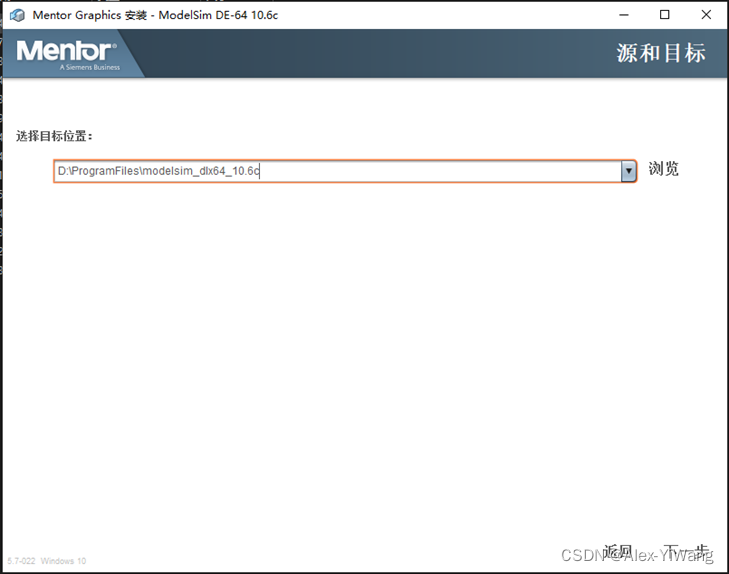
If prompted that the target path does not exist, click "Yes" to create it.
When Add Modelsim To Path appears select Yes.
Select No when Install Hardware Security Key Driver appears.
Select Close when the Modelsim License Wizard appears.
After the installation is complete, enter the modelsim installation directory:
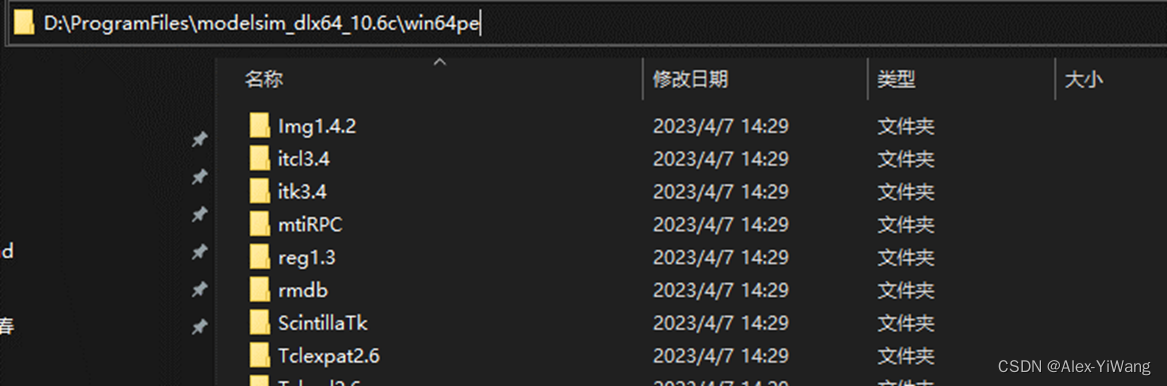
Copy crack.bat and MentorKG.exe under the installation package to the win64pe directory.
The mgls64.dll in the win64pe directory is renamed to mgls.dll. (tips: F2 on the keyboard is the shortcut key for renaming)
The picture below is before modification:

After modification:
![]()
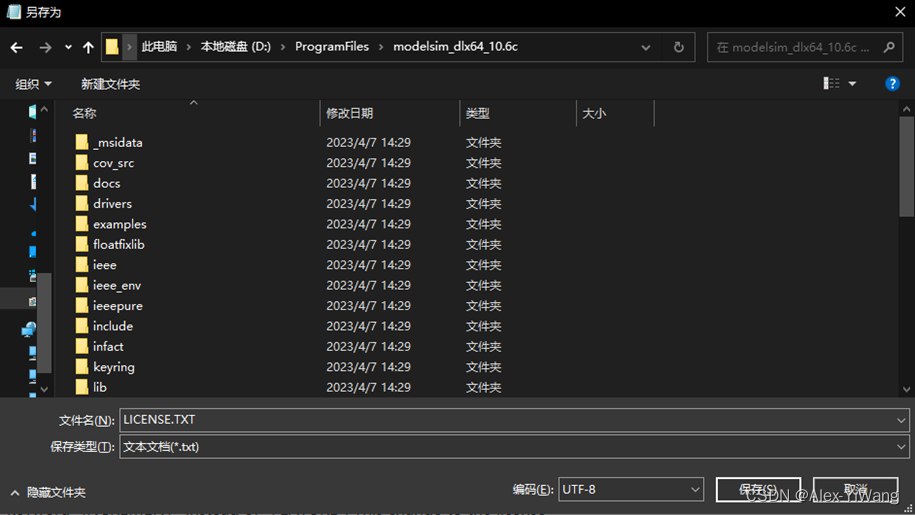
Double-click to run the crack.bat we copied in, wait for about 20s, and the following interface will pop up:
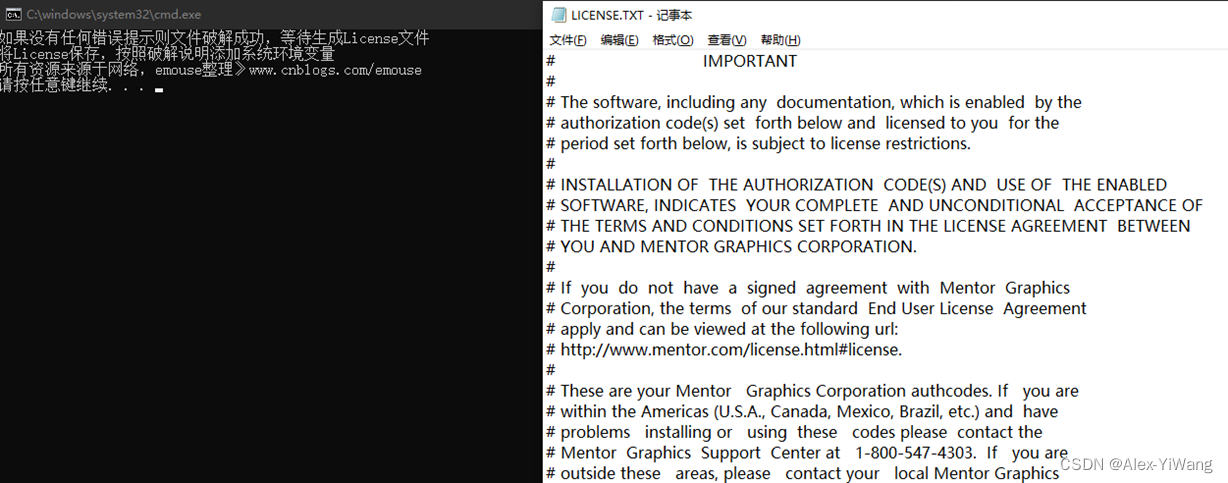
We will save the generated LICENSE.TXT to the installation directory of modelsim, here my path is: D:\Program Files\modelsim_dlx64_10.6c
Then change the name of the mgls.dll file with the modified name in the win64pe directory back to mgls64.dll
On the desktop, click "This PC" - "Properties" - "Advanced System Settings" - "Environment Variables". Click New under System Variables.
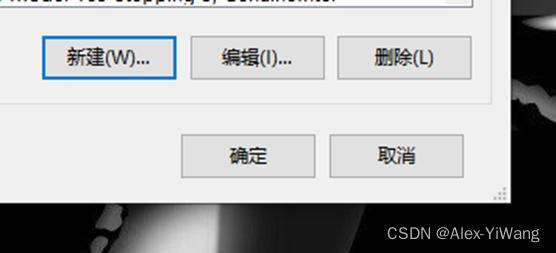
Add system variables:

Variable name: MGLS_LICENSE_FILE
Variable value: D:\Program Files\modelsim_dlx64_10.6c\LICENSE.TXT
Click OK to complete the configuration of the environment variables.
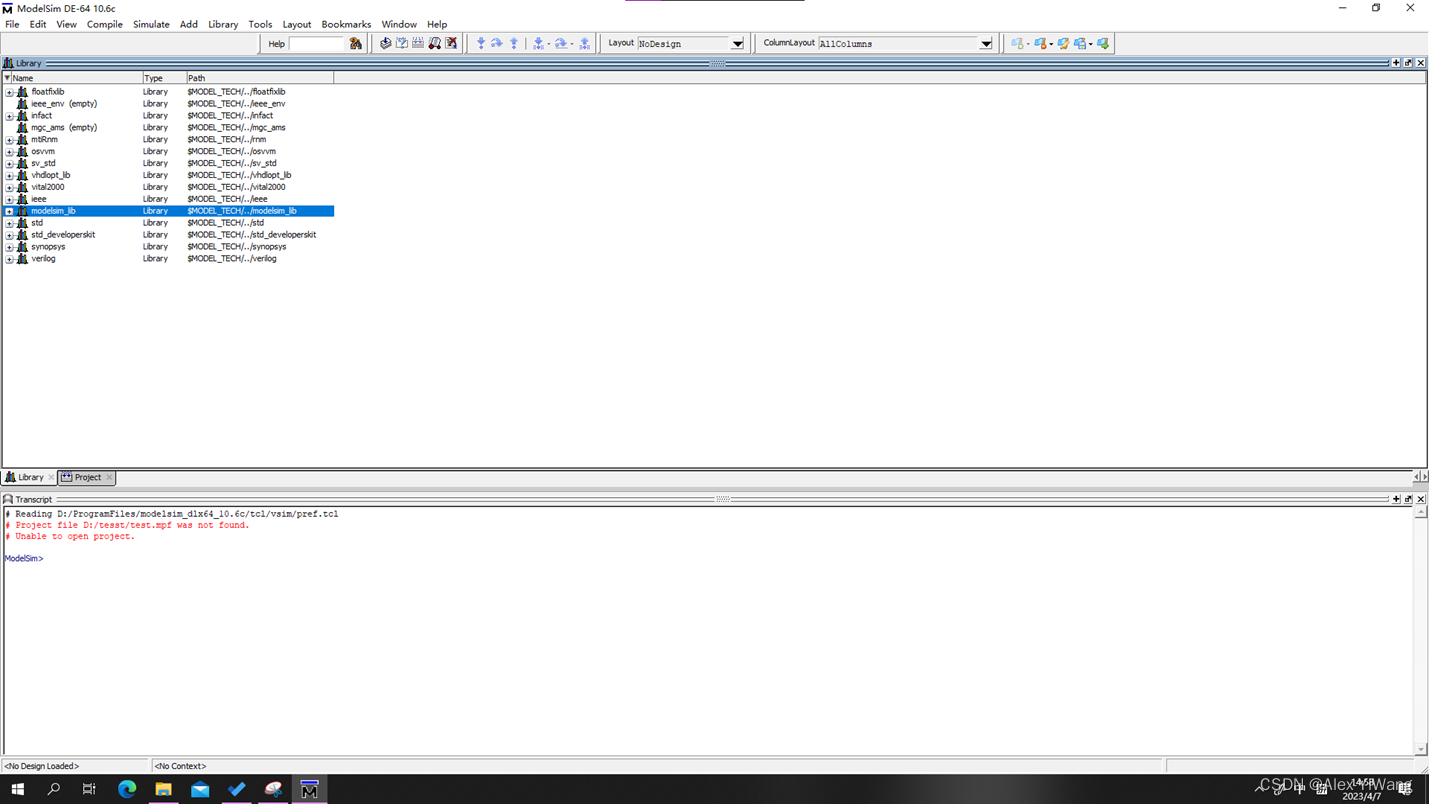
At this point, you can open the icon on the desktop (if you choose to create a shortcut on the desktop during the installation process), and verify whether the cracking is completed.

If opened successfully, the installation is complete.
2 Simulation configuration
Open Vivado 2018.3.

Click on:
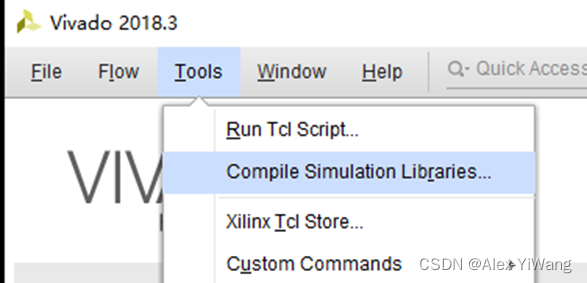
After that, the following interface will pop up. For 2018.3, we need to modify these 4 places:

1: Select the simulator as ModelSim Simulator
2: This indicates the storage location of the compiled library. I created a new folder named Modelsim_Vivado_Lib under the installation directory of Vivado2018 to store the compiled library. So the path is set to D:/ProgramFiles/Xilinx2018/Modelsim_Vivado_Lib
3: This is used to fill in the path of modelsim.exe. D:/Program Files/modelsim_dlx64_10.6c/win64pe
4: This means that all Xilinx IP cores will be compiled, and there is no need to compile again when the IP is used again in the future.
After the setting is complete, click "Compile", and Vivado will start compiling. It will take a long time here, and we can see the compiling process through the Tcl Console window.
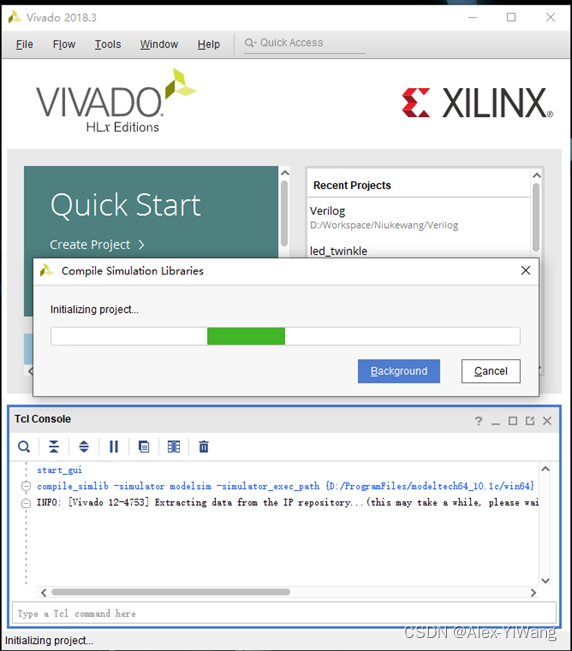
It took 30 minutes to compile on my computer, and the compilation is as follows:

It can be seen that a problem has been encountered. After searching, it is likely that the IP core with the problem will not be used, so just ignore this error prompt. So far the compilation is complete.
3 Simulation settings when creating a new project
For Vivado, the default simulation tool for each new project is Vivado Simulator, so each new project must be reset once.
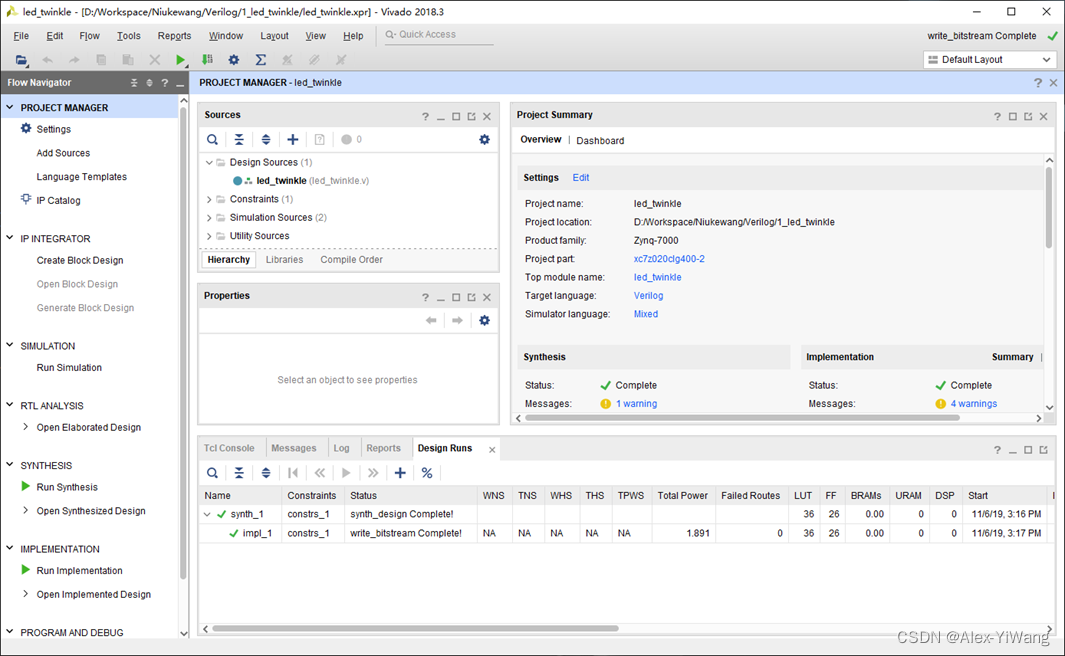
Here we take the FPGA routine 1_led_twinkle in the ZYNQ7000 series video of Zhengdianatom as an example to set up (the setting method is the same for any project), after setting, you can also use Save As as a template for a new project.
First open the routine 1_led_twinkle of the punctual atom.
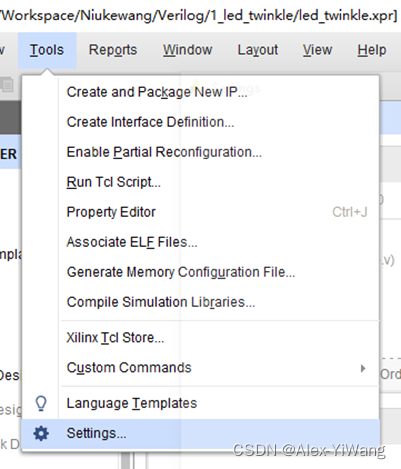
Click Tools-Settings...
Select the Simulation tab in the pop-up interface, set the Target simulator to ModelSim Simulator respectively; set the Compiled library location to the folder path where we stored the compiled library before.
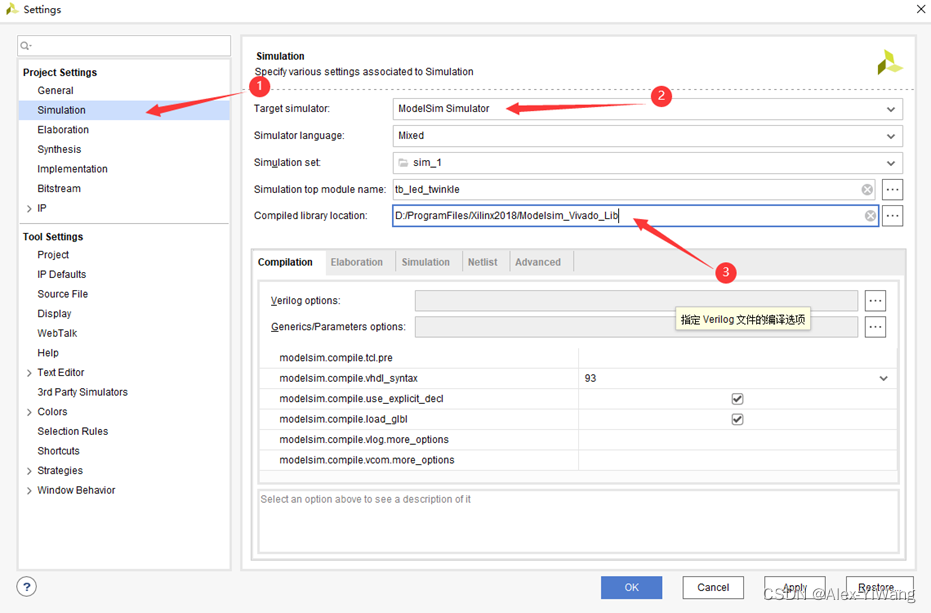
Then select the 3rd Party Simulators tab, set the path of ModelSim to the path of win64pe, and set the location of its default compiled library to the folder path where we stored the compiled library before.

Click "OK" when finished.
4 Simulation test
Continue to perform the simulation test in the above steps. Since the punctual atom has provided the tb file and module code in the project, we can directly click on the left side: SIMULATION-Run Simulation-Run Behavioral Simulation.

After a short wait, the simulation interface of ModelSim pops up successfully, which proves that the installation and configuration are complete.

5 Modify the code and simulate again
So how to take advantage of the faster simulation speed of Modelsim? By consulting @公子哥大兄, assuming that we have already performed a simulation and the modelsim interface pops up, we can implement it according to the following process:
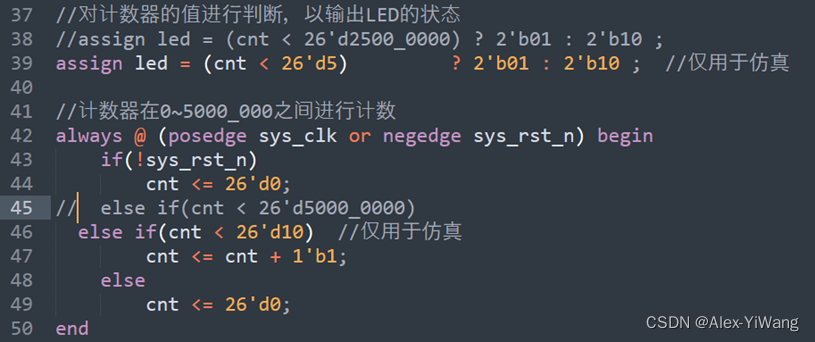
1. Modify the code and save:
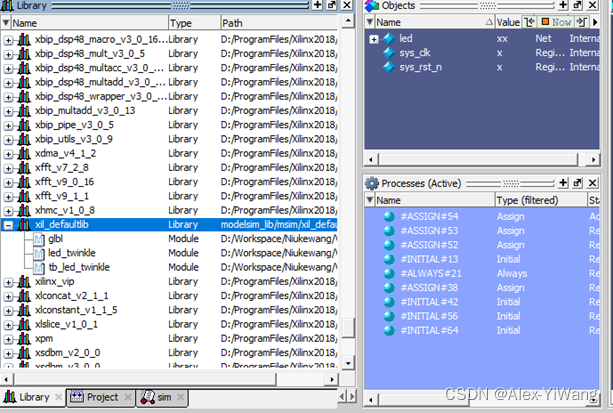
2. Find the library xil_defaultlib in the Library section of ModelSim DE-64 10.6c. (It must exist, and it will correspond to the Vivado project you opened):
3. Select three of the files to recompile:
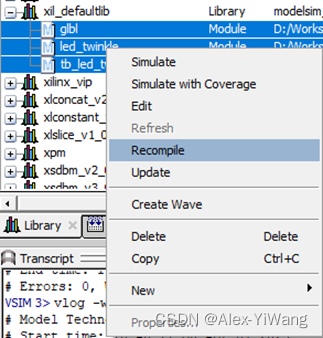
Transcript shows that the compilation was successful:

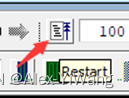
4. Open the waveform interface Wave, and click Restart:
6 Reference blog
The road to FPGA learning - Vivado and Modelsim co-simulation
https://blog.csdn.net/weixin_42837669/category_10559725.html
Modelsim installation summary_add modelsim to path_Embedded Programmer Alpha's Blog-CSDN Blog
Do you feel that the instant efficiency has improved a lot? This is the whole content of this issue. If you like my article, don't forget to like + bookmark + follow, and share it with your friends~