I. Introduction
This article is for Windows10 system, and Windows is used as client, Ubuntu is installed in VMware as Server, and Putty software is used to connect (writing time: 2023.6.11).
2. Putty download and installation
Step 1: Click the link below to enter Putty official website.
Download PuTTY - a free SSH and telnet client for Windows
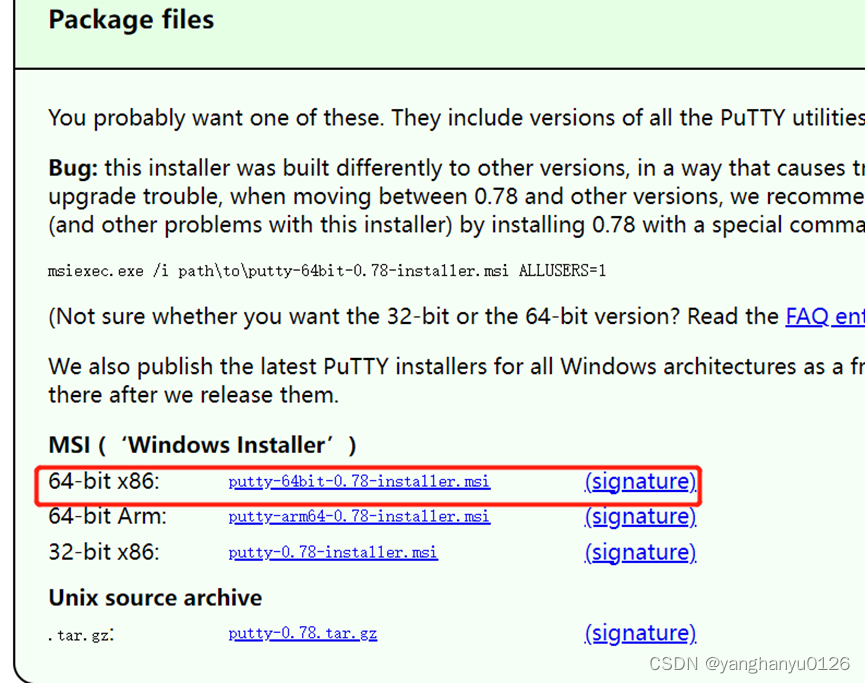
Step 2: Click "Download PuTTY", click "putty-64bit-0.78-installer.msi" on the redirected page to download.

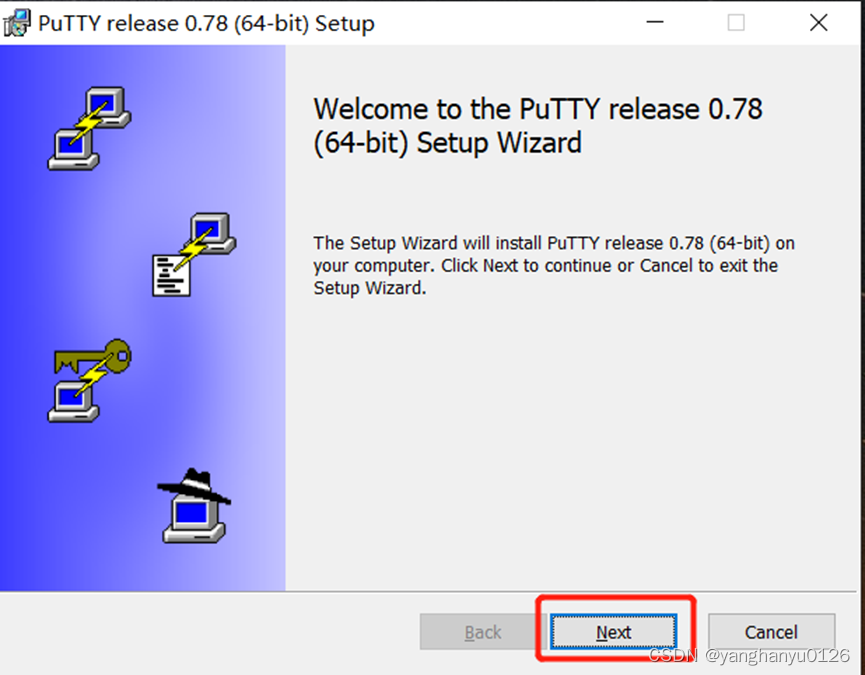
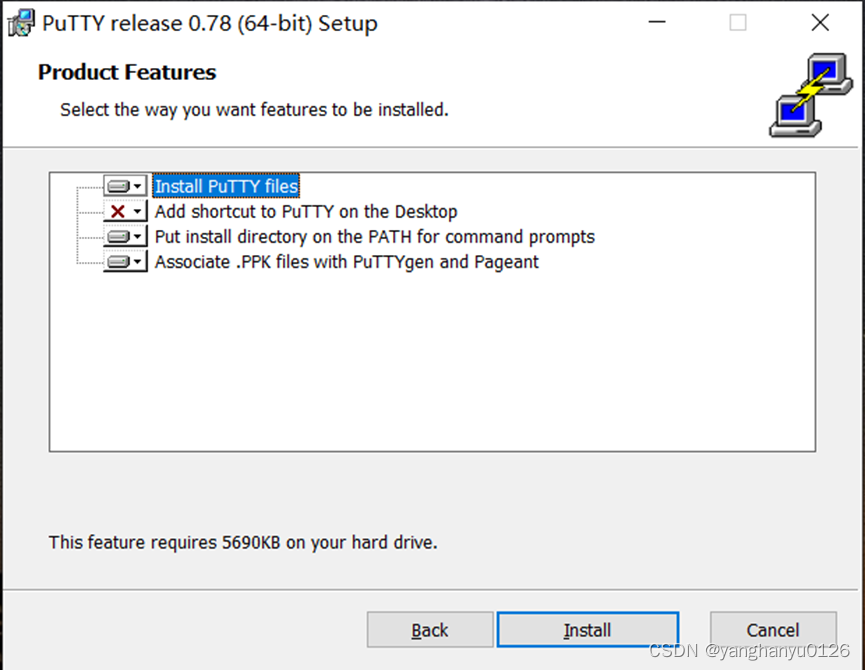
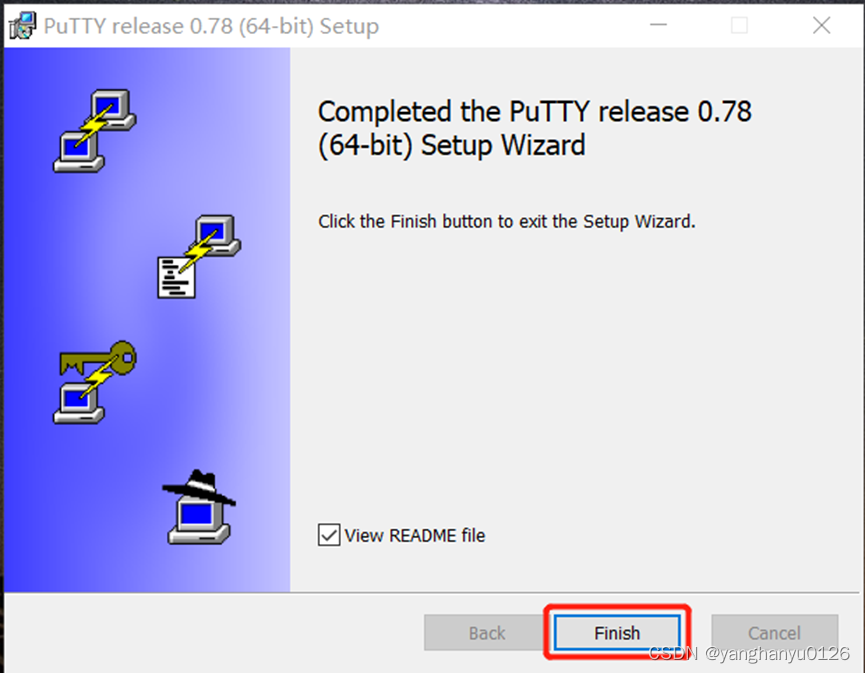
Step 3: Install putty, please refer to the screenshot below for the installation process.

3. Use Putty to remotely log in to the Linux system in the virtual machine.
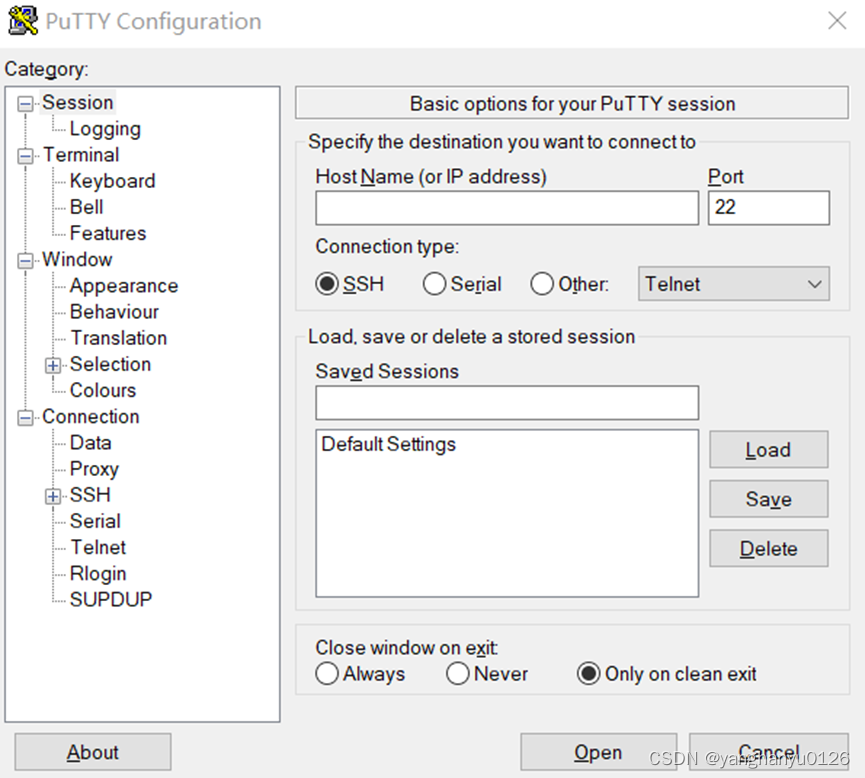
Step 1: Open Putty and the Linux system in the virtual machine.

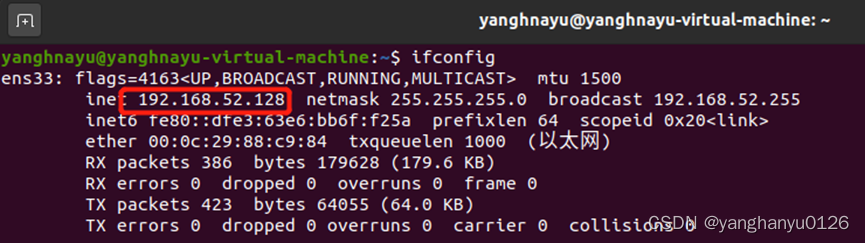
Step 2: In the terminal of the opened Linux system, enter "ifconfig" to view the ip address. You can see that the ip address of Linux in the virtual machine is "192.168.52.128".
Step 3: Try to connect to Linux through Putty, the process is shown in the figure below.

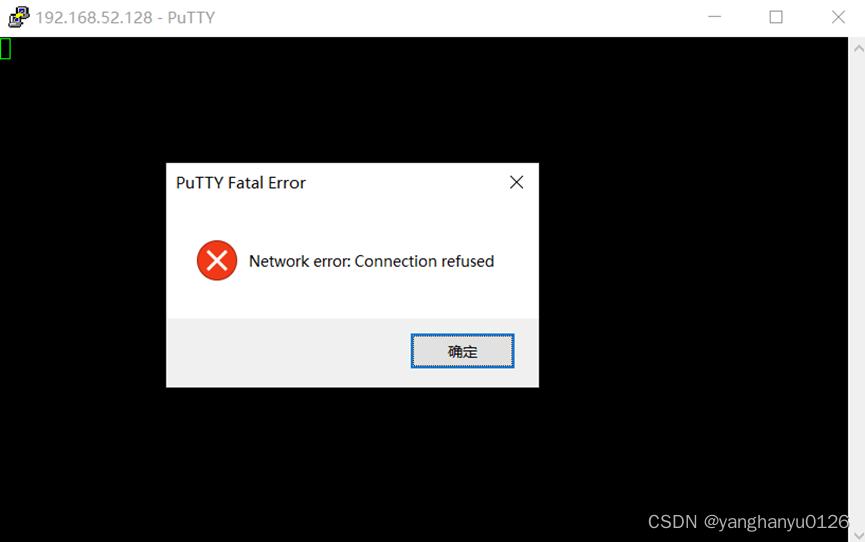
However, there is an error in the connection, showing "Connection refused", so Ping it in the Windows system to check for network-related problems.

It can be pinged, so check whether SSH is configured in Linux. Enter "service ssh" in the Linux terminal.

The above figure shows that the SSH service is not configured, so install it and give it a try.


At this time, use Putty to connect and find that it can be connected, so enter the relevant information to log in.
So far, the Putty-based Linux remote login tutorial is over, thanks for watching! ! !