Microsoft launched the Windows 11 operating system last year, but due to the many bugs in the new system or because they simply prefer win 10, many students still do not choose to upgrade like Bingbing, but in some cases they need to use win 11, such as using certain software or doing Testing, etc., it is definitely a good way to use a virtual machine at this time
No.1 download mirror
If the system is regarded as a piece of software, the image is the software installation package, and the general system image is the iso file. There are many ways to download the win11 image, but it is best for everyone to distinguish whether it is the original version, to avoid some rogue bundled software or being implanted with viruses, I am here to get the download link of the original image on msdn.
The domain name of the new version of msdn is https://next.itellyou.cn/, please do not enter the old version of the website, the old version does not have a mirror image of win11. The new version of msdn needs to log in to access resources. You can log in with a third-party account such as QQ or register an account. After logging in, you can see the classification of various systems, including win11, click to enter

Please try to download the latest one. From the file name of the resource, you can see that there are business editions and consumer editions. The business edition includes the professional edition. If you want to install the home edition, choose the consumer edition. For example, I choose the latest consumer version 21H2 that is currently available for download. There are two download methods on the right: ED2K and BT. Just click on one, and then open Xunlei and other magnetic software to download, and you can get an iso image file
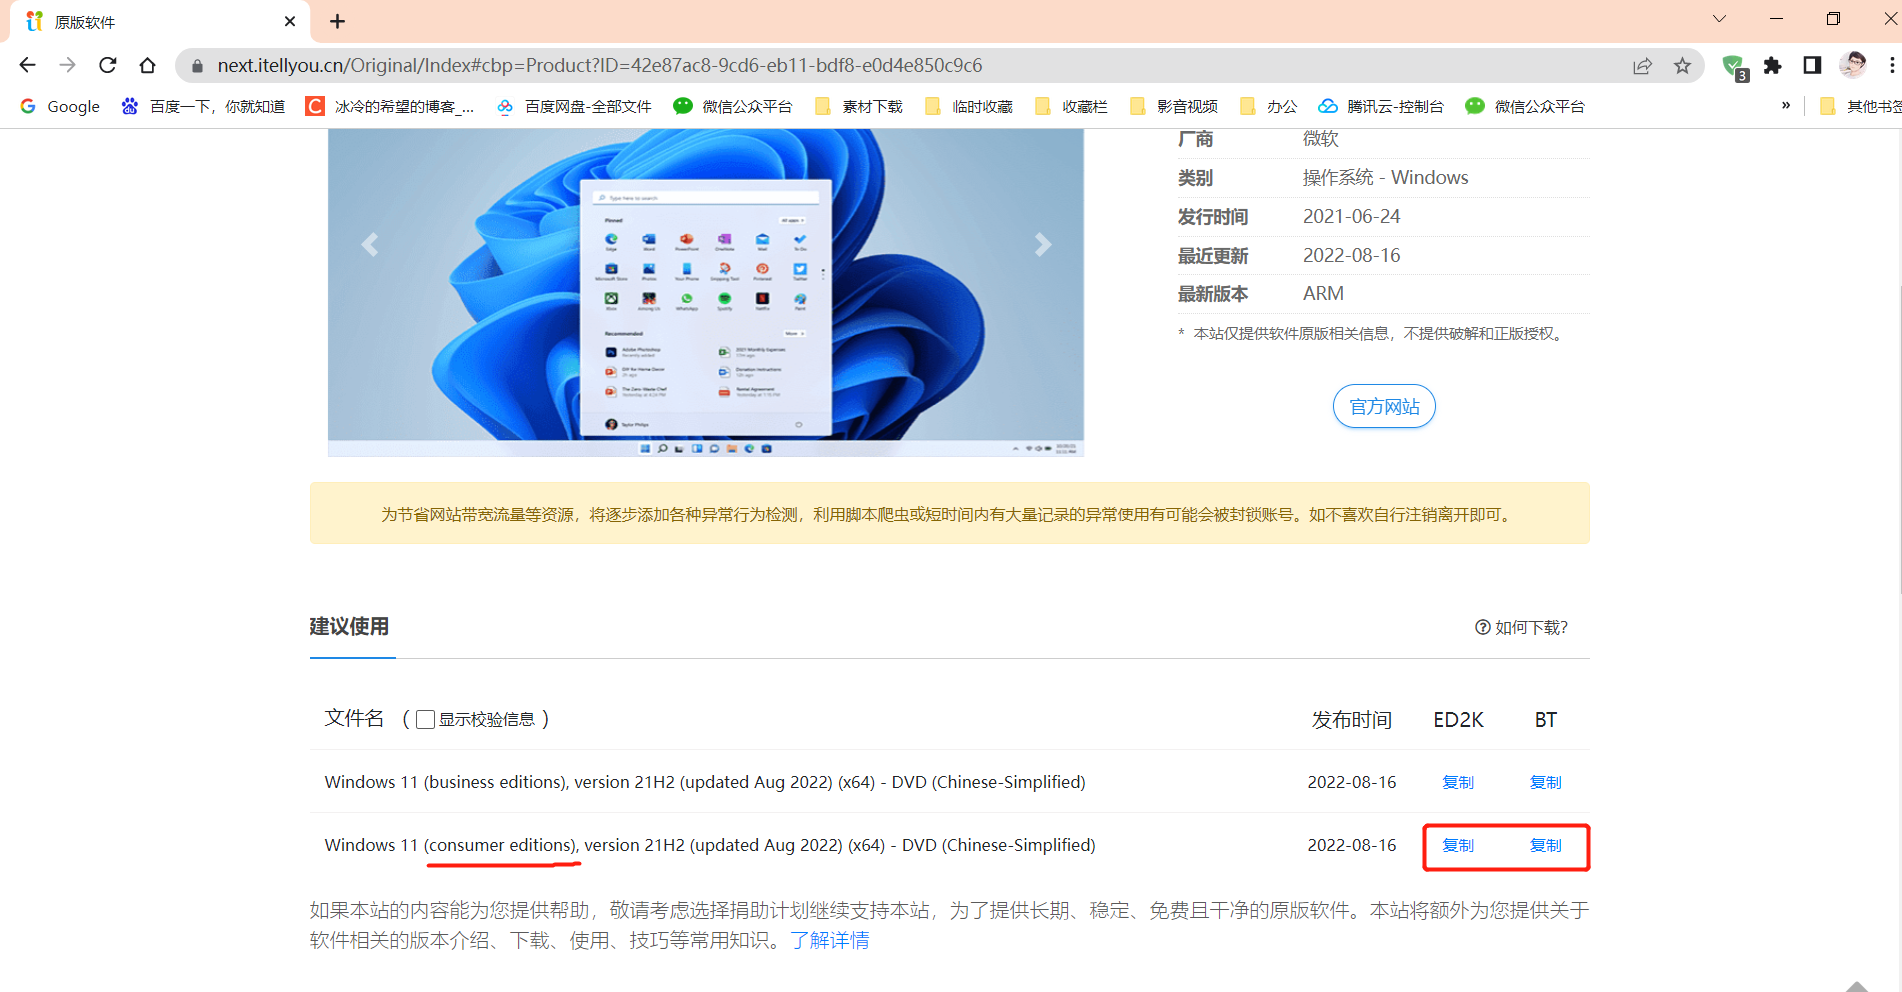
If you don't want to register an msdn account, you can download the same version as mine, just copied the link:
magnet:?xt=urn:btih:ca159db2b1e78f6e95fd972be72251f967f639d4&dn=zh-cn_windows_11_consumer_editions_version_21h2_updated_aug_2022_x64_dvd_a29983d5.iso&xl=5891360768
No.2 Setting up a virtual machine
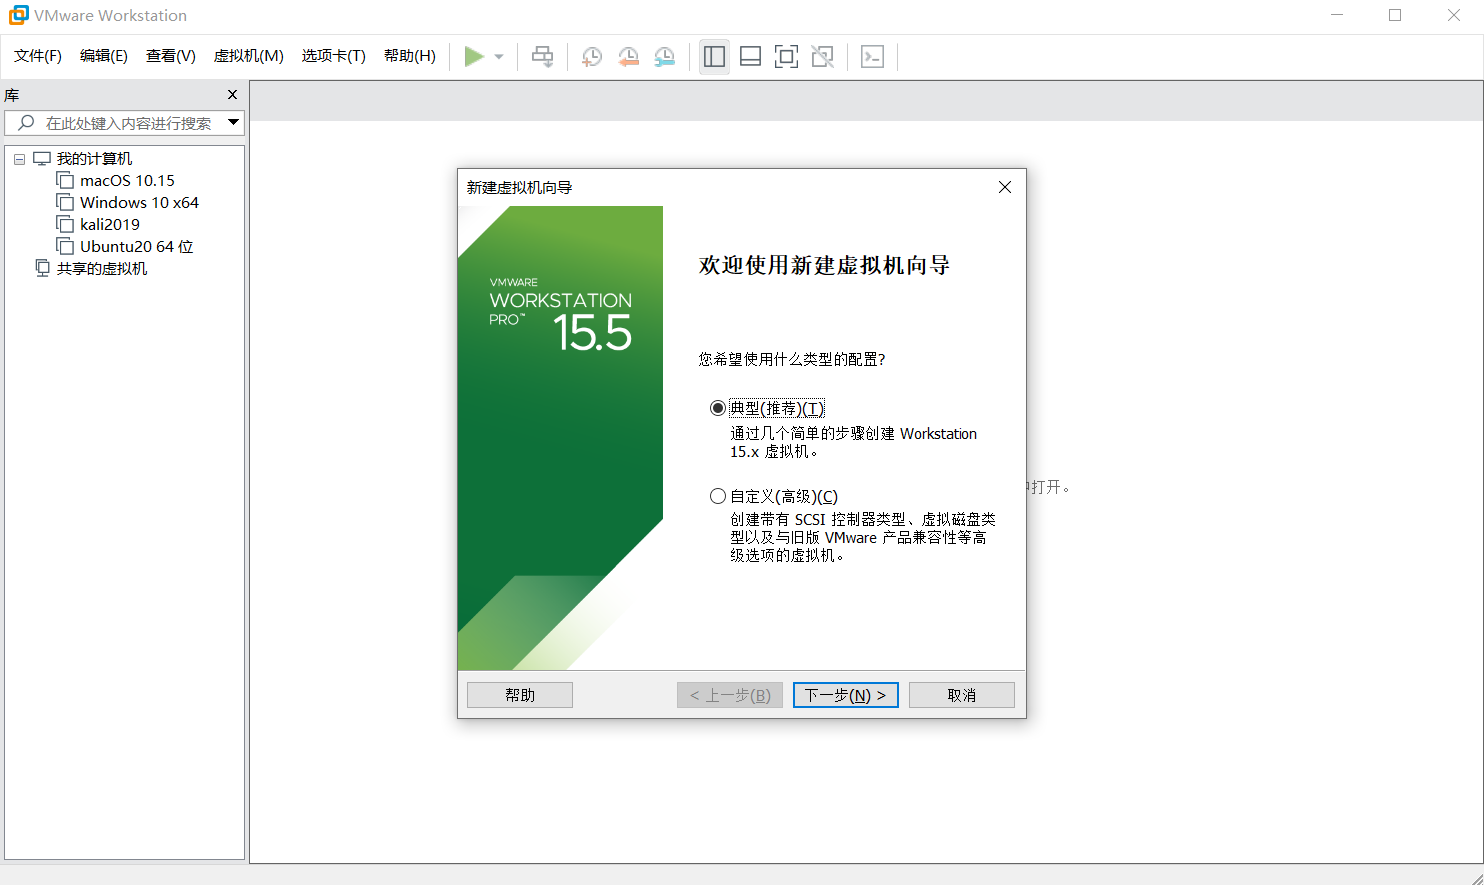
The installation of the virtual machine software VMware is not demonstrated here. If you really don’t understand, you can find the VMware installation package and installation tutorial in the menu bar of the official account. There is no difficulty or precautions. The virtual machine version I use here is VMware15.5.
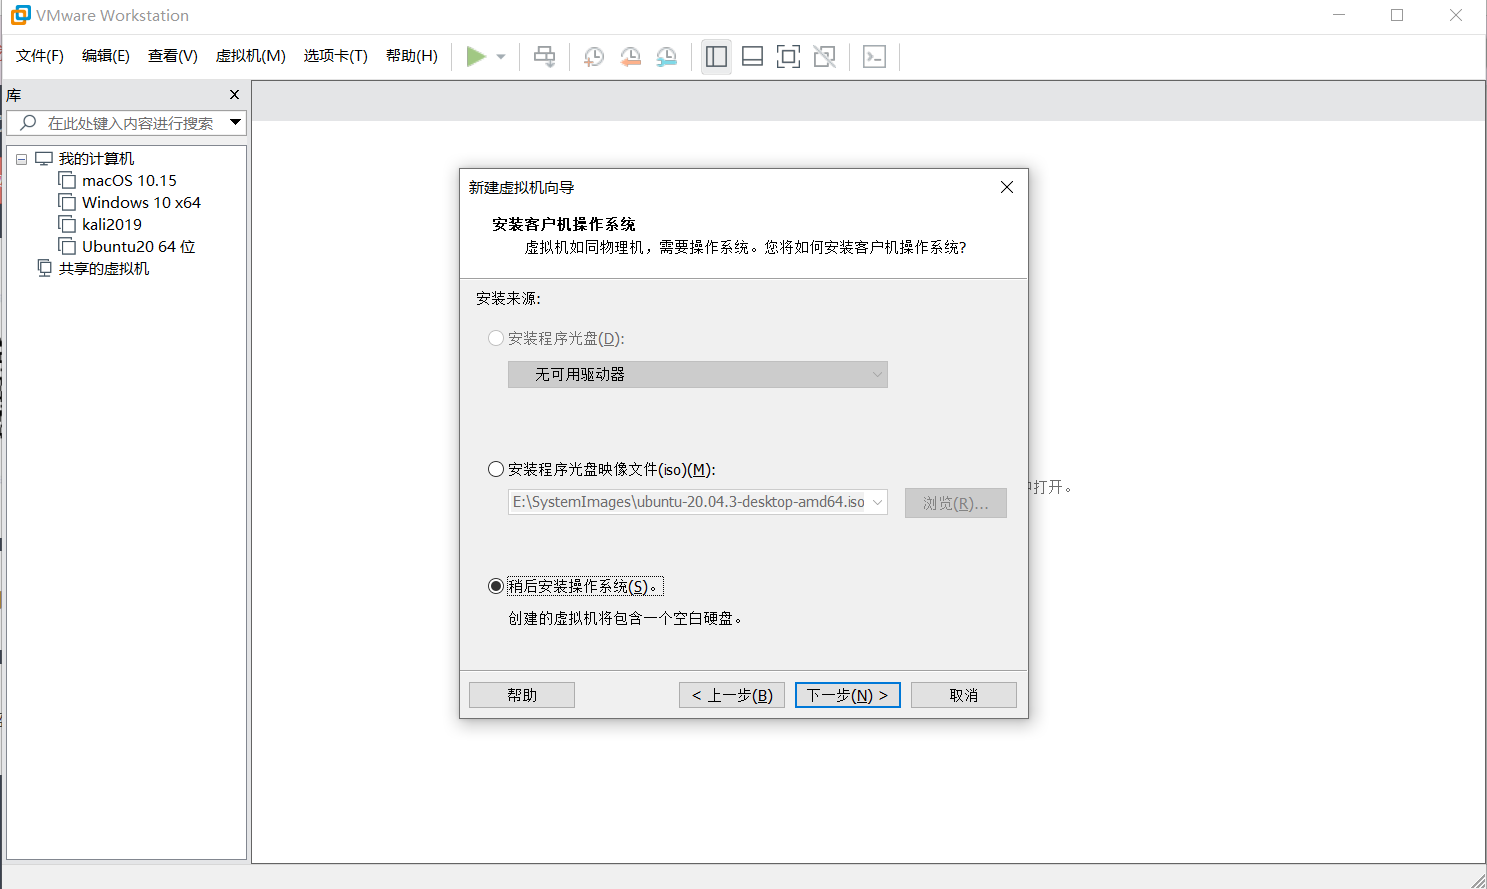
Open VMware, create a new virtual machine, select "Typical" for the installation method, and then the next step
Let's not select the image file first, select the third item "Install the operating system later", and then the next step
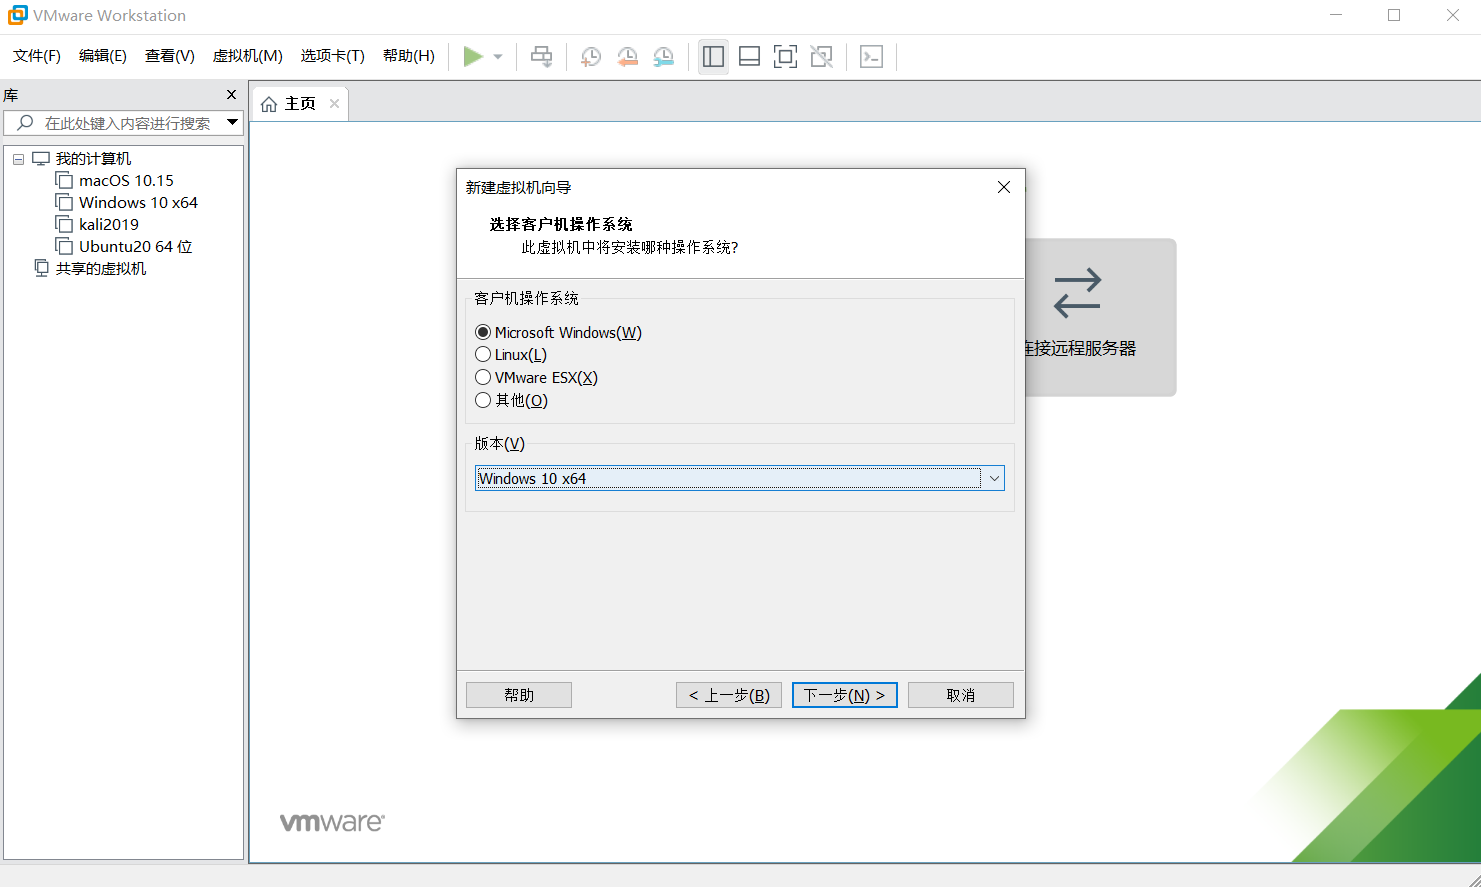
The type of operating system, the highest system version in the Microsoft Windows classification is only Windows 10, I choose 64-bit here, as long as it is not relatively old, the computer is 64-bit
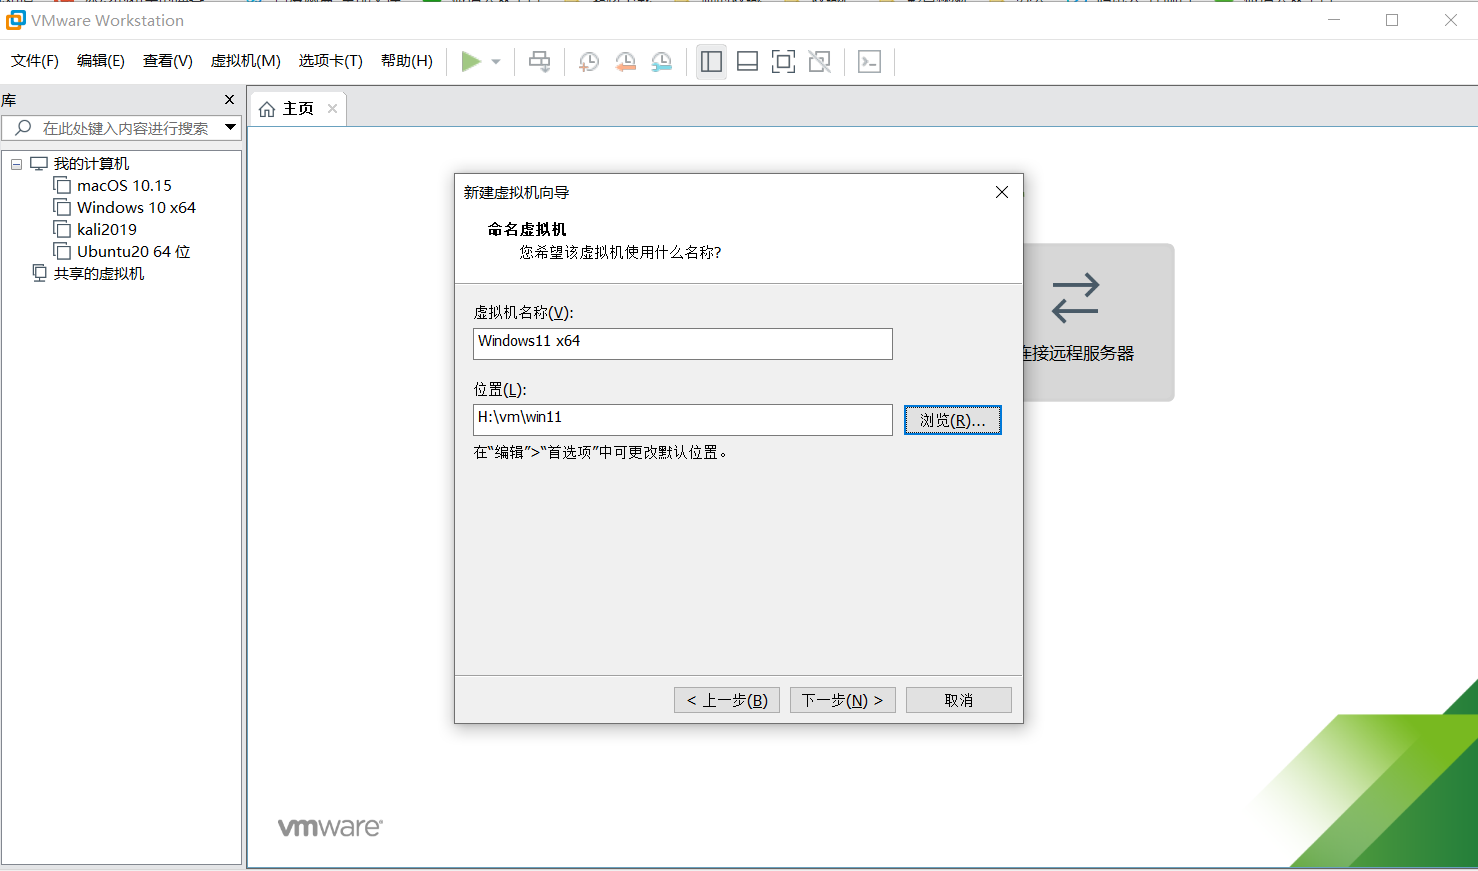
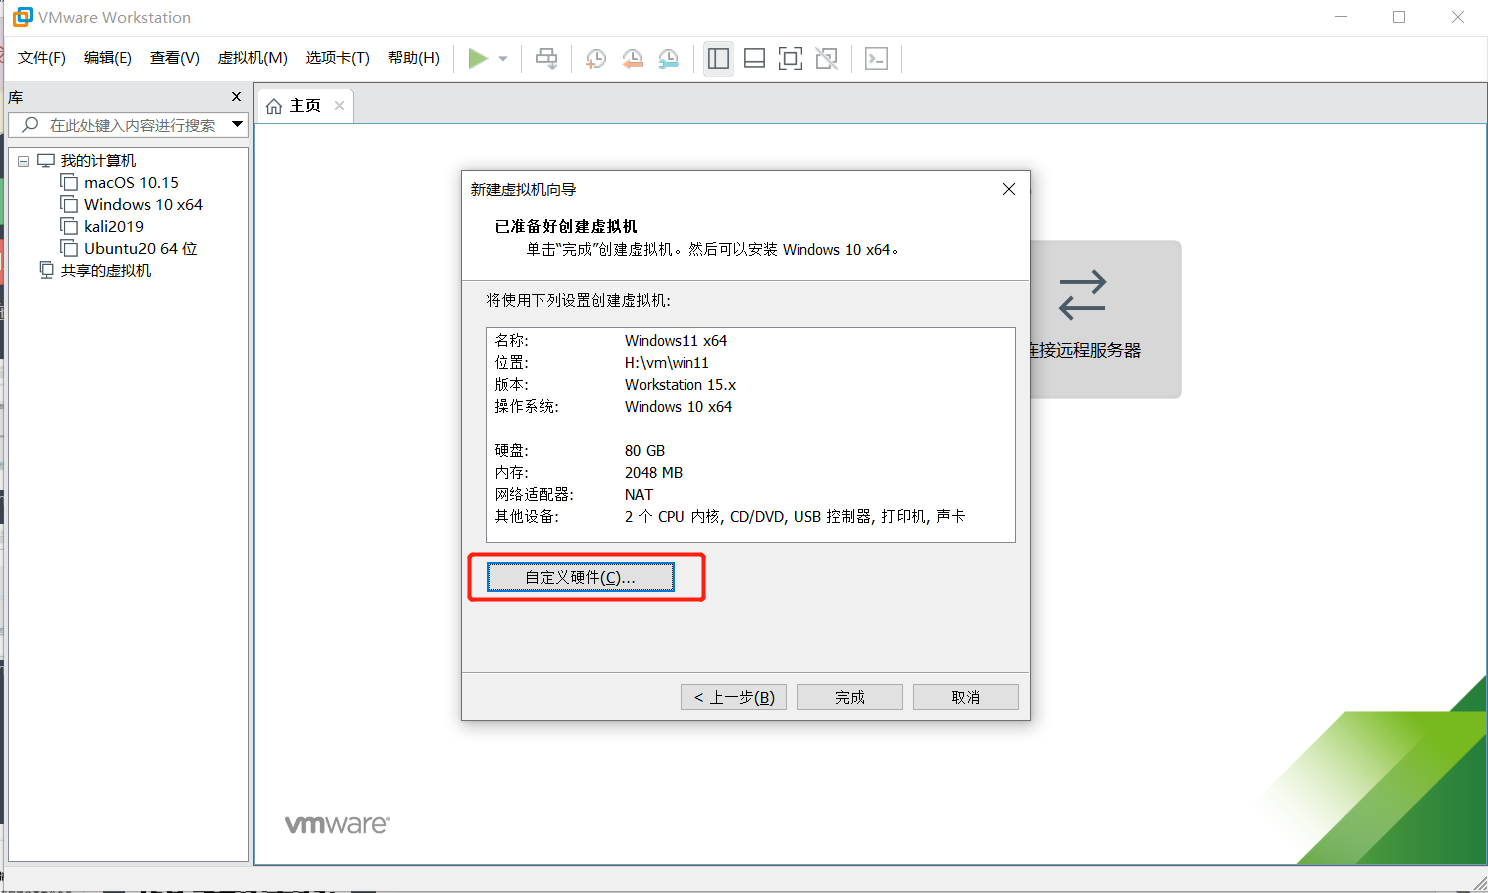
You can choose the name of the virtual machine at will. What you need to pay attention to is the installation location. You must choose a disk with more free space. It is not recommended to put it on the C disk. For example, I changed it to H:\vm\win11 here
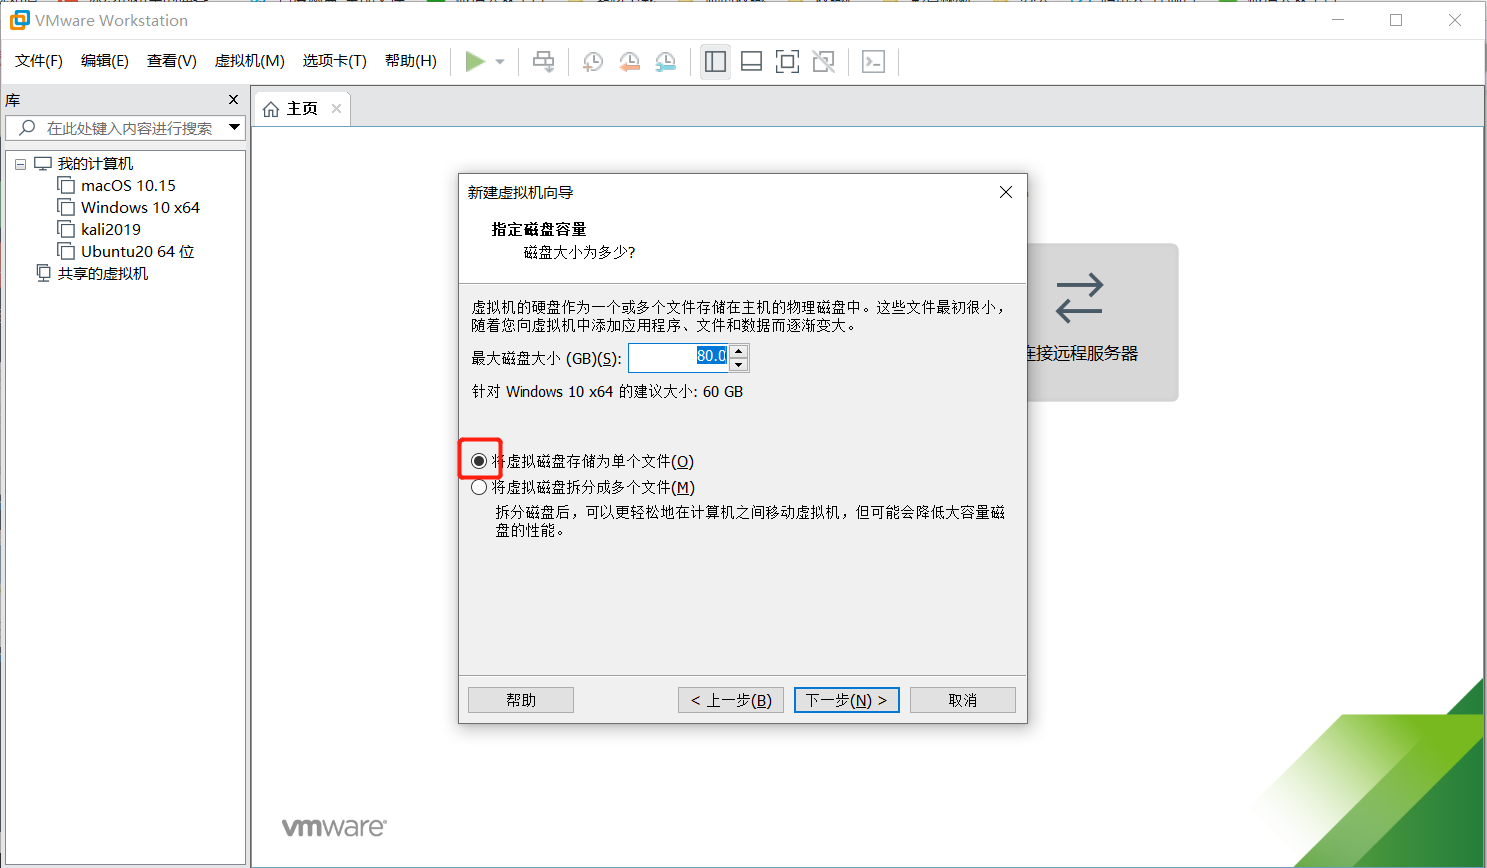
The allocated disk size is 60G by default, but it may not be enough. You can allocate more points. Don’t worry, it won’t occupy the disk all at once. The allocated disk size is equivalent to limiting the maximum number of disks that can be used. Here I just For testing, it is almost enough to allocate 80G, and then check the "Store virtual disk as a single file" below, which can improve the performance of the disk
Here we click "Customize Hardware", and there are some settings that need to be made
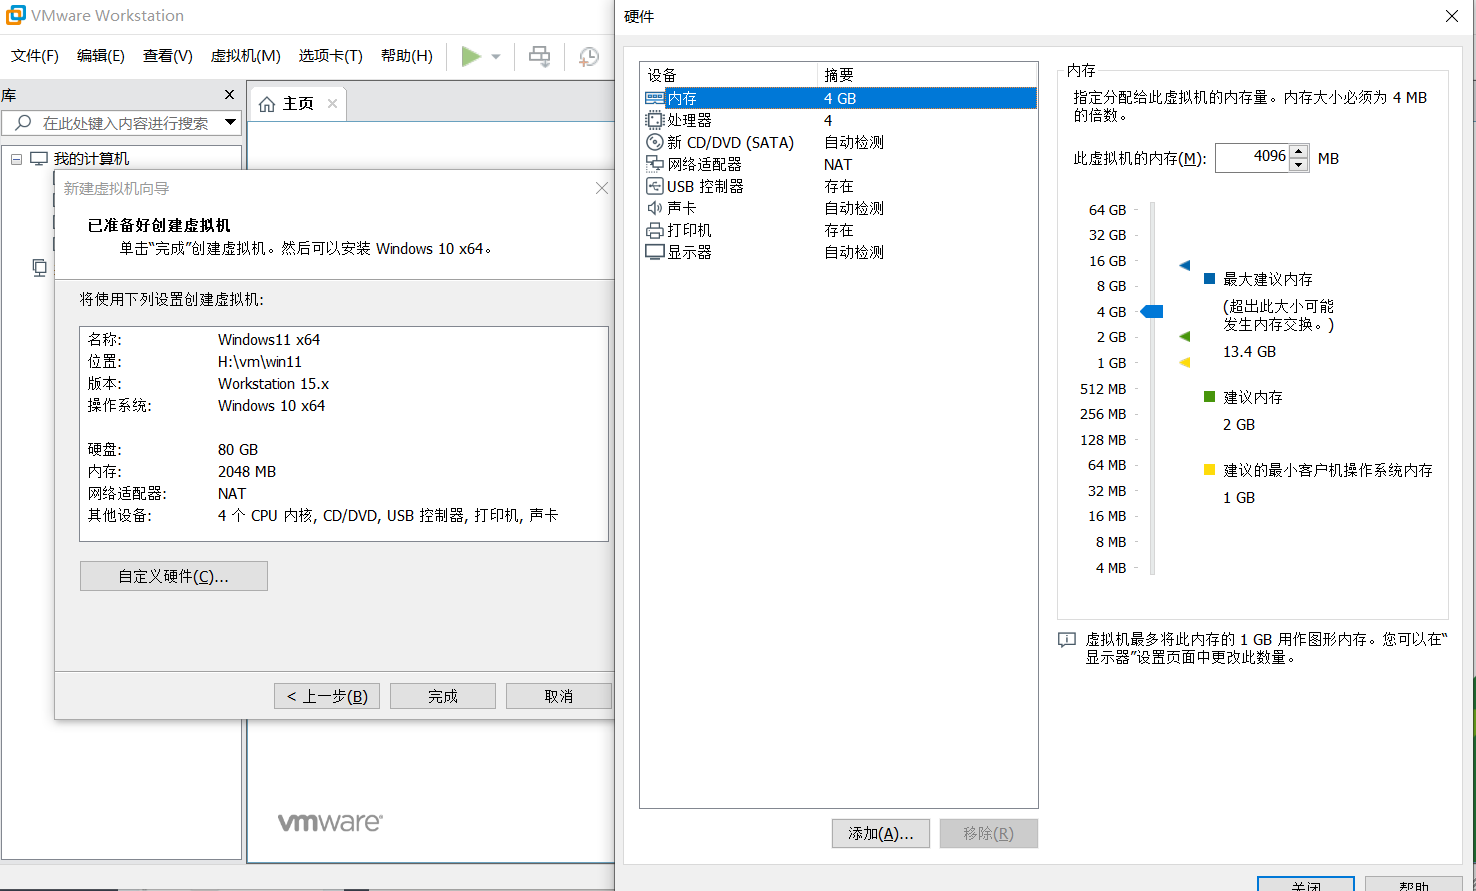
The memory size is set according to the remaining size of your current system. The more you allocate, the smoother your virtual machine will be, but the more stuck your physical machine will be. It cannot exceed your physical memory size at most.
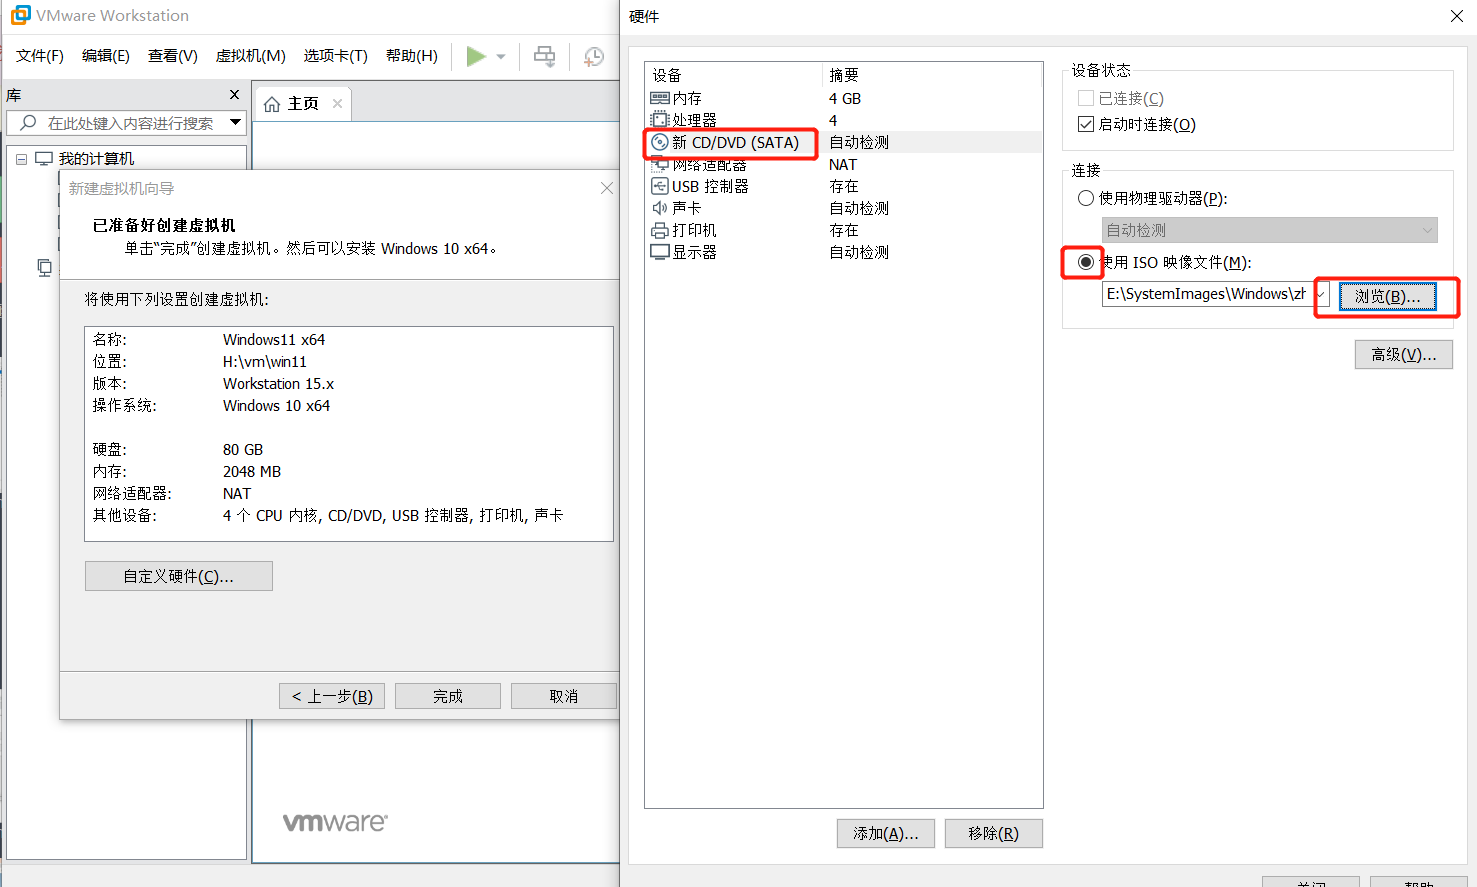
Under the "New CD/DVD (SATA)" option select "Use ISO image file", click "Browse" and select the iso file you just downloaded
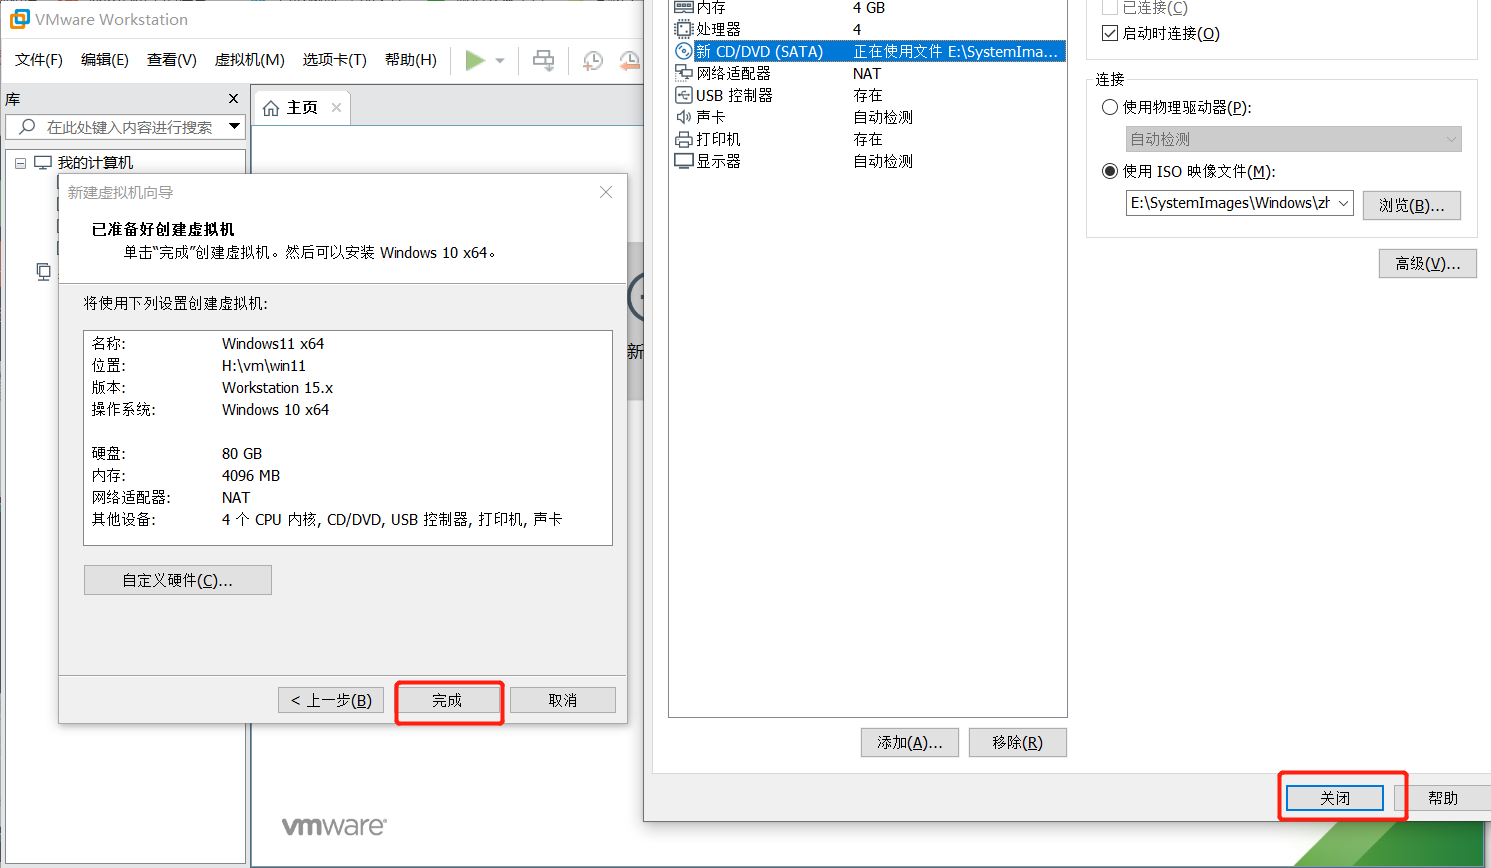
After setting, click "Close" below to close this window, and then click "Finish" to close the setup wizard
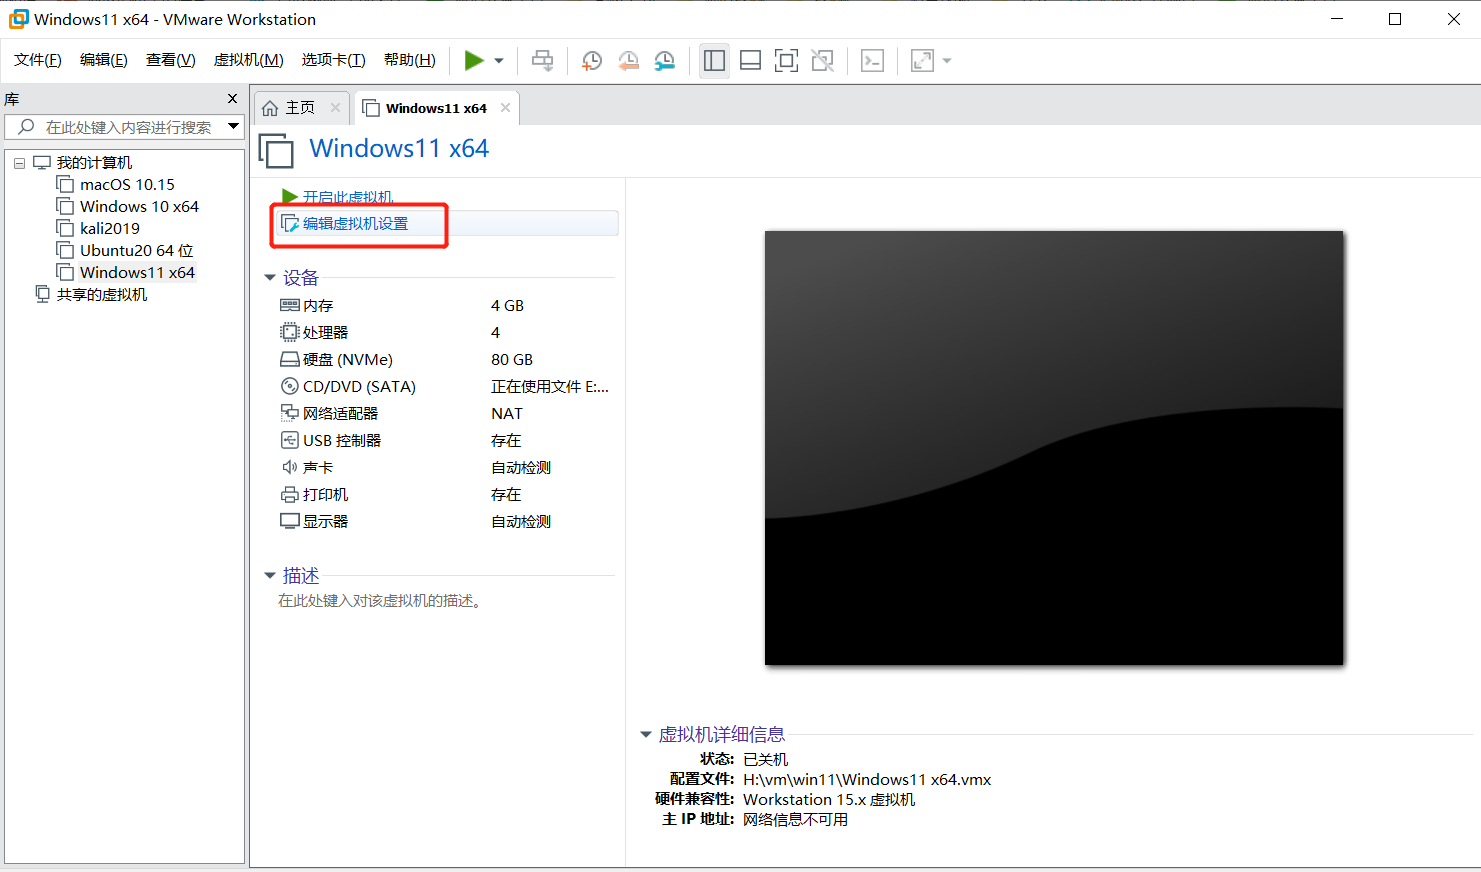
Don't rush to start the virtual machine, there are still some things to set, click "Edit virtual machine settings"
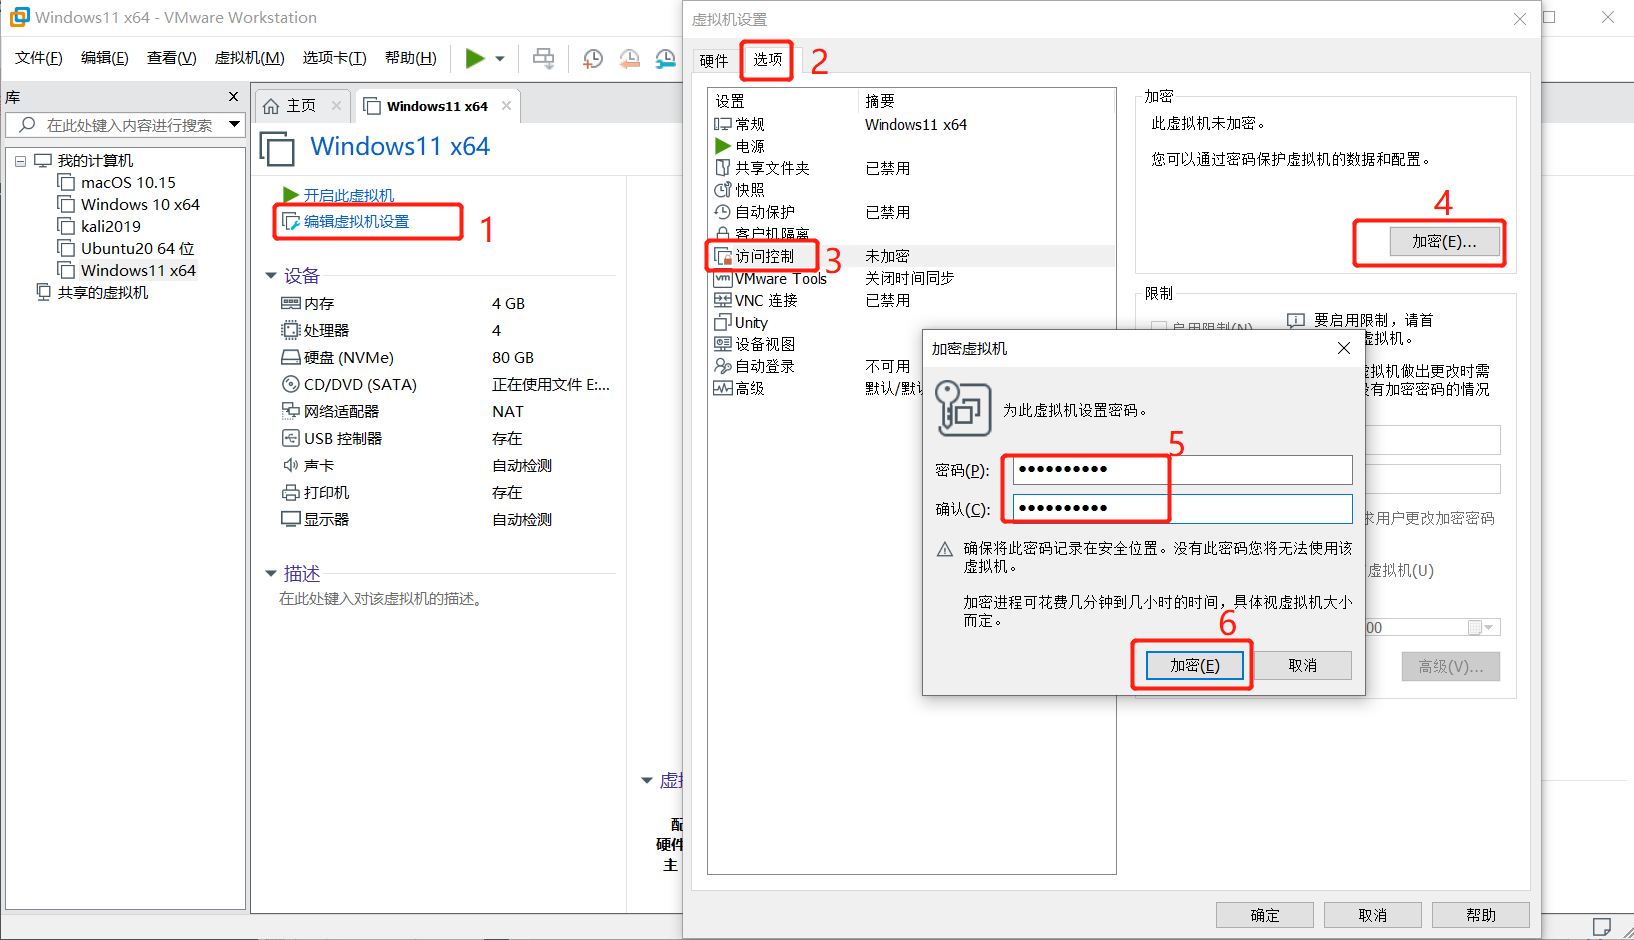
Switch to "Options" in the upper left corner of the settings page, there is "Access Settings" below, click "Encryption" on the right, and set a password. Remember this password, sometimes you may be required to enter this password to start the virtual machine
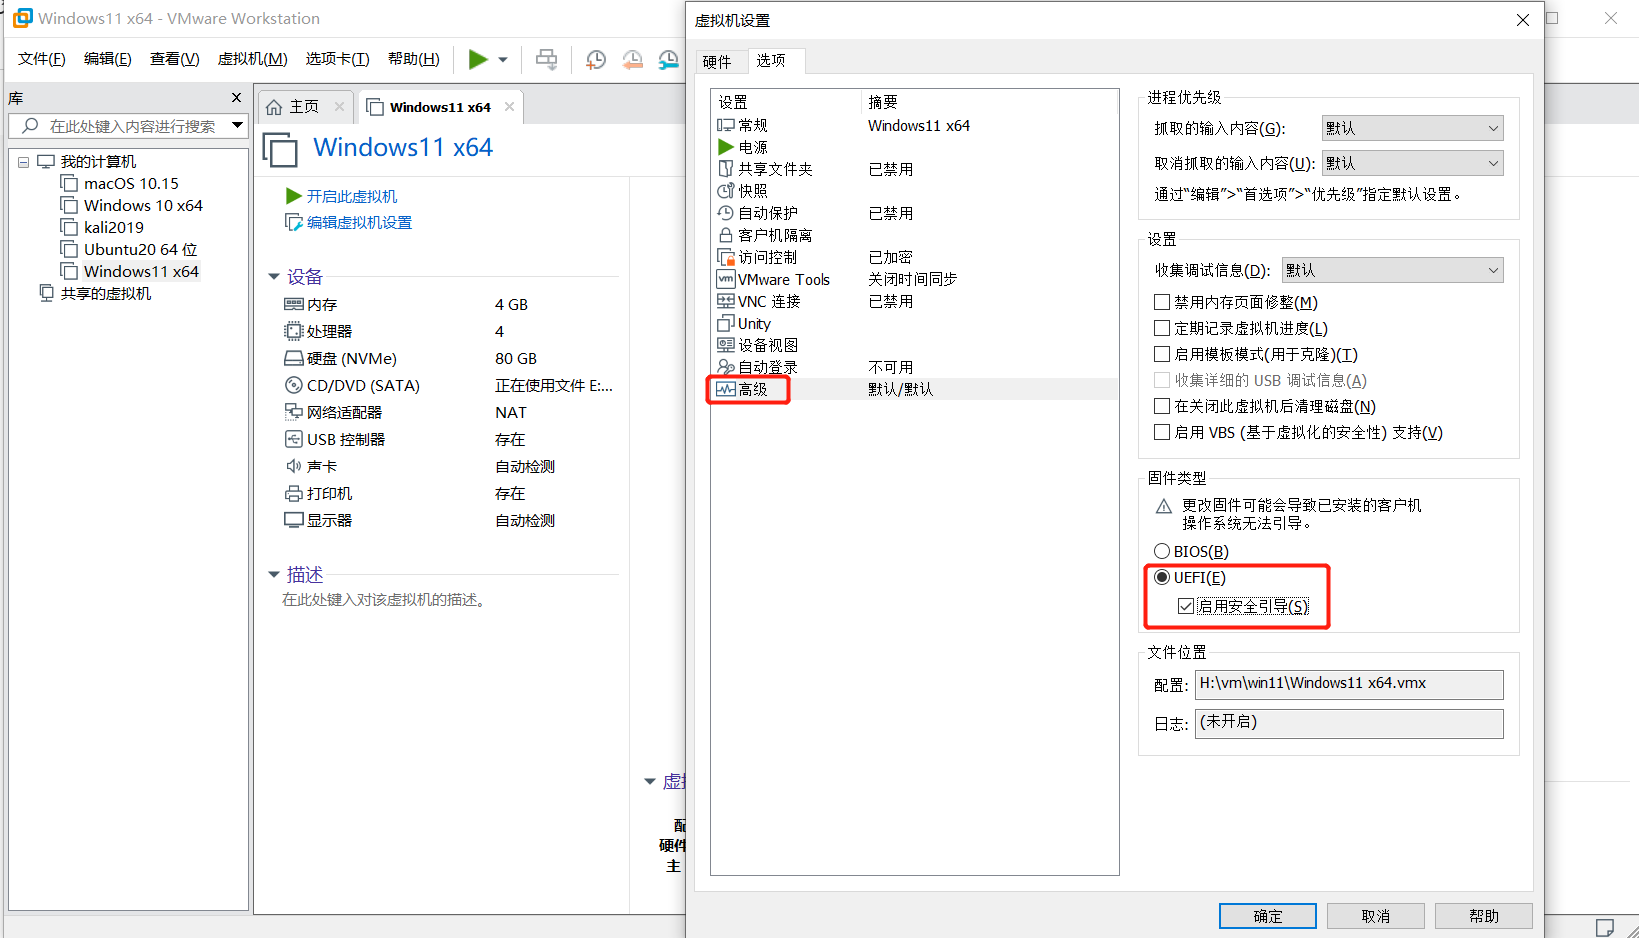
Still in this interface, find "Advanced" below, select UEFI for "Firmware Type" on the right, and check "Enable Secure Boot"
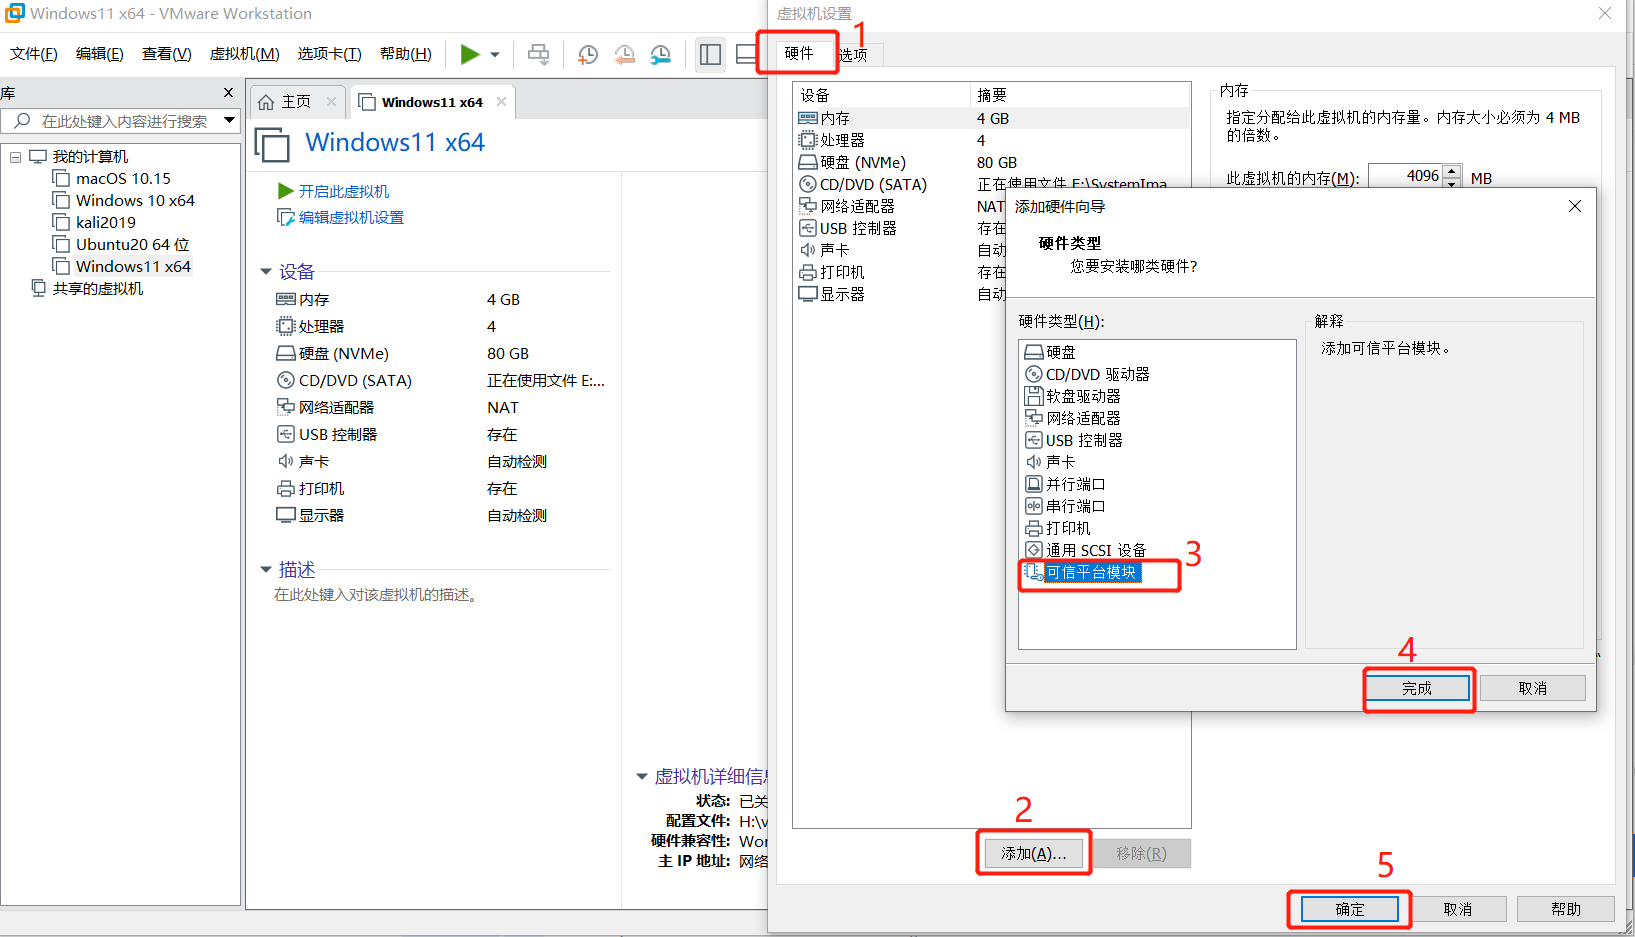
Then switch to "Hardware Options", click "Add" below, select "Trusted Platform Module", click "Finish" and "OK" in turn to close the setting interface
No.3
install windows11
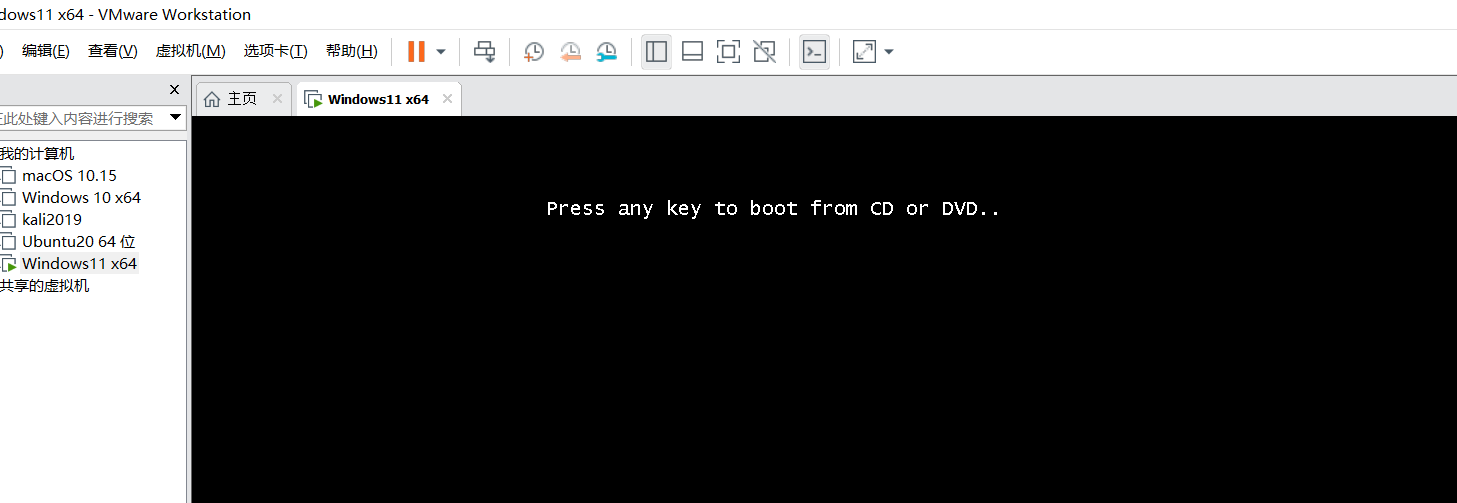
After everything is set, you can click "Start this virtual machine". After starting up, you need to press any key on the keyboard to enter the system according to the prompt, for example, press the Enter key
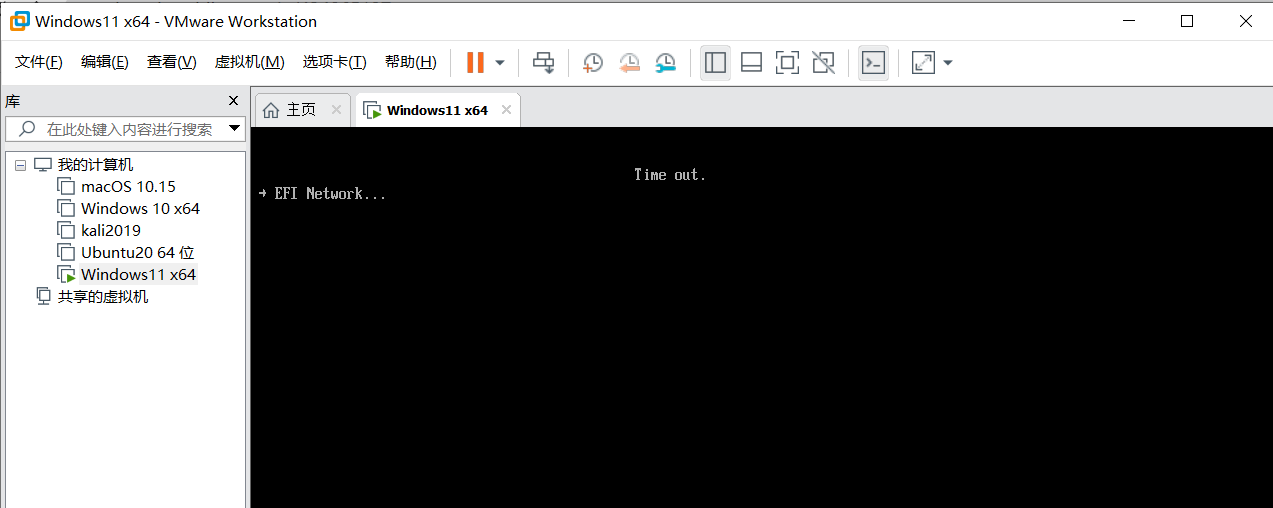
If you don’t press it after a few seconds, it will prompt a timeout, as shown in the figure below, at this time, you can directly close the window, select “Shutdown”, and then restart it. When restarting, you will be prompted to enter a password, which is the encrypted password you set earlier.
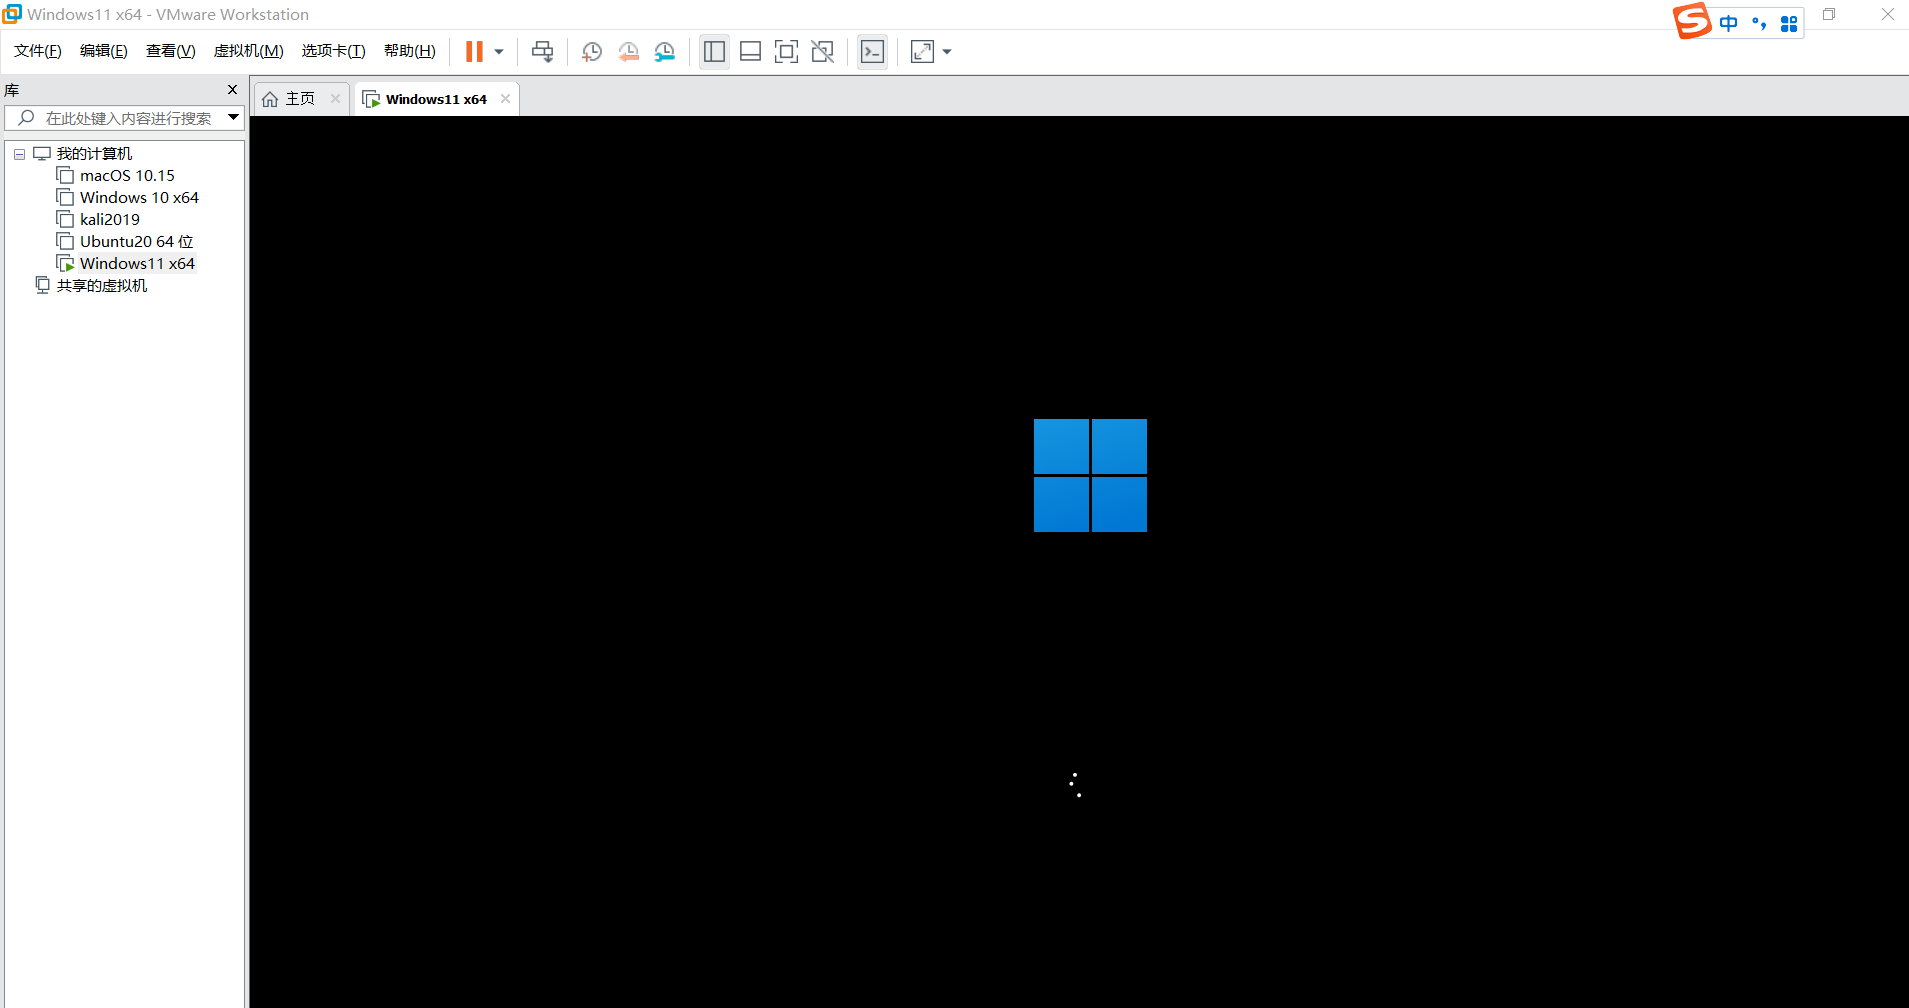
When the loading logo of Win11 appears, it means that you are half successful
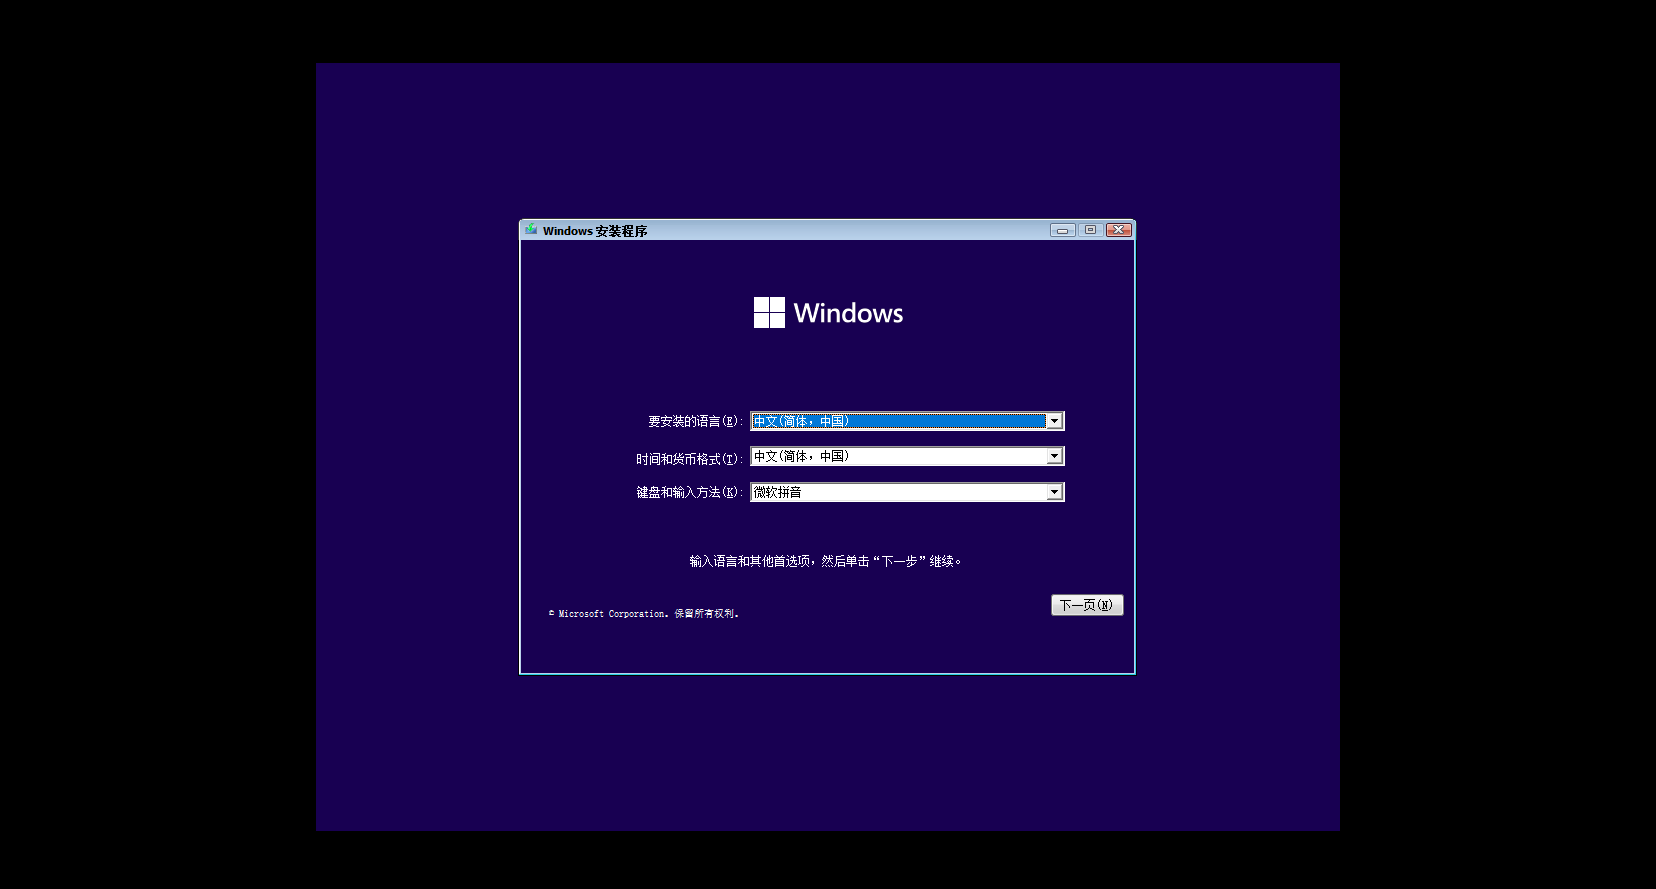
Then there are some simple settings. The first is to set the language, keep the default Chinese
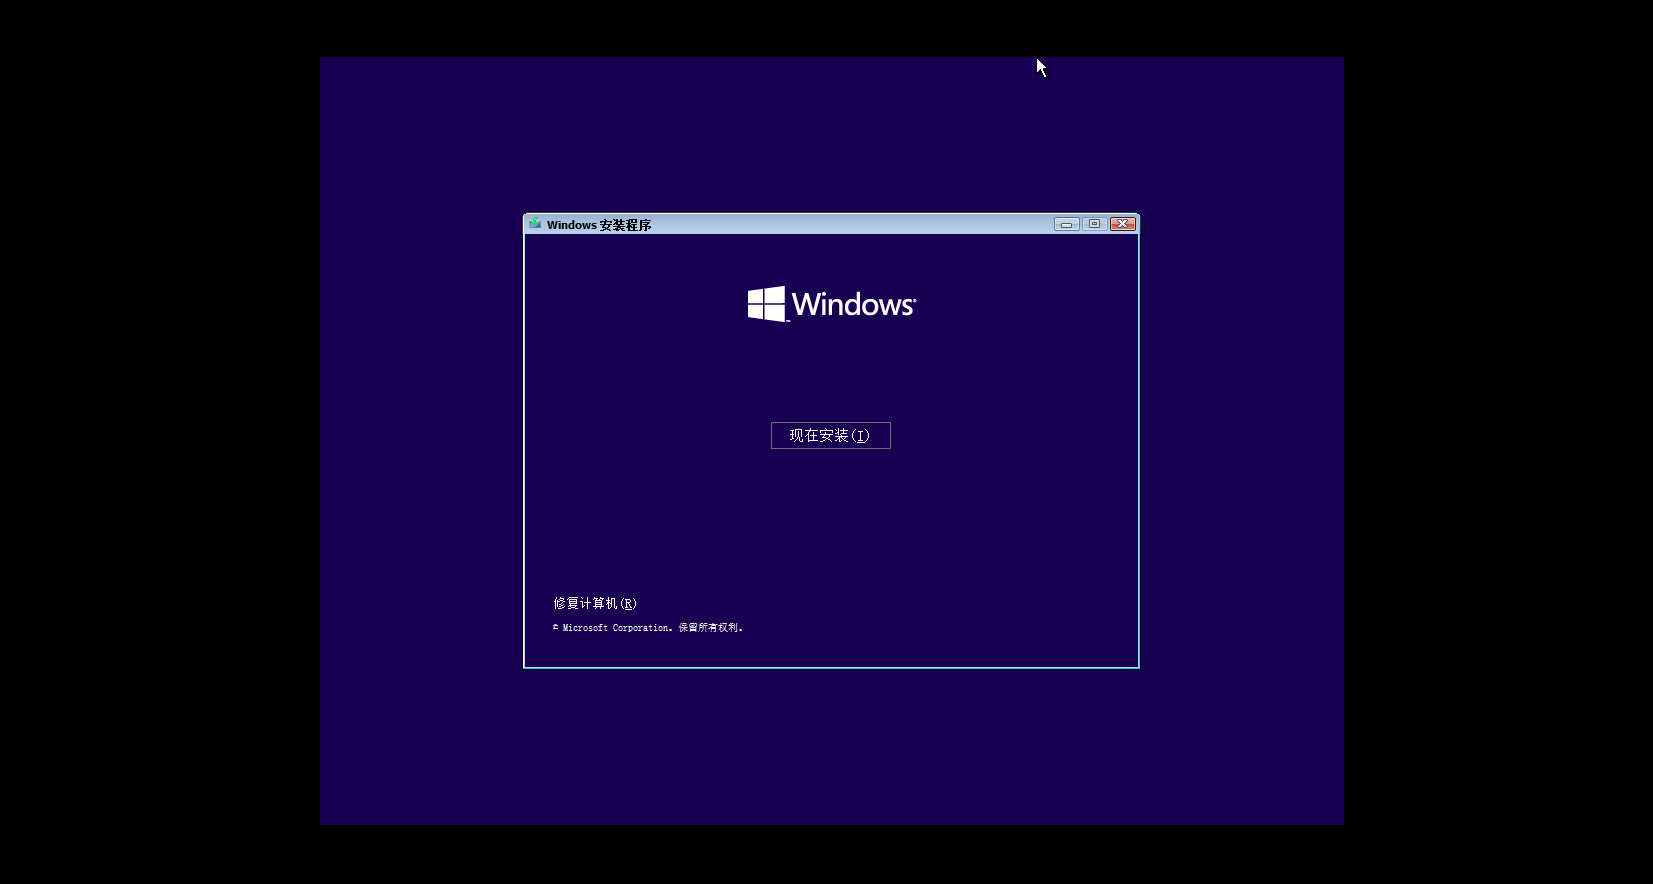
Click "Install Now" to start the installation
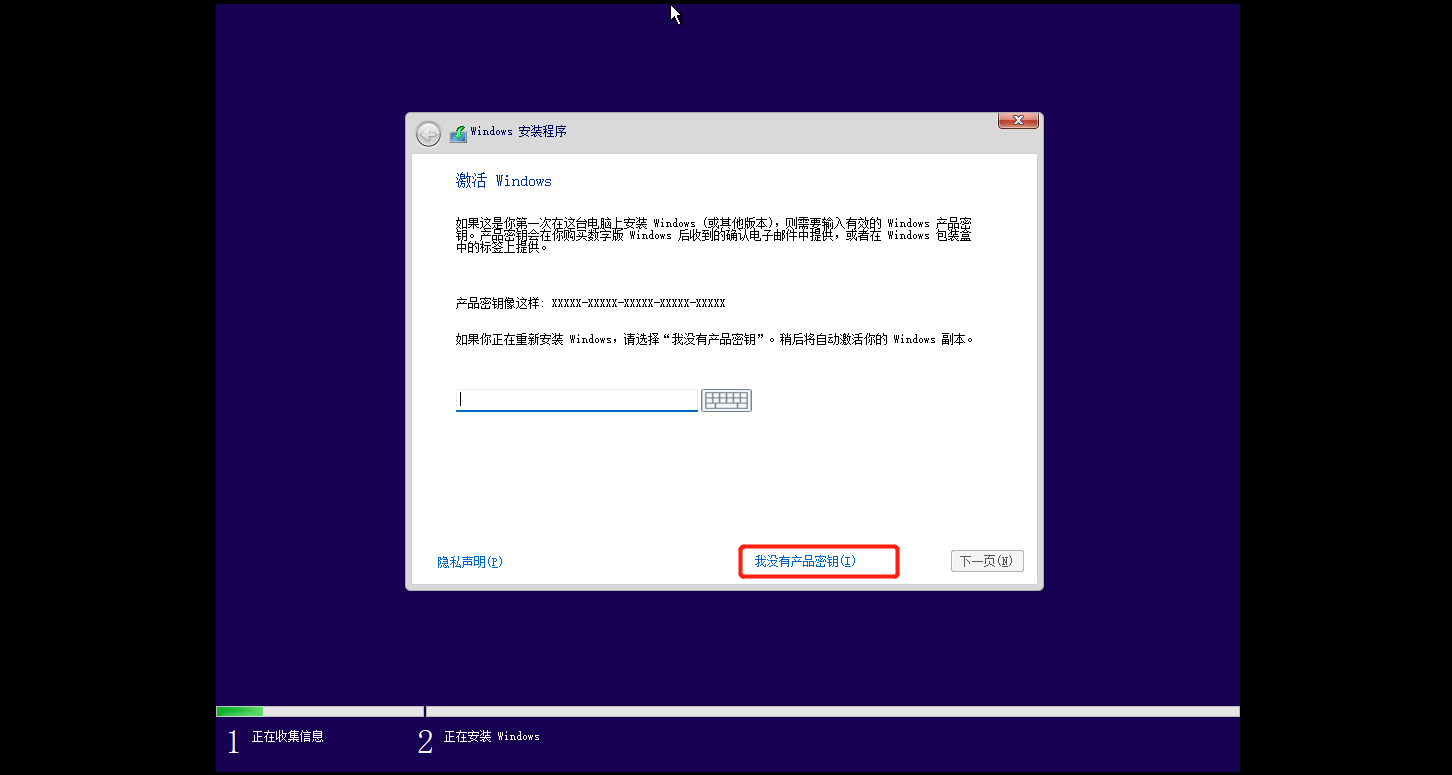
Select "I don't have a product key", you can enter it if you have one, I guess you don't
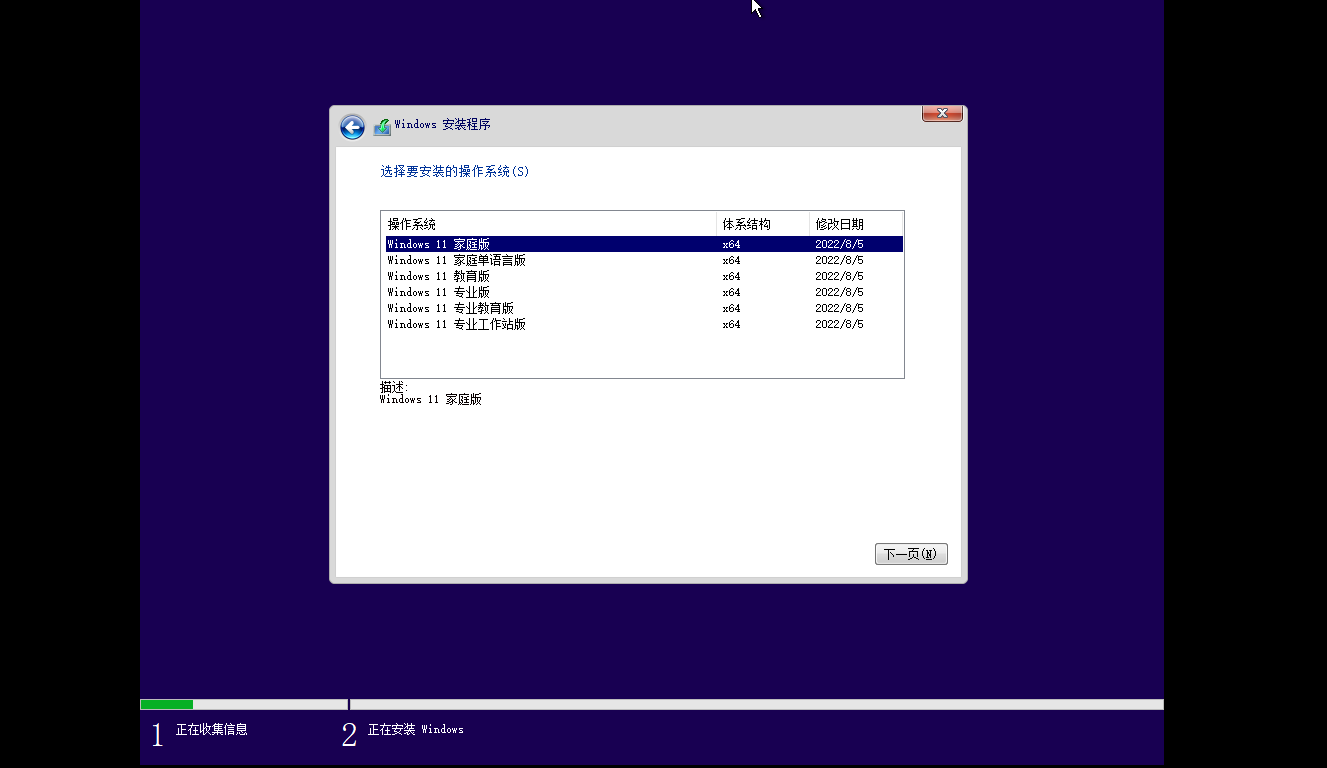
For the version, I choose the home version here, and then go to the next page
License terms, check to continue after agreeing

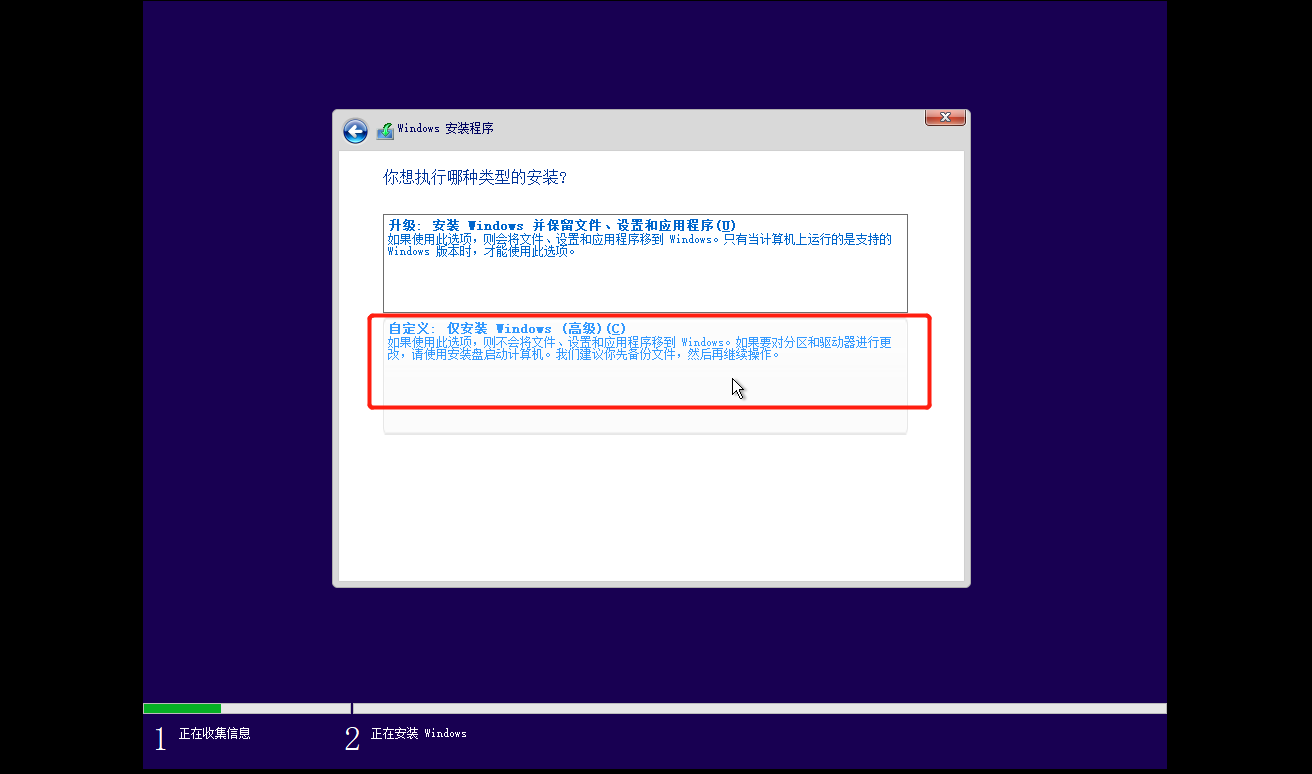
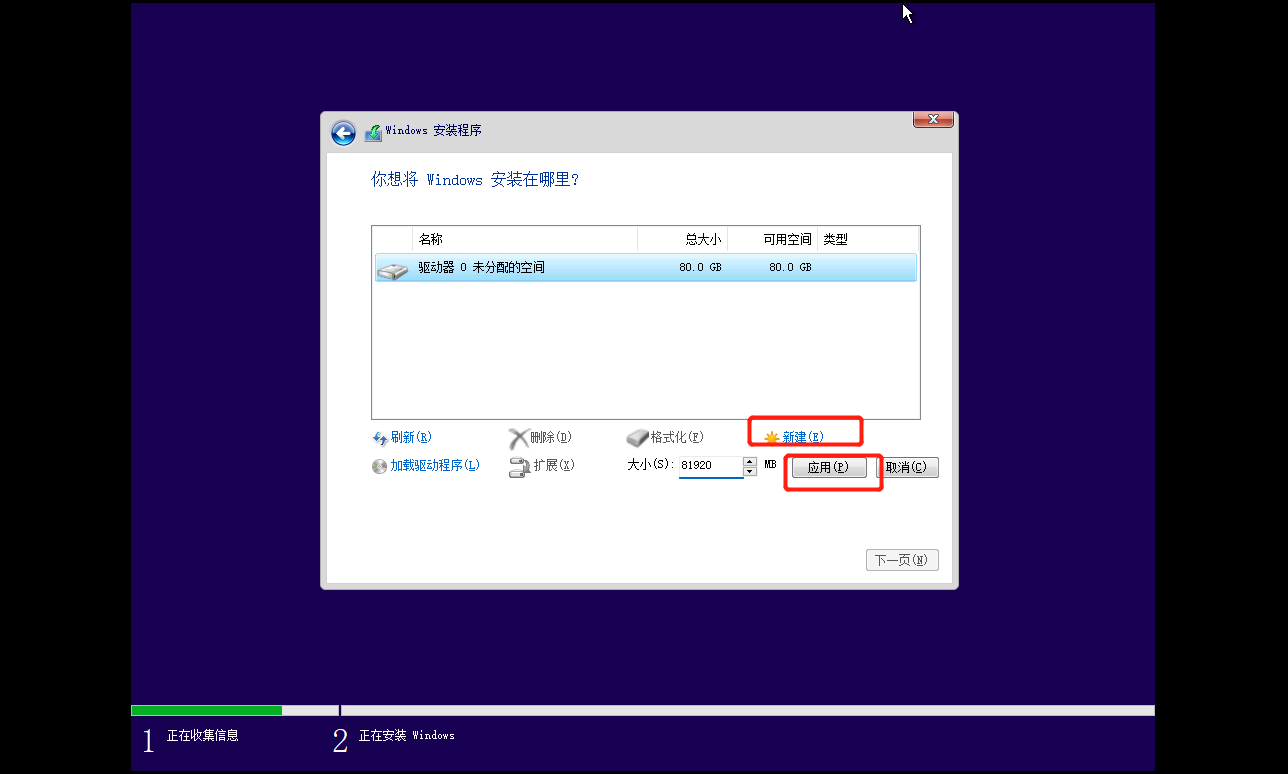
Installation type, to choose custom installation
We only have one hard disk, select it and click "New", keep the size parameter as default, click "Apply" and then click "OK"
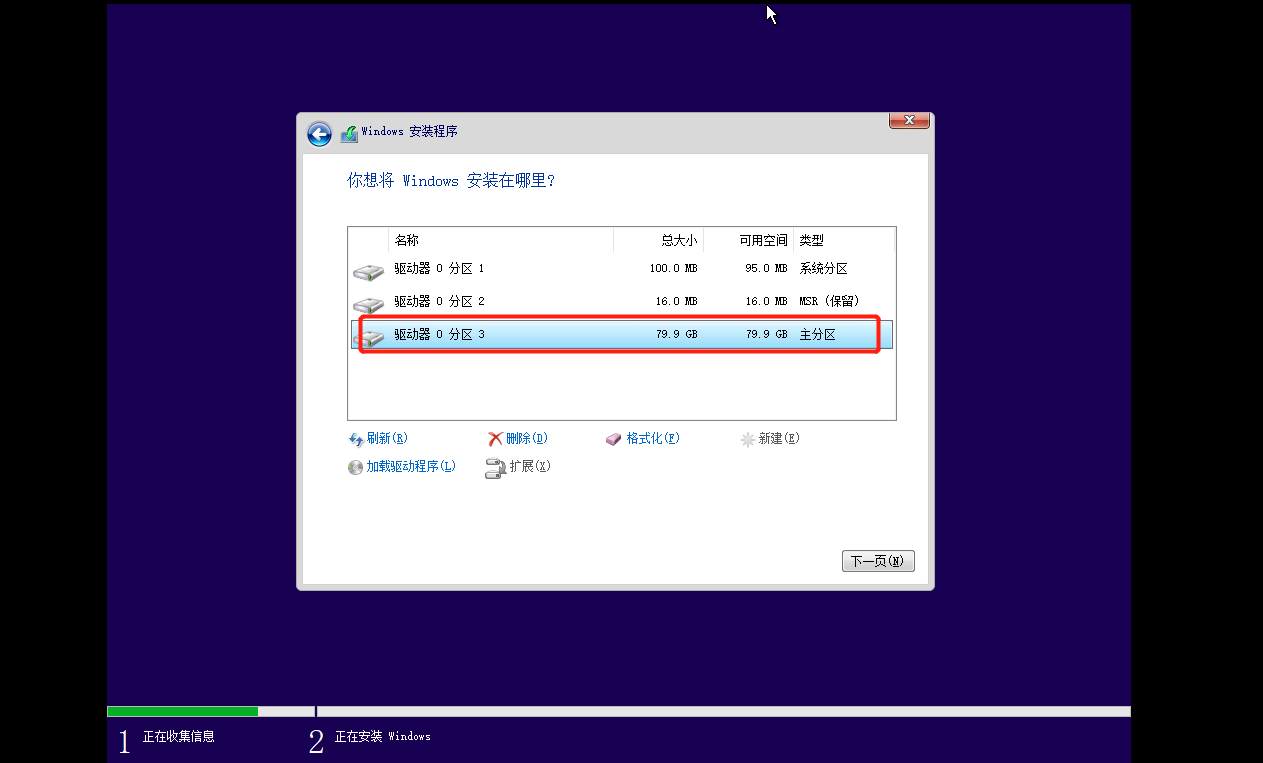
After it is processed, you will get three disks. We choose the disk with "Primary Partition" at the bottom, and click "Next Page"
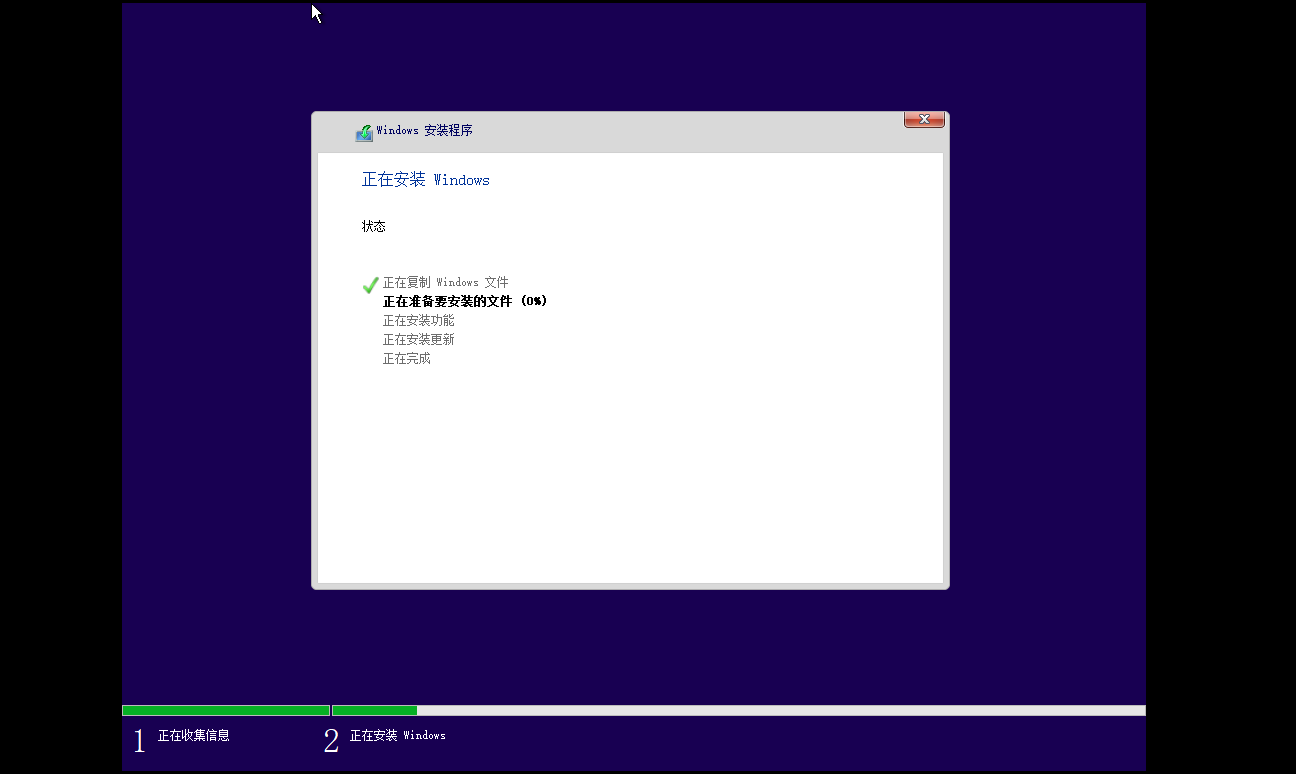
Then it will enter the installation process, we don’t need to move, just wait quietly for it to be installed, it may restart automatically once or twice in the middle, the whole process takes about five minutes depending on your computer hardware performance
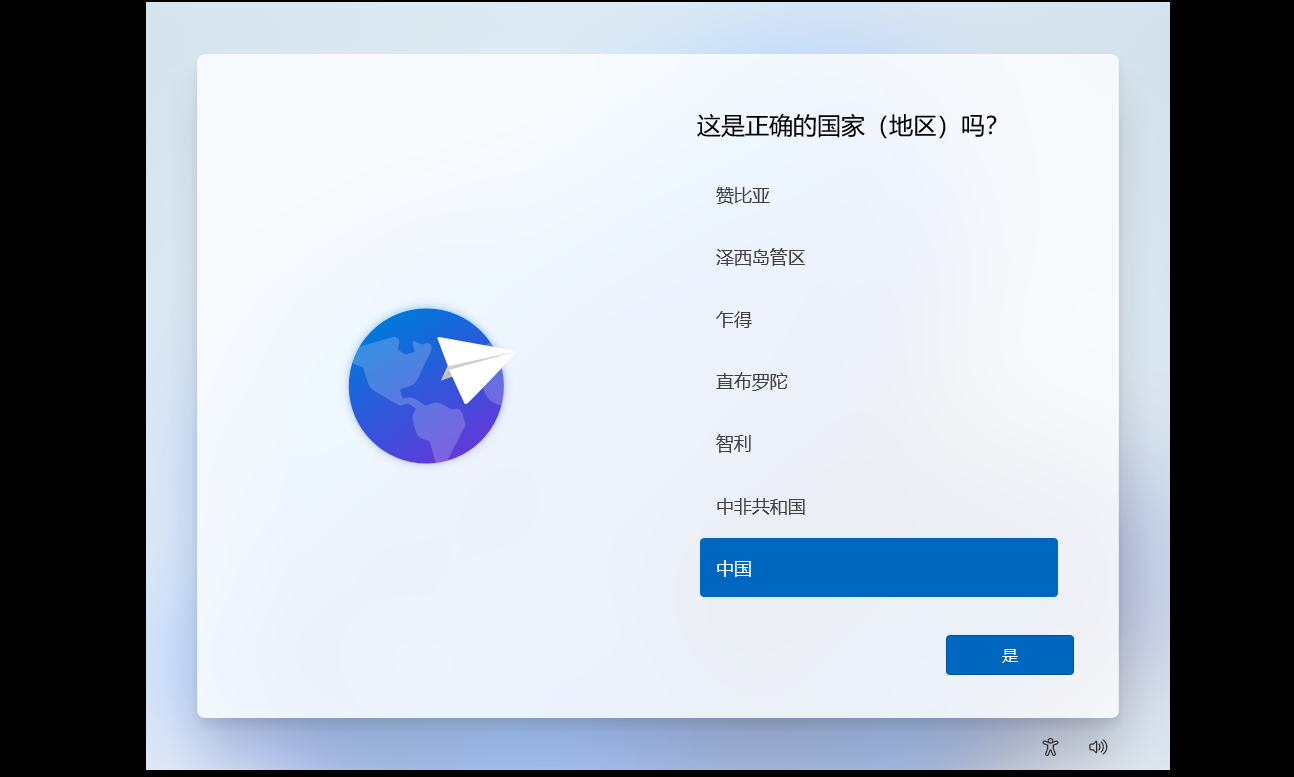
After it is processed, make some system customization settings. The country must be "China", and then click "Yes"
Keyboard select "Microsoft Pinyin" and click "Yes"
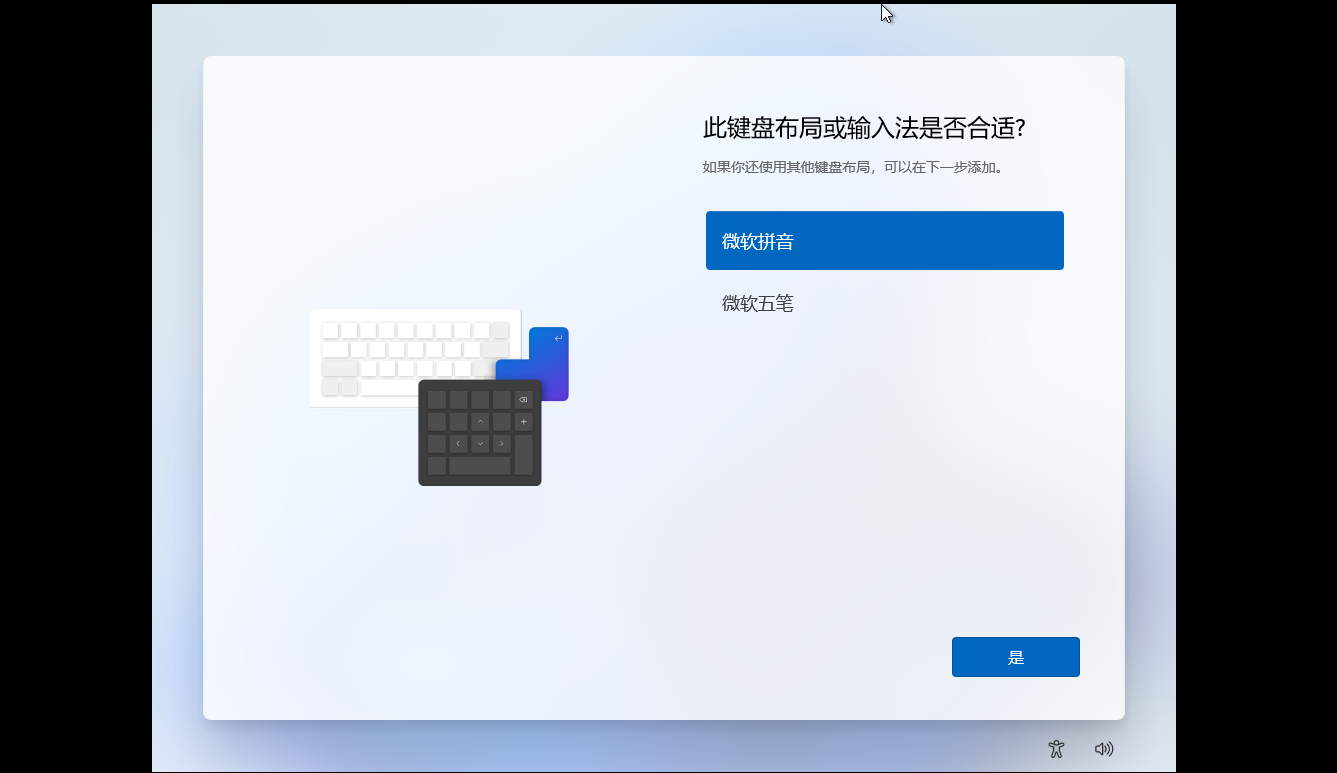
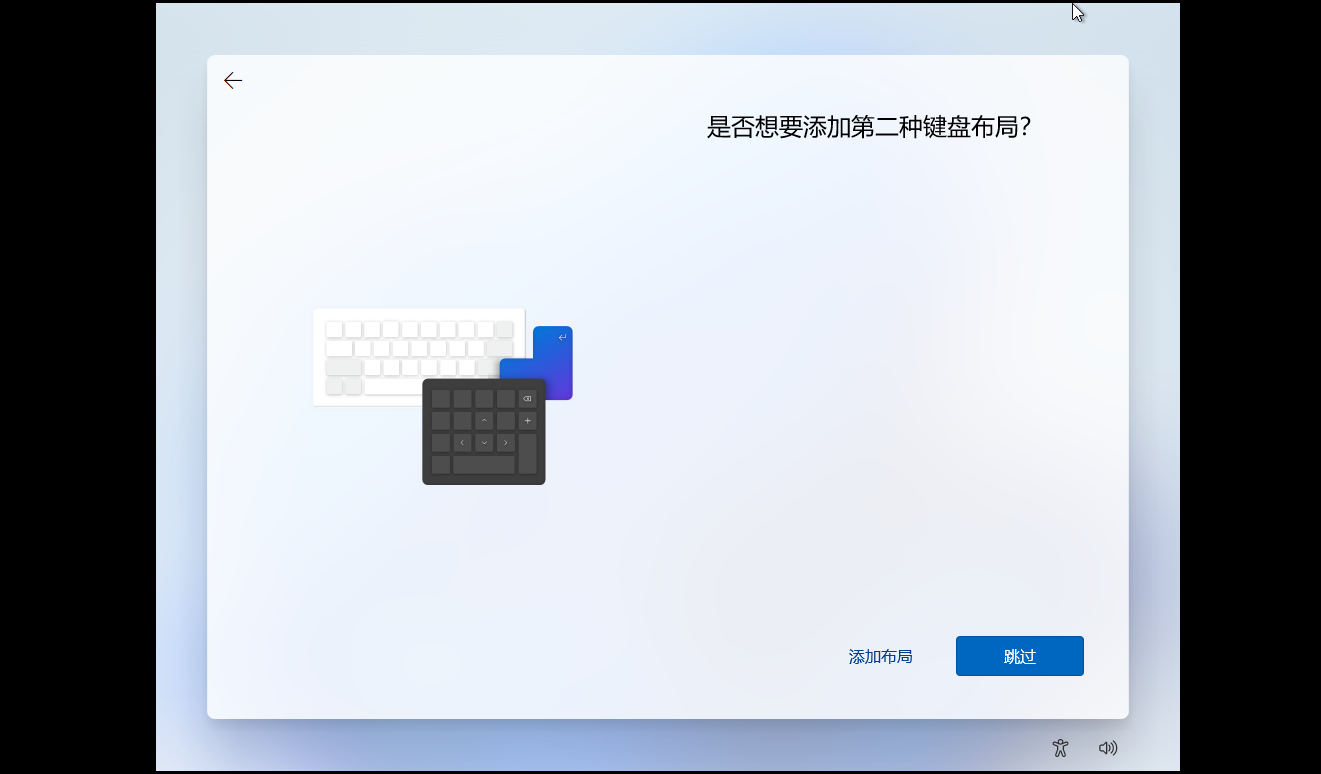
The second keyboard layout, no need to set, just click "Skip"
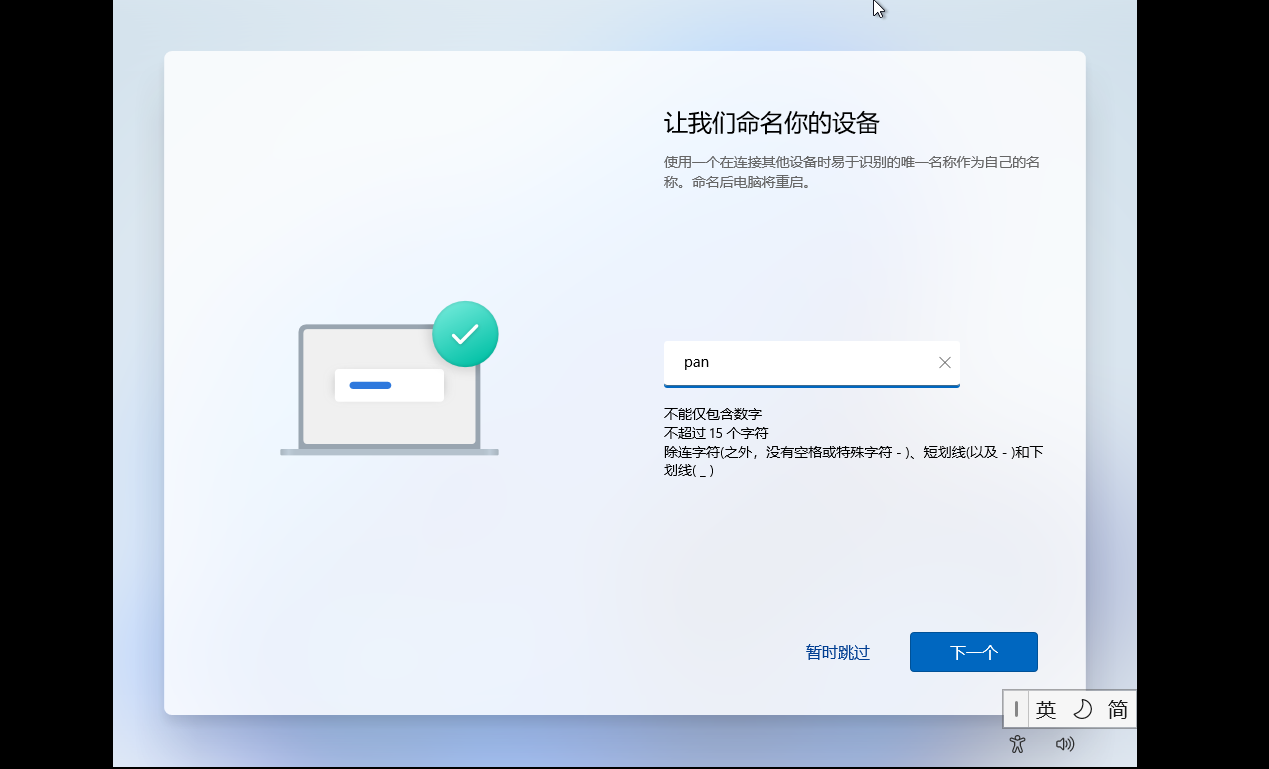
Give this computer a name, there are written rules on it, you can read it yourself, try to use English as much as possible, if you don’t name it, you can skip it directly, if you name it, click "Next", and then it will automatically restart the computer
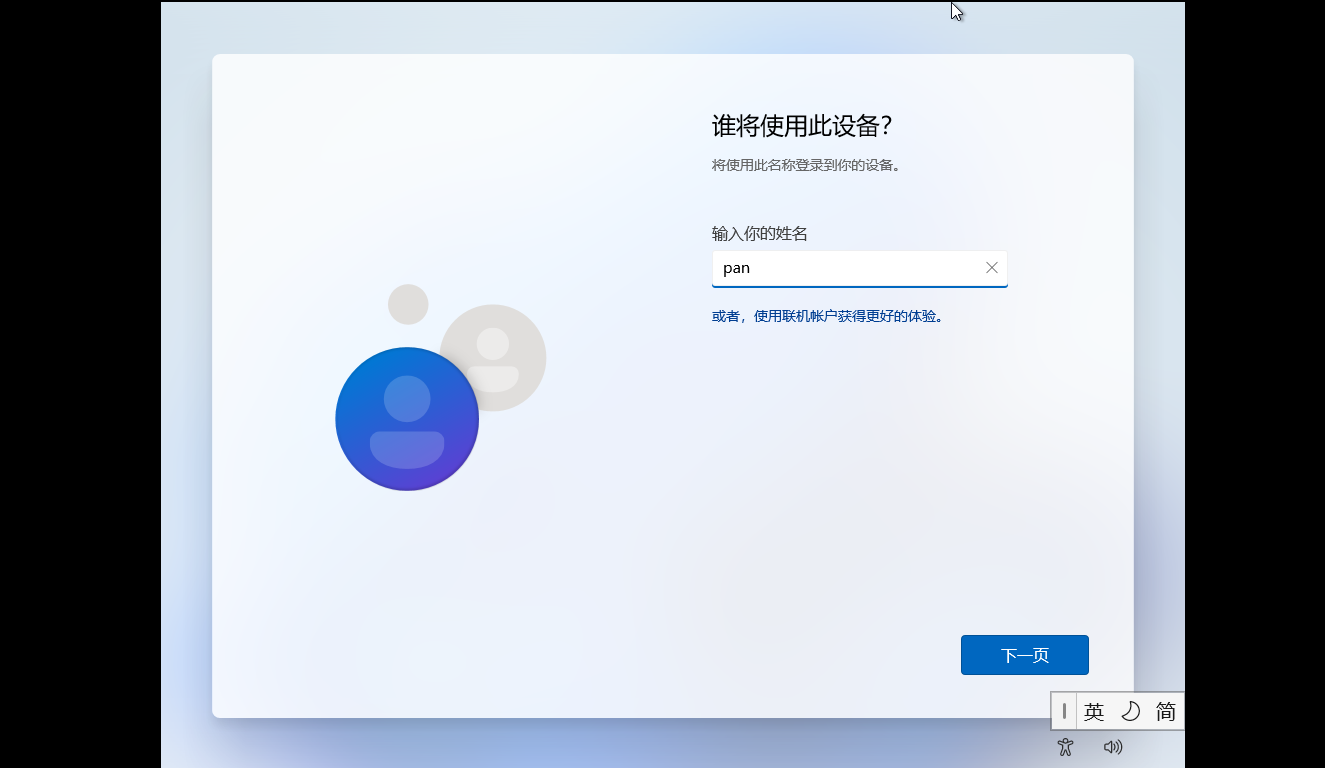
Here you are prompted to log in to a Microsoft account. If you have one, you can log in. If not, disconnect the network of the physical machine, and then return to the previous step. It may take a few more attempts, and it will automatically enter the interface for creating an offline account.

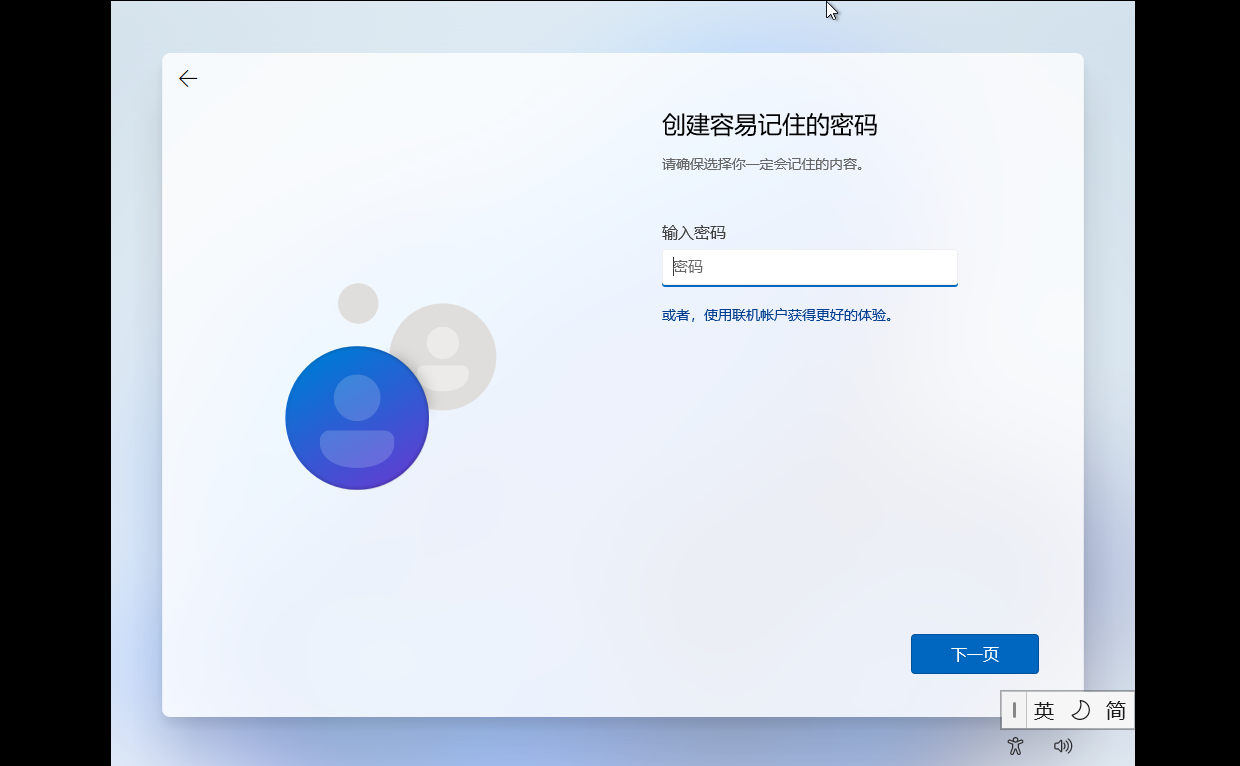
Enter the username of the offline account
And the account password, the password is the password to log in to the system after booting, remember it
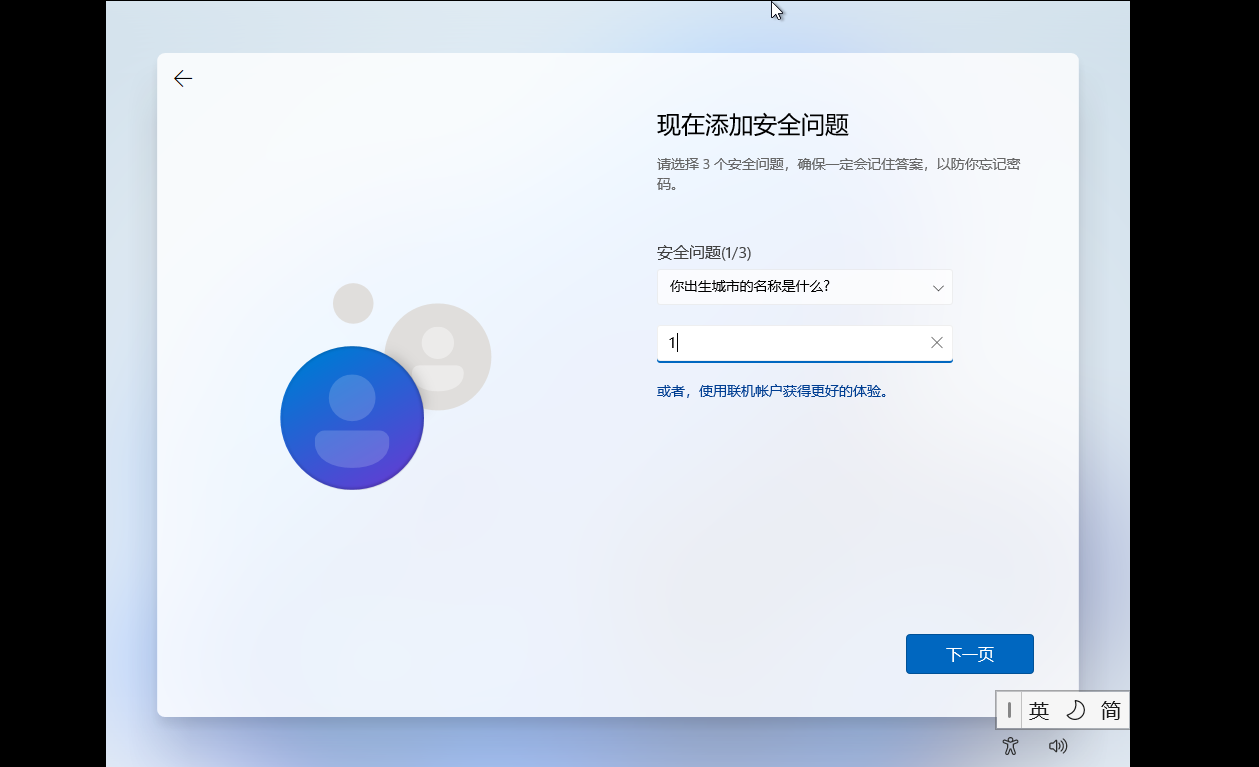
Offline accounts also need to set three security questions, all of which are not important, don’t need to remember, just write the answer as you like
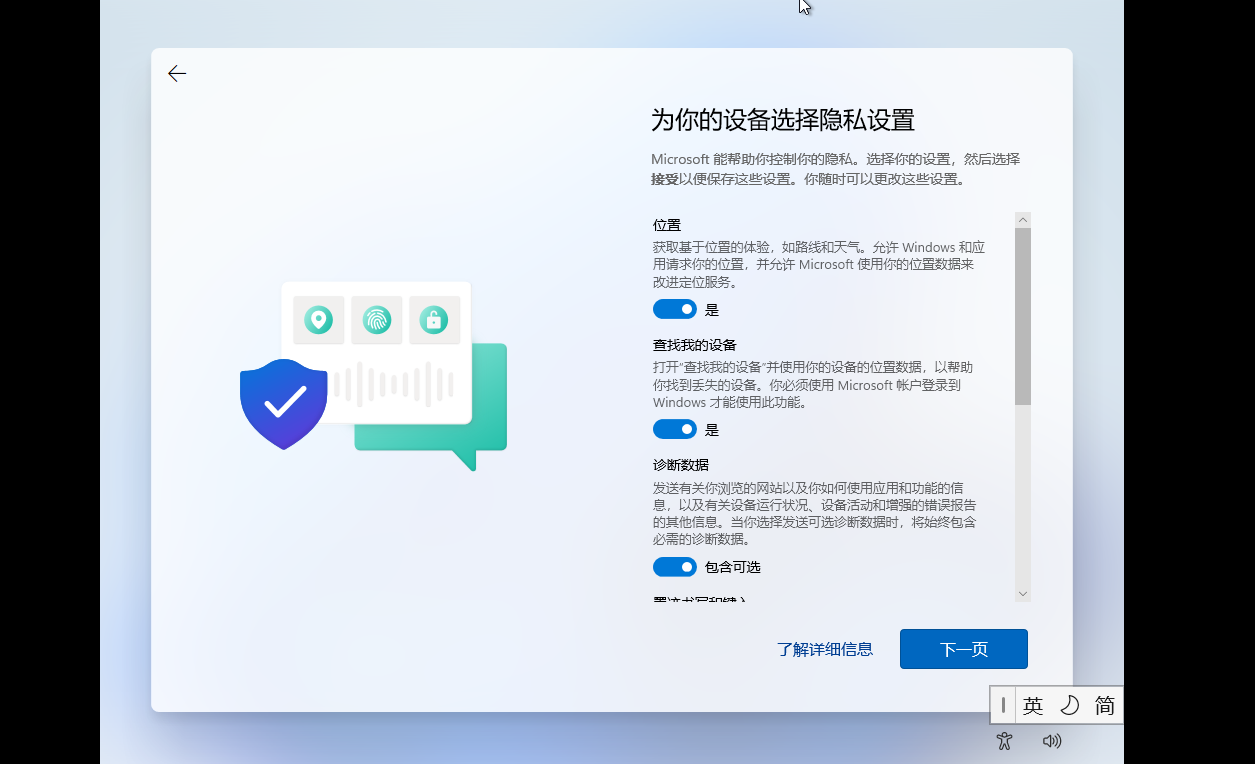
Privacy settings, it is recommended to turn them all off, and then "Next"
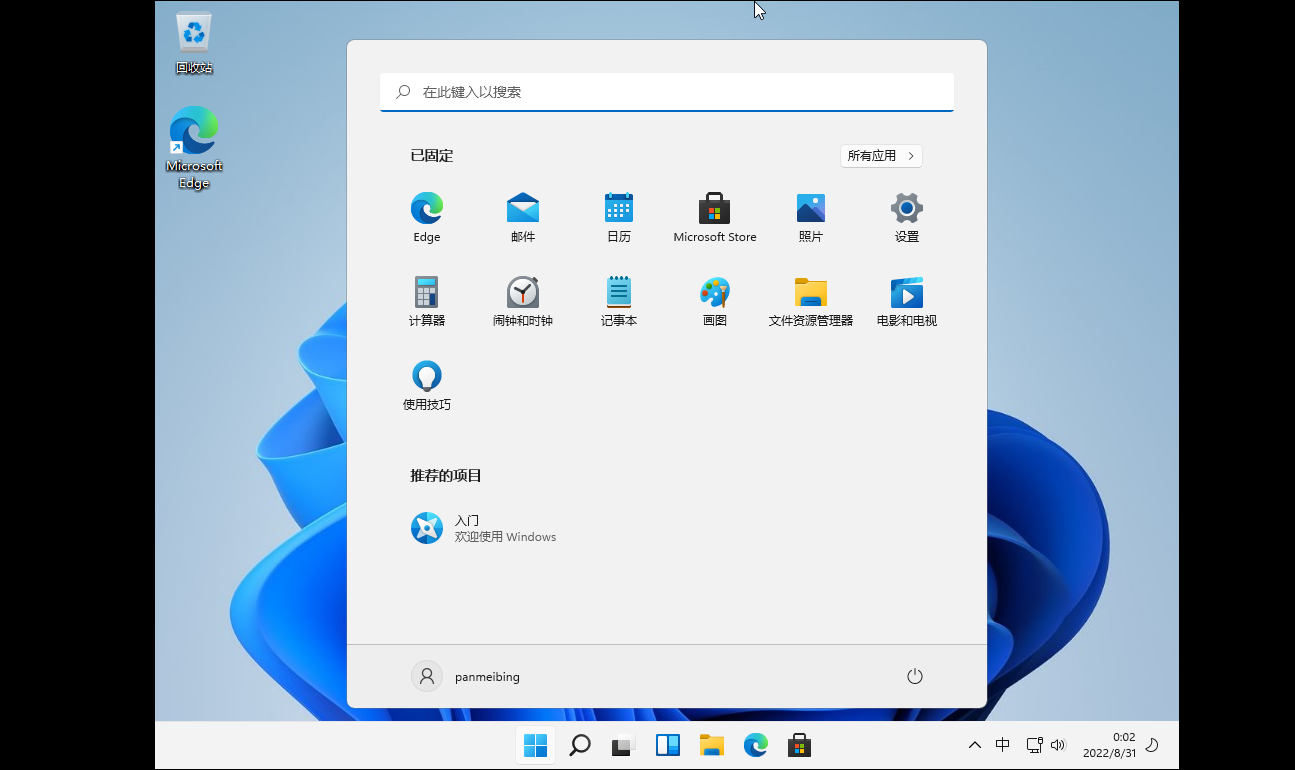
Then it started to restart the computer automatically, and after about two or three minutes, you can enter the system
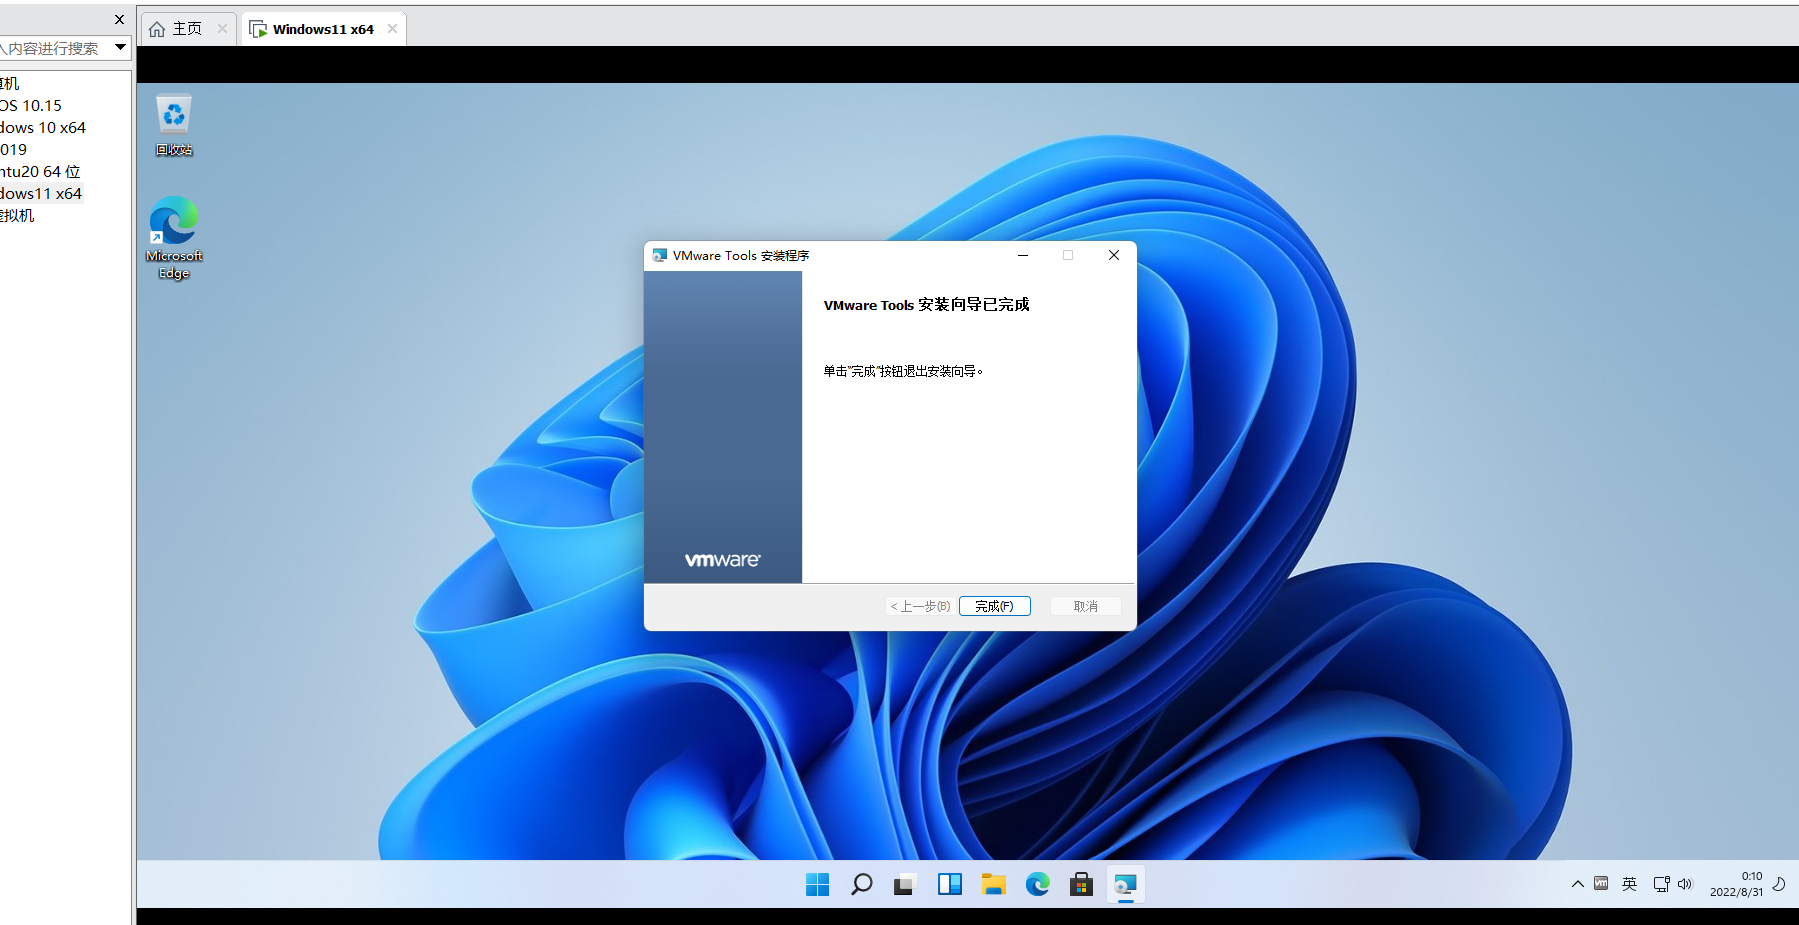
No.4 Install Vmtools
There are two main benefits of installing Vmtools. One is to make the system full screen, and the other is to copy and paste directly on the virtual machine and physical machine, so it is recommended to install it.
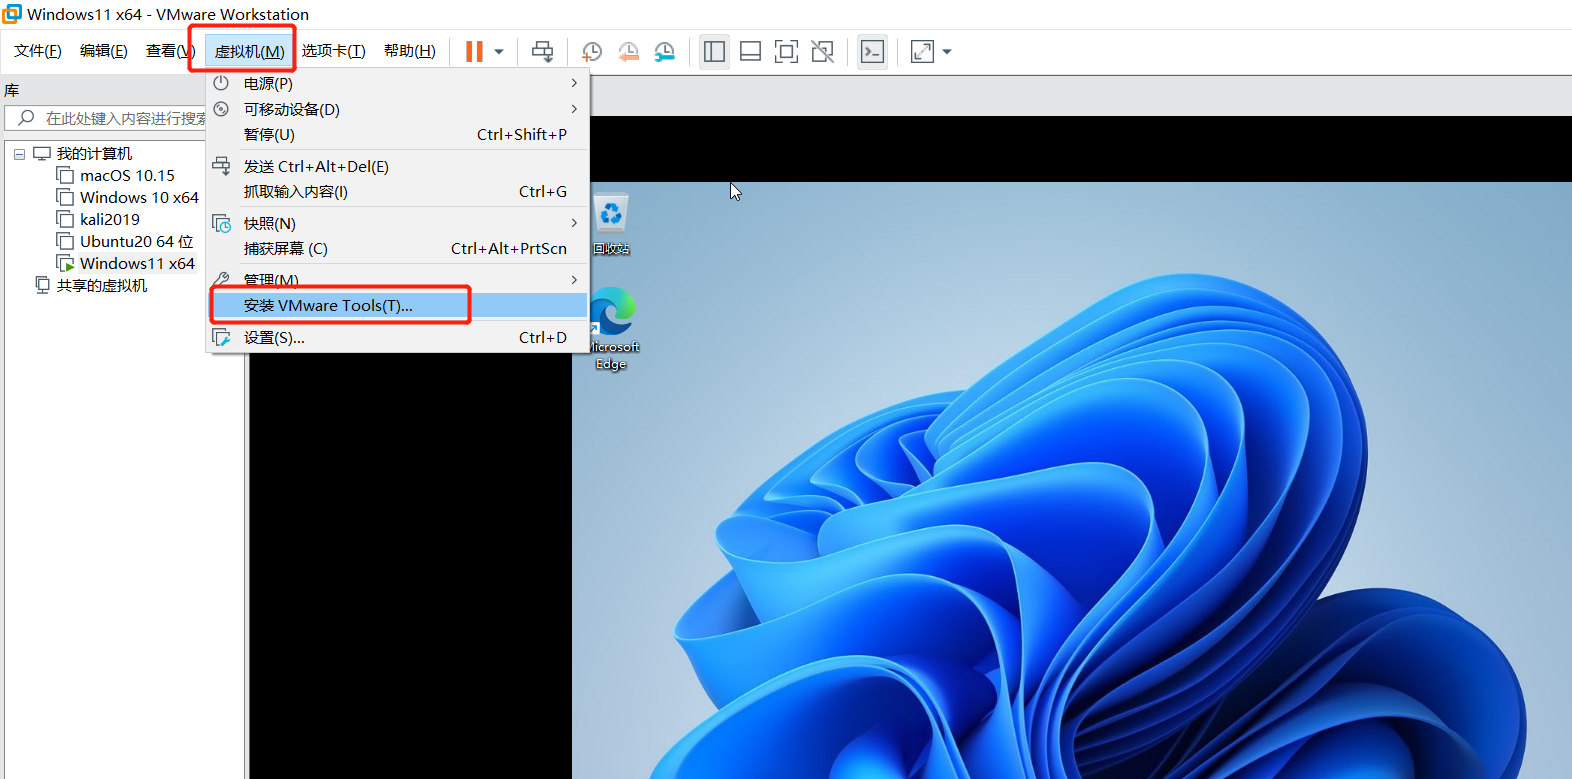
Click on the VMware menu bar "Virtual Machine--Install VMware Tools"
After a few seconds, it prompts that the loading is successful, open the resource manager, find the DVD drive on the right, there is a setup64 in it, double-click to run it
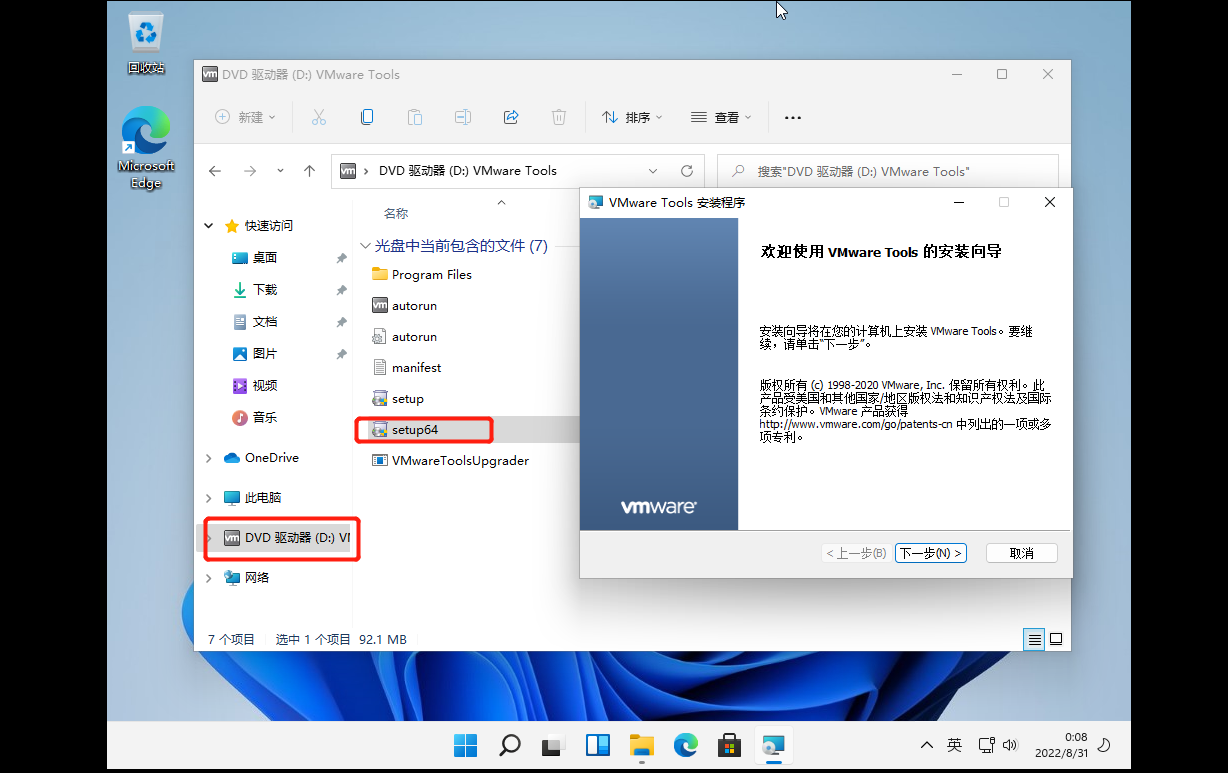
Choose the typical installation, wait for the progress bar to end, it is not difficult, after the installation, you will find that the window will automatically fill the screen, and then restart the computer