版权声明:转载请说明 https://blog.csdn.net/qq_34727675/article/details/82918380
Spring Boot 集成Swagger2流程
前后端分离,后台负责写接口。随着接口越来越多,接口清单越来越重要,传统是需要自己去维护一个doc的文档或者公司统一放在一个接口清单的web服务上。每次开发者需要单独添加上去。修改后还需要维护。现接入swagger,通过简单的注解即可生成文档,并且随着接口变化自动会变化。统一管理方便快捷
- 引入jar包
- 配置swagger相关设置
- swagger相关注解
1.通过pom文件引入相应的jar包
<dependency>
   <groupId>io.springfox</groupId>
   <artifactId>springfox-swagger2</artifactId>
   <version>2.6.1</version>
</dependency>
<dependency>
   <groupId>io.springfox</groupId>
   <artifactId>springfox-swagger-ui</artifactId>
   <version>2.6.1</version>
</dependency>
2.通过java代码配置swagger相关配置
import org.springframework.context.annotation.Bean;
import org.springframework.context.annotation.Configuration;
import springfox.documentation.builders.ApiInfoBuilder;
import springfox.documentation.builders.PathSelectors;
import springfox.documentation.builders.RequestHandlerSelectors;
import springfox.documentation.service.ApiInfo;
import springfox.documentation.service.Contact;
import springfox.documentation.spi.DocumentationType;
import springfox.documentation.spring.web.plugins.Docket;
import springfox.documentation.swagger2.annotations.EnableSwagger2;

@Configuration //该文件为java配置文件
@EnableSwagger2//开启swagger
public class Swagger2 {
    @Bean
    public Docket createRestApi() {
        return new Docket(DocumentationType.SWAGGER_2)
                .apiInfo(apiInfo())
                .select()
                //需要扫描生成swagger文档接口的包路径,注意别写错了,错了swagger页面打开就不会有接口再上面
                .apis(RequestHandlerSelectors.basePackage("com.yz.weather.controller"))
                .paths(PathSelectors.any())
                .build();
    }
    //api文档的一些页面基本信息
    private ApiInfo apiInfo() {
        return new ApiInfoBuilder()
                //页面标题
                .title("Spring Boot 集成Swagger2")
                //作者的相关信息
                .contact(new Contact("Vector丶", "https://blog.csdn.net/qq_34727675", ""))
                //版本号
                .version("1.0")
                //详细描述
                .description("******接口文档")
                .build();
    }


}
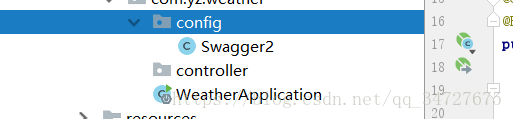
这里要注意的是springboot 配置文件以及需要使用注解的java文件必须要在***Application.java下或者同级,不然无法识别
类似如下:即可
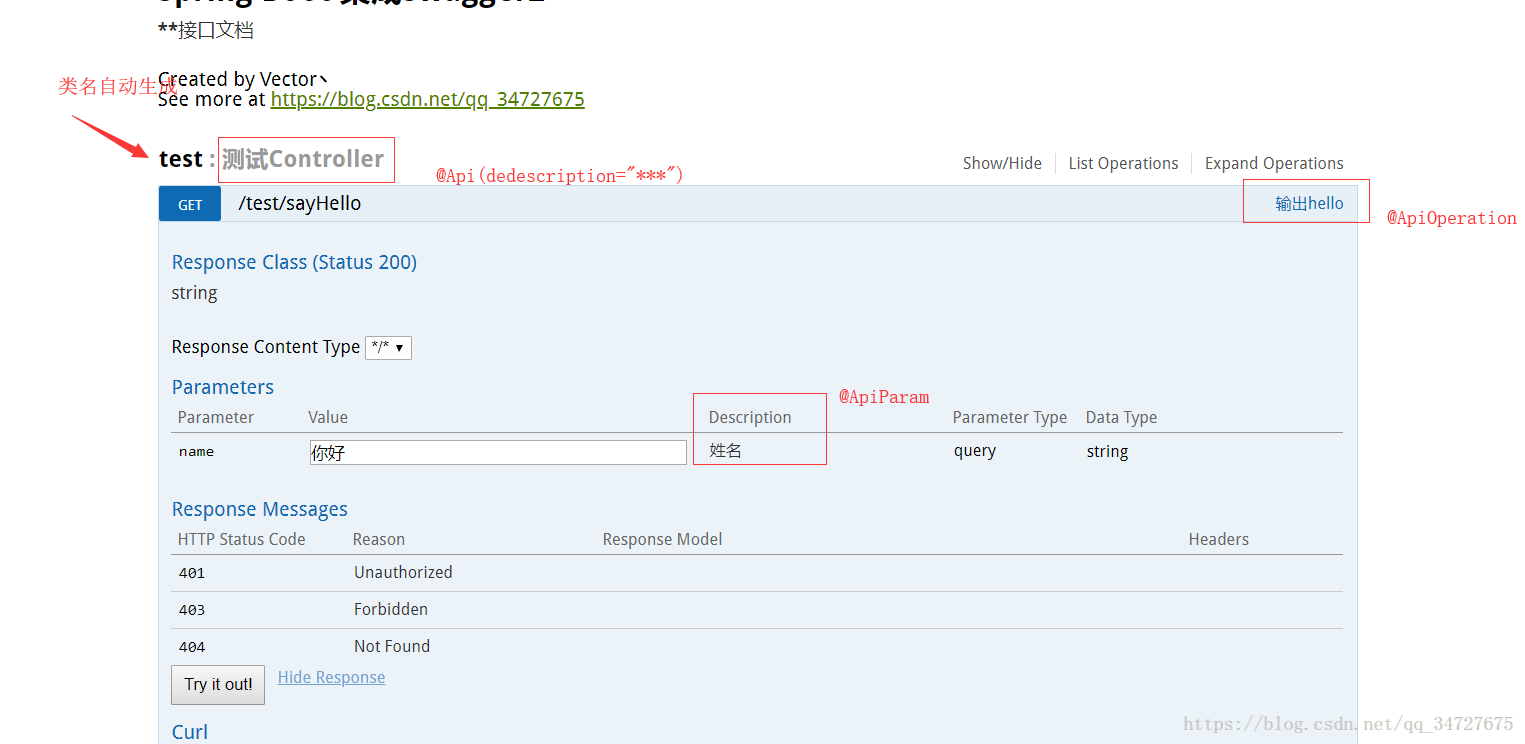
3.在需要暴露的接口上加上swagger相关注解
import io.swagger.annotations.Api;
import io.swagger.annotations.ApiOperation;

import io.swagger.annotations.ApiParam;
import org.springframework.web.bind.annotation.*;


@Api(description = "测试Controller")
@RequestMapping("/test")
@RestController
public class Test {
   @ApiOperation("输出hello")
   @GetMapping ("/sayHello")
   public String sayHello(@ApiParam("姓名")@RequestParam("name")String name){
       return "Hello"+name;
   }
}
以下是效果图
注意@Api中的tag为中文会导致 接口的详情打不开!!!!