版权声明:本文为博主原创文章,未经博主允许不得转载。 https://blog.csdn.net/Fenglele_Fans/article/details/81006292
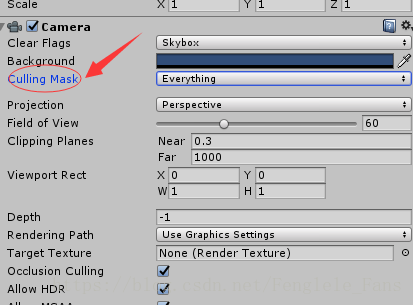
camera的cullingMask可以自主选择哪一层被渲染;
废话不多说,上代码和说明:
using System.Collections;
using System.Collections.Generic;
using UnityEngine;
public class CameraCullingMaskTest : MonoBehaviour {
Camera _camera;
// Use this for initialization
void Start ()
{
_camera = Camera.main;
}
//unity中的层前7个被unity锁定,由低到高分别是nothing/everything/default/transparentFX/ignore raycast/water/UI
//从第8个到第31个可以自己设置
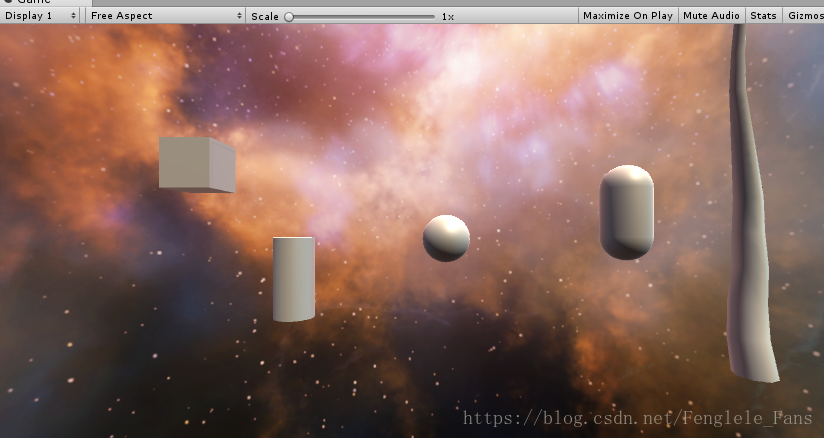
//在本示例中,第八层为cube层;第九层为sphere层;第十层为capsule层
//第十一层为tree层,圆柱体设置为default层
void Update ()
{
if (Input.GetKeyDown(KeyCode.A))
{
_camera.cullingMask = 1<<8; //cube 只渲染第八层
}
if (Input.GetKeyDown(KeyCode.B))
{
_camera.cullingMask = 1<<9; //sphere 只渲染第九层
}
if (Input.GetKeyDown(KeyCode.S))
{
_camera.cullingMask = 1<<10; //capsule 只渲染第十层
}
if (Input.GetKeyDown(KeyCode.F))
{
_camera.cullingMask = (1 << 10) + (1<<9) +(1<<8); //只渲染第8、9、10层
}
if (Input.GetKeyDown(KeyCode.G))
{
_camera.cullingMask = -1; //渲染所有层 everything
}
if (Input.GetKeyDown(KeyCode.H))
{
_camera.cullingMask = 0; //capsule 什么层都不渲染 nothing
}
if (Input.GetKeyDown(KeyCode.T))
{
_camera.cullingMask |= (1 << 11); //tree 在原来的基础上增加第11层
}
if (Input.GetKeyDown(KeyCode.Y))
{
_camera.cullingMask &= ~(1 << 11); //tree 在原来的基础上减掉第11层
}
if (Input.GetKeyDown(KeyCode.K))
{
_camera.cullingMask = ~(1 << 11); //tree 渲染除第11层之外的其他所有层
}
}
}