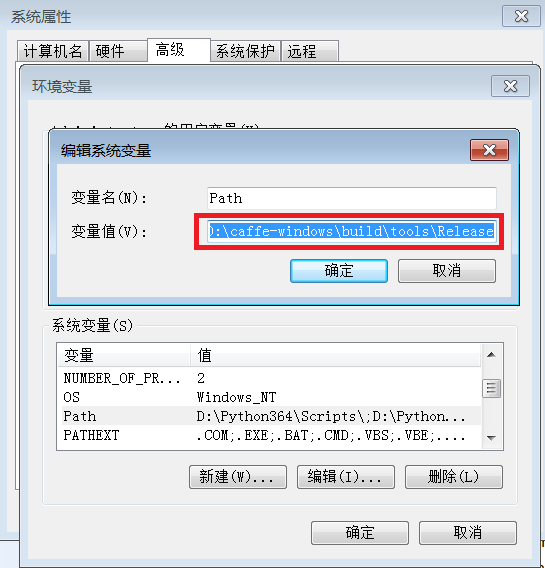
1.前提是把caffe安装成功可以参考Windows7安装caffe教程,安装完成后,添加caffe.exe的环境变量(D:\caffe-windows\build\tools\Release)
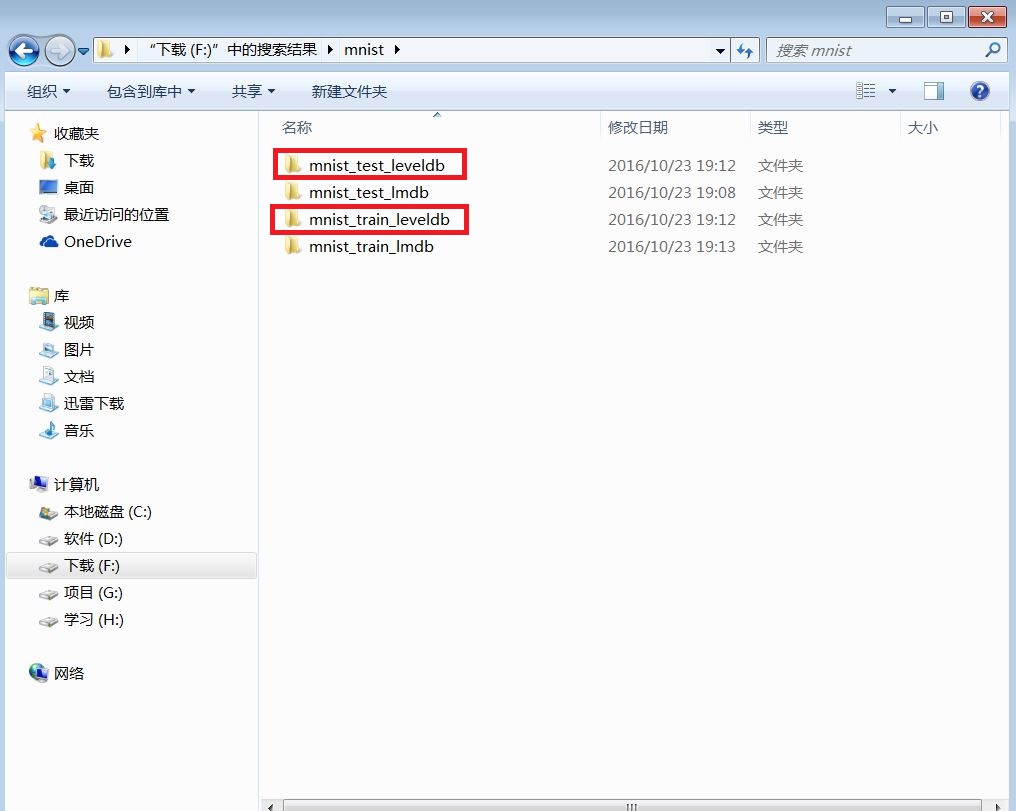
2.下载mnist数据集,并解压。将mnist_test_leveldb和mnist_train_leveldb复制到D:\caffe-windows\examples\mnist中去
3.在D:\caffe-windows\examples\mnist中我们需要修改两个文件lenet_train_test.prototxt和lenet_solver.prototxt

lenet_train_test.prototxt修改的内容如下:
  data_param {
    source: "D:/caffe-windows/examples/mnist/mnist_train_leveldb"
    batch_size: 64
    backend: LEVELDB
  }
以及:
data_param {
    source: "D:/caffe-windows/examples/mnist/mnist_test_leveldb"
    batch_size: 100
    backend: LEVELDB
  }
lenet_solver.prototxt要修改的内容如下:
# The train/test net protocol buffer definition
net: "D:/caffe-windows/examples/mnist/lenet_train_test.prototxt"
# test_iter specifies how many forward passes the test should carry out.
# In the case of MNIST, we have test batch size 100 and 100 test iterations,
# covering the full 10,000 testing images.
test_iter: 100
# Carry out testing every 500 training iterations.
test_interval: 500
# The base learning rate, momentum and the weight decay of the network.
base_lr: 0.01
momentum: 0.9
weight_decay: 0.0005
# The learning rate policy
lr_policy: "inv"
gamma: 0.0001
power: 0.75
# Display every 100 iterations
display: 100
# The maximum number of iterations
max_iter: 10000
# snapshot intermediate results
snapshot: 5000
snapshot_prefix: "D:/caffe-windows/examples/mnist"
# solver mode: CPU or GPU
solver_mode: CPU
4.至此修改的内容基本完成,我们到D:\caffe-windows\examples\mnist路径下,shift+右键打开→在此处打开命令行窗口
输入:
>>>caffe train --solver=D:/caffe-windows/examples/mnist/lenet_solver.prototxt开始测试,因为设置的迭代次数为10000,所以等到10000次才会停止。

成功!