import cv2
import numpy as np
import pylab as plt
if __name__ == '__main__':
im_src = cv2.imread('images/build.jpeg')
h, w, c = im_src.shape
pts_src = np.array([(0, 0), (640, 0), (0, 520), (640, 520)])
pts_dst = np.array([(265, 30), (796, 99), (100, 473), (932, 373)])
homography, status = cv2.findHomography(pts_src, pts_dst)
print(homography.shape)
print(homography)
im_out = cv2.warpPerspective(im_src, homography, (w, h))
plt.figure()
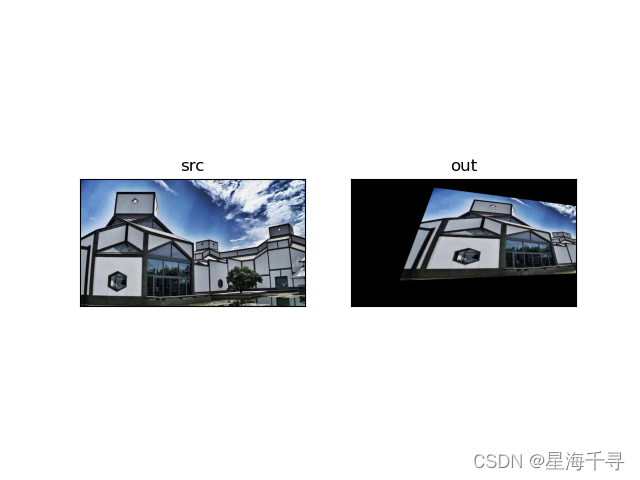
plt.subplot(1, 2, 1), plt.imshow(im_src[:, :, ::-1]), plt.title('src')
plt.xticks([]), plt.yticks([])
plt.subplot(1, 2, 2), plt.imshow(im_out[:, :, ::-1]), plt.title('out')
plt.xticks([]), plt.yticks([])
plt.show()