import cv2
import numpy as np
img = cv2.imread("E:/code/conputer_visual/data/0.jpg", 1)
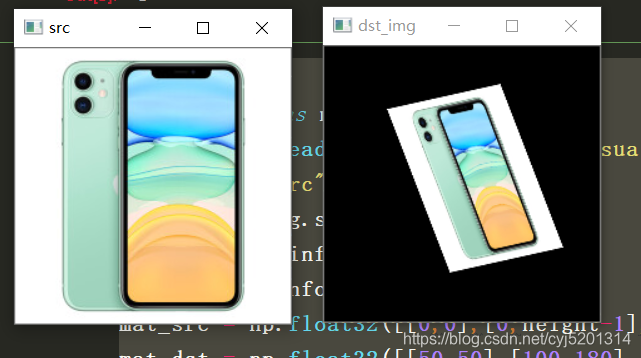
cv2.imshow("src", img)
img_info = img.shape
height = img_info[0]
width = img_info[1]
#获取原图像的左上角,左下角,右上角三个点的坐标 (三点确定图像所在二维平面)
mat_src = np.float32([[0,0],[0,height-1],[width-1,0]])
#生成仿射变换后的三个点的坐标
mat_dst = np.float32([[50,50],[100,180],[140,30]])
#合并两个矩阵生成仿射变换矩阵
mat_affine = cv2.getAffineTransform(mat_src, mat_dst)
#调用仿射变换方法生成新图
dst = cv2.warpAffine(img, mat_affine, (width,height))
cv2.imshow("dst_img", dst)
cv2.waitKey()