1.粒子介绍
粒子(particle)可以用来创建出很多小物体,这些小物体可以用来模拟雨滴、雪花和火焰。也可以将某个单一几何体渲染成一组粒子,分别对它们进行控制,达到想要的效果。
2.如何创建粒子
创建粒子的方法很简单,分别说一下旧版和新版创建粒子的方法
旧版创建粒子
const material = new THREE.ParticleBasicMaterial();//创建粒子材质
const particle = new THREE.Particle(material);//创建粒子
this.scene.add(particle);//将粒子添加到场景
新版创建粒子
const material = new THREE.SpriteMaterial();//创建粒子材质
const sprite = new THREE.Sprite(material);//创建粒子
this.scene.add(sprite);//将粒子添加到场景
THREE.Sprite与THREE.Mesh都继承自父类Object3D,所以创建的粒子可以像网格对象一样添加到场景中,大多数时候你可以像使用网格对象一样使用THREE.Sprite创建的粒子对象
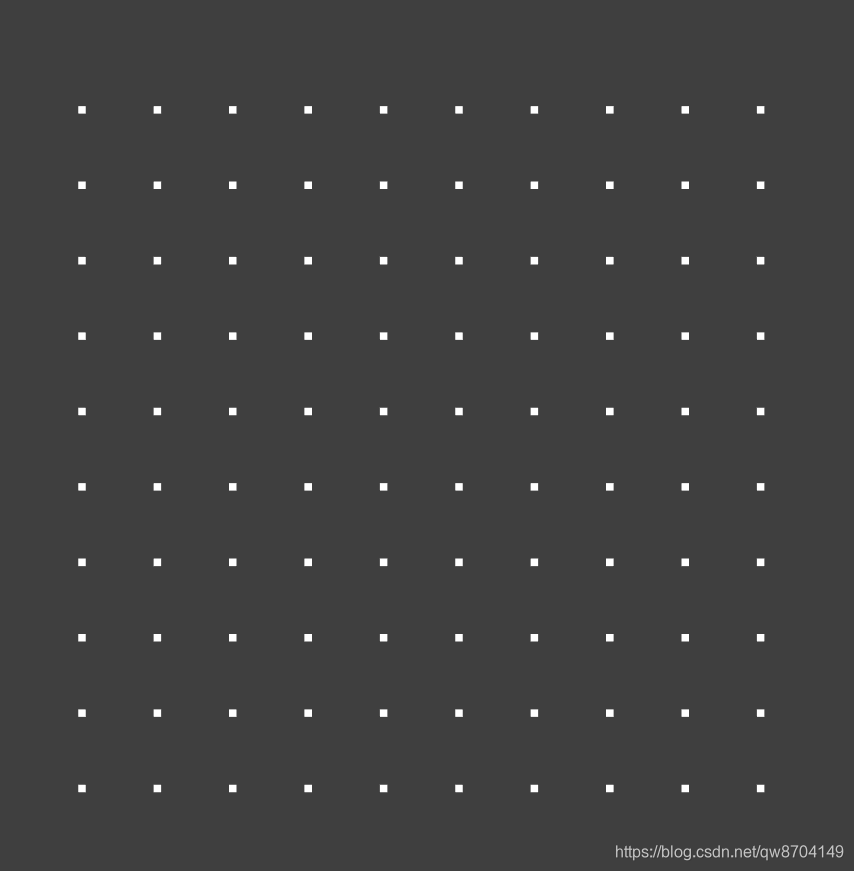
3.demo效果

4.demo代码
<template>
  <div id="container"></div>
</template>

<script>
import * as THREE from 'three'
import {

     OrbitControls } from 'three/examples/jsm/controls/OrbitControls.js'

export default {


  data () {


    return {


      camera: null,
      scene: null,
      renderer: null,
      controls: null
    }
  },
  mounted () {


    this.init()
  },
  methods: {


    // 初始化
    init () {


      this.createScene() // 创建场景
      this.createSprites() // 创建粒子
      this.createLight() // 创建光源
      this.createCamera() // 创建相机
      this.createRender() // 创建渲染器
      this.createControls() // 创建控件对象
      this.render() // 渲染
    },
    // 创建场景
    createScene () {


      this.scene = new THREE.Scene()
    },
    // 创建粒子
    createSprites () {


      //const material = new THREE.ParticleBasicMaterial() // 创建粒子材质
      const material = new THREE.SpriteMaterial() // 创建粒子材质

      for (let x = -5; x < 5; x++) {


        for (let y = -5; y < 5; y++) {


          //const particle = new THREE.Particle(material) // 创建粒子
          const particle = new THREE.Sprite(material) // 创建粒子
          particle.position.set(x * 10, y * 10, 0)
          this.scene.add(particle)
        }
      }
    },
    // 创建光源
    createLight () {


      // 环境光
      const ambientLight = new THREE.AmbientLight(0xffffff, 0.1) // 创建环境光
      this.scene.add(ambientLight) // 将环境光添加到场景

      const spotLight = new THREE.SpotLight(0xffffff) // 创建聚光灯
      spotLight.position.set(-40, 60, -10)
      spotLight.castShadow = true
      this.scene.add(spotLight)
    },
    // 创建相机
    createCamera () {


      const element = document.getElementById('container')
      const width = element.clientWidth // 窗口宽度
      const height = element.clientHeight // 窗口高度
      const k = width / height // 窗口宽高比
      // PerspectiveCamera( fov, aspect, near, far )
      this.camera = new THREE.PerspectiveCamera(45, k, 0.1, 1000)
      this.camera.position.set(0, 0, 150) // 设置相机位置

      this.camera.lookAt(new THREE.Vector3(10, 0, 0)) // 设置相机方向
      this.scene.add(this.camera)
    },
    // 创建渲染器
    createRender () {


      const element = document.getElementById('container')
      this.renderer = new THREE.WebGLRenderer({

     antialias: true, alpha: true })
      this.renderer.setSize(element.clientWidth, element.clientHeight) // 设置渲染区域尺寸
      this.renderer.shadowMap.enabled = true // 显示阴影
      this.renderer.shadowMap.type = THREE.PCFSoftShadowMap
      this.renderer.setClearColor(0x3f3f3f, 1) // 设置背景颜色
      element.appendChild(this.renderer.domElement)
    },

    render () {


      this.renderer.render(this.scene, this.camera)
      requestAnimationFrame(this.render)
    },
    // 创建控件对象
    createControls () {


      this.controls = new OrbitControls(this.camera, this.renderer.domElement)
    }
  }
}
</script>
<style>
#container {


  position: absolute;
  width: 100%;
  height: 100%;
}
</style>