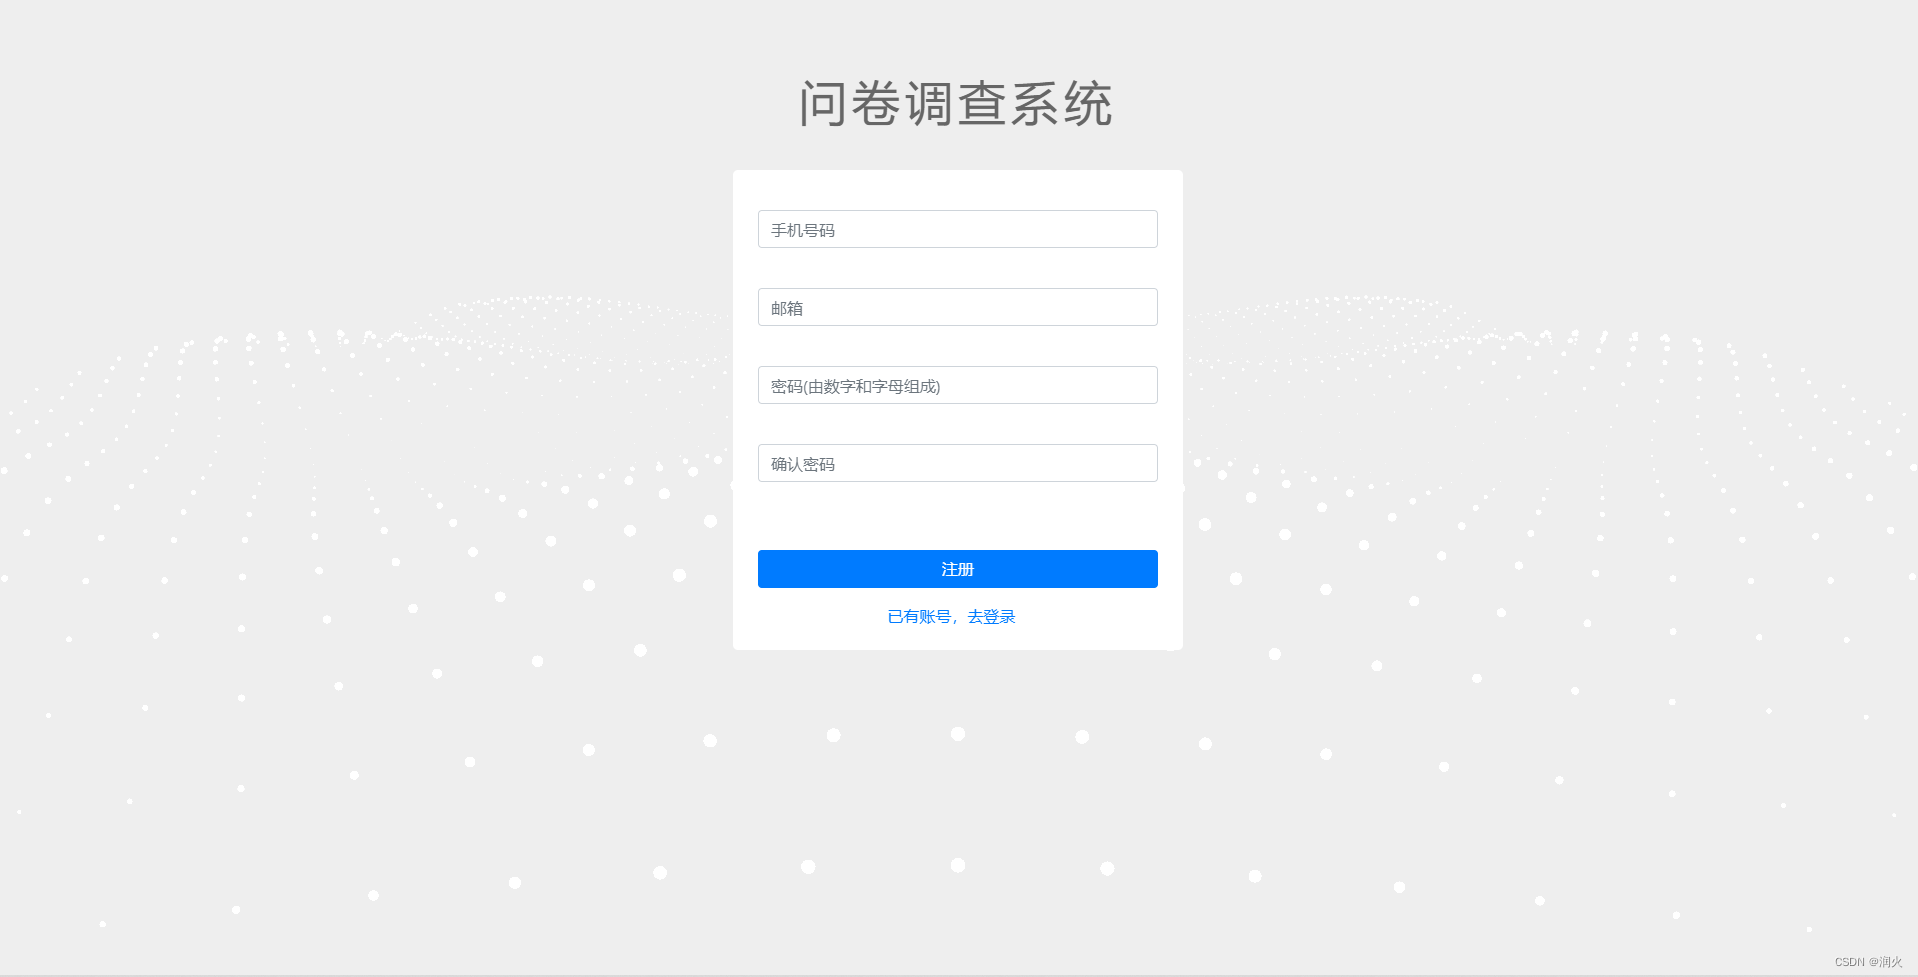
效果
实现
废话不多说,直接上代码,直接复制使用。但在使用代码前,需要下载一些粒子波浪特效的库,直接执行下面命令即可。
npm install three -S
npm install node-sass
npm install sass-loader
代码
<template>
  <div id="iviewBg"></div>
</template>

<script>
import * as THREE from "three";
// import Stats from "./stats.module";
import {

       onMounted } from "vue";
export default {


  props: {


    //控制x轴波浪的长度
    amountX: {


      type: Number,
      default: 50,
    },
    //控制y轴波浪的长度
    amountY: {


      type: Number,
      default: 50,
    },
    //控制点颜色
    color: {


      type: String,
      default: "#ffffff",
    },
    //控制波浪的位置
    top: {


      type: Number,
      default: 350,
    },
  },

  setup(props) {


    const SEPARATION = 100;

    // let stats;
    let container, camera, scene, renderer;

    let particles,
        count = 0;

    let mouseX = 0;

    let windowHalfX = window.innerWidth / 2;

    function init() {


      container = document.createElement("div");
      document.getElementById("iviewBg").appendChild(container);

      //创建透视相机
      camera = new THREE.PerspectiveCamera(
          75, //摄像机视锥体垂直视野角度
          window.innerWidth / window.innerHeight, //摄像机视锥体长宽比
          10, //摄像机视锥体近端面
          10000 //摄像机视锥体远端面
      );

      //设置相机z轴视野
      camera.position.z = 1000;

      //创建场景
      scene = new THREE.Scene();

      const numParticles = props.amountX * props.amountY;

      const positions = new Float32Array(numParticles * 3);
      const scales = new Float32Array(numParticles);

      let i = 0,
          j = 0;

      // 初始化粒子位置和大小
      for (let ix = 0; ix < props.amountX; ix++) {


        for (let iy = 0; iy < props.amountY; iy++) {


          positions[i] = ix * SEPARATION - (props.amountX * SEPARATION) / 2; // x
          positions[i + 1] = 0; // y
          positions[i + 2] = iy * SEPARATION - (props.amountY * SEPARATION) / 2; // z
          scales[j] = 1;
          i += 3;
          j++;
        }
      }

      //是面片、线或点几何体的有效表述。包括顶点位置,面片索引、法相量、颜色值、UV 坐标和自定义缓存属性值。使用 BufferGeometry 可以有效减少向 GPU 传输上述数据所需的开销
      const geometry = new THREE.BufferGeometry();
      geometry.setAttribute(
          "position",
          new THREE.BufferAttribute(positions, 3)
      );
      geometry.setAttribute("scale", new THREE.BufferAttribute(scales, 1));

      //着色器材质(ShaderMaterial),设置球的大小,颜色,等
      const material = new THREE.ShaderMaterial({


        uniforms: {


          //设置球的颜色
          color: {

       value: new THREE.Color(props.color) },
        },
        //控制球的大小
        vertexShader:
            "attribute float scale; void main() {vec4 mvPosition = modelViewMatrix * vec4( position, 1.0 );gl_PointSize = scale * ( 300.0 / - mvPosition.z );gl_Position = projectionMatrix * mvPosition;}",
        fragmentShader:
            "uniform vec3 color;void main() {if ( length( gl_PointCoord - vec2( 0.5, 0.5 ) ) > 0.475 ) discard;gl_FragColor = vec4( color, 1.0 );}",
      });

      //一个用于显示点的类。
      particles = new THREE.Points(geometry, material);
      //往场景中添加点
      scene.add(particles);

      //alpha - canvas是否包含alpha (透明度)。默认为 false。
      //渲染器的背景色默认为黑色,设置渲染器的背景色为透明
      renderer = new THREE.WebGLRenderer({

       antialias: true, alpha: true });
      renderer.setPixelRatio(window.devicePixelRatio);
      renderer.setClearAlpha(0);
      renderer.setSize(window.innerWidth, window.innerHeight);
      container.appendChild(renderer.domElement);

      //显示右上角fps框
      // stats = new Stats();
      //   container.appendChild(stats.dom);

      container.style.touchAction = "none";
      //监听鼠标移动事件
      container.addEventListener("pointermove", onPointerMove);

      //调整波浪的位置
      container.style.position = "relative";

      window.addEventListener("resize", onWindowResize);
    }

    function render() {


      camera.position.x += (mouseX - camera.position.x) * 0.05;
      camera.position.y = 400;
      camera.lookAt(scene.position);

      const positions = particles.geometry.attributes.position.array;
      const scales = particles.geometry.attributes.scale.array;

      // 设置粒子位置和大小
      let i = 0,
          j = 0;
      for (let ix = 0; ix < props.amountX; ix++) {


        for (let iy = 0; iy < props.amountY; iy++) {


          positions[i + 1] =
              Math.sin((ix + count) * 0.3) * 50 +
              Math.sin((iy + count) * 0.5) * 50;

          scales[j] =
              (Math.sin((ix + count) * 0.3) + 1) * 10 +
              (Math.sin((iy + count) * 0.5) + 1) * 10;

          i += 3;
          j++;
        }
      }

      particles.geometry.attributes.position.needsUpdate = true;
      particles.geometry.attributes.scale.needsUpdate = true;

      renderer.render(scene, camera);

      count += 0.1;
    }

    function onWindowResize() {


      windowHalfX = window.innerWidth / 2;
      camera.aspect = window.innerWidth / window.innerHeight;
      camera.updateProjectionMatrix();
      renderer.setSize(window.innerWidth, window.innerHeight);
    }

    //监听鼠标移动事件
    function onPointerMove(event) {


      console.log(event);
      if (event.isPrimary === false) return;
      mouseX = event.clientX - windowHalfX;
    }

    function animate() {


      requestAnimationFrame(animate);
      render();
      //fps 实时更新
      // stats.update();
    }

    onMounted(() => {


      init();
      animate();
    });
    return {

      };
  },
};
</script>

<style lang="scss" scoped>
#iviewBg {


  position: absolute;
  z-index: 10;
  width: 100vw;
  background: #eeeeee;
  height: 100%;
  min-height: 600px;
}
</style>
其中小球颜色,摄像机位置和小球的轨迹函数可以自己调,标签的样式可以自己改。希望喜欢的朋友给个赞吧,您的赞是我写博客的动力来源。