文章目录
Nginx介绍
Nginx (engine x) 是一个高性能的HTTP和反向代理web服务器,同时也提供了IMAP/POP3/SMTP服务。Nginx是由伊戈尔·赛索耶夫为俄罗斯访问量第二的Rambler.ru站点(俄文:Рамблер)开发的,第一个公开版本0.1.0发布于2004年10月4日。
其将源代码以类BSD许可证的形式发布,因它的稳定性、丰富的功能集、示例配置文件和低系统资源的消耗而闻名。2011年6月1日,nginx 1.0.4发布。
Nginx是一款轻量级的Web 服务器/反向代理服务器及电子邮件(IMAP/POP3)代理服务器,在BSD-like 协议下发行。其特点是占有内存少,并发能力强,事实上nginx的并发能力在同类型的网页服务器中表现较好,中国大陆使用nginx网站用户有:百度、京东、新浪、网易、腾讯、淘宝等。
Nginx作为负载均衡服务:Nginx 既可以在内部直接支持 Rails 和 PHP 程序对外进行服务,也可以支持作为 HTTP代理服务对外进行服务。Nginx采用C进行编写,不论是系统资源开销还是CPU使用效率都比 Perlbal 要好很多。
处理静态文件,索引文件以及自动索引;打开文件描述符缓冲。
无缓存的反向代理加速,简单的负载均衡和容错。
FastCGI,简单的负载均衡和容错。
模块化的结构。包括 gzipping, byte ranges, chunked responses,以及 SSI-filter 等 filter。如果由 FastCG或其它代理服务器处理单页中存在的多个 SSI,则这项处理可以并行运行,而不需要相互等待。
支持 SSL 和 TLSSNI。
对比Apache
相较于 Apache,Nginx更擅长于静态页面的制作,比如 html,css,图片及文字之类的,所以动态页面时Nginx的短板,但是也不是没办法解决,编译安装是加入 php-fpm模块,就可。
同时,Nginx很稳定,对系统占用的资源相对较低,对HTTP高并发的处理能力相对更强,单台Nginx网站服务器,可以支持 30000-50000个并发请求。
编译安装 Nginx 步骤
安装依赖
yum install pcre-devel zlib zlib-devel openssl openssl-devel -y
yum -y install gcc gcc-c++ make pcre-devel expat-devel perl
更新完毕:
  openssl.x86_64 1:1.0.2k-19.el7

作为依赖被升级:
  e2fsprogs.x86_64 0:1.42.9-17.el7
  e2fsprogs-libs.x86_64 0:1.42.9-17.el7
  krb5-libs.x86_64 0:1.15.1-46.el7
  krb5-workstation.x86_64 0:1.15.1-46.el7
  libcom_err.x86_64 0:1.42.9-17.el7
  libkadm5.x86_64 0:1.15.1-46.el7
  libselinux.x86_64 0:2.5-15.el7
  libselinux-python.x86_64 0:2.5-15.el7
  libselinux-utils.x86_64 0:2.5-15.el7
  libss.x86_64 0:1.42.9-17.el7
  openssl-libs.x86_64 1:1.0.2k-19.el7

完毕!
创建管理用户
[root@5centos ~]# useradd -M -s /sbin/nologin nginx
解压 nginx 包
[root@5centos ~]# cd /opt/
[root@5centos opt]# mkdir bianyi
[root@5centos opt]# cd bianyi/
[root@5centos bianyi]# rz -E     ##Xshll 拖拽压缩包
rz waiting to receive.
[root@5centos bianyi]# tar zxvf nginx-1.12.2.tar.gz
[root@5centos bianyi]# ls
nginx-1.12.2  nginx-1.12.2.tar.gz
[root@5centos bianyi]# cd nginx-1.12.2/
编译安装 Nginx
[root@5centos bianyi]# cd nginx-1.12.2/
[root@5centos nginx-1.12.2]# ls
auto     CHANGES.ru  configure  html     man     src
CHANGES  conf        contrib    LICENSE  README
[root@5centos nginx-1.12.2]# ./configure \
> --prefix=/usr/local/nginx \
> --user=nginx \
> --group=nginx \
> --with-http_stub_status_module
[root@5centos nginx-1.12.2]# make && make install
[root@5centos /]# ln -s /usr/local/nginx/sbin/nginx /usr/local/sbin/
##/usr/local/sbin:   存放超级用户才能使用的第三方软件,如nginx
[root@5centos /]# nginx -t
nginx: the configuration file /usr/local/nginx/conf/nginx.conf syntax is ok
nginx: configuration file /usr/local/nginx/conf/nginx.conf test is successful
[root@5centos /]# nginx   ##开启服务
[root@5centos /]# netstat -ntap |grep nginx   ##检查端口
tcp        0      0 0.0.0.0:80              0.0.0.0:*               LISTEN      24207/nginx: master
 [root@localhost ~]# killall -s HUP nginx ##-S选项指定信号种类,HUP信号表示重载配置’
[root@localhost ~]# killall -s QUIT nginx ##QUIT信号表示退出进程
让系统可以控制 nginx
一、让 systemctl 可以控制
[root@5centos /]# systemctl start nginx
[root@5centos /]# netstat -natp |grep nginx
tcp        0      0 0.0.0.0:80              0.0.0.0:*               LISTEN      24983/nginx: master
[root@5centos /]# systemctl stop nginx
[root@5centos /]# systemctl stop nginx
[root@5centos /]#
二、让 service 可以进行控制
[root@5centos /]# vim /etc/init.d/nginx
#!/bin/bash
# chkconfig: - 99 20
# description: Nginx Service Control Script
PROG="/usr/local/nginx/sbin/nginx"
PIDF="/usr/local/nginx/logs/nginx.pid"
case "$1" in
  start)
   $PROG
   ;;
  stop)
   kill -s QUIT $(cat $PIDF)
   ;;
  restart)
   $0 stop
   $0 start
   ;;
  reload)
   kill -s HUP $(cat $PIDF)
   ;;
  *)
  		echo "Usage: $0 {start|stop|restart|reload}"
  		exit 1
esac
exit 0
[root@5centos /]# service nginx start
[root@5centos /]# netstat -natp |grep nginx
tcp        0      0 0.0.0.0:80              0.0.0.0:*               LISTEN      25253/nginx: master
[root@5centos /]# service nginx stop
[root@5centos /]# netstat -natp |grep nginx
[root@5centos /]#
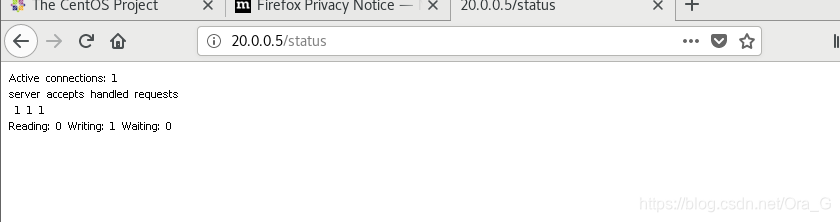
ngxin 访问统计
location / {
            root   html;
            index  index.html index.htm index.php;
        }
        找到上面的,在下面添加如下
        local /status{
         stub_status on;
         access_log off;
        }
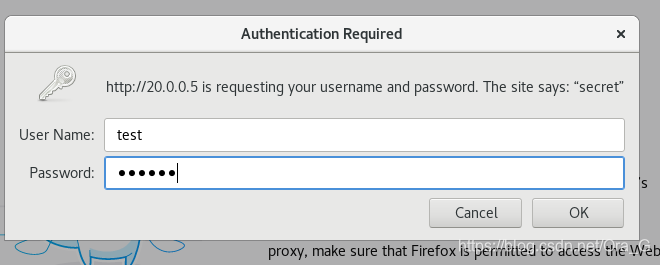
nginx 访问控制
一、基于权限
[root@5centos /]# yum -y install httpd-tools   ##需要 htpasswd
[root@5centos /]# htpasswd -c /usr/local/nginx/passwd.db test
New password:
Re-type new password:
Adding password for user test
[root@5centos /]# cat /usr/local/nginx/passwd.db
test:$apr1$Au2mc6.E$3PCBCpJTQHB9mIo3pz7OS0
[root@5centos /]# chmod 400 /usr/local/nginx/passwd.db
[root@5centos /]# chown nginx /usr/local/nginx/passwd.db

[root@5centos /]# vim /usr/local/nginx/conf/nginx.conf
        location / {
            auth_basic "secret";      ##加这行
            auth_basic_user_file /usr/local/nginx/passwd.db;   ##加这行
            root   html;
            index  index.html index.htm index.php;
        }

[root@5centos /]# systemctl restart nginx
[root@5centos /]# setenforce 0
[root@5centos /]# iptables -F

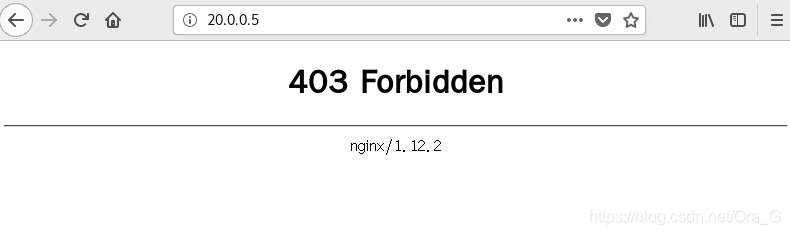
二、基于IP
配置规则
deny IP/IP段:拒绝某个IP或IP段的客户端访问
allow IP/IP段:允许某个IP或IP段的客户端访问
规则从上往下执行,如匹配则停止,不再往下匹配
[root@5centos /]# vim /usr/local/nginx/conf/nginx.conf
        location / {
            deny 20.0.0.6;
            allow all;
            #auth_basic "secret";
            #auth_basic_user_file /usr/local/nginx/passwd.db;
            root   html;
            index  index.html index.htm index.php;
        }
[root@5centos /]# systemctl restart nginx
虚拟主机
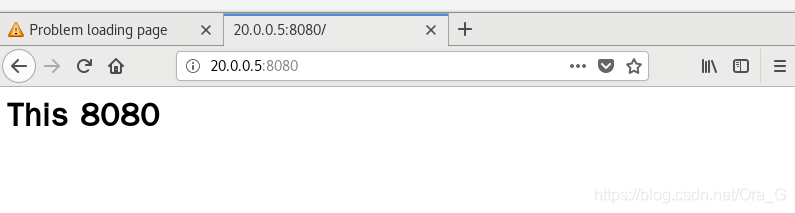
一、基于端口
[root@5centos /]# mkdir -p /var/www/html/8080
[root@5centos /]# cd /var/www/html/8080/
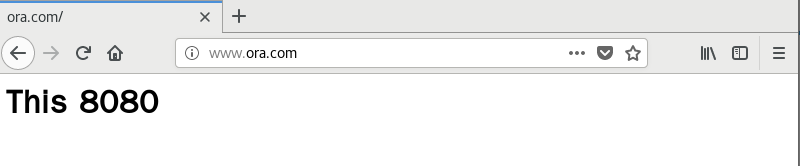
[root@5centos 8080]# vim index.html
<h1>This 8080 </h1>
[root@5centos 8080]# vim /usr/local/nginx/conf/nginx.conf
可以复制模板 也可以手敲 增加 8080 端口的页面
http{
……省略……
server {
listen 20.0.0.5:8080;
server_name 20.0.0.5:8080;
location / {
#deny 20.0.0.6;
#allow all;
#auth_basic "secret";
#auth_basic_user_file /usr/local/nginx/passwd.db;
root /var/www/html/8080;
index index.html index.htm index.php;
}
}
……省略……}
[root@5centos 8080]# systemctl restart nginx
二·、基于 IP
增加一块网卡,IP地址 20.0.0.51

[root@5centos /]# vim /usr/local/nginx/conf/nginx.conf

    server {
    listen 20.0.0.51:80;
    server_name 20.0.0.51:80;
        location / {
            #deny 20.0.0.6;
            #allow all;
            #auth_basic "secret";
            #auth_basic_user_file /usr/local/nginx/passwd.db;
            root   /var/www/html/8080;
            index  index.html index.htm index.php;
                                                        }
}
    server {
    listen 20.0.0.5:80;
    server_name 20.0.0.5:80;
        location / {
[root@5centos /]# systemctl restart nginx

三、基于域名
先安装DNS服务,这边不在介绍
域名一:www.ora.com
域名二:www.nge.com
    server {
    listen 80;
    server_name www.ora.com;
        location / {
            #deny 20.0.0.6;
            #allow all;
            #auth_basic "secret";
            #auth_basic_user_file /usr/local/nginx/passwd.db;
            root   /var/www/html/8080;
            index  index.html index.htm index.php;
                                                        }
    server {     ##修改本来的
        listen  80;
        server_name  www.nge.com;