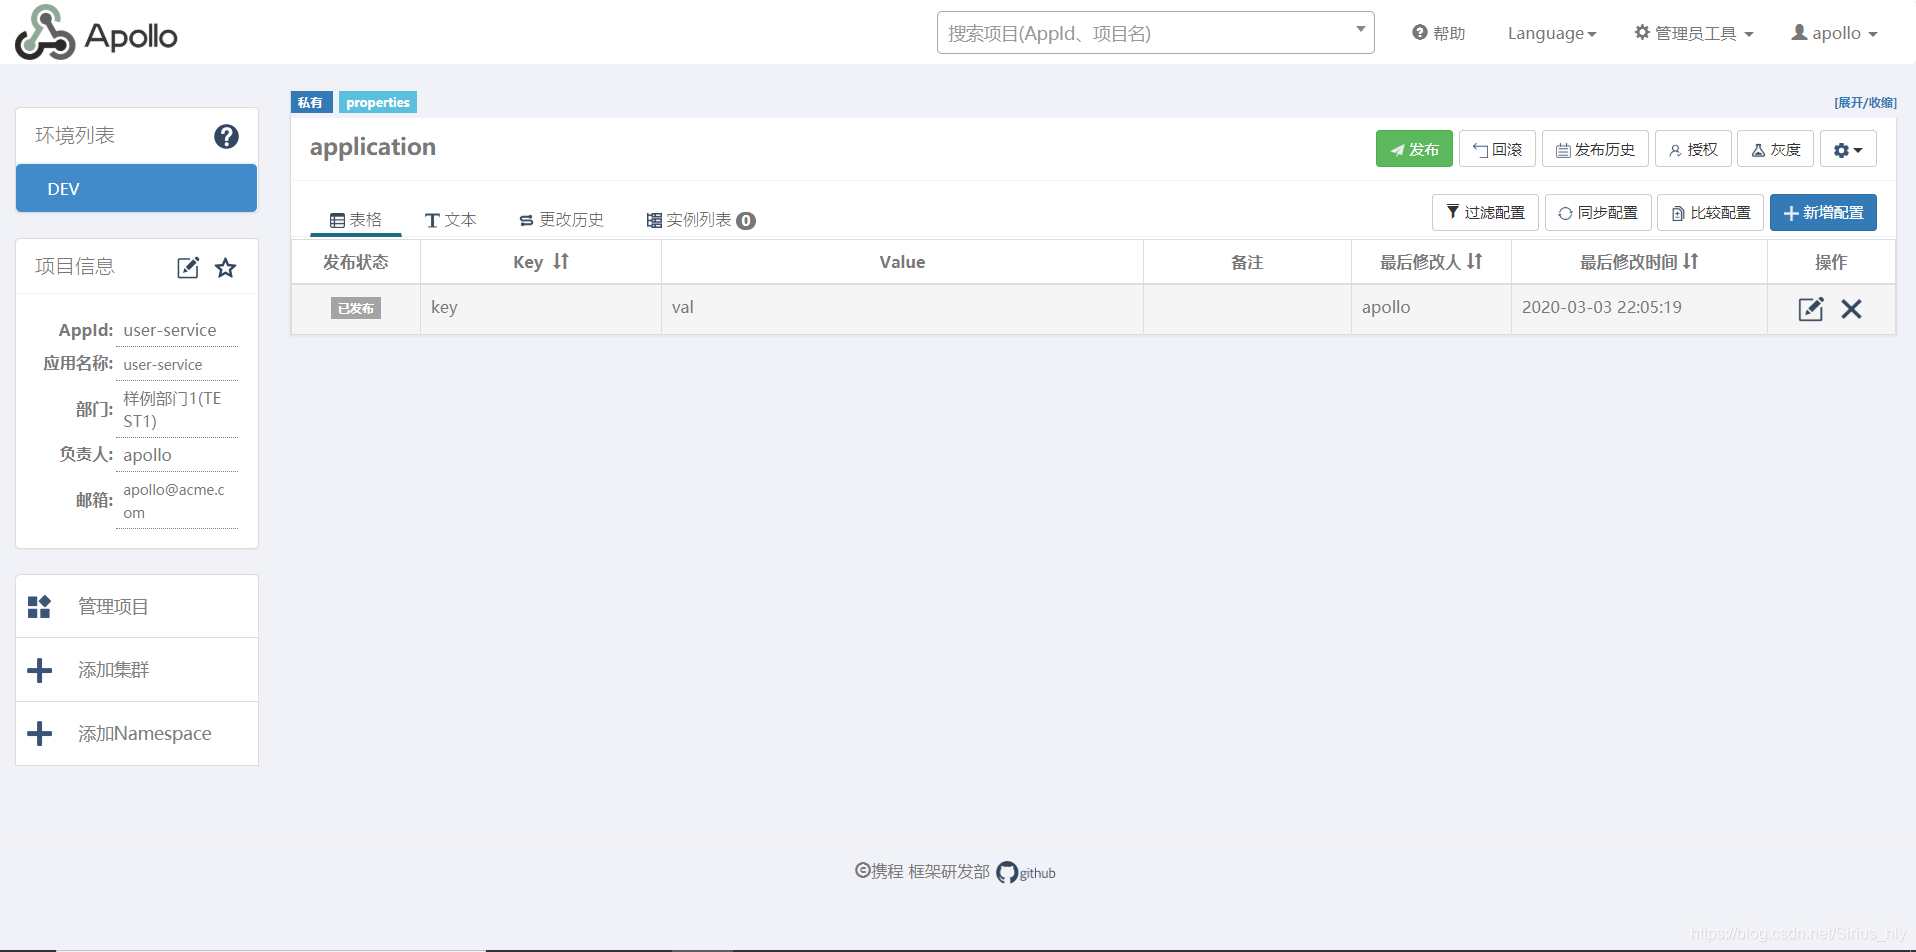
一、创建项目
首先我们在安装好的 Apollo 配置中心门户网站创建一个项目,然后添加配置,最后进行发布配置,效果如下。
二、 SpringBoot 对接 Apollo
1、添加 maven 依赖
		<dependency>
			<groupId>com.ctrip.framework.apollo</groupId>
			<artifactId>apollo-client</artifactId>
			<version>1.5.1</version>
		</dependency>
2、开启 Apollo
@SpringBootApplication
@EnableApolloConfig
public class SpringBootApolloApplication {

	public static void main(String[] args) {
		SpringApplication.run(SpringBootApolloApplication.class, args);
	}
}
3、添加配置信息
在 application.yml 文件中添加以下信息,app.id 为在 Apollo 门户网站创建项目时所填写的 ID
app:
  id: user-service
apollo:
  bootstrap:
    enabled: true
    namespaces: application
  meta: http://106.13.1.171:8080/
  cacheDir: /app/war/apollo/temp/
4、重点,重点,重点,敲黑板
Apollo 如果部署在公有云上或者使用 Docker,比如阿里云,本地开发环境无法连接获取配置,则需要在运行 SpringBoot 项目时添加以下 VM options 配置,跳过 meta service 的服务发现,这样才能在 SpringBoot 项目中获取到配置信息。
-Dapollo.configService=http://{公网IP}:{}
三、完整代码下载
SpringBoot 2.0 | SpringBoot 集成 Apollo
参考资料
https://github.com/ctripcorp/apollo
https://www.jb51.cc/note/411468.html
ABOUT
我的 Github:Github
CSDN: CSDN
个人网站: sirius blog
E-mail: [email protected]
