通过RSS2JSON和Node.js设计一个简单的小爬虫
阅读这篇blog大约需要5分钟
之前我们学习了解了很多Node.js、云部署的基础知识,今天通过一个小爬虫练习实践一下,你会发现从零开始构建一个小爬虫超级简单和方便。主要会涉及到这些知识点:
- 通过RSS2JSON将rss转化为json格式
- MUI CSS设计极简风格
- Node.js异步编程
- axios模块
- cheerio模块
- 通过heroku上云
The first 90% of the code accounts for the first 90% of the development time. The remaining 10% of the code accounts for the other 90% of the development time. --Tom Cargill
介绍
这是下面的主要内容:
- RSS2JSON
- MUI
- 编写Node.js代码
- 测试运行
- 部署到云服务
Here we go!
RSS2JSON
RSS2JSON是一个帮助把rss转化为json的api工具,网址是:
https://rss2json.com/
下面我把国外某博客网站flutter文章的rss转化为json内容:
https://api.rss2json.com/v1/api.json?rss_url=https%3A%2F%2Fmedium.com%2Ffeed%2Fflutter
输出:
{
"status": "ok"
"feed": {
"url": "https://medium.com/feed/flutter"
"title": "Flutter - Medium"
"link": "https://medium.com/flutter?source=rss----4da7dfd21a33---4"
"author": ""
"description": "Flutter is Google's mobile UI framework for crafting high-quality native interfaces on iOS and Android in record time. Flutter works with existing code, is used by developers and organizations around the world, and is free and open source. Learn more at https://flutter.dev - Medium"
"image": "https://cdn-images-1.medium.com/proxy/1*TGH72Nnw24QL3iV9IOm4VA.png"
}
"items": [
{
"title": "When should I useAnimatedBuilder or AnimatedWidget?"
"pubDate": "2020-01-19 20:57:30"
"link": "https://medium.com/flutter/when-should-i-useanimatedbuilder-or-animatedwidget-57ecae0959e8?source=rss----4da7dfd21a33---4"
"guid": "https://medium.com/p/57ecae0959e8"
"author": "Emily Fortuna"
"thumbnail": "https://cdn-images-

...
如何通过Node的axios来调用api,可以我之前的blog:
MUI
一个极简风格的CSS库,项目主页:
https://www.muicss.com/
使用非常简单,直接引用css和js代码即可,文件很小:
mui.min.css - 6.6KB (gzipped)
mui.min.js - 5.4KB (gzipped)
推荐大家可以自己随意测试一下,界面还蛮漂亮的。
编写Node.js代码
主要的逻辑:
- 我先提前准备了两个模板页面: index_template.html,body_template.html。
- 根据rss地址下载json内容。
- 提取header信息生成一个列表-主页。
- 根据每篇blog内容分别生成blog页面。
异步代码的写法可以参考我的blogs:
主要的代码tools.js:
const fs = require('fs').promises;
const axios = require('axios');
const cheerio = require('cheerio');


const url = 'https://api.rss2json.com/v1/api.json?rss_url=https%3A%2F%2Fmedium.com%2Ffeed%2Fflutter';

async function download() {

    const resp = await axios.get(url);
    const data = resp.data;

    generateIndex(data);

    for (const item of data.items) {
        downloadBlogs(item);
    }

}

const generateIndex = async (data) => {

    try {
        const index = await fs.readFile('./Templates/index_template.html');
        let indexString = index.toString();

        const contenct = getIndexContent(data);
        indexString = indexString.replace('index-place', contenct);
        indexString = indexString.replace('date-place', Date());

        await fs.writeFile('./public/index.html', indexString);
        console.log('index.html completed.');
    } catch (e) {
        console.log(e);
    }
}

const downloadBlogs = async (item) => {

    const guid = item.guid.split('/').pop();
    const title = item.title;
    const description = item.description;
    try {
        const index = await fs.readFile('./Templates/blog_template.html');
        let indexString = index.toString();

        indexString = indexString.replace('title-place', title);
        indexString = indexString.replace('body-place', description);

        await fs.writeFile('./public/Flutter/' + guid + '.html', indexString);
        console.log(`${guid} completed.`);

    } catch (e) {
        console.log(e);
    }

}

const getIndexContent = (data) => {
    let content = "";

    for (const item of data.items) {
        content = content + getHeader(item) + '<br>\n<br>\n';
    }
    return content;
}

const getHeader = (item) => {

    const guid = item.guid.split('/').pop();

    const header = `<div class=\"mui--text-headline\">${item.title}</div>`;

    const author = `<div class=\"mui--text-black-54\">By ${item.author}, ${item.pubDate}</div>`;

    const description = getDescription(item.description);

    const body = `<div>${description}<a href=\"./Flutter/${guid}.html\"> Read more...</a></div>`;

    return `${header}\n<br>\n${author}\n<br>\n${body}\n<br>\n`;
}

const getDescription = (body) => {

    $ = cheerio.load(body);
    const desc = $('p').text().substring(0, 400);

    return desc;
};

module.exports = {
    download
};
这里通过axios来发送请求,axios是Node里面应用广泛的网络请求模块,支持Promise格式。
通过强大的cheerio来解析网页内容。
然后启动一个express服务,并设定一个定时任务每隔一小时更新数据:
server.js:
const express = require('express');
const tools = require('./tools');

const app = express();

const PORT = process.env.PORT || 3000;

setInterval(tools.download, 3600000);

app.use(express.static(__dirname + '/public'));

app.listen(PORT);
express.static()可以提供静态网页的web服务。
测试运行
就是这么简单,下面测试一下:
- 手动测试运行可以直接运行download函数:
node app.js
可以看到所有的页面都自动生成完毕。
- 然后启动express web服务:
npm start
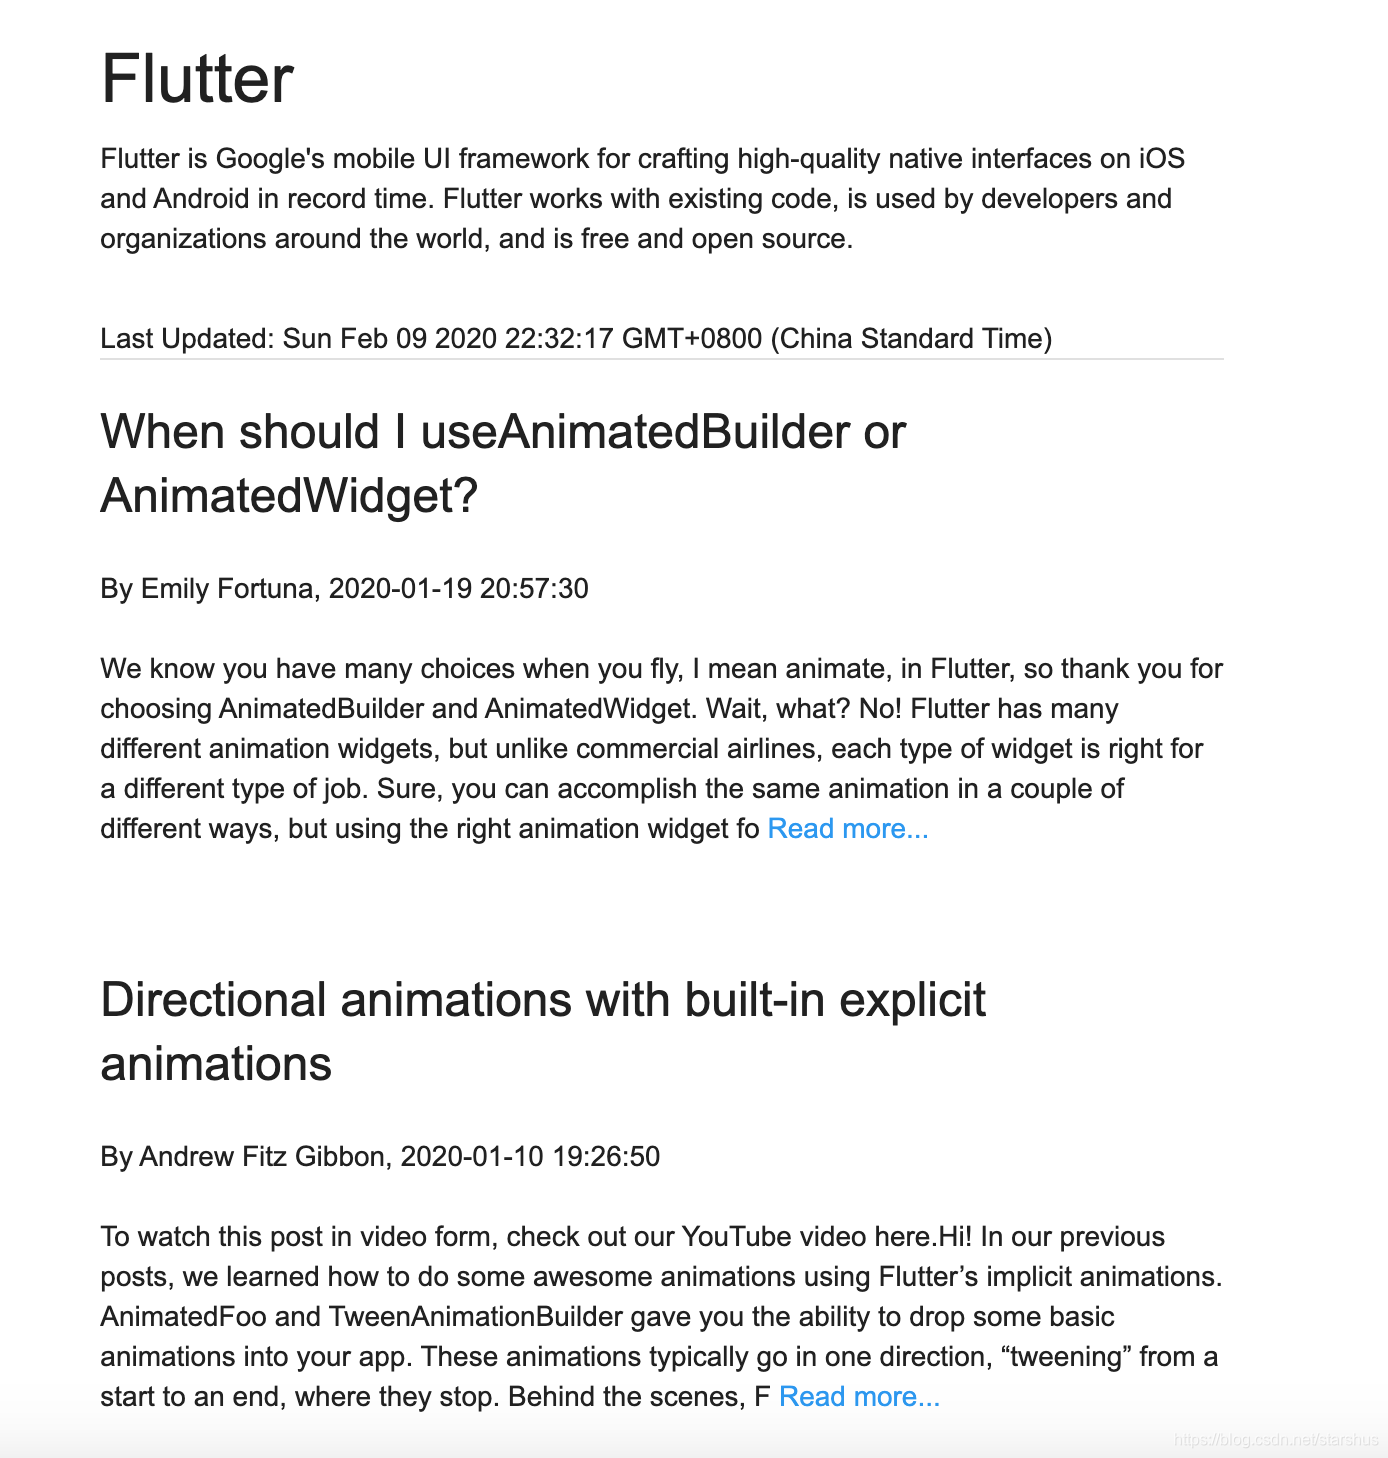
- 现在可以通过localhost:3000来查看我们的blogs网站,极简风格:
部署到云服务
在heroku上创建一个应用,将node应用部署上去,具体步骤可以参见之前的blog:
访问demo站点:
https://lit-caverns-74731.herokuapp.com/
小结
一般我们都会通过python来编写爬虫,通过Node.js来做其实也超级方便。首先Node基于JavaScript,而且也提供了完善的生态和异步编程,所以开发效率也非常高。
特别声明
本项目作为个人学习笔记,非商业用途,仅供个人研究学习使用。
项目代码
参考阅读
- https://rss2json.com/
- https://www.muicss.com/
- https://www.npmjs.com/package/axios
- https://www.npmjs.com/package/cheerio
- https://blog.csdn.net/starshus/category_9699665.html
