wangEditor是Web端使用的一种编辑器,功能还挺齐全的

记录下wangEditor的简单用法
-
wangEditor相关jar包的下载及搭建
-
将wangEditor中输入的内容以html的形式发送给Servlet
wangEditor的搭建
第一步:下载相关jar包
使用wangEditor需要用到两个jar包,一个是“wangEditor.min.js”这是用于引用wangEditor,另外还需要下载一个jq文件“jquery-3.3.1.min.js”
第二步:引用这两个下载好的jar包
    <script src="${pageContext.request.contextPath}/js/wangEditor.min.js"></script>
    <script src="${pageContext.request.contextPath}/js/jquery-3.3.1.min.js"></script>
第三步:编写内容输入界面,这里一般是由控件div和控件textarea组成的,其中textarea的属性设置为隐藏不显示出来,主要是用来存放wangEditor的内容以及方便后台获取内容,因为div控件是设置不了'name'属性的。
我这里为了方便等下方便向后台发送内容数据将这两个控件放在表单控件里了
<form method="post" action="MyServlet">
    <div>
        <%--文本编辑框--%>
        <div id="intro" class="TextContent"></div>
        <textarea style="display: none" name="mytxtIntro" id="txtIntro"></textarea>
        <%--提交按钮--%>
        <input class="btn btn-primary" type="submit" value="确认提交">
    </div>
</form>
第四步:js代码实现
<%--文本编辑器插件js--%>
<script type="text/javascript">
    var E = window.wangEditor;
    var editor = new E('#intro');

    //    获取隐藏控件<textarea>的id,用于显示内容,也方便后台获取内容
    var $text1 = $('#txtIntro');

    // 监控wangEditor中的内容变化,并将html内容同步更新到 textarea
    editor.customConfig.onchange = function (html) {
        $text1.val(html);
    }

    //    设置上传本地图片到服务器
    editor.customConfig.uploadImgServer = '/upload';
    editor.create();
    $text1.val(editor.txt.html());// 初始化 textarea 的值


</script>
看下整体的代码:
<%-- Created by IntelliJ IDEA. --%>
<%@ page contentType="text/html;charset=UTF-8" language="java" %>
<html>
<head>
    <title></title>
    <script src="${pageContext.request.contextPath}/js/wangEditor.min.js"></script>
    <script src="${pageContext.request.contextPath}/js/jquery-3.3.1.min.js"></script>


</head>
<body>

<form method="post" action="MyServlet">
    <div>
        <%--文本编辑框--%>
        <div id="intro" class="TextContent"></div>
        <textarea style="display: none" name="mytxtIntro" id="txtIntro"></textarea>
        <%--提交按钮--%>
        <input class="btn btn-primary" type="submit" value="确认提交">
    </div>
</form>

</body>


<%--文本编辑器插件js--%>
<script type="text/javascript">
    var E = window.wangEditor;
    var editor = new E('#intro');

    //    获取隐藏控件<textarea>的id,用于显示内容,也方便后台获取内容
    var $text1 = $('#txtIntro');

    // 监控wangEditor中的内容变化,并将html内容同步更新到 textarea
    editor.customConfig.onchange = function (html) {
        $text1.val(html);
    }

    //    设置上传本地图片到服务器
    editor.customConfig.uploadImgServer = '/upload';
    editor.create();
    $text1.val(editor.txt.html());// 初始化 textarea 的值


</script>


</html>
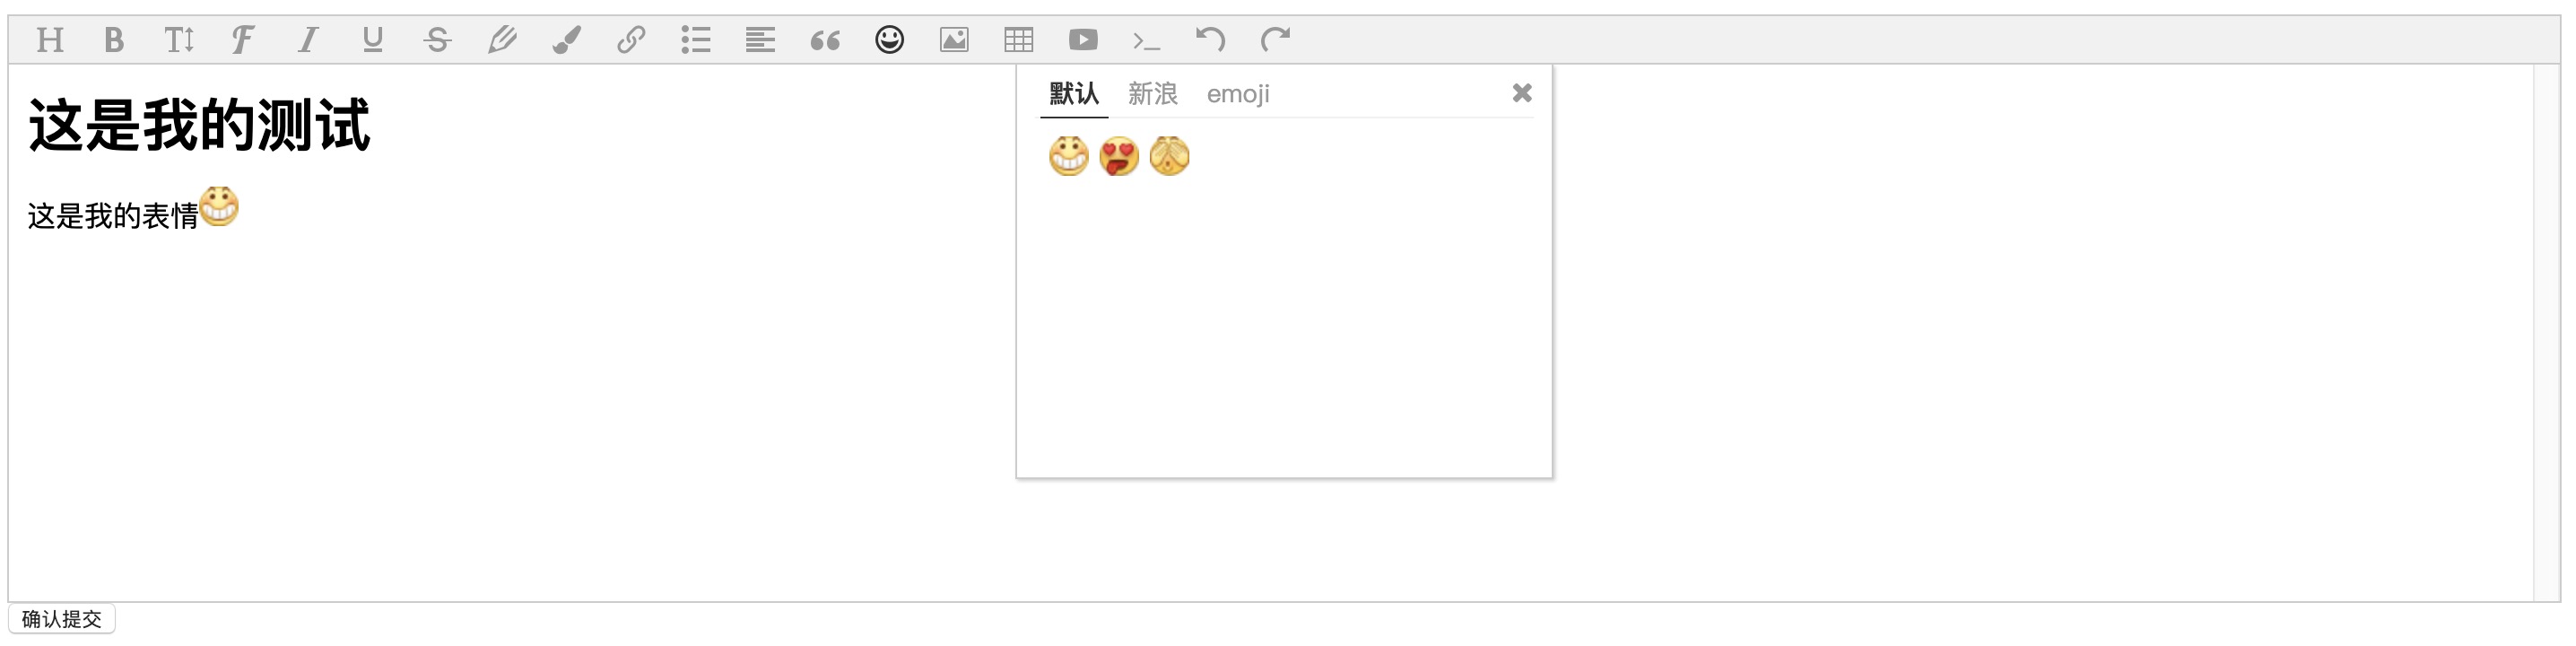
到这里就能看到已经实现的效果了
向后台发送内容数据也很方便实现,在Servlet类中接收隐藏的textarea控件里的内容就行了,下面是Servlet里的代码
import javax.servlet.ServletException;
import javax.servlet.annotation.WebServlet;
import javax.servlet.http.HttpServlet;
import javax.servlet.http.HttpServletRequest;
import javax.servlet.http.HttpServletResponse;
import java.io.IOException;

@WebServlet(name = "MyServlet", urlPatterns = "/MyServlet")
public class MyServlet extends HttpServlet {
    protected void doPost(HttpServletRequest request, HttpServletResponse response) throws ServletException, IOException {
        doGet(request, response);
    }

    protected void doGet(HttpServletRequest request, HttpServletResponse response) throws ServletException, IOException {
        String s = request.getParameter("mytxtIntro");
        System.out.println(s);
    }
}
下面是后台接收到数据并输出后的内容效果,我写了两种输出效果,一种是在页面中的输出效果,一种是在控制台的输出效果
编辑器效果:
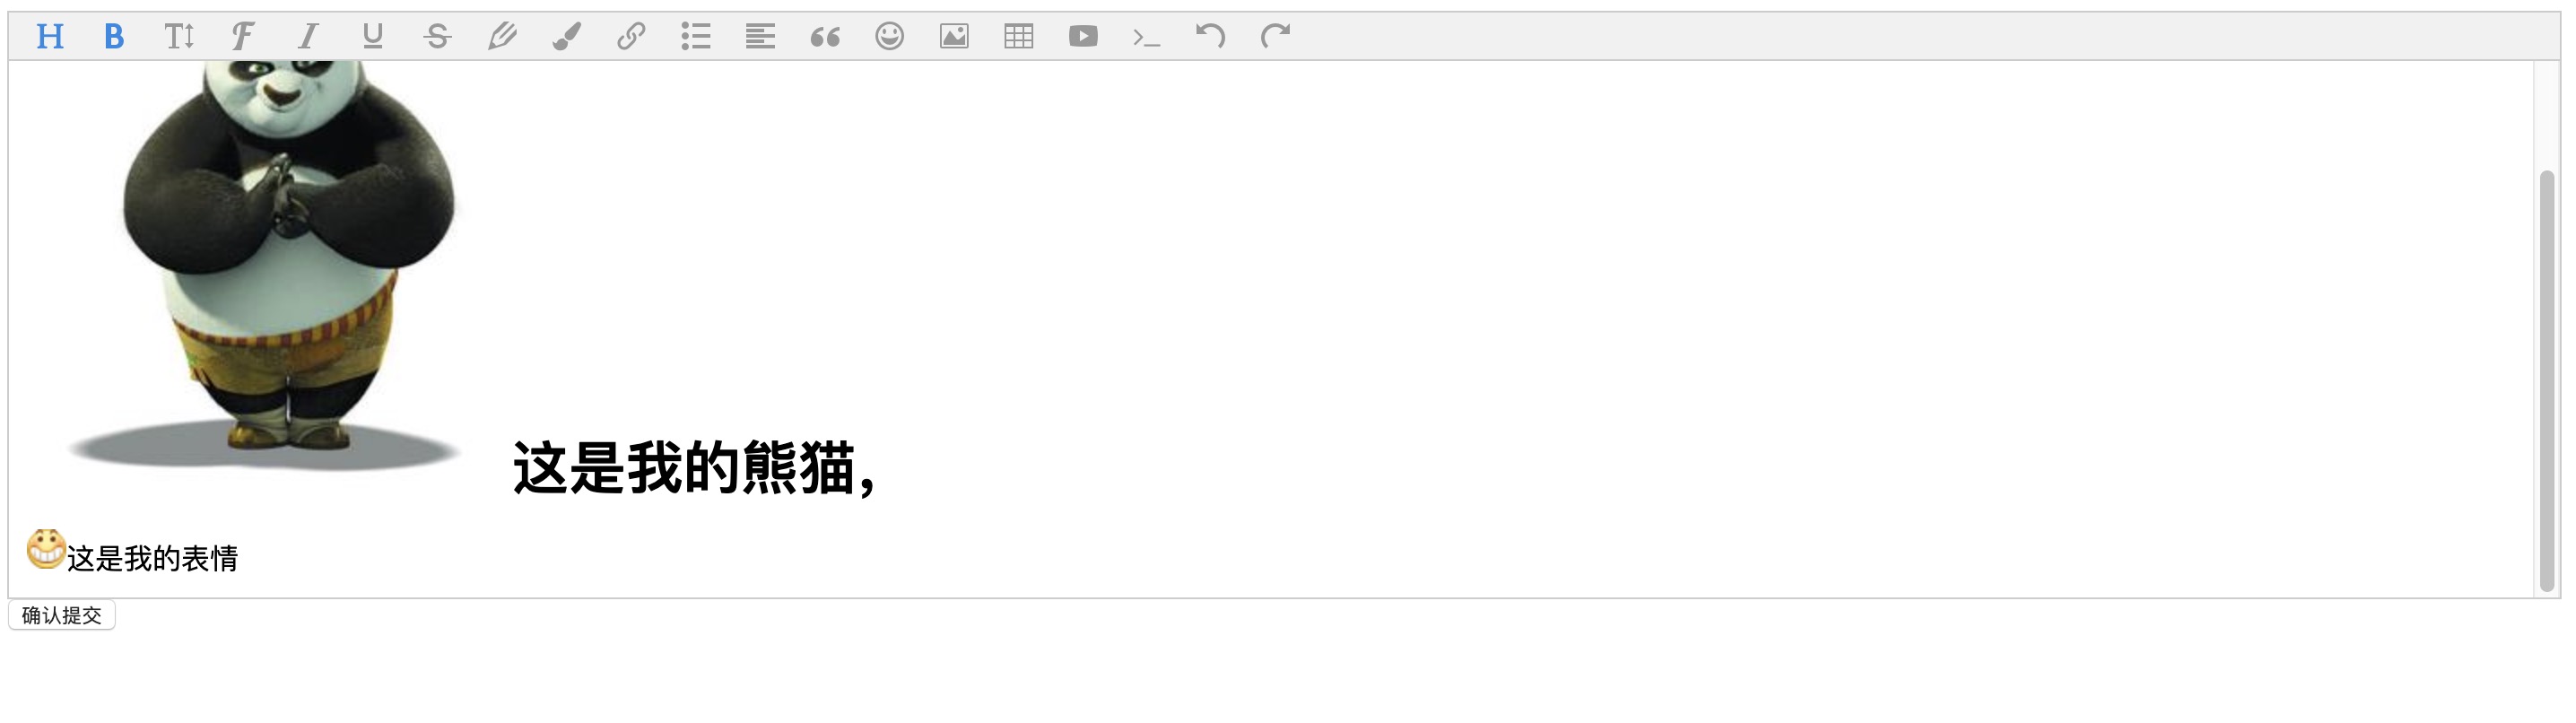
网页输出效果:

控制台输出效果:
