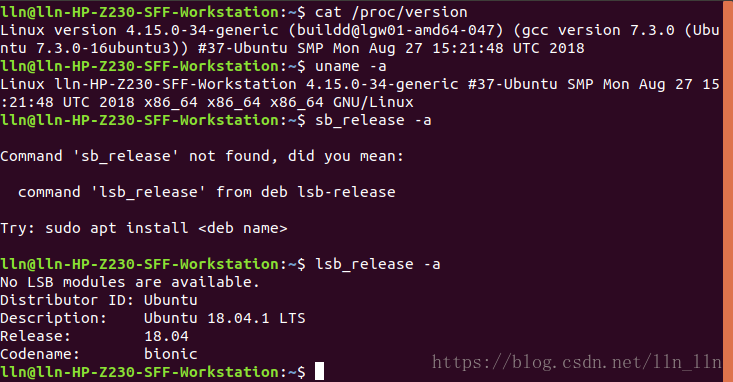
查看系统版本:
1.docker(docker ce)安装(是否运行在容器中取决于自己)
下载:https://www.docker.com/products/docker-engine
安装:https://docs.docker.com/install/linux/docker-ce/ubuntu/
2.Installing Ubuntu(18.04) requirements(若使用docker,去掉sudo)
$ sudo apt-get update
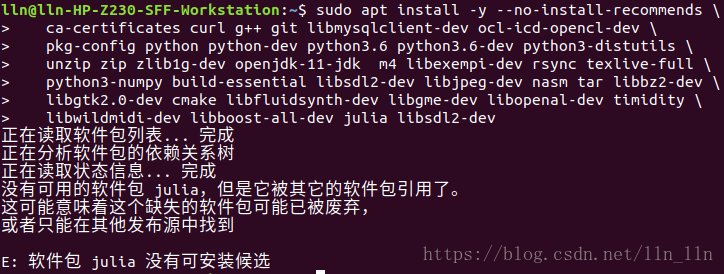
$ sudo apt install -y --no-install-recommends \
ca-certificates curl g++ git libmysqlclient-dev ocl-icd-opencl-dev \
pkg-config python python-dev python3.6 python3.6-dev python3-distutils \
unzip zip zlib1g-dev openjdk-11-jdk m4 libexempi-dev rsync texlive-full \
python3-numpy build-essential libsdl2-dev libjpeg-dev nasm tar libbz2-dev \
libgtk2.0-dev cmake libfluidsynth-dev libgme-dev libopenal-dev timidity \
libwildmidi-dev libboost-all-dev julia libsdl2-dev
出现问题:
解决:去掉julia重新执行,由于ubuntu下无julia软件包,所以安装如下:
下载:https://julialang.org/downloads/
安装:注意1.0和0.6版本的区别及使用
1.0版本文档:https://docs.julialang.org/en/v1/
解压:tar -zxvf julia-1.0.0-linux-x86_64.tar.gz -C /home/lln/software
创建软链接:sudo ln -s /home/lln/software/julia-1.0.0/bin/julia  /bin/julia
3.install Bazel:
Bazel:https://docs.bazel.build/versions/master/install-ubuntu.html#installing-bazel-on-ubuntu
$ curl -L -o /tmp/bazel.sh https://github.com/bazelbuild/bazel/releases/download/0.14.1/bazel-0.14.1-installer-linux-x86_64.sh
$ sudo bash /tmp/bazel.sh && rm /tmp/bazel.sh
4.Build (all platforms)
a.Install the requirements which are common across platforms:
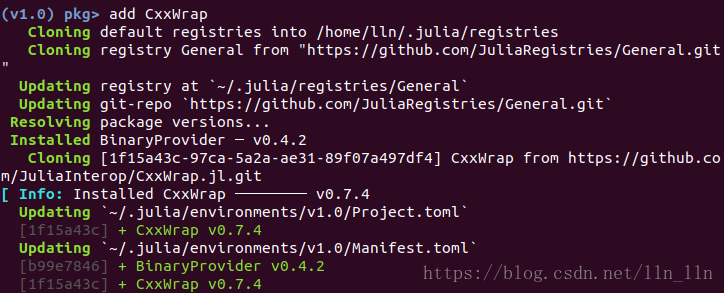
进入julia模式——>进入Pkg模式——>添加所需要的包
julia下按下]即进入Pkg,输入add CxxWrap。如下图:
b.Clone this project
$ git clone https://github.com/ChrisCummins/phd.git
$ cd phd
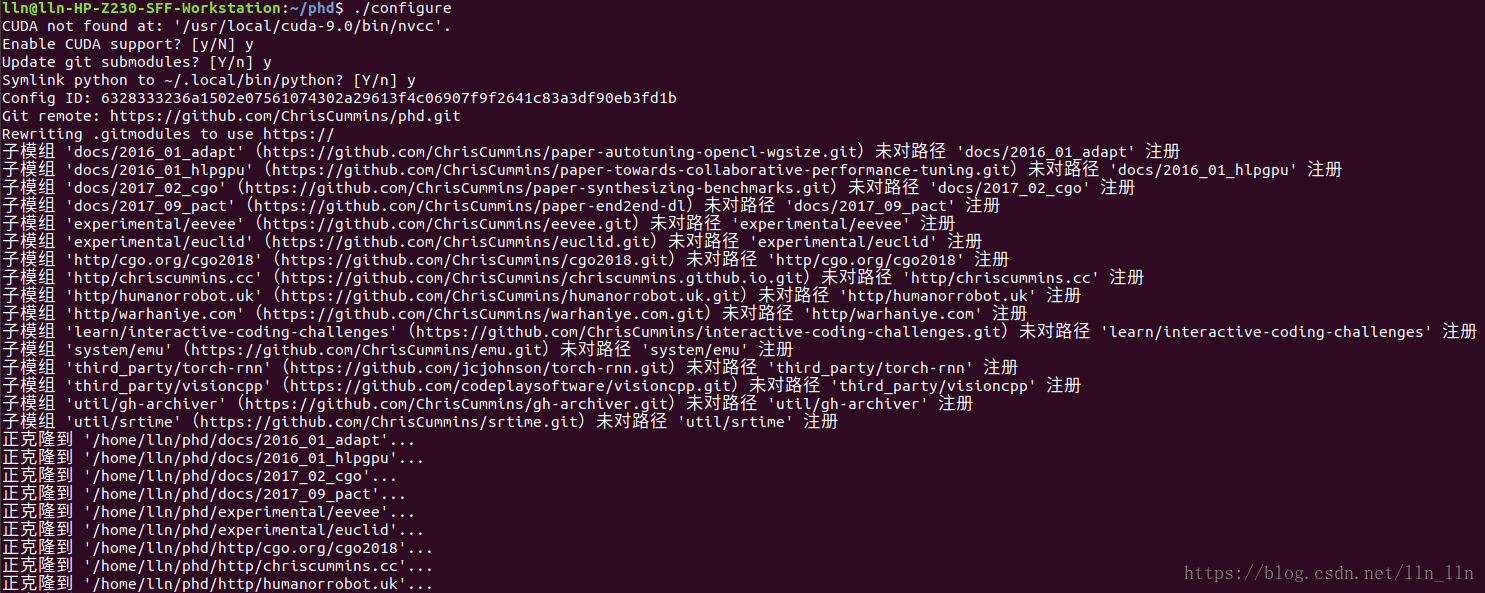
c.Configure the build and answer the yes/no questions. The default answers should be fine:
$ ./configure
$ source $PWD/.env
e.build or test whatever bazel targets you’d like. Use bazel query //… to list the available targets. E.g. to run the entire test suite, run:
$ bazel test //...
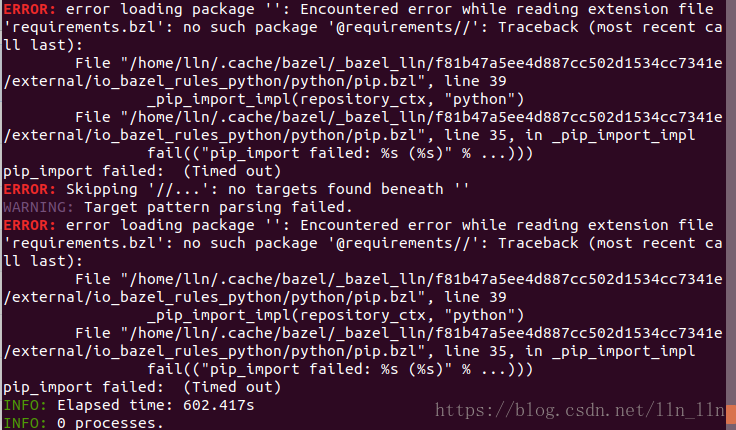
问题1:运行bazel query //… 
解决:安装pip3
sudo apt-get install python3-pip
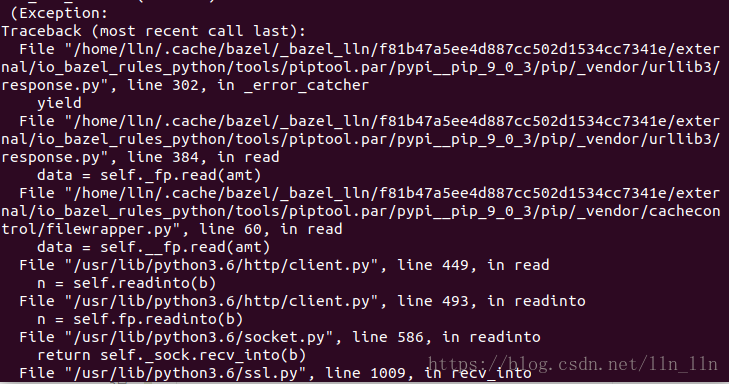
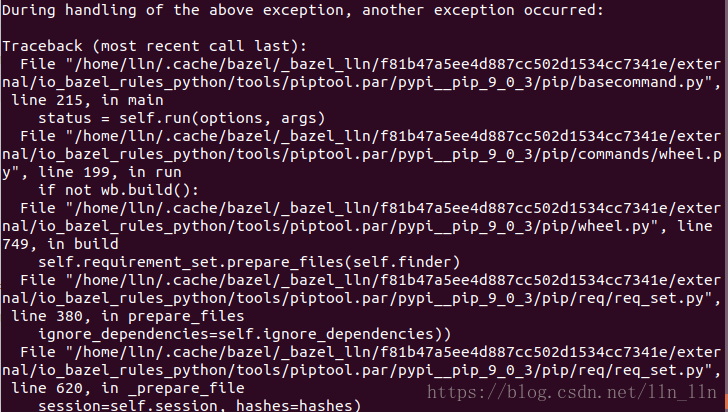
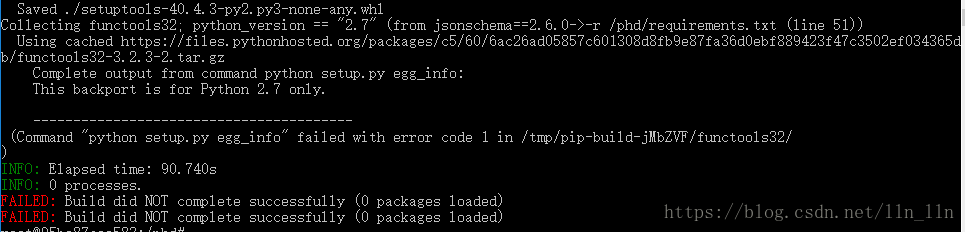
再次运行时而出现以下异常时而出现之前的ERROR
socket.timeout:The read operation timed out
pip._vendor.urllib3.exceptions.ReadTimeoutError: HTTPSConnectionPool(host=‘files.pythonhosted.org’, port=443): Read timed out.
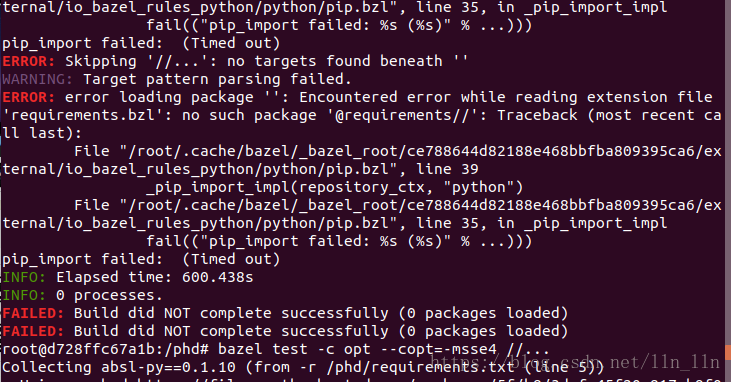
解决:
百度发现出现0 packages loaded问题是bazel的问题,参考链接中问题四:https://blog.csdn.net/qq_17130909/article/details/78637329
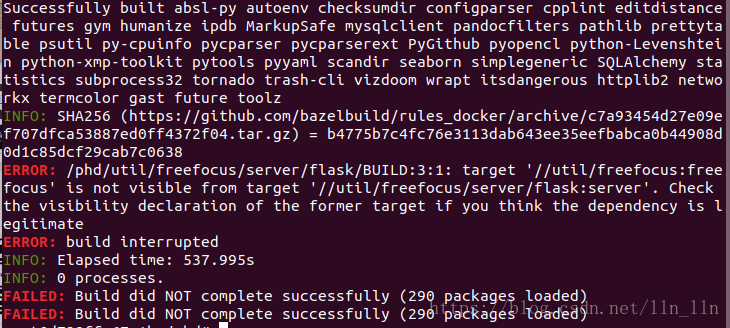
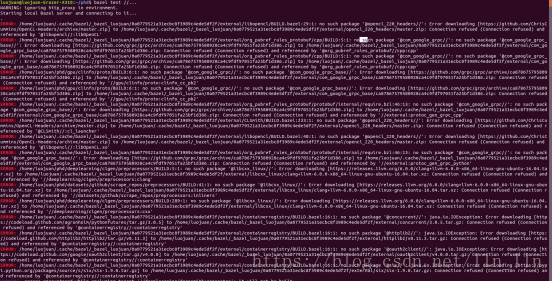
重新运行:bazel test -c opt --copt=-msse4 //...
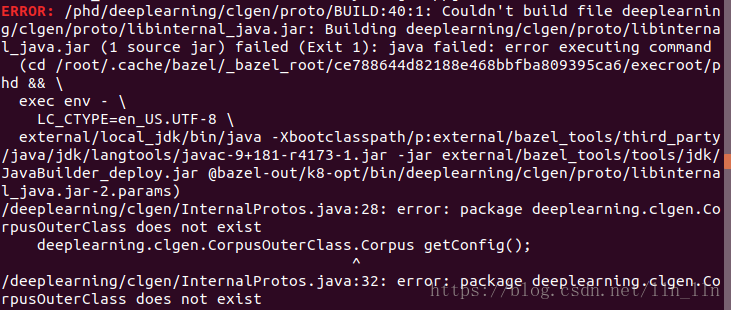
出现以下问题:
docker 中执行
1.docker run -it ubuntu:18.04 /bin/bash
2.
$ apt-get update
$ apt install -y --no-install-recommends \
   ca-certificates curl g++ git libmysqlclient-dev ocl-icd-opencl-dev \
   pkg-config python python-dev python3.6 python3.6-dev python3-distutils \
   unzip zip zlib1g-dev openjdk-11-jdk  m4 libexempi-dev rsync texlive-full \
   python3-numpy build-essential libsdl2-dev libjpeg-dev nasm tar libbz2-dev \
   libgtk2.0-dev cmake libfluidsynth-dev libgme-dev libopenal-dev timidity \
   libwildmidi-dev libboost-all-dev  libsdl2-dev
julia的安装
安装wget:apt-get install wget
下载julia:
wget https://julialang-s3.julialang.org/bin/linux/x64/1.0/julia-1.0.0-linux-x86_64.tar.gz
解压:tar -xzvf julia-1.0.0-linux-x86_64.tar.gz
创建软链接:ln -s /julia-1.0.0/bin/julia /bin/julia
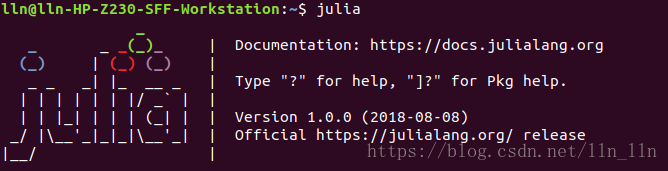
运行:julia
docker容器执行bazel test //...
结果如下:
luo:

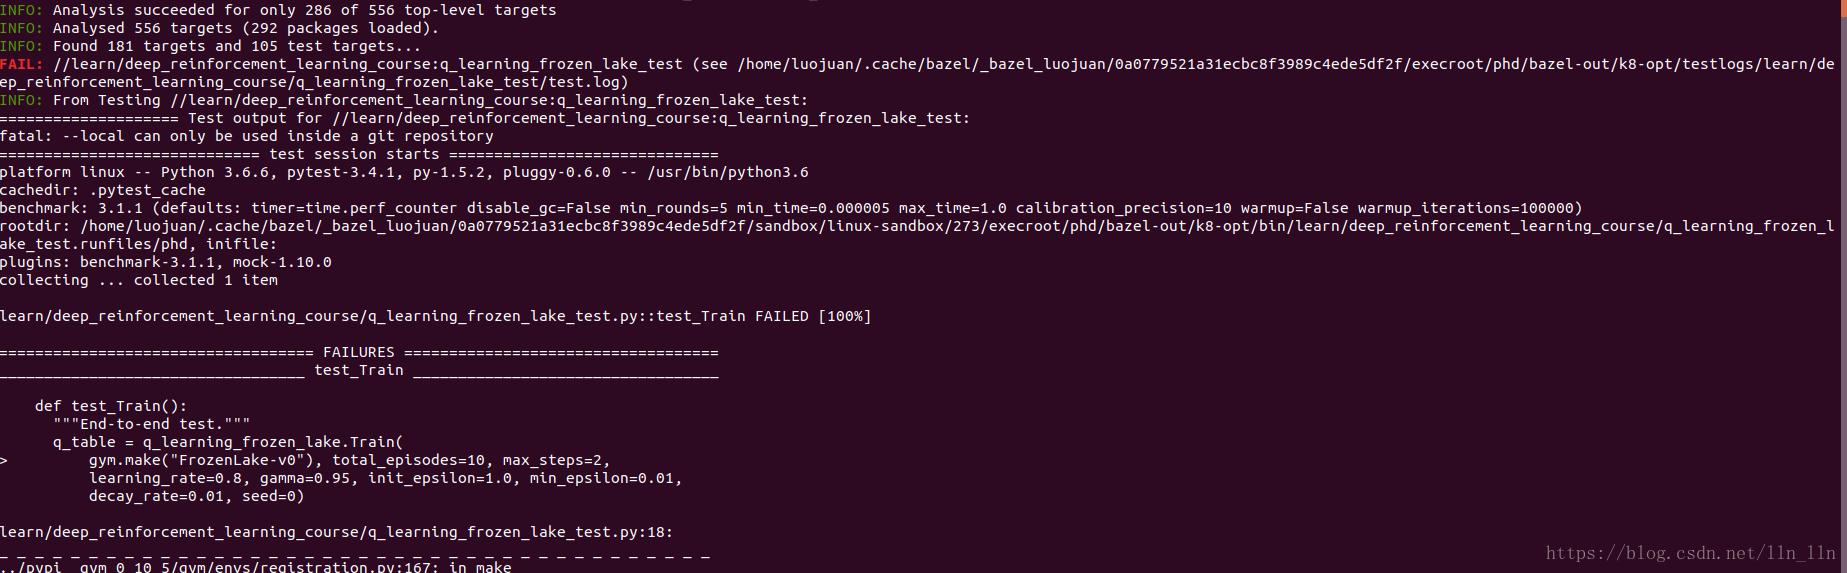


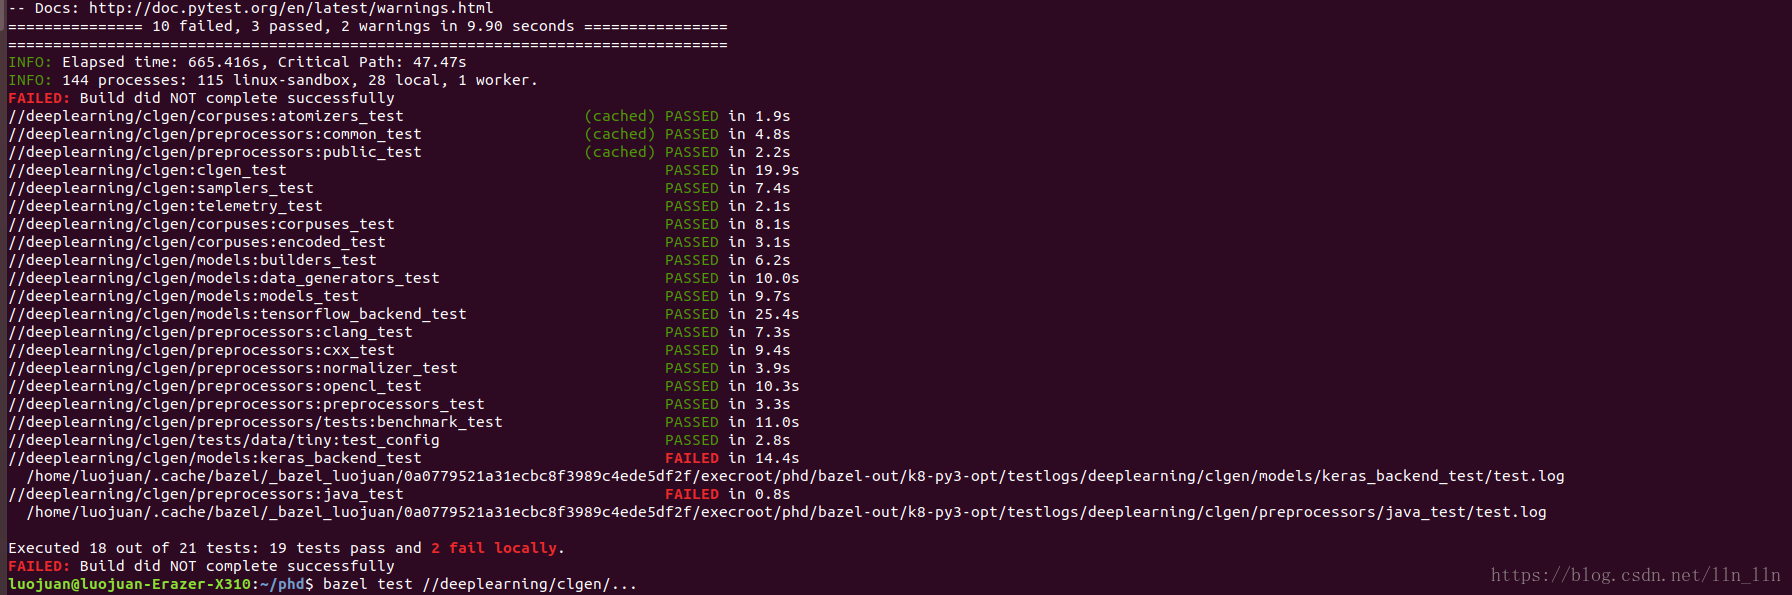
docker容器执行bazel test //deeplearning/clgen/...
结果如下:
luo:
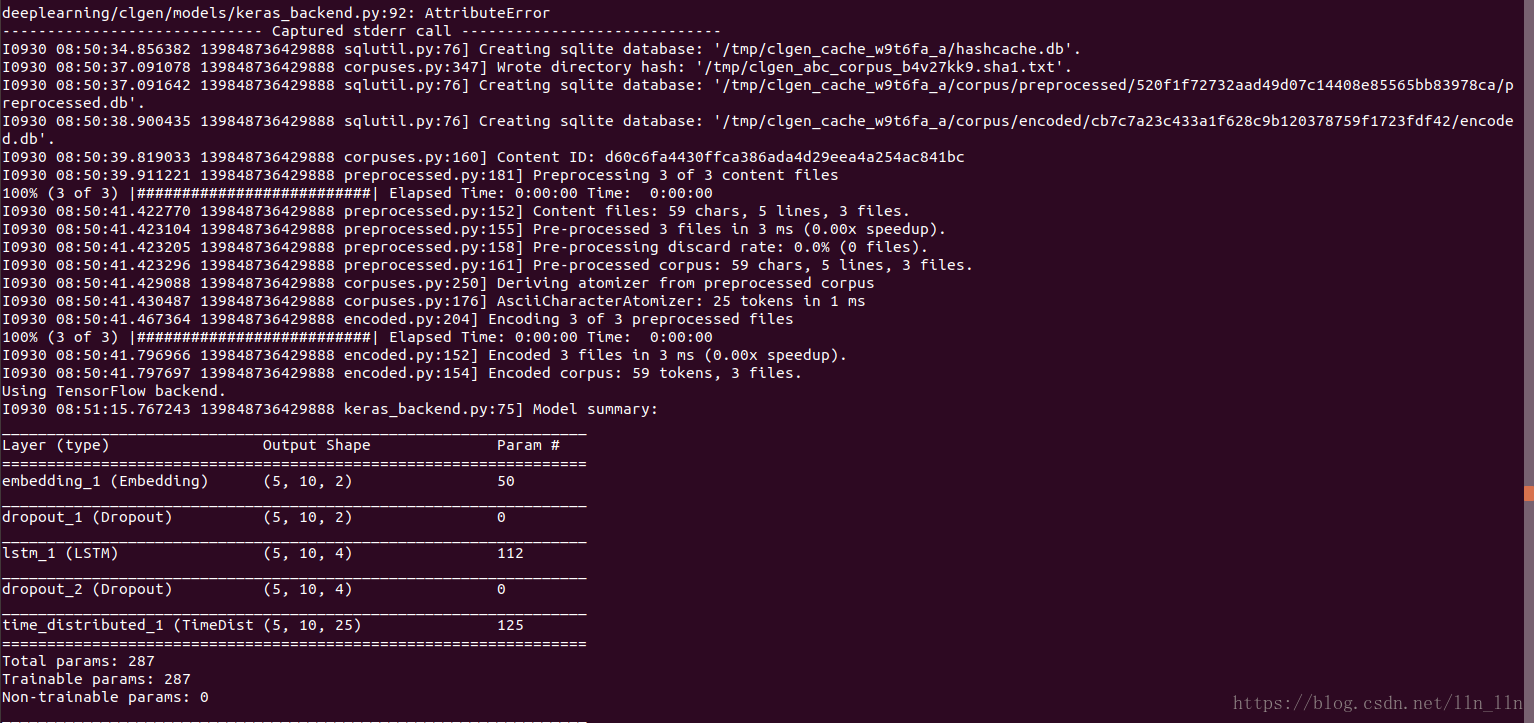
docker容器执行
bazel run //deeplearning/clgen -- \ --config $PWD/deeplearning/clgen/tests/data/tiny/config.pbtxt
结果如下:
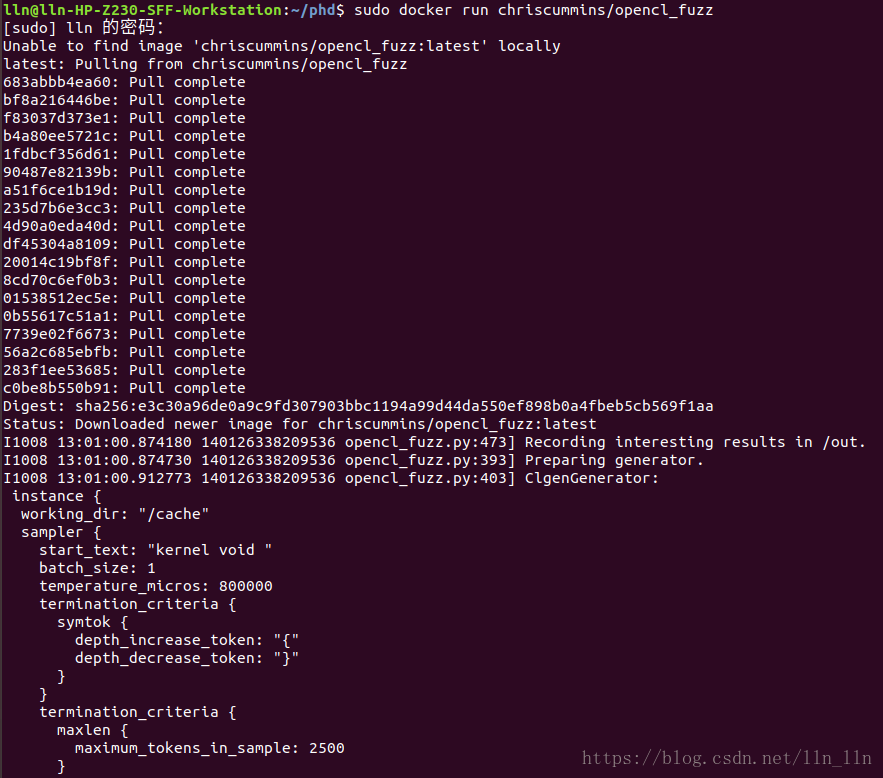
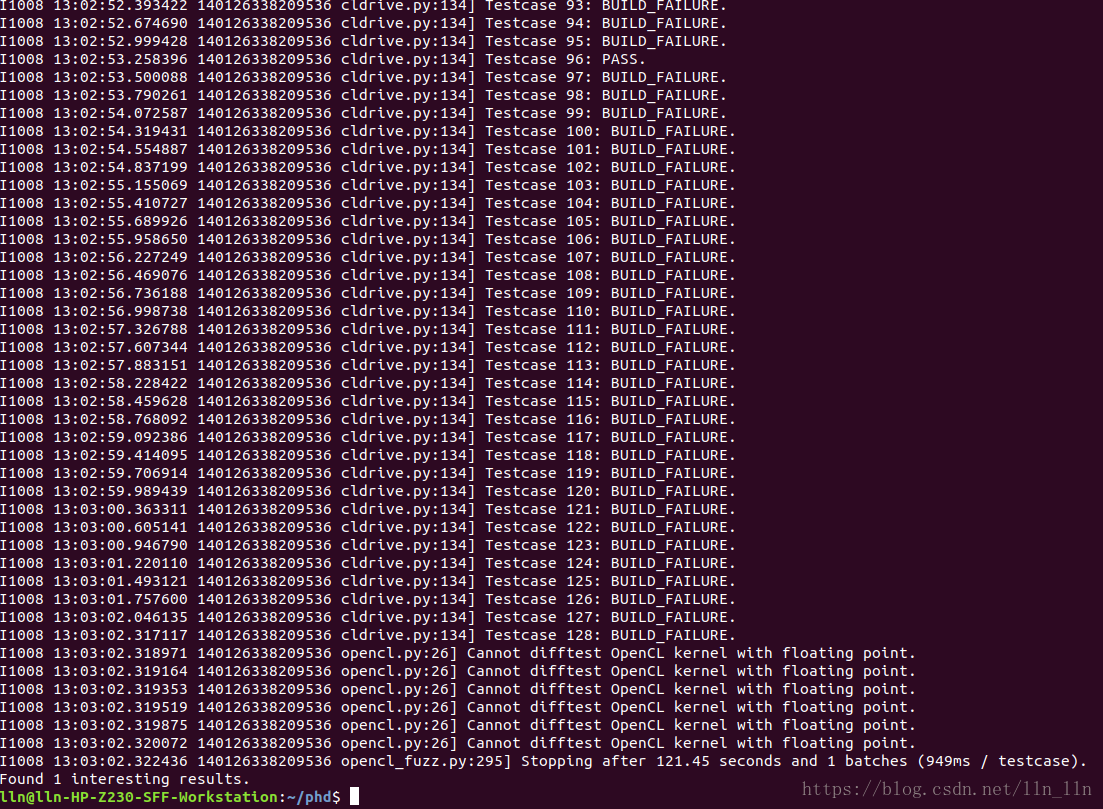
docker容器执行docker run chriscummins/opencl_fuzz
结果如下:

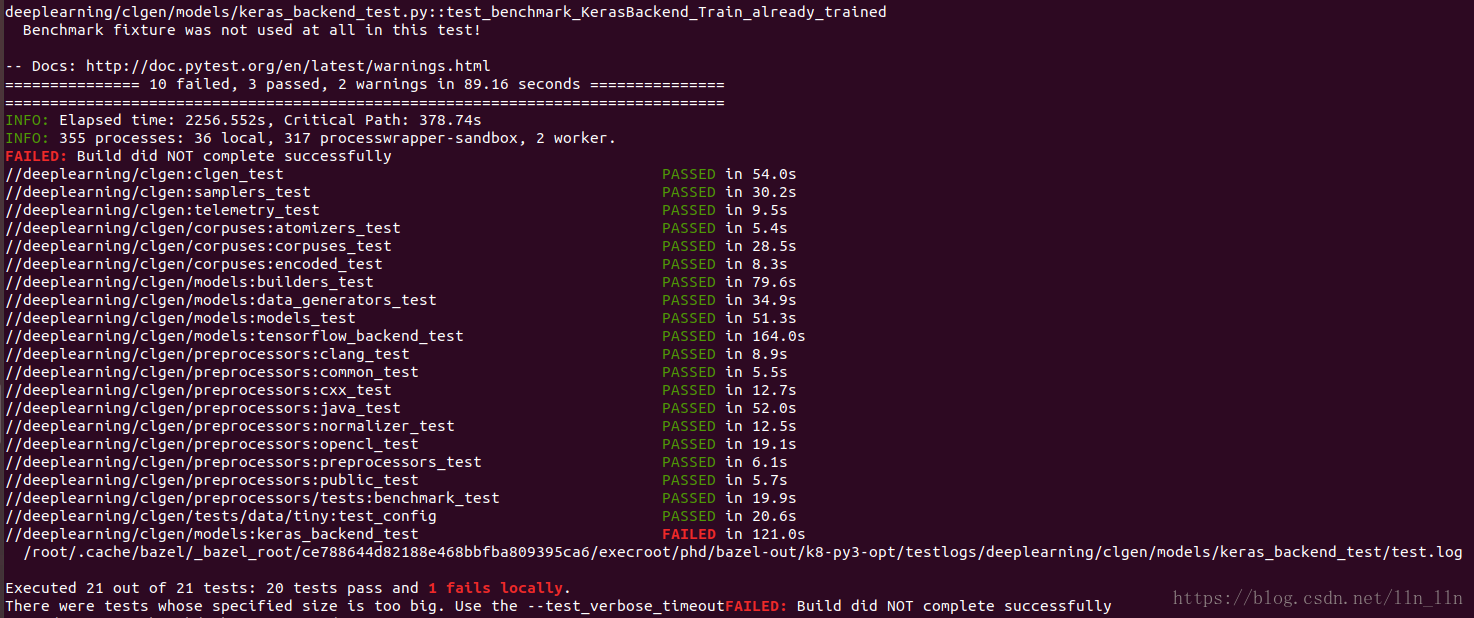

服务器中运行出现:
luo:

Gated Graph Neural Network
1.安装python package rdkit(首先安装anaconda3)
安装anaconda3:
a.下载(最新版本):https://mirrors.tuna.tsinghua.edu.cn/anaconda/archive/
b.安装(打开下载位置,运行bash文件):运行 .sh 文件:
bash Anaconda3-5.3.0-Linux-x86_64.sh
- 进入注册信息页面,输入yes;
- 阅读注册信息,然后输入yes;
- 查看文件即将安装的位置,按enter,即可安装;
- 安装完成后,收到加入环境变量的提示信息,输入yes;
- 提示信息“Do you wish to proceed with the
installation of Microsoft VSCode? [yes|no]”,输入no;
c.重启终端,即可使用Anaconda3;
注意:忘记加入环境变量,执行:
vim ~/.bashrc
export PATH="/root/anaconda3/bin:$PATH"
d.卸载Anaconda3
删除整个anaconda目录:rm -rf /root/anaconda3
到根目录下,打开~/.bashrc:vim ~/.bashrc
用#号注释掉之前添加的路径(或直接删除):
#export PATH=/home/lq/anaconda3/bin:$PATH
使其立即生效:source ~/.bashrc
安装rdkit
conda install -c rdkit rdkit
2.获取数据执行get_data.py
python ./get_data.py
出现问题:
1.ImportError: libXrender.so.1: cannot open shared object file: No such file or directory
解决:安装libXrender
apt-get install libxrender1
2.ubuntu下ImportError: libXext.so.6: cannot open shared object file: No such file or directory
解决:安装libXext
apt-get install libxext-dev
(如果报找不到下载地址,先执行:apt-get update)
结果:


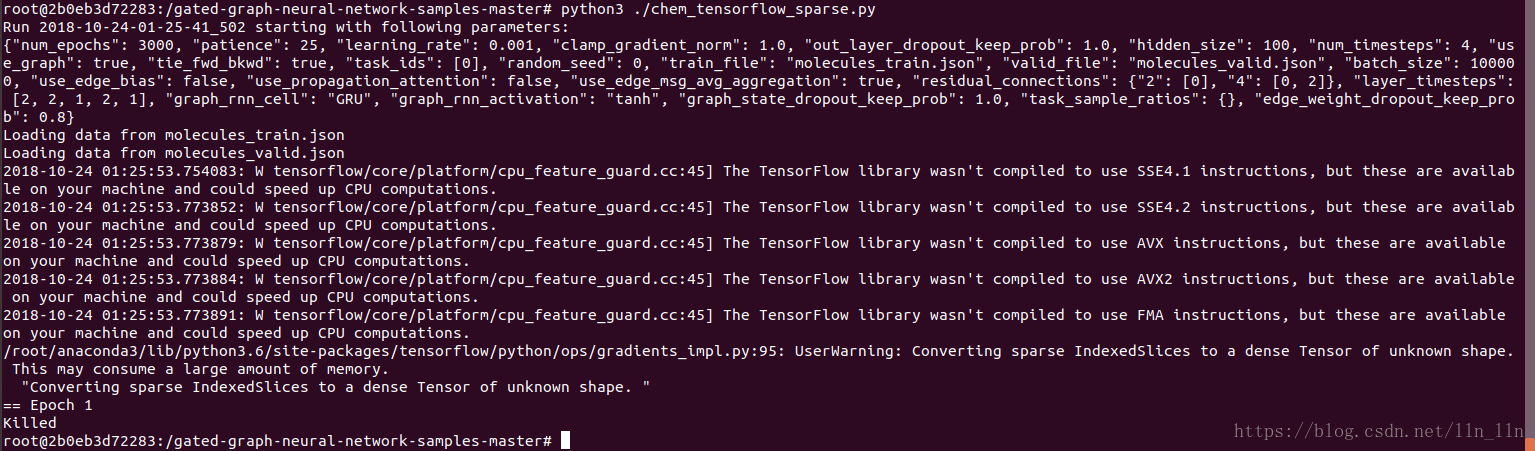
3.run sparse Gated Graph Neural Networks:
python3 ./chem_tensorflow_sparse.py
结果: