实现物体的旋转、跳动以及场景阴影的开启与优化
本程序将创建一个场景,并实现物体的动画效果
运行的结果如图:
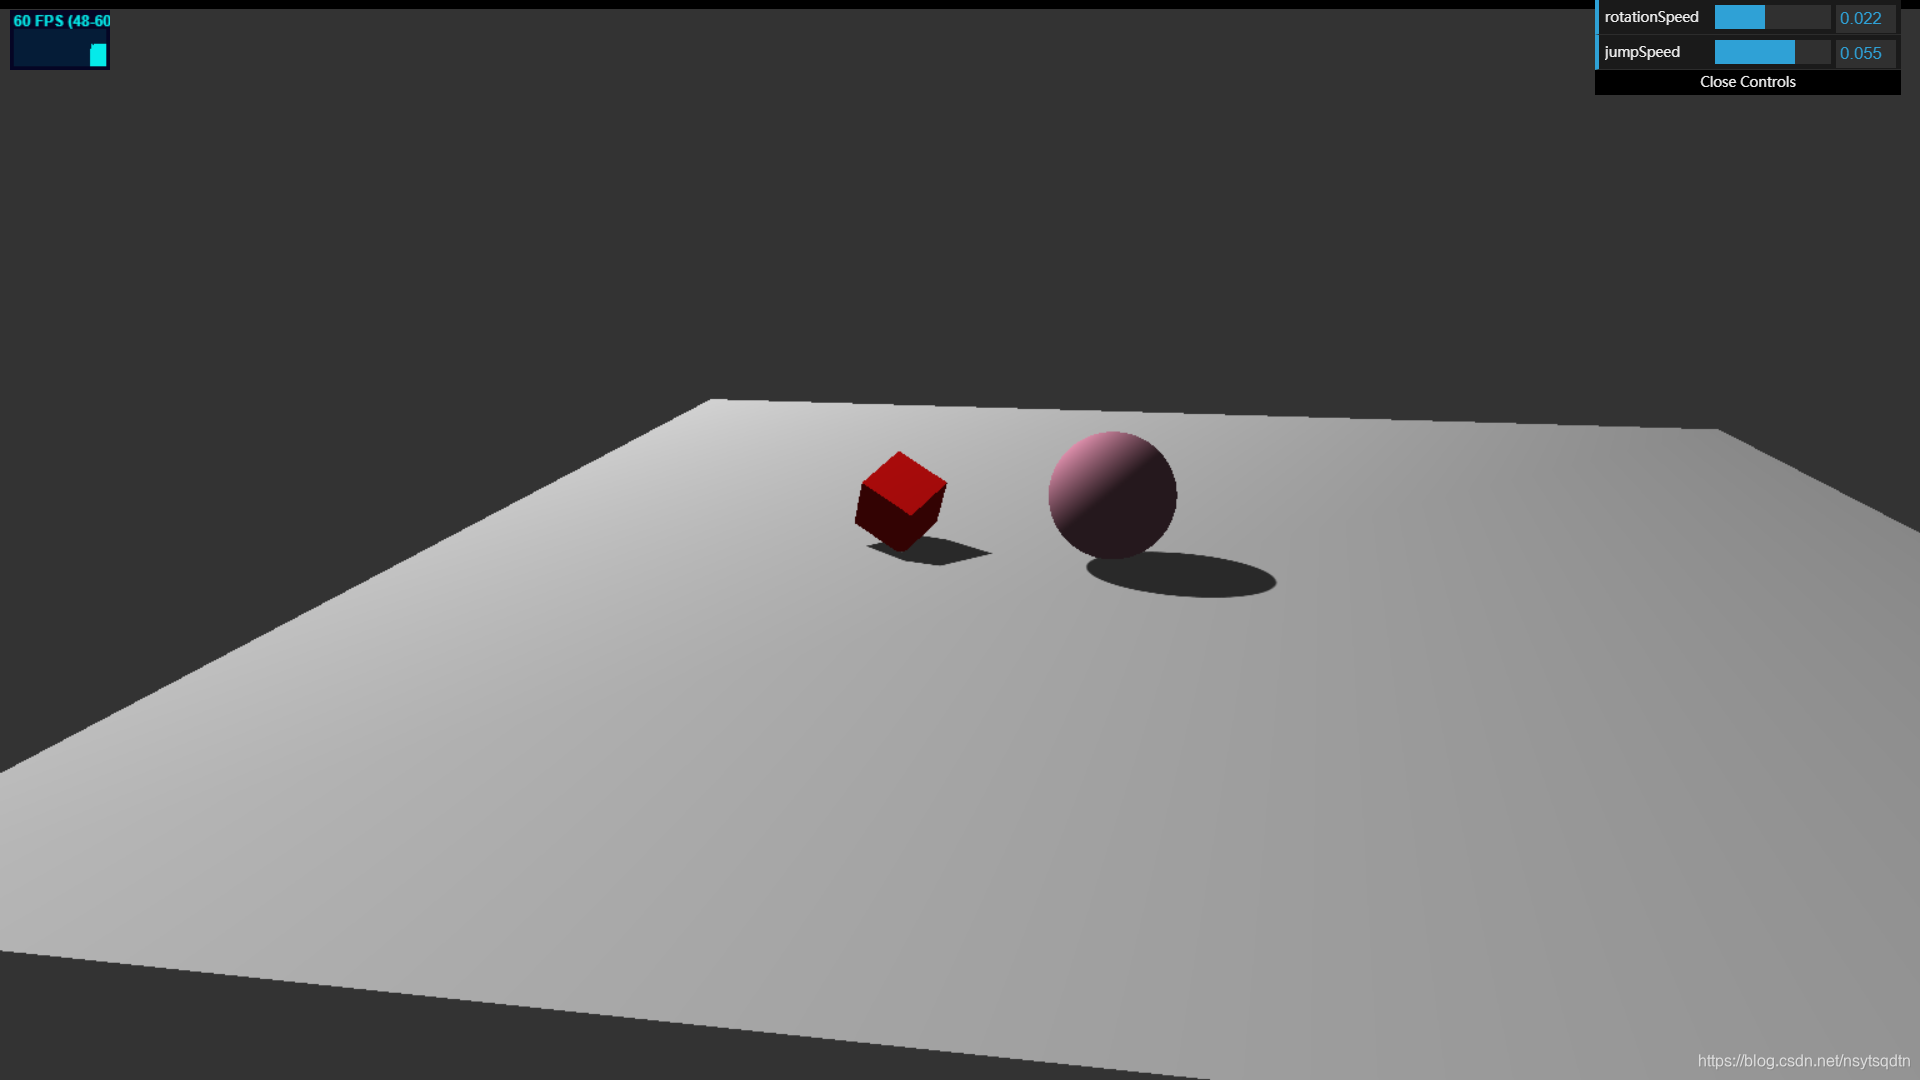
完整代码如下:
<!DOCTYPE html>
<html lang="en">
<head>
    <meta charset="UTF-8">
    <title>Three.js</title>
    <script src="../../../Import/three.js"></script>
    <script src="../../../Import/stats.js"></script>
    <script src="../../../Import/Setting.js"></script>
    <script src="../../../Import/OrbitControls.js"></script>
    <script src="../../../Import/dat.gui.min.js"></script>
    <style type="text/css">
        div#canvas-frame {
            border: none;
            cursor: pointer;
            width: 100%;
            height: 850px;
            background-color: #333333;
        }
    </style>
</head>
<body onload="threeStart()">
<div id="canvas-frame"></div>
<script>
    //控制面板中需要的两个数据
    let control = new function () {
        this.rotationSpeed = 0.01;
        this.jumpSpeed = 0.03;
    };
    let renderer, camera, scene;
    let controller;
    let width,height;

    //初始化渲染器
    function initThree() {
        width = document.getElementById('canvas-frame').clientWidth;
        height = document.getElementById('canvas-frame').clientHeight;
        renderer = new THREE.WebGLRenderer({
            antialias: true
        });//定义渲染器
        renderer.setSize(width, height);//设置渲染的宽度和高度
        document.getElementById("canvas-frame").appendChild(renderer.domElement);//将渲染器加在html中的div里面
        renderer.setClearColor(0x333333, 1.0);//渲染的颜色设置
        renderer.shadowMapEnabled = true;//开启阴影,默认是关闭的,太影响性能
        renderer.shadowMapType = THREE.PCFSoftShadowMap;//阴影的一个类型,可以不设置对比看效果
    }
    //初始化摄像机
    function initCamera() {
        camera = new THREE.PerspectiveCamera(45, width / height, 1, 10000);//perspective是透视摄像机,这种摄像机看上去画面有3D效果

        //摄像机的位置
        camera.position.x = 50;
        camera.position.y = 50;
        camera.position.z = 50;
        camera.up.x = 0;
        camera.up.y = 1;//摄像机的上方向是Y轴
        camera.up.z = 0;
        camera.lookAt(0, 0, 0);//摄像机对焦的位置
        //这三个参数共同作用才能决定画面
    }
    //初始化场景
    function initScene() {
        scene = new THREE.Scene();
    }
    //摄像机的控制,可以采用鼠标拖动来控制视野
    function cameraControl() {
        controller = new THREE.OrbitControls(camera, renderer.domElement);
        controller.target = new THREE.Vector3(0, 0, 0);
    }
    //一个很方便的控制面板,方便更改程序的参数
    function datGUI() {
        let gui = new dat.GUI();
        //可以设置可以调动的范围
        gui.add(control, "rotationSpeed", 0, 0.05);
        gui.add(control, "jumpSpeed", 0, 0.08);
    }
    //初始化灯光
    function initLight() {
        let light = new THREE.SpotLight(0xffffff, 1.0, 0);//点光源
        light.position.set(-40, 60, -10);
        light.castShadow = true;//开启阴影
        light.shadowMapWidth = 8192;//阴影的分辨率
        light.shadowMapHeight = 8192;
        scene.add(light);
        light = new THREE.AmbientLight(0xffffff, 0.2);//环境光,如果不加,点光源照不到的地方就完全是黑色的
        scene.add(light);
    }

    let cube;
    let sphere;

    //初始化物体
    function initObject() {
        //定义了一个地面
        let planeGeometry = new THREE.PlaneGeometry(100, 100, 1, 1);
        let planeMaterial = new THREE.MeshLambertMaterial({
            color: 0xcccccc,
        });
        let plane = new THREE.Mesh(planeGeometry, planeMaterial);
        plane.rotation.x = -0.5 * Math.PI;
        plane.position.x = 15;
        plane.receiveShadow = true;//开启地面的接收阴影
        scene.add(plane);//添加到场景中

        //定义了一个方块
        let cubeGeometry = new THREE.BoxGeometry(4, 4, 4);
        let cubeMaterial = new THREE.MeshLambertMaterial({
            color: 0xff1111,
        });
        cube = new THREE.Mesh(cubeGeometry, cubeMaterial);
        cube.position.x = -4;
        cube.position.y = 3;
        cube.position.z = 0;
        cube.castShadow = true;//开启阴影
        scene.add(cube);

        //定义了一个球体
        let sphereGeometry = new THREE.SphereGeometry(4, 100, 100);
        let sphereMaterial = new THREE.MeshLambertMaterial({
            color: 0xba7890,
        });
        sphere = new THREE.Mesh(sphereGeometry, sphereMaterial);
        sphere.position.x = 20;
        sphere.position.y = 4;
        sphere.position.z = 2;
        sphere.castShadow = true;//开启阴影
        scene.add(sphere);
    }
    //方块的自动旋转
    function cubeRotation() {
        cube.rotation.x += control.rotationSpeed;
        cube.rotation.y += control.rotationSpeed;
        cube.rotation.z += control.rotationSpeed;
    }

    let step = 0;
    //球体的抛物线运动轨迹
    function boxJump() {
        step += control.jumpSpeed;
        sphere.position.x = 20 + 10 * (Math.cos(step));
        sphere.position.y = 4 + 10 * (Math.abs(Math.sin(step)));
    }
    //定义的一个功能文件
    function initSetting() {
        loadAutoScreen(camera,renderer);
        loadFullScreen();
        loadStats();
    }
    //主函数
    function threeStart() {
        initThree();
        initCamera();
        initScene();
        initLight();
        initObject();
        cameraControl();
        datGUI();
        initSetting();
        animation();
    }
    //动画
    function animation() {
        cubeRotation();//方块旋转函数
        boxJump();//球体运动函数
        stats.update();//更新性能检测器

        renderer.clear();
        renderer.render(scene, camera);//开始渲染

        requestAnimationFrame(animation);//重复执行此函数,不停的渲染,达到动画的效果
    }
</script>
</body>
</html>
其中OrbitControls.js和dat.gui.min.js这两个文件都是Three.js自带的两个很好用的工具,第一个是可以让摄像机有轨道地进行移动,而不用再自己写函数去实现,第二个是一个轻量级的图形用户界面库(GUI 组件),使用这个库可以很容易地创建出能够改变代码变量的界面组件,方便我们测试程序。
另外如果想要在程序中开启阴影的话首先需要把renderer.shadowMapEnabled设置为true,默认是关闭的,因为实现阴影的效果是比较消耗性能的。同时要把light的投掷阴影开启light.castShadow = true,但是并不是所有的灯光都可以开启,比如环境光就不可以。每一个需要产生阴影的物体也要开启阴影,我们需要用地面来接收阴影,所以也需要开启地面的接收阴影
plane.receiveShadow = true;
cube.castShadow = true;
sphere.castShadow = true;
现在的效果是这样的:
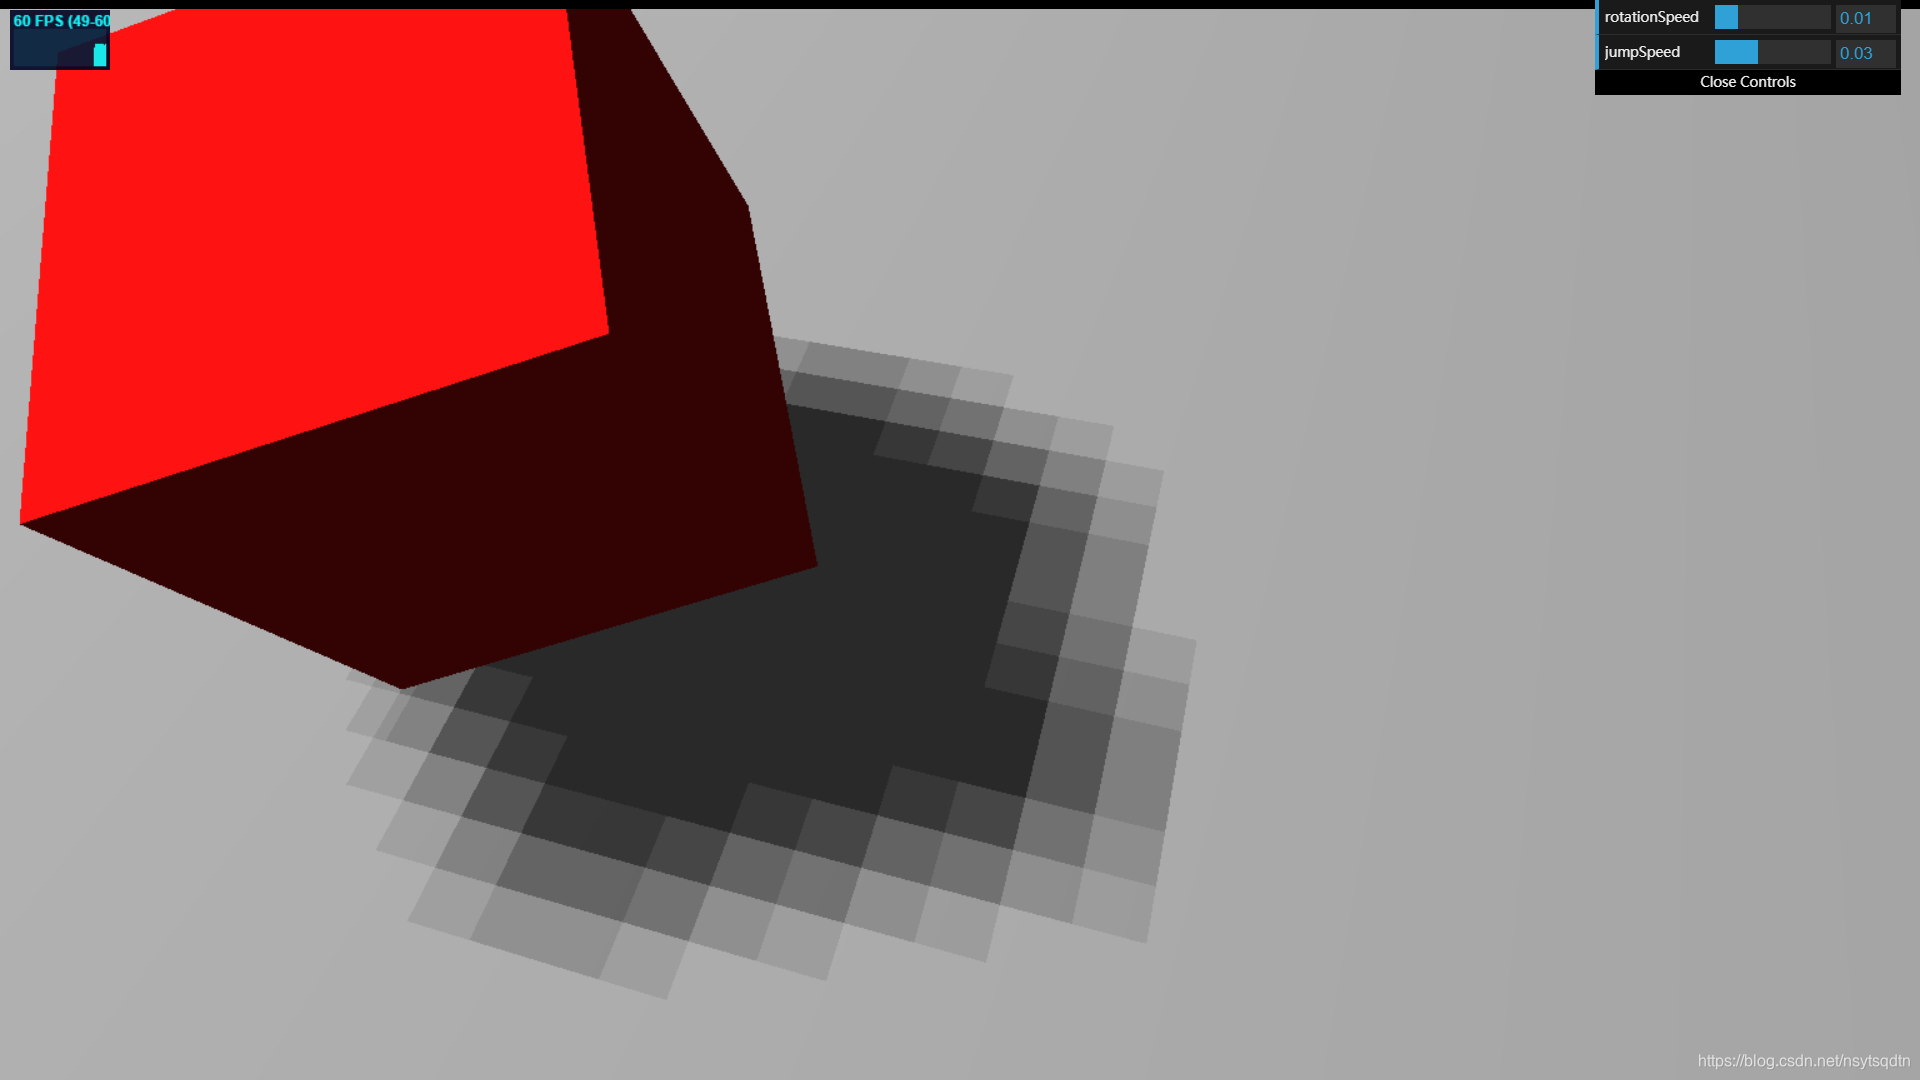
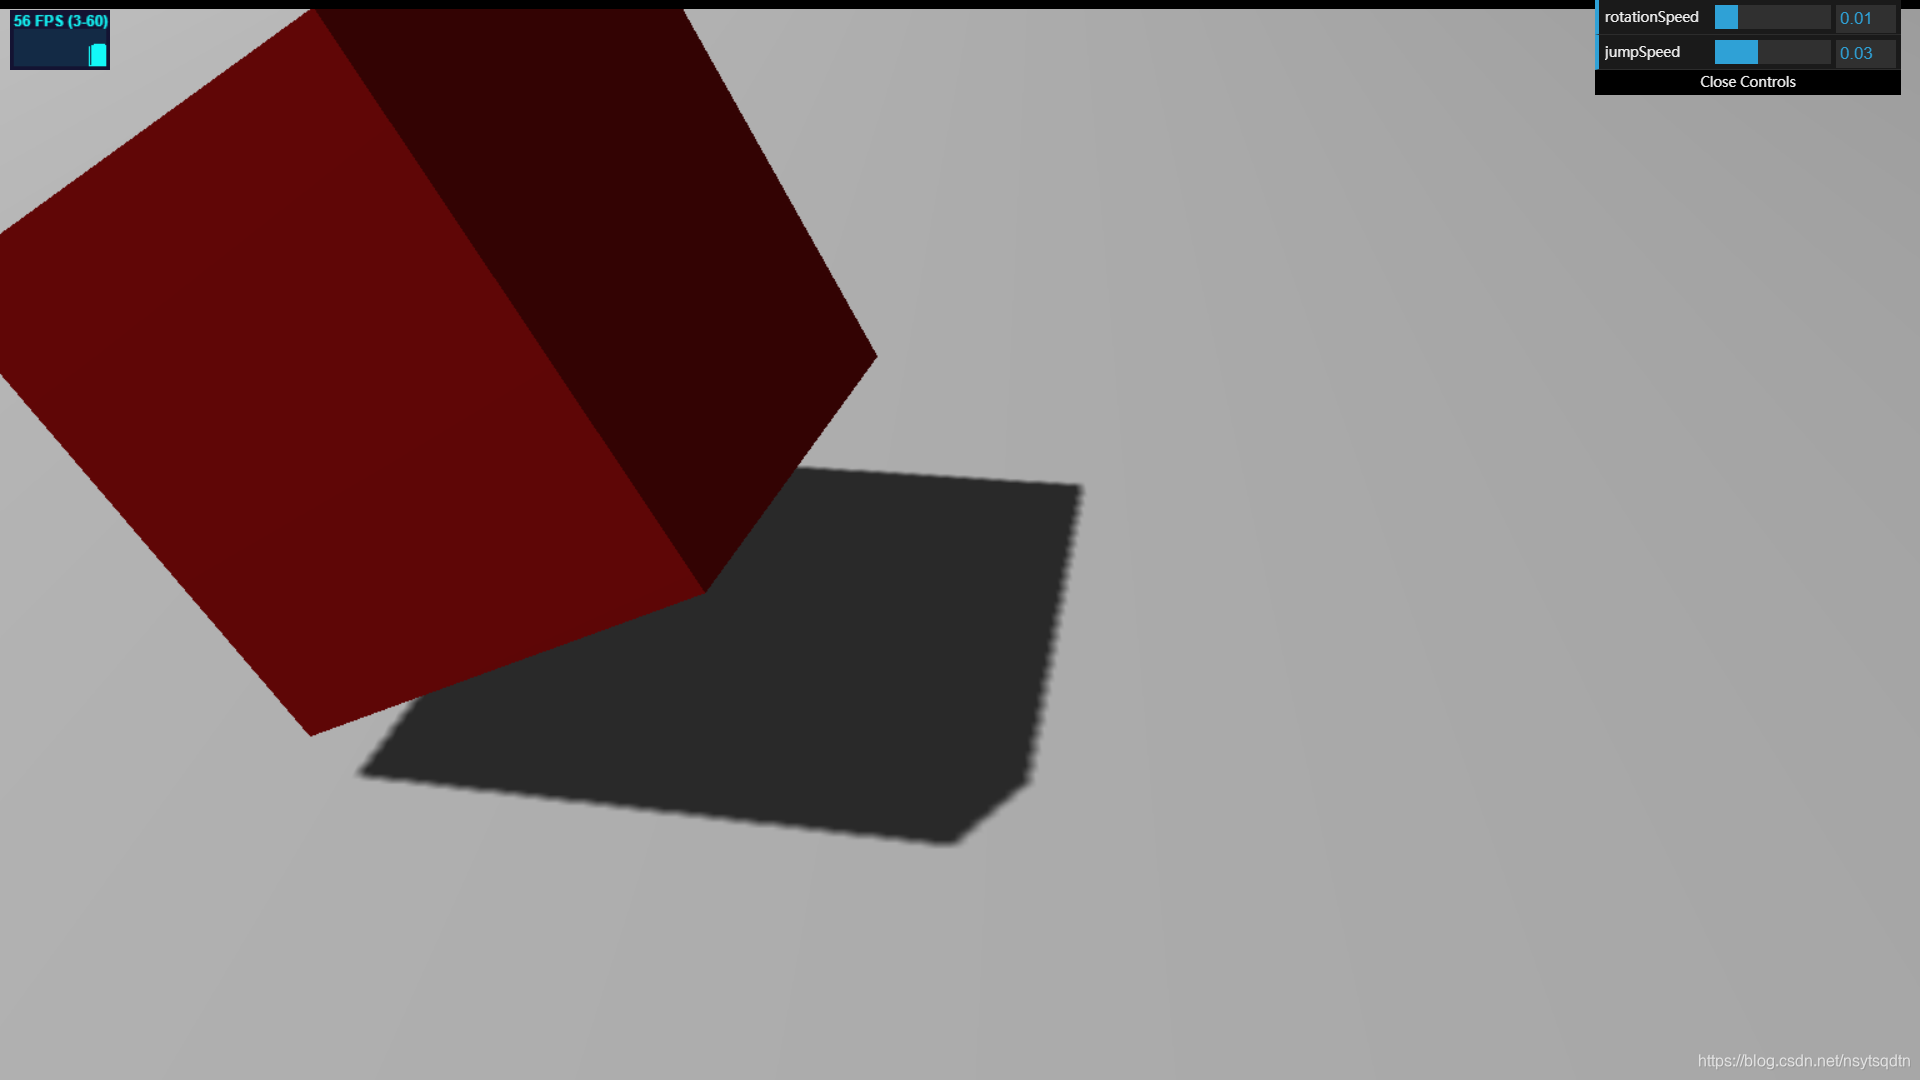
可以看到,阴影是比较难看的,所以设置一些阴影的类型,PCFSoftShadowMap能让边缘柔和,但只是基于像素颗粒的边缘柔和。我们可以先使用此类型,然后再提高阴影的分辨率light.shadowMapWidth = 8192;
light.shadowMapHeight = 8192;
默认的值应该是1024。
此时的阴影效果是这样的
至此,我们的场景还有物体的动画效果就已经实现。