玩了一周的TensorFlow Object Detection API了,是时候记录一下,踩过的坑都快忘记了~
首先,总结一下检测的流程,实验分以下几步完成:
- 收集并标注数据
- 数据格式转换
- 确定训练模型
- 开始训练
- 导出模型并测试
一、收集并标注数据
图片收集的话,网上随便爬,看你要什么数据,不赘述~
数据当然是越多越好啦~
接下来讲讲数据的标注,数据标注需要借助软件,我这里用的是labelImg,下载链接在下面哟~
下载链接:链接: https://pan.baidu.com/s/14jaDchHUYH4Tc0BWSDcTkg 提取码: a4we
软件打开长这样~
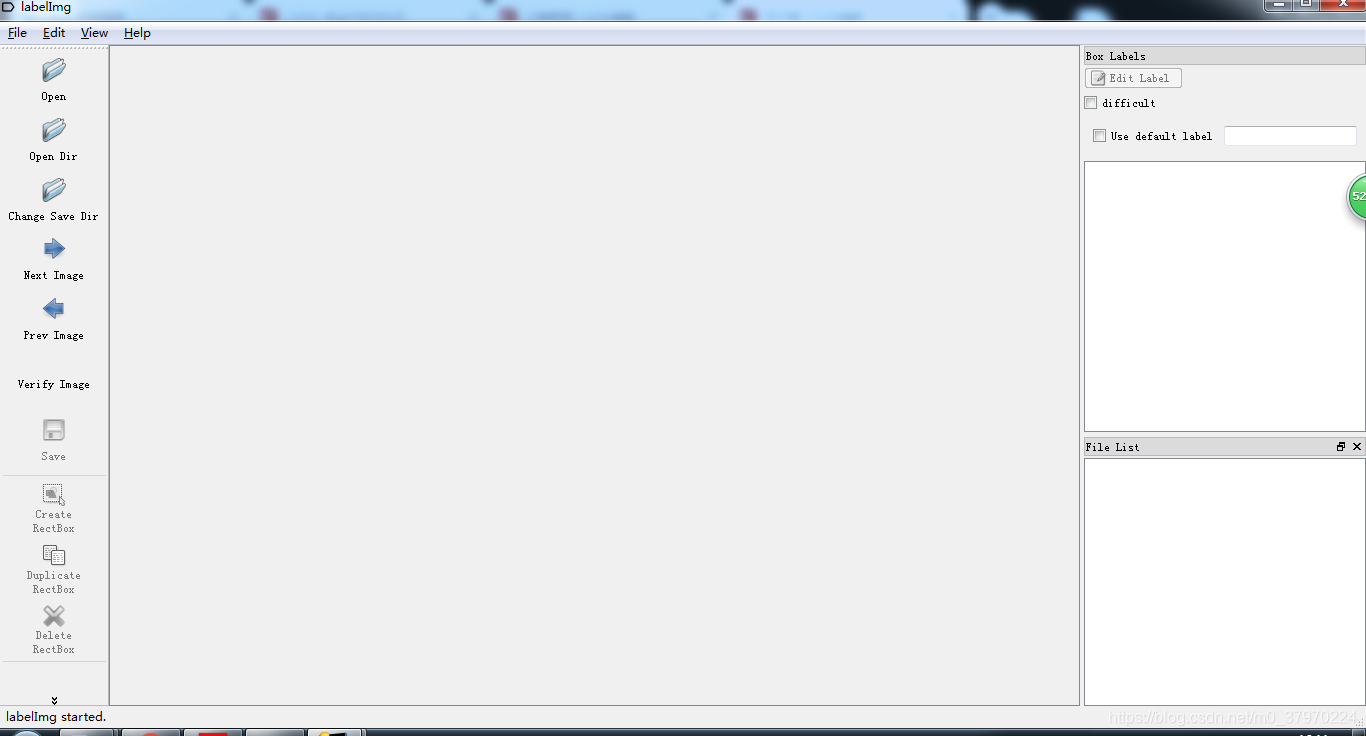
然后我们打开一张“小超越”的图片,就可以开始标注啦~
图片放置的路径不要中文,用英文~
点击Create RectBox就开始画框框,画完打标签
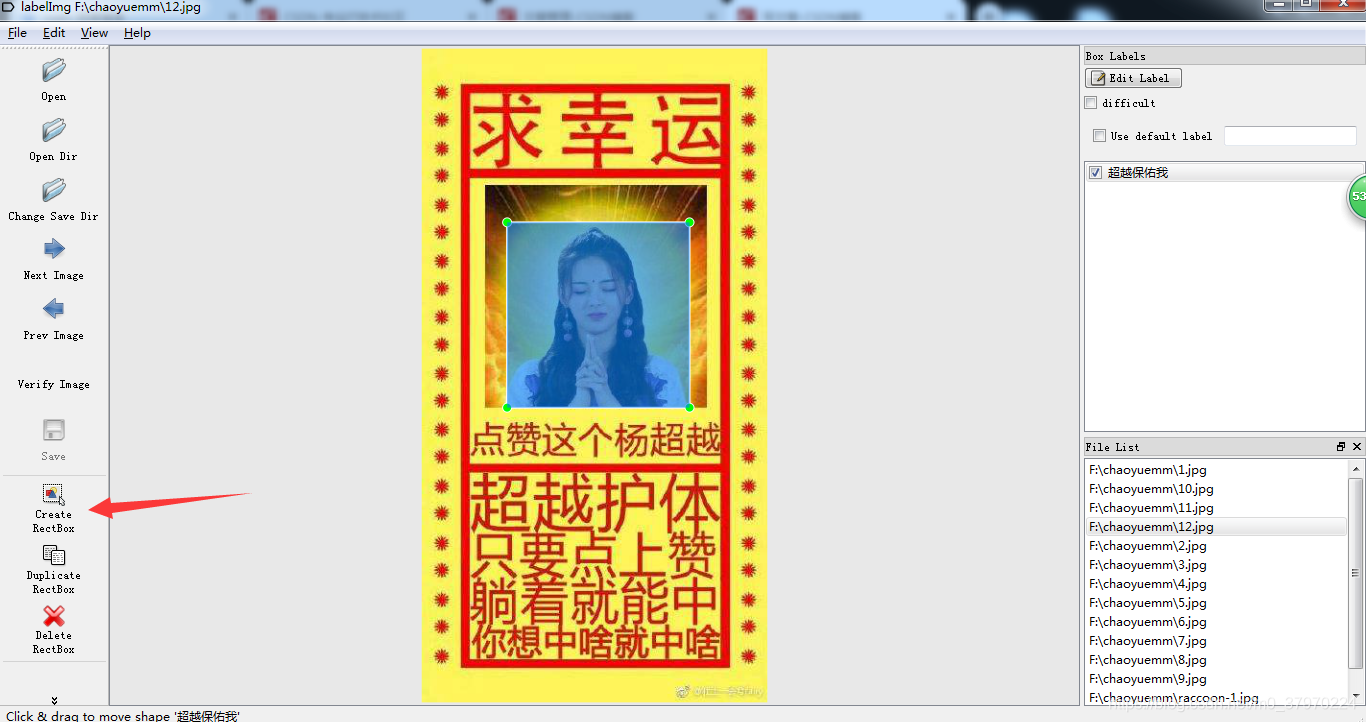
你会发现在文件夹下生成这张图片相应的xml标签文件~

然后这样就标注好了哇~
这就是手动标注~
那其实标注的工具还有很多啦,你想用哪个用哪个,我用的这个最终输出的格式是和Voc2007检测数据集的一样样的~
想要了解更多的标注工具,请戳下面:
链接:https://blog.csdn.net/chaipp0607/article/details/79036312
我这里给大家提供一个标注好的数据集吧~
让大家解放双手~
小浣熊数据集:https://download.csdn.net/download/m0_37970224/11058219
二、数据格式转换
好,来~
我们已经创建了带标注的数据集啦~
接下来,我们需要把数据集转换成tensorflow想要的形式tfrecord
参考文章:https://blog.csdn.net/zong596568821xp/article/details/82015126
上代码:xml_to_csv.py
import os
import glob
import pandas as pd
import xml.etree.ElementTree as ET


def xml_to_csv(path):
    xml_list = []
    for xml_file in glob.glob(path + '/*.xml'):
        tree = ET.parse(xml_file)
        root = tree.getroot()
        for member in root.findall('object'):
            value = (root.find('filename').text,
                     int(root.find('size')[0].text),
                     int(root.find('size')[1].text),
                     member[0].text,
                     int(member[4][0].text),
                     int(member[4][1].text),
                     int(member[4][2].text),
                     int(member[4][3].text)
                     )
            xml_list.append(value)
    column_name = ['filename', 'width', 'height', 'class', 'xmin', 'ymin', 'xmax', 'ymax']
    xml_df = pd.DataFrame(xml_list, columns=column_name)
    return xml_df


def main():
	# 这里填那些xml文件的路径,我这里是放在annotations文件夹里面
    image_path = os.path.join(os.getcwd(), 'annotations')
    xml_df = xml_to_csv(image_path)
    # 输出路径,我这里是test/data/raccoon_labels.csv
    xml_df.to_csv('test/data/raccoon_labels.csv', index=None)
    print('Successfully converted xml to csv.')


main()
cd 到该文件目录下
执行命令:python xml_to_csv.py
转换好了之后:
运行 generate_tfrecord.py
代码如下:
"""
Usage:
  # From tensorflow/models/
  # Create train data:
  python generate_tfrecord.py --csv_input=data/train_labels.csv  --output_path=train.record

  # Create test data:
  python generate_tfrecord.py --csv_input=data/test_labels.csv  --output_path=test.record
"""
from __future__ import division
from __future__ import print_function
from __future__ import absolute_import

import os
import io
import pandas as pd
import tensorflow as tf

from PIL import Image
from object_detection.utils import dataset_util
from collections import namedtuple, OrderedDict

flags = tf.app.flags
# 几个输入的参数,
# python generate_tfrecord.py --csv_input=data/train_labels.csv --output_path=test/data/train.record --image_dir=images
flags.DEFINE_string('csv_input', '', 'Path to the CSV input')
flags.DEFINE_string('output_path', '', 'Path to output TFRecord')
flags.DEFINE_string('image_dir', '', 'Path to images')
FLAGS = flags.FLAGS


# TO-DO replace this with label map
# 改成你的类别
def class_text_to_int(row_label):
    if row_label == 'raccoon':
        return 1
    else:
        return 0


def split(df, group):
    data = namedtuple('data', ['filename', 'object'])
    gb = df.groupby(group)
    return [data(filename, gb.get_group(x)) for filename, x in zip(gb.groups.keys(), gb.groups)]


def create_tf_example(group, path):
    with tf.gfile.GFile(os.path.join(path, '{}'.format(group.filename)), 'rb') as fid:
        encoded_jpg = fid.read()
    encoded_jpg_io = io.BytesIO(encoded_jpg)
    image = Image.open(encoded_jpg_io)
    width, height = image.size

    filename = group.filename.encode('utf8')
    image_format = b'jpg'
    xmins = []
    xmaxs = []
    ymins = []
    ymaxs = []
    classes_text = []
    classes = []

    for index, row in group.object.iterrows():
        xmins.append(row['xmin'] / width)
        xmaxs.append(row['xmax'] / width)
        ymins.append(row['ymin'] / height)
        ymaxs.append(row['ymax'] / height)
        classes_text.append(row['class'].encode('utf8'))
        classes.append(class_text_to_int(row['class']))

    tf_example = tf.train.Example(features=tf.train.Features(feature={
        'image/height': dataset_util.int64_feature(height),
        'image/width': dataset_util.int64_feature(width),
        'image/filename': dataset_util.bytes_feature(filename),
        'image/source_id': dataset_util.bytes_feature(filename),
        'image/encoded': dataset_util.bytes_feature(encoded_jpg),
        'image/format': dataset_util.bytes_feature(image_format),
        'image/object/bbox/xmin': dataset_util.float_list_feature(xmins),
        'image/object/bbox/xmax': dataset_util.float_list_feature(xmaxs),
        'image/object/bbox/ymin': dataset_util.float_list_feature(ymins),
        'image/object/bbox/ymax': dataset_util.float_list_feature(ymaxs),
        'image/object/class/text': dataset_util.bytes_list_feature(classes_text),
        'image/object/class/label': dataset_util.int64_list_feature(classes),
    }))
    return tf_example


def main(_):
    writer = tf.python_io.TFRecordWriter(FLAGS.output_path)
    path = os.path.join(FLAGS.image_dir)
    examples = pd.read_csv(FLAGS.csv_input)
    grouped = split(examples, 'filename')
    for group in grouped:
        tf_example = create_tf_example(group, path)
        writer.write(tf_example.SerializeToString())

    writer.close()
    output_path = os.path.join(os.getcwd(), FLAGS.output_path)
    print('Successfully created the TFRecords: {}'.format(output_path))


if __name__ == '__main__':
    tf.app.run()
cd 到该文件目录下
执行命令:python generate_tfrecord.py --csv_input=data/train_labels.csv --output_path=test/data/train.record --image_dir=images
解释:
python generate_tfrecord.py --csv_input=[train_labels.csv的路径] --output_path=[输出train.record的路径] --image_dir=[输入图片的路径]
这边训练数据和测试数据各要多少张,自己划分
最终得到:
train.record 和 test.record
内容好像还挺多的,那这篇文章先到这,下一篇接着写~