上篇文章讲了两点:
- 收集并标注数据
- 数据格式转换(tfRecord)
接下来我们来讲
- 确定训练模型
- 开始训练
- 导出模型并测试
好,那我们就开始吧~~~
一 训练模型
模型选择
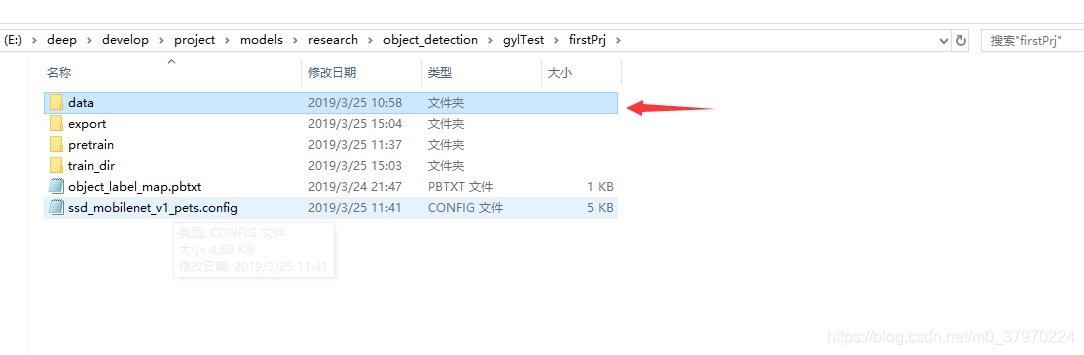
创建一个data文件夹把train.record和test.record放进去
Tensorflow detection model zoo 提供了很多模型
链接:https://github.com/tensorflow/models/blob/master/research/object_detection/g3doc/detection_model_zoo.md
看你想用哪一个:
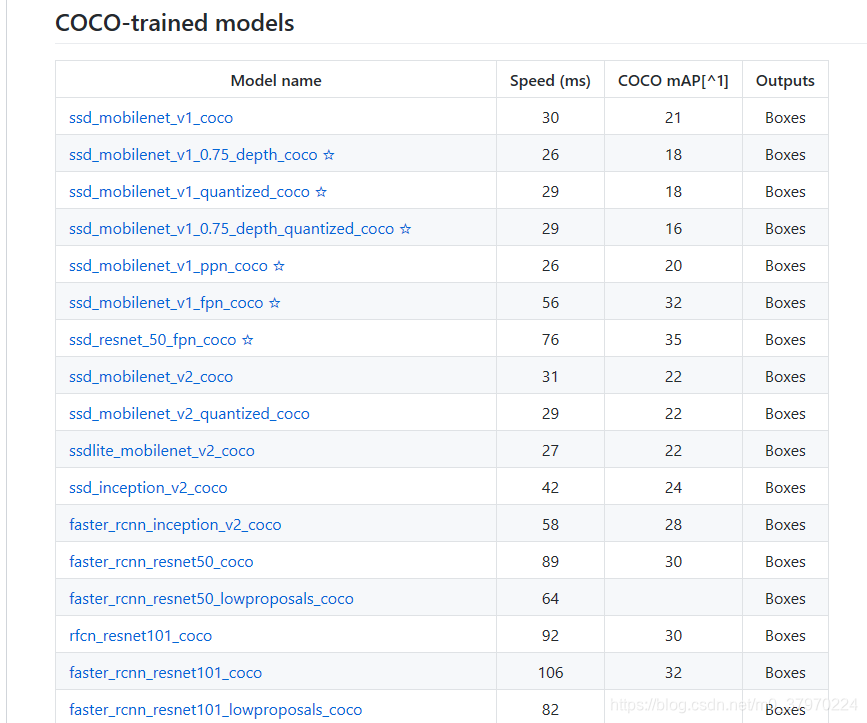
好,举个例子,假如我就选择第一个 ssd_mobilenet_v1_coco
那我点进去下载~
下载完解压一下得到:
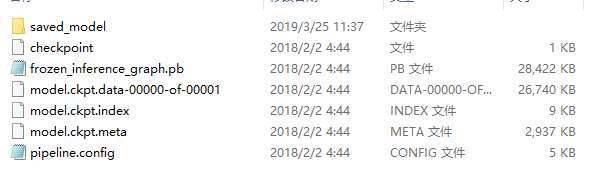
我们建一个文件夹pretrain放进去
这样我们就确定要用这个模型来训练了~
关于其他模型的详解,这里不做介绍,先挖个坑,以后来填~
再接下来我们来讲两个重要的配置文件
.pbtxt 和.config
config文件
我们先讲这个config文件
配置文件位于object_detection/samples/configs文件夹下
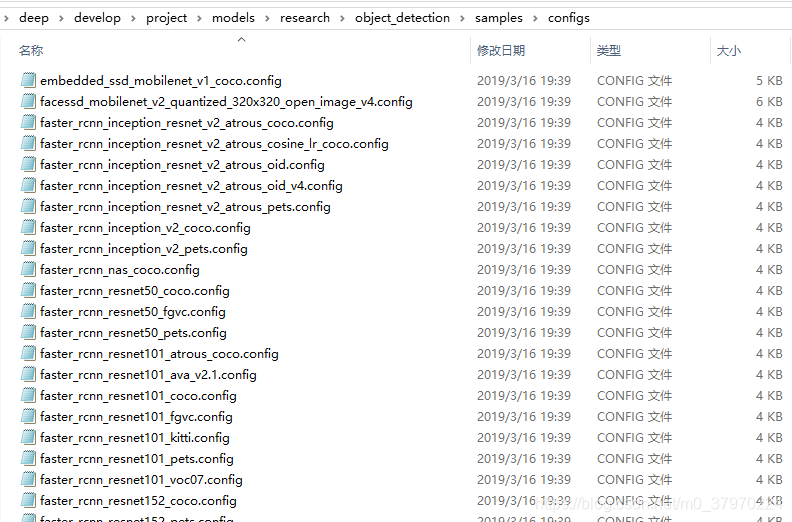
把相对应的文件复制一份过来放进去~
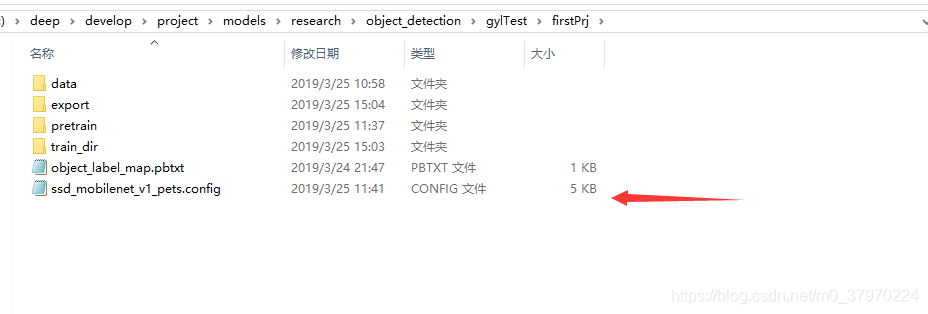
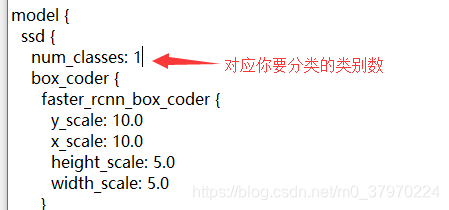
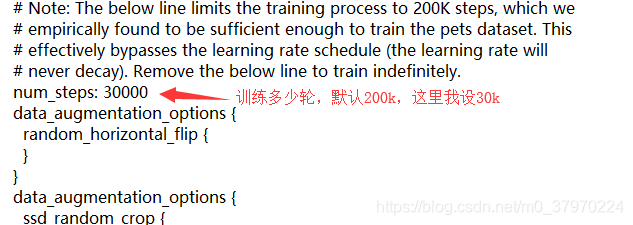
这还不够,还需要修改,修改几个地方如下:
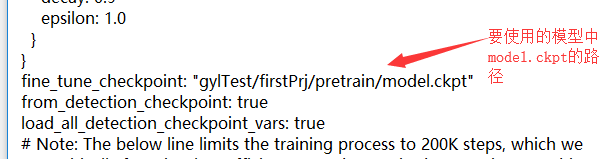
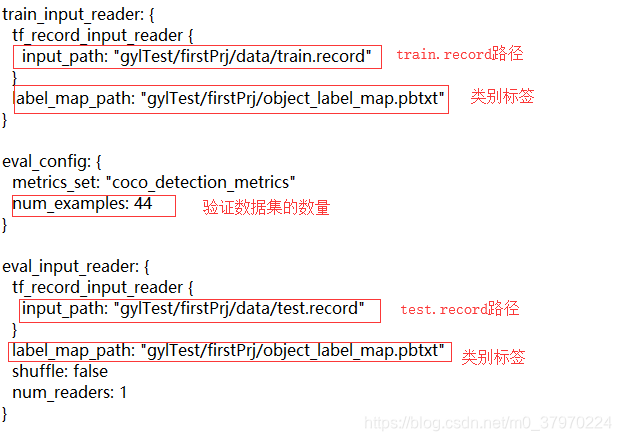
好,可要注意路径有没有写错哟~
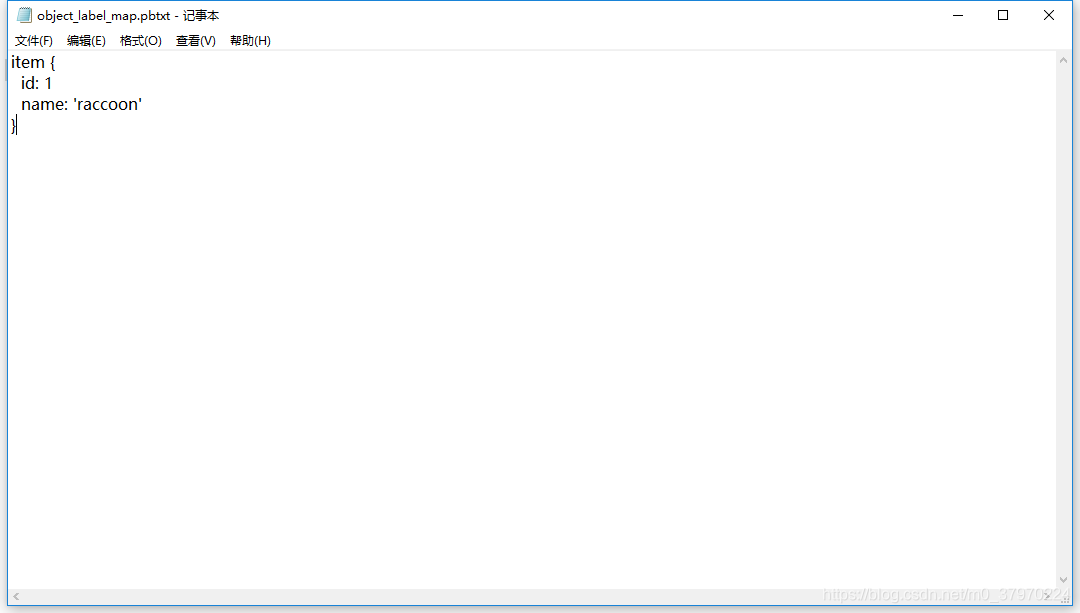
pbtxt文件
这边很简单,一个类别你就这样写~
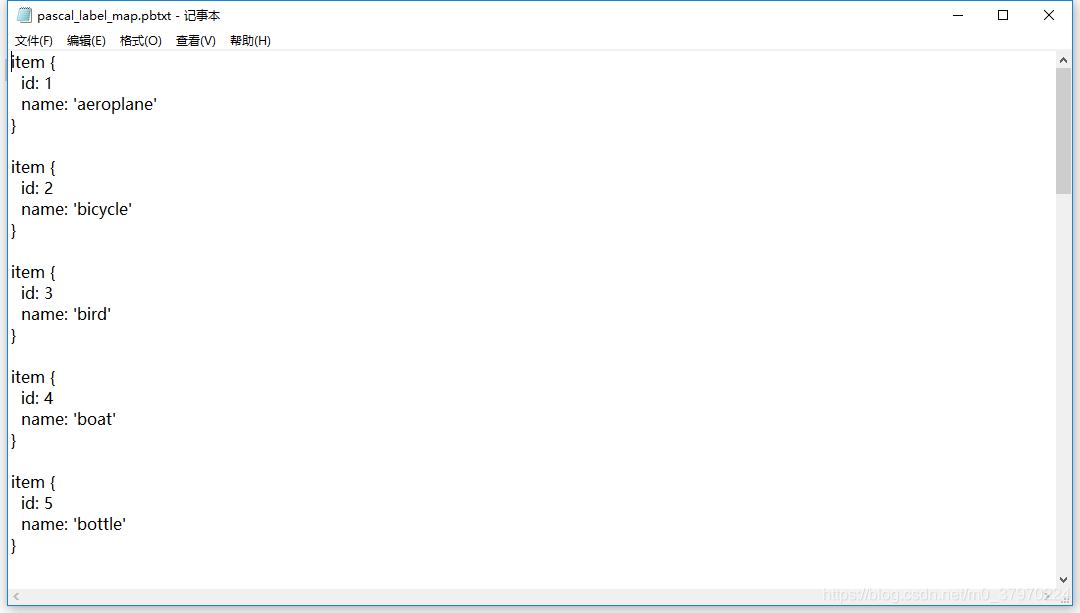
如果有多个类别,你就这样写~
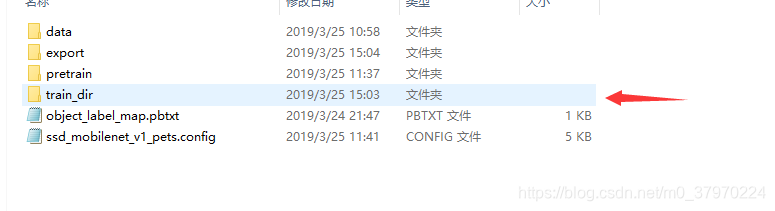
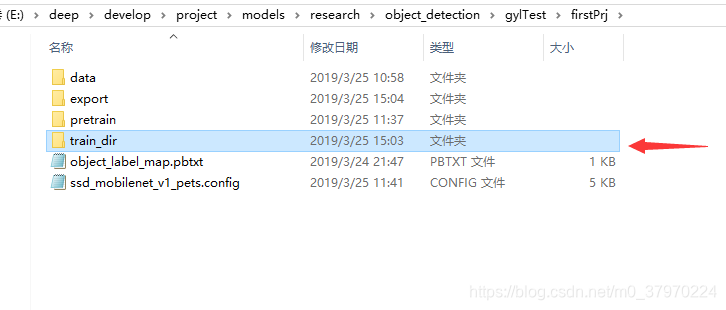
好嘞~现在我们建个文件夹train_dir来存放我们训练产生的那些文件
开始训练
万事具备,只欠东风~
走你~
cd 到 object_detection目录下
运行命令:
python train.py --train_dir gylTest/firstPrj/train_dir/ --pipeline_config_path gylTest/firstPrj/ssd_mobilenet_v1_pets.config
解释:
python train.py --train_dir [train_dir路径] --pipeline_config_path [.config路径]
最新版的model,你可能找不到train.py文件,我也找不到,后来原来藏在models\research\object_detection\legacy下面,把里面的文件复制出来放在object_detection文件夹目录下即可(我用的是GPU版的tensorflow)
二导出模型并测试
那么模型训练好,下一步,当然是用训练好的模型来测试新的图片啦~
首先是导出训练好的模型
直接上代码:export_inference_graph.py(在object_detection文件夹路径下面)
import tensorflow as tf
from google.protobuf import text_format
from object_detection import exporter
from object_detection.protos import pipeline_pb2

slim = tf.contrib.slim
flags = tf.app.flags

flags.DEFINE_string('input_type', 'image_tensor', 'Type of input node. Can be '
                    'one of [`image_tensor`, `encoded_image_string_tensor`, '
                    '`tf_example`]')
flags.DEFINE_string('input_shape', None,
                    'If input_type is `image_tensor`, this can explicitly set '
                    'the shape of this input tensor to a fixed size. The '
                    'dimensions are to be provided as a comma-separated list '
                    'of integers. A value of -1 can be used for unknown '
                    'dimensions. If not specified, for an `image_tensor, the '
                    'default shape will be partially specified as '
                    '`[None, None, None, 3]`.')
flags.DEFINE_string('pipeline_config_path', None,
                    'Path to a pipeline_pb2.TrainEvalPipelineConfig config '
                    'file.')
flags.DEFINE_string('trained_checkpoint_prefix', None,
                    'Path to trained checkpoint, typically of the form '
                    'path/to/model.ckpt')
flags.DEFINE_string('output_directory', None, 'Path to write outputs.')
flags.DEFINE_string('config_override', '',
                    'pipeline_pb2.TrainEvalPipelineConfig '
                    'text proto to override pipeline_config_path.')
flags.DEFINE_boolean('write_inference_graph', False,
                     'If true, writes inference graph to disk.')
tf.app.flags.mark_flag_as_required('pipeline_config_path')
tf.app.flags.mark_flag_as_required('trained_checkpoint_prefix')
tf.app.flags.mark_flag_as_required('output_directory')
FLAGS = flags.FLAGS


def main(_):
  pipeline_config = pipeline_pb2.TrainEvalPipelineConfig()
  with tf.gfile.GFile(FLAGS.pipeline_config_path, 'r') as f:
    text_format.Merge(f.read(), pipeline_config)
  text_format.Merge(FLAGS.config_override, pipeline_config)
  if FLAGS.input_shape:
    input_shape = [
        int(dim) if dim != '-1' else None
        for dim in FLAGS.input_shape.split(',')
    ]
  else:
    input_shape = None
  exporter.export_inference_graph(
      FLAGS.input_type, pipeline_config, FLAGS.trained_checkpoint_prefix,
      FLAGS.output_directory, input_shape=input_shape,
      write_inference_graph=FLAGS.write_inference_graph)


if __name__ == '__main__':
  tf.app.run()
注释的部分,我也贴出来吧
r"""Tool to export an object detection model for inference.

Prepares an object detection tensorflow graph for inference using model
configuration and a trained checkpoint. Outputs inference
graph, associated checkpoint files, a frozen inference graph and a
SavedModel (https://tensorflow.github.io/serving/serving_basic.html).

The inference graph contains one of three input nodes depending on the user
specified option.
  * `image_tensor`: Accepts a uint8 4-D tensor of shape [None, None, None, 3]
  * `encoded_image_string_tensor`: Accepts a 1-D string tensor of shape [None]
    containing encoded PNG or JPEG images. Image resolutions are expected to be
    the same if more than 1 image is provided.
  * `tf_example`: Accepts a 1-D string tensor of shape [None] containing
    serialized TFExample protos. Image resolutions are expected to be the same
    if more than 1 image is provided.

and the following output nodes returned by the model.postprocess(..):
  * `num_detections`: Outputs float32 tensors of the form [batch]
      that specifies the number of valid boxes per image in the batch.
  * `detection_boxes`: Outputs float32 tensors of the form
      [batch, num_boxes, 4] containing detected boxes.
  * `detection_scores`: Outputs float32 tensors of the form
      [batch, num_boxes] containing class scores for the detections.
  * `detection_classes`: Outputs float32 tensors of the form
      [batch, num_boxes] containing classes for the detections.
  * `raw_detection_boxes`: Outputs float32 tensors of the form
      [batch, raw_num_boxes, 4] containing detection boxes without
      post-processing.
  * `raw_detection_scores`: Outputs float32 tensors of the form
      [batch, raw_num_boxes, num_classes_with_background] containing class score
      logits for raw detection boxes.
  * `detection_masks`: Outputs float32 tensors of the form
      [batch, num_boxes, mask_height, mask_width] containing predicted instance
      masks for each box if its present in the dictionary of postprocessed
      tensors returned by the model.

Notes:
 * This tool uses `use_moving_averages` from eval_config to decide which
   weights to freeze.

Example Usage:
--------------
python export_inference_graph \
    --input_type image_tensor \
    --pipeline_config_path path/to/ssd_inception_v2.config \
    --trained_checkpoint_prefix path/to/model.ckpt \
    --output_directory path/to/exported_model_directory

The expected output would be in the directory
path/to/exported_model_directory (which is created if it does not exist)
with contents:
 - inference_graph.pbtxt
 - model.ckpt.data-00000-of-00001
 - model.ckpt.info
 - model.ckpt.meta
 - frozen_inference_graph.pb
 + saved_model (a directory)

Config overrides (see the `config_override` flag) are text protobufs
(also of type pipeline_pb2.TrainEvalPipelineConfig) which are used to override
certain fields in the provided pipeline_config_path.  These are useful for
making small changes to the inference graph that differ from the training or
eval config.

Example Usage (in which we change the second stage post-processing score
threshold to be 0.5):

python export_inference_graph \
    --input_type image_tensor \
    --pipeline_config_path path/to/ssd_inception_v2.config \
    --trained_checkpoint_prefix path/to/model.ckpt \
    --output_directory path/to/exported_model_directory \
    --config_override " \
            model{ \
              faster_rcnn { \
                second_stage_post_processing { \
                  batch_non_max_suppression { \
                    score_threshold: 0.5 \
                  } \
                } \
              } \
            }"
"""
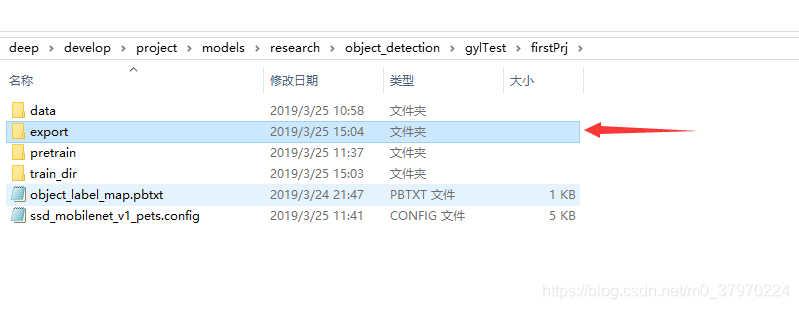
首先,建个文件夹export来存放导出来的模型
然后运行命令
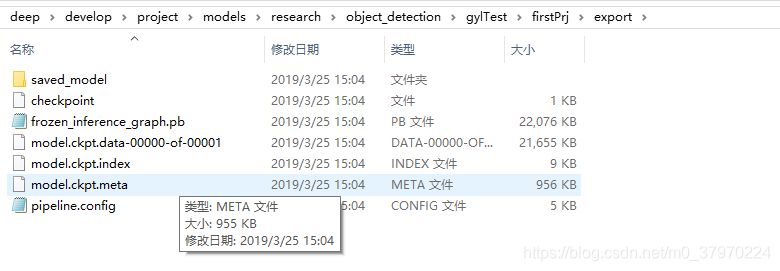
python export_inference_graph.py --input_type image_tensor --pipeline_config_path gylTest/firstPrj/ssd_mobilenet_v1_pets.config --trained_checkpoint_prefix gylTest/firstPrj/train_dir/model.ckpt-18369 --output_directory gylTest/firstPrj/export/
ok ,导出来了,结果如下:
最后cd 到 object_detection文件夹下,运行jupyter notebook
稍微修改一下这个文件

主要改 PATH_TO_FROZEN_GRAPH 和 PATH_TO_LABELS,改成对应的即可,因为以前是下载模型嘛,现在我们不下载了,直接用导出来的模型即可~~~~

还有一个地方,我这也顺带讲一下

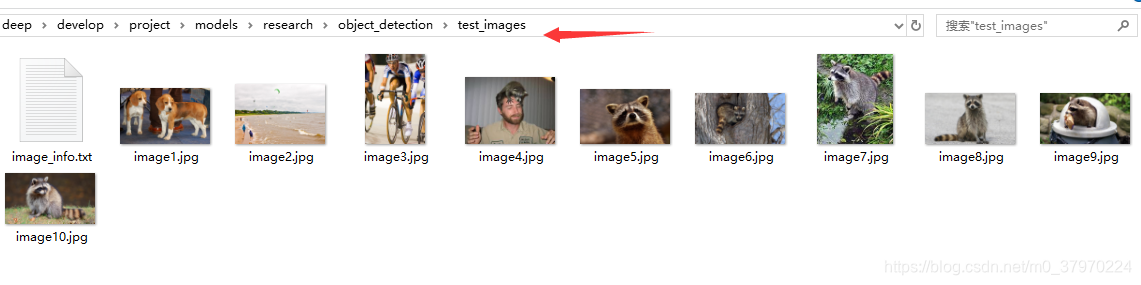
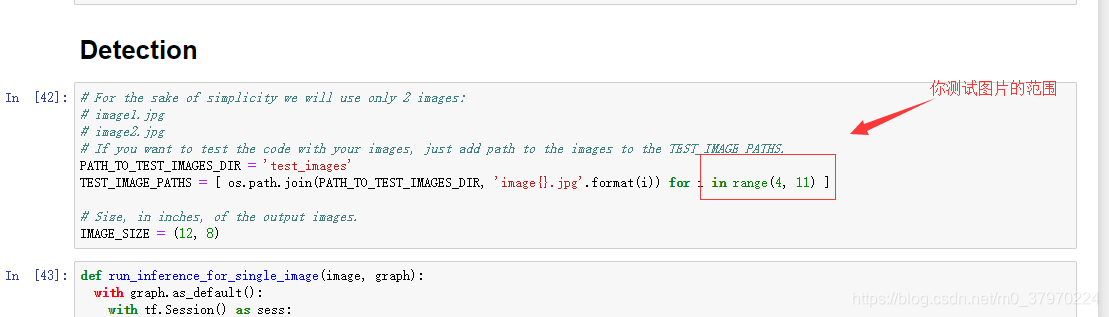
网上找几张测试图片放进object_detection\test_images文件夹中,图片命名为image+i这种形式~
对了,还有一个地方
终于好了~
点击cell 然后run all
得到最终结果

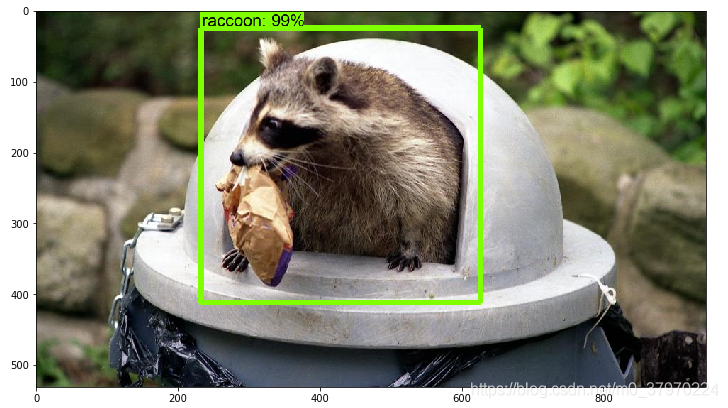
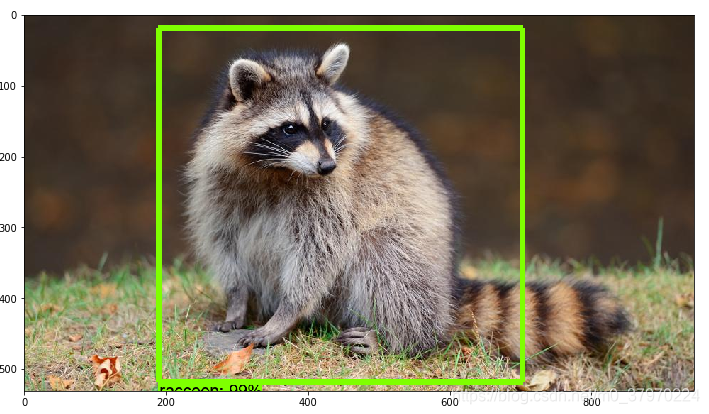
完~~~~