以前做端游编辑器时,制作过曲线编辑器,现在使用Unity3D编程,Unity3D为我们提供了很多组件,但是在项目开发中,我们可能只需要某个小功能,但是要把整个组件加到项目中,一旦需求变换,修改起来比较麻烦,鉴于这些原因,我们自己手动做一个曲线编辑器利用Unity3D。曲线编辑器的主要功能包括:
1.创建自定义的编辑器
2.在Scene View窗口中绘制
3.可以在Scene View窗口中编辑
4.利用数学公式创建Bezier曲线
5.可以绘制曲线的移动方向
6.通过组合曲线构建Bezier和Spine曲线
7.支持镜像控制点
8.支持循环样条曲线
9.可以在曲线放置和移动物体
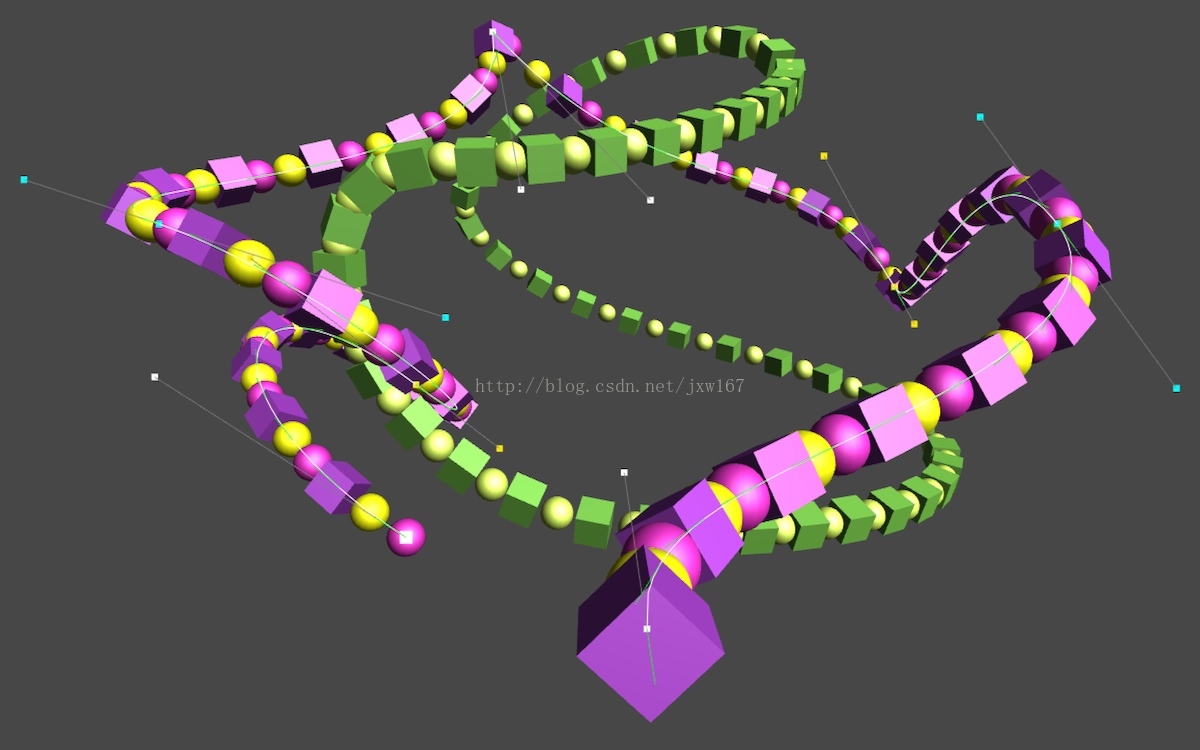
效果如下所示:
线的绘制
首先我们利用脚本定义两个向量 p0和p1:
using UnityEngine;
public class Line : MonoBehaviour {
public Vector3 p0, p1;
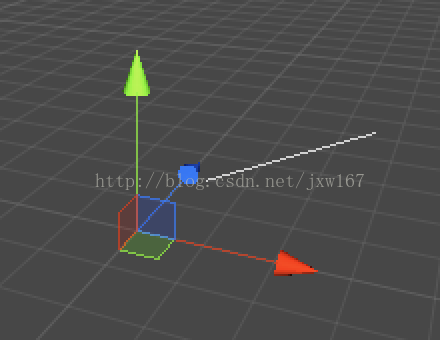
}在Unity编辑器中的效果如下所示:

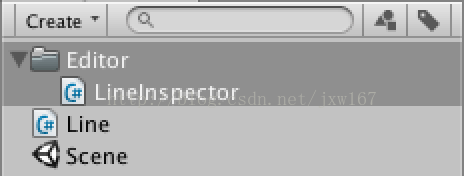
接下来我们开始创建曲线编辑器,代码如下所示:
using UnityEditor;
using UnityEngine;

[CustomEditor(typeof(Line))]
public class LineInspector : Editor {
}
这个脚本不执行任何功能,需要我们在里面添加一个函数 OnSceneGUI,这个函数是Unity自带的回调函数,定义如下所示:
	private void OnSceneGUI () {
		Line line = target as Line;

		Handles.color = Color.white;
		Handles.DrawLine(line.p0, line.p1);
	}
我们现在看到的这条线,但是并不考虑其变换的设置, 移动,旋转和缩放。这是因为handle在世界空间中运行,而点位于线的局部空间, 我们必须明确地将这些点转换成世界空间点。这涉及到点变换:
	private void OnSceneGUI () {
		Line line = target as Line;
		Transform handleTransform = line.transform;
		Vector3 p0 = handleTransform.TransformPoint(line.p0);
		Vector3 p1 = handleTransform.TransformPoint(line.p1);

		Handles.color = Color.white;
		Handles.DrawLine(p0, p1);
	}

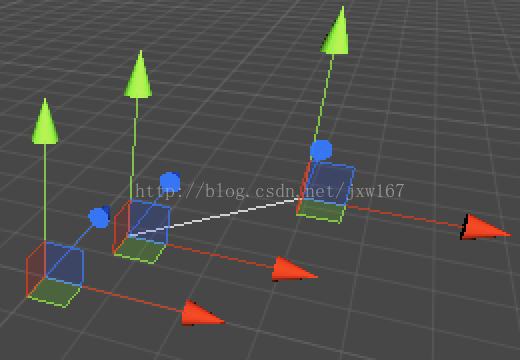
还有,除了显示线,我们还可以显示我们两点的位置handle。 为了做到这一点,我们也需要我们的转换旋转,所以我们可以正确对齐它们。
private void OnSceneGUI () {
		Line line = target as Line;
		Transform handleTransform = line.transform;
		Quaternion handleRotation = handleTransform.rotation;
		Vector3 p0 = handleTransform.TransformPoint(line.p0);
		Vector3 p1 = handleTransform.TransformPoint(line.p1);

		Handles.color = Color.white;
		Handles.DrawLine(p0, p1);
		Handles.DoPositionHandle(p0, handleRotation);
		Handles.DoPositionHandle(p1, handleRotation);
	}
继续介绍,虽然我们现在得到了handle,但它们不符合Unity的旋转旋转模式,我们可以使用Tools.pivotRotation来确定当前模式并相应地设置旋转。
Quaternion handleRotation = Tools.pivotRotation == PivotRotation.Local ?
			handleTransform.rotation : Quaternion.identity;

前者是局部旋转,后者是世界旋转。
注意,由于句柄值在世界空间中,因此我们需要使用InverseTransformPoint方法将其转换回本地空间。 另外,当点改变时,我们只需要这样做, 我们可以使用EditorGUI.BeginChangeCheck和EditorGUI.EndChangeCheck。
		EditorGUI.BeginChangeCheck();
		p0 = Handles.DoPositionHandle(p0, handleRotation);
		if (EditorGUI.EndChangeCheck()) {
			line.p0 = handleTransform.InverseTransformPoint(p0);
		}
		EditorGUI.BeginChangeCheck();
		p1 = Handles.DoPositionHandle(p1, handleRotation);
		if (EditorGUI.EndChangeCheck()) {
			line.p1 = handleTransform.InverseTransformPoint(p1);
		}
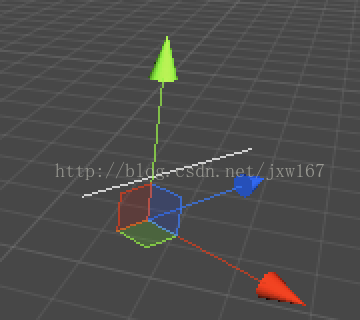
最后,现在我们可以在场景中拖动我们的点!
还有两个需要注意的问题。 首先,我们无法撤消拖动操作。 这是通过在进行任何更改之前添加对Undo.RecordObject的调用来修复的。 其次,Unity不知道发生了改变,所以不要求用户在退出时保存, 这通过调用EditorUtility.SetDirty来解决。
		EditorGUI.BeginChangeCheck();
		p0 = Handles.DoPositionHandle(p0, handleRotation);
		if (EditorGUI.EndChangeCheck()) {
			Undo.RecordObject(line, "Move Point");
			EditorUtility.SetDirty(line);
			line.p0 = handleTransform.InverseTransformPoint(p0);
		}
		EditorGUI.BeginChangeCheck();
		p1 = Handles.DoPositionHandle(p1, handleRotation);
		if (EditorGUI.EndChangeCheck()) {
			Undo.RecordObject(line, "Move Point");
			EditorUtility.SetDirty(line);
			line.p1 = handleTransform.InverseTransformPoint(p1);
		}
代码下载地址:链接:http://pan.baidu.com/s/1gfrJVrl 密码:ft1o