原文:https://blog.csdn.net/duan9421/article/details/79086335
我们在日常开发工作中通常会根据不同的项目运行环境,添加不同的配置文件,例如 开发环境,测试环境,生产环境等,每次手工的修改配置文件太过于繁琐。通过maven打包时确定需要使用的配置文件可以很好的解决这个问题。
下面看一下代码目录

application-dev.properties对应开发环境
application-test.properties对应测试环境
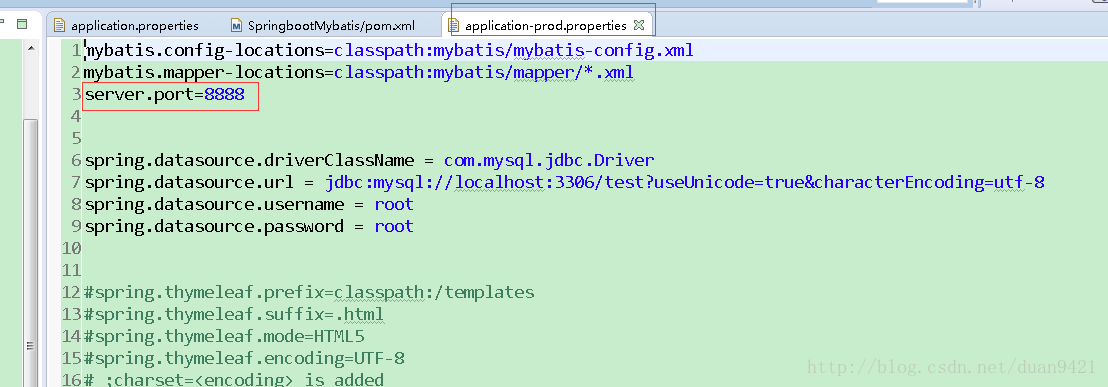
application-prod.properties对应生产环境
application.properties中填写spring.profiles.active=@activatedProperties@,这里的@activatedProperties@是一个变量对应pom文件里的环境配置。
下面是pom文件的配置
-
<profiles>
-
<profile>
-
<id>dev</id>
-
<properties>
-
<!-- 环境标识,需要与配置文件的名称相对应 -->
-
<activatedProperties>dev</activatedProperties>
-
</properties>
-
<activation>
-
<!-- 默认环境 -->
-
<activeByDefault>true</activeByDefault>
-
</activation>
-
</profile>
-
<profile>
-
<id>test</id>
-
<properties>
-
<activatedProperties>test</activatedProperties>
-
</properties>
-
</profile>
-
<profile>
-
<id>prod</id>
-
<properties>
-
<activatedProperties>prod</activatedProperties>
-
</properties>
-
</profile>
-
</profiles>
在pom文件里分别配置好不同环境的文件名称,注意:<activatedProperties>dev</activatedProperties>中的dev与配置文件名称application-dev.properties要一致
activatedProperties名称对应application.properties配置文件中的spring.profiles.active=@activatedProperties@
当maven打包时会用pom文件里<activatedProperties>dev</activatedProperties>中的值替换掉application.properties配置文件中的@activatedProperties@
下面配置maven打包插件
-
<build>
-
<resources>
-
<resource>
-
<!--配置文件路径 -->
-
<directory>src/resources</directory> <!--这里对应项目存放配置文件的目录-->
-
<!--开启filtering功能 -->
-
<filtering>true</filtering>
-
</resource>
-
</resources>
-
<plugins>
-
<plugin>
-
<groupId>org.springframework.boot</groupId>
-
<artifactId>spring-boot-maven-plugin</artifactId>
-
<version>1.5.2.RELEASE</version>
-
<configuration>
-
<mainClass>com.duan.SpringbootMybatis.App</mainClass><!--springboot启动类目录-->
-
</configuration>
-
<executions>
-
<execution>
-
<goals>
-
<!--创建一个自动可执行的jar或war文件 -->
-
<goal>repackage</goal>
-
</goals>
-
</execution>
-
</executions>
-
</plugin>
-
</plugins>
-
</build>
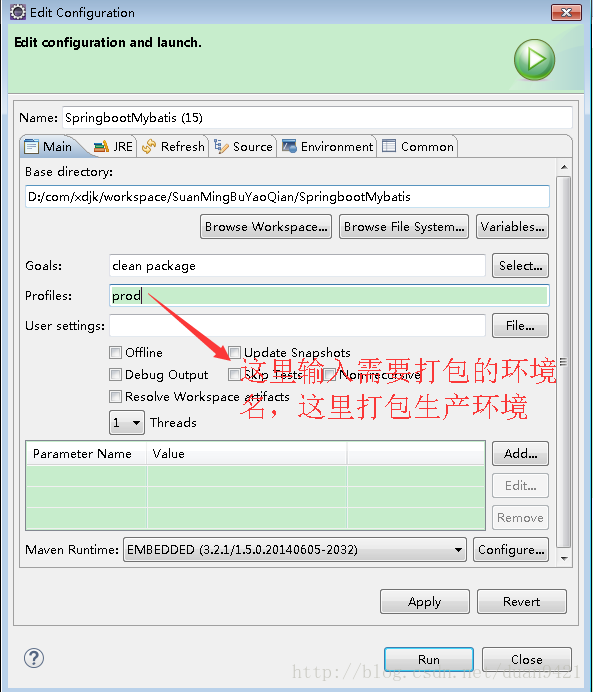
配置完成,下面我们进行打包操作,我是使用eclipse进行打包,项目pom文件右键,run as ---> maven build
观察控制台输入日志

已经构建成功,刷新一下项目,target会生成SpringbootMybatis-0.0.1-SNAPSHOT.jar包。
我们可以观察一下jar包的目录结构:

打开manifest.mf文件

查看启动类是否正确。
下面我们执行一下这个jar包,输入执行命令,java -jar
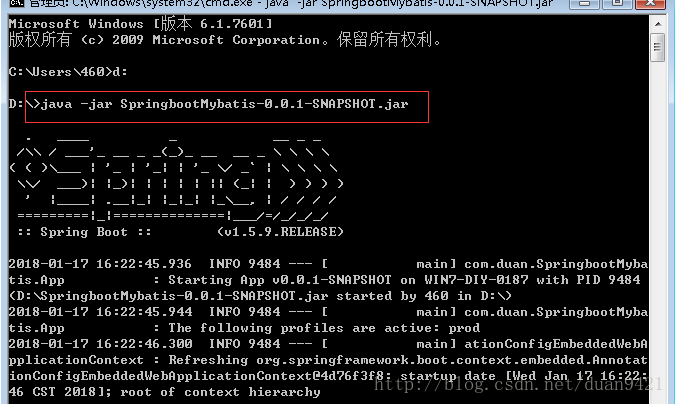

出现启动成功信息,对应端口号是8888与我们application-prod.properties配置文件中的一致,说明配置成功了。
浏览器访问一下
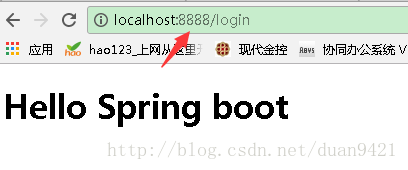
访问成功!
主要利用了maven打包时,拦截配置文件使用pom文件中的值替换掉spring.profiles.active=@activatedProperties@中的变量,完成动态配置文件的使用功能。
--------------------- 本文来自 夏日小虫 的CSDN 博客 ,全文地址请点击:https://blog.csdn.net/duan9421/article/details/79086335?utm_source=copy