引言
参考文章:https://cloud.tencent.com/developer/article/1769239
最近在项目中有遇见maven的多环境配置,由于以前没有接触过,所以查阅资料后记录为笔记
问题解决
-
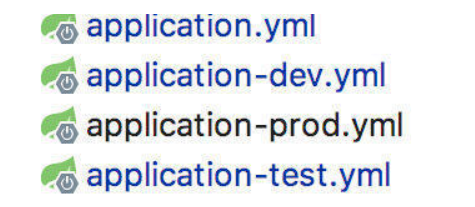
Spring Profile要有多环境配置文件
-
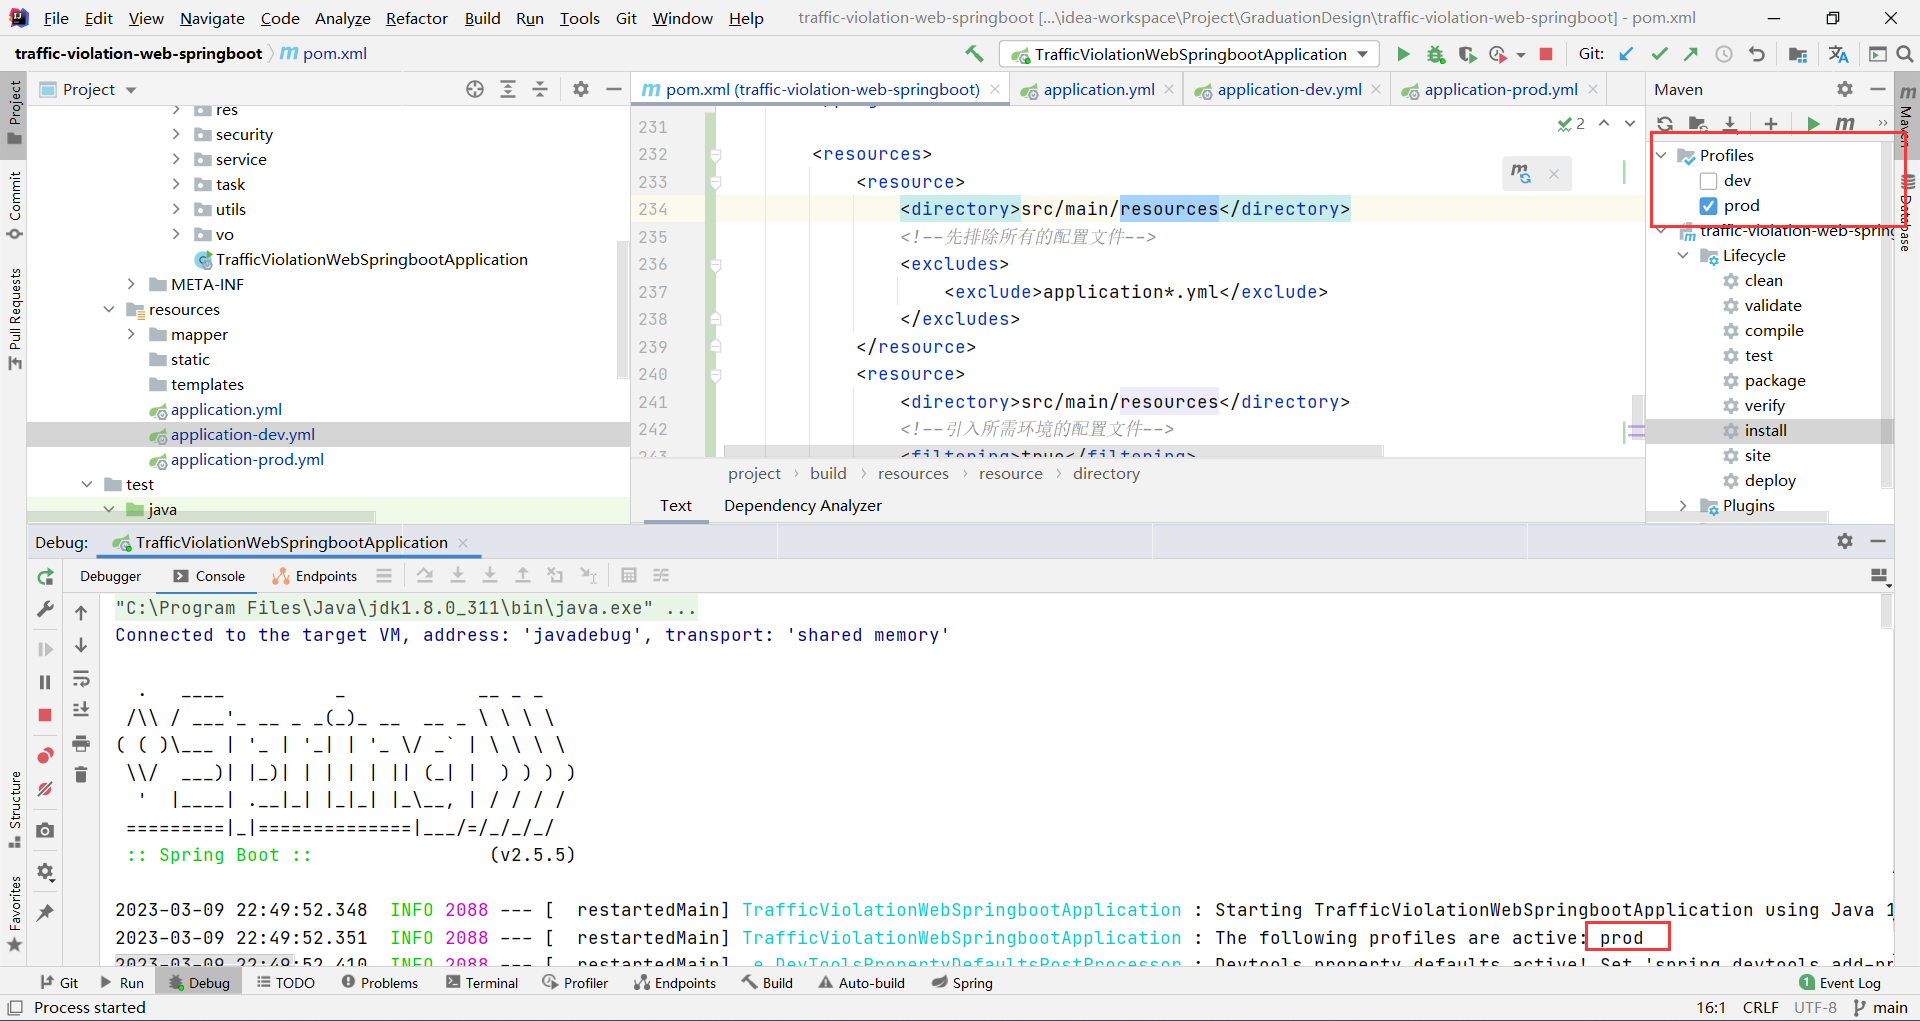
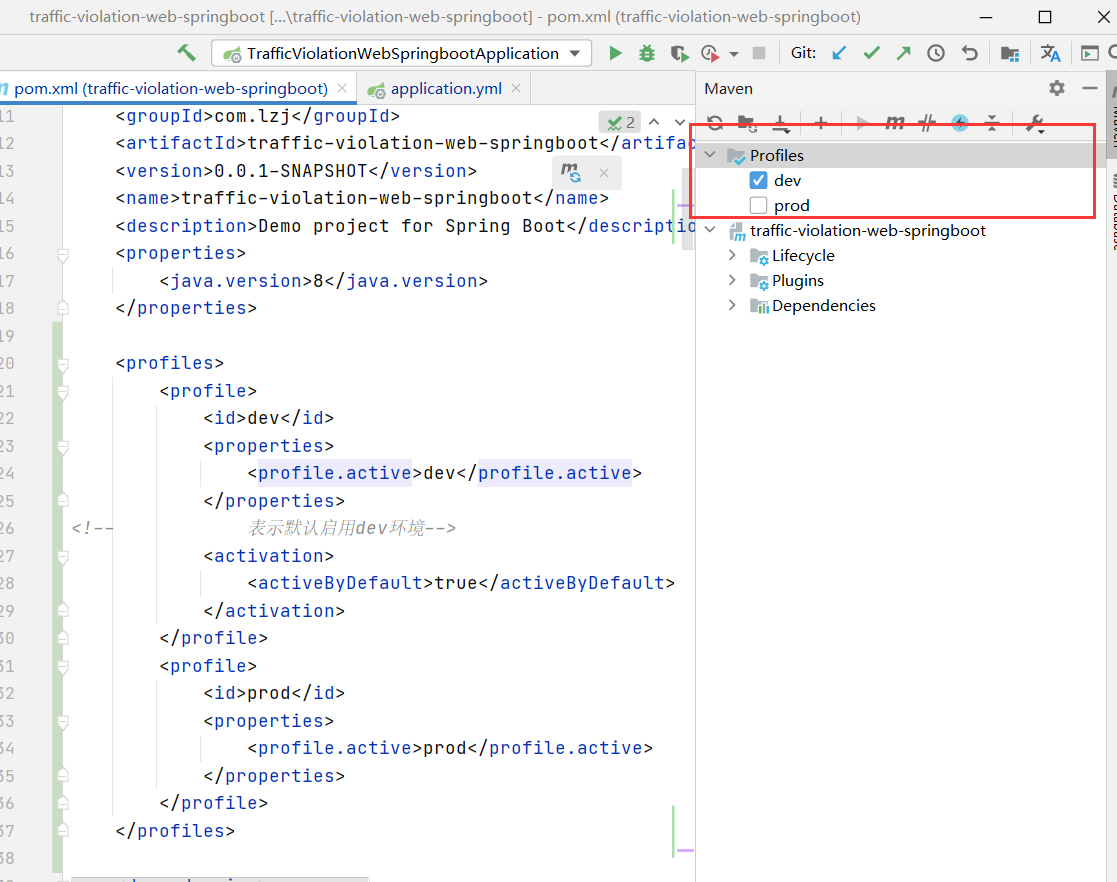
pom.xml文件中添加profiles这里展示了识别dev环境和prod环境,如果有更多环境可以自己增加
<profiles> <profile> <id>dev</id> <properties> <profile.active>dev</profile.active> </properties> <!-- 表示默认启用dev环境--> <activation> <activeByDefault>true</activeByDefault> </activation> </profile> <profile> <id>prod</id> <properties> <profile.active>prod</profile.active> </properties> </profile> </profiles> -
添加完成后我们刷新一下maven,右侧就出现了如下了
-
pom.xml文件中添加打包配置在进行打包的时候,我们并不需要把dev或者test等配置文件打包进行,所有我们在打包的时候进行如下配置
<build> <resources> <resource> <directory>src/main/resources</directory> <!--先排除所有的配置文件--> <excludes> <exclude>application*.yml</exclude> </excludes> </resource> <resource> <directory>src/main/resources</directory> <!--引入所需环境的配置文件--> <filtering>true</filtering> <includes> <include>application.yml</include> <include>application-${profile.active}.yml</include> </includes> </resource> </resources> <plugins> <plugin> <groupId>org.springframework.boot</groupId> <artifactId>spring-boot-maven-plugin</artifactId> <configuration> <classifier>exec</classifier> </configuration> </plugin> </plugins> </build> -
修改
application.ymlspring: profiles: active: @profile.active@ #此处由maven的环境选择决定 -
配置完成后我们再
mvn clean install一下 -
然后我们在打包或者运行的时候选择相应的环境就可以了
可以看见是运行了我选中的环境