前端项目,随着时间和人员的增加,自研组件会越来越多,如果没有统一的组件库文档,团队协同上就会比较混乱,而且难以做取信息实时同步,所以搭建自己的统一组件库比较迫切。
由于使用的是vue和element,所以选择使用VuePress生成组件文档库,包含Vue组件的示例,属性,事件等常用功能的展示。
源码地址:源码示例下载
安装VuePress
npm install vuepress
可以创建一个新项目,也可以直接在自己现有项目中使用,我是直接在现有项目中使用的,当然先是创建个新项目测试成功后,才加到现在项目中
一、配置VuePress
目录名称可以自己定义,默认是docs做为项目的文档目录
新建首页.md文件
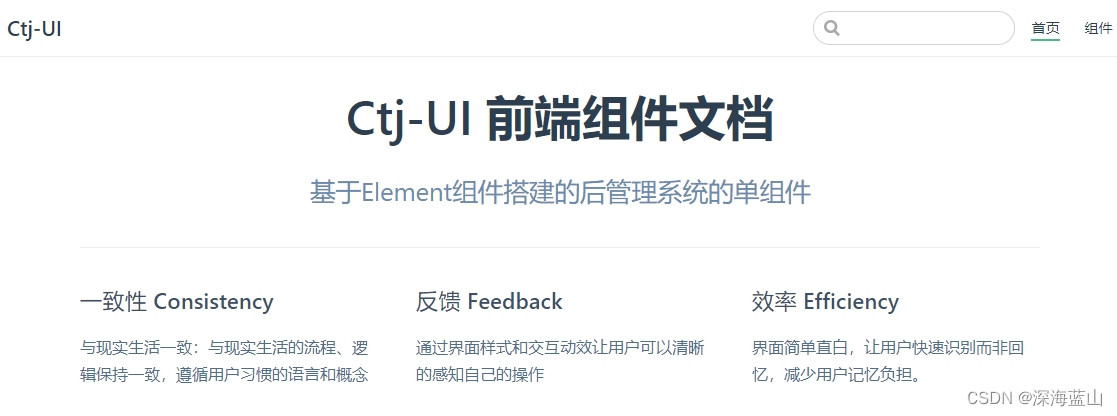
在webdocs目录下创建README.md,做为系统的主页面,
home: true
heroImage: ''
heroText: Ctj-UI 前端组件文档
features:
  - title: 一致性 Consistency
    details: 与现实生活一致:与现实生活的流程、逻辑保持一致,遵循用户习惯的语言和概念
  - title: 反馈 Feedback
    details: 通过界面样式和交互动效让用户可以清晰的感知自己的操作
  - title: 效率 Efficiency
    details: 界面简单直白,让用户快速识别而非回忆,减少用户记忆负担。
    footer: by yourself
创建配置文件
新建 docs/.vuepress/config.js ,填入基本的配置信息。注意,这个文件是VuePress最核心的一个文件,具体参数参考VuePress官方文档 https://vuepress.vuejs.org/zh/config/
主要设置一下title, 导航和侧边栏
module.exports = {


  theme: '',
  title: 'Ctj-UI',
  description: '基于Element组件搭建的后管理系统的单组件',
  base: '/',
  port: '8080',
  themeConfig: {


    nav: [
      {


        text: '首页',
        link: '/',
      },
      {


        text: '组件',
        link: '/comps/',
      },
    ],
    sidebar: {


      '/comps/': ['/comps/', '/comps/select.md', '/comps/group'],
    },
  },
  head: [],
  plugins: ['demo-container'],
  markdown: {

    },
}
页面如下
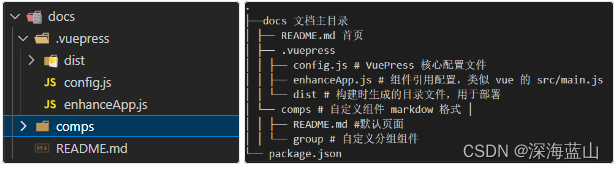
目录结构如下:
安装Demo Container插件 vuepress-plugin-container
Demo Container 是一个基于 Vuepress 的插件,它可以帮助你在编写文档的时候增加 Vue 示例,它的诞生初衷是为了降低编写组件文档时增加一些相关示例的难度。
插件说明:Demo container插件
npm install vuepress-plugin-demo-container
然后在/docs/.vuepress/config.js文件中配置上该插件
二、创建组件文档
1、使用Element等第三方组件生成文档
添加组件引用
// Element 组件
import ElementUI from 'element-ui'
import 'element-ui/lib/theme-chalk/index.css'

export default async ({

      Vue }) => {


  if (typeof process === 'undefined') {


    Vue.use(ElementUI)
  }
}
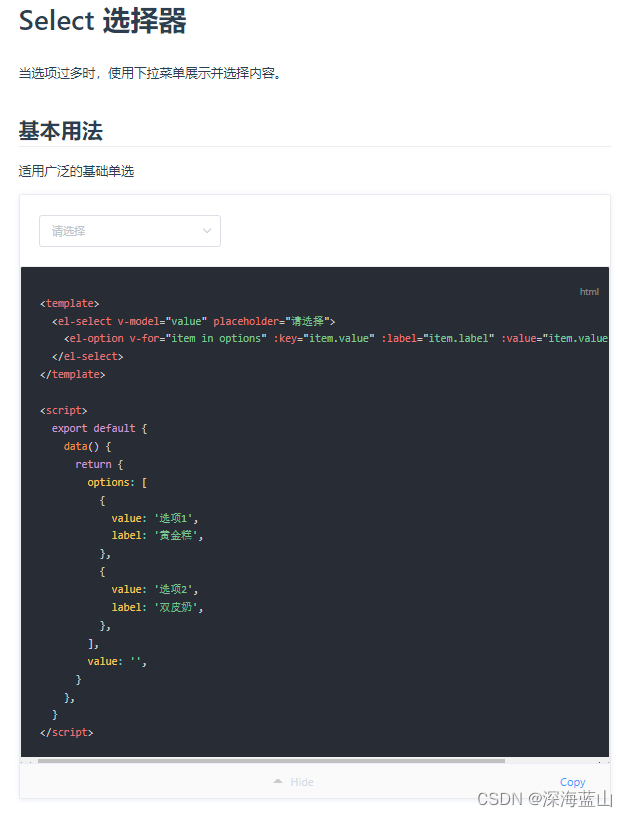
创建组件文档 select.md,运行结果
2 使用自已项目中的组件生成文档
使用自已项目的组件的时候,要注意一下,每个自定义组件要导出 install,以便被Vue.use调用
首先创建一个自定义组件,目录结构如下
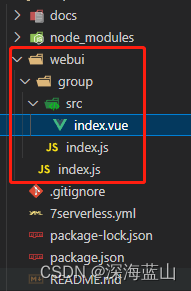
核心group 代码
<template>
  <p class="labelTitle" :name="name">
    {

    {

     name }}<span v-if="tips" class="tips">({

    {

     tips }})</span>
  </p>
</template>
<script>
export default {


  name: 'CtjGroup',
  /**
   * ctj-group属性参数
   * @property {string} [name] 分组名称
   * @property {string} [tips] 补充说明,默认值空
   */
  props: {


    // 分组名称
    name: {


      type: String,
      default: '分组名称',
    },
    // 补充信息
    tips: {


      type: String,
      default: '',
    },
  },
  data() {


    return {

    }
  },
}
</script>
<style lang="css" scoped>
.labelTitle {


  font-weight: bolder;
  font-size: 16px;
  border-left: 4px solid #1890ff;
  padding-left: 4px;
}
.tips {


  font-size: 12px;
  color: #606266;
  font-weight: 400;
  padding-left: 4px;
}
</style>
group/index.js中进行导出
import Module from './src/index.vue';

// 给组件定义install方法
Module.install = Vue => {


  Vue.component(Module.name, Module);
};

export default Module;
单个组件可以直接导出,如果是多个组件,可以在webui要目录中,集中处理
import group from './group'

const components = [group]

const install = Vue => {


  // 判断组件是否安装,如果已经安装了就不在安装。
  if (install.installed) return
  install.installed = true
  // 遍历的方式注册所有的组件
  components.map(component => Vue.use(component))
}

// 检查vue是否安装,满足才执行
if (typeof window !== 'undefined' && window.Vue) {


  install(window.Vue)
}

export default {


  // 所有的组件必须有一个install的方法,才能通过Vue.use()进行按需注册
  install,
  ...components,
}
然后使用创建的组件,在docs/.vuepress/enhanceApp.js中增加本地组件的引用
import CtjUI from '../../webui/index.js';

export default async ({

      Vue }) => {


  if (typeof process === 'undefined') {


    Vue.use(CtjUI);
  }
};
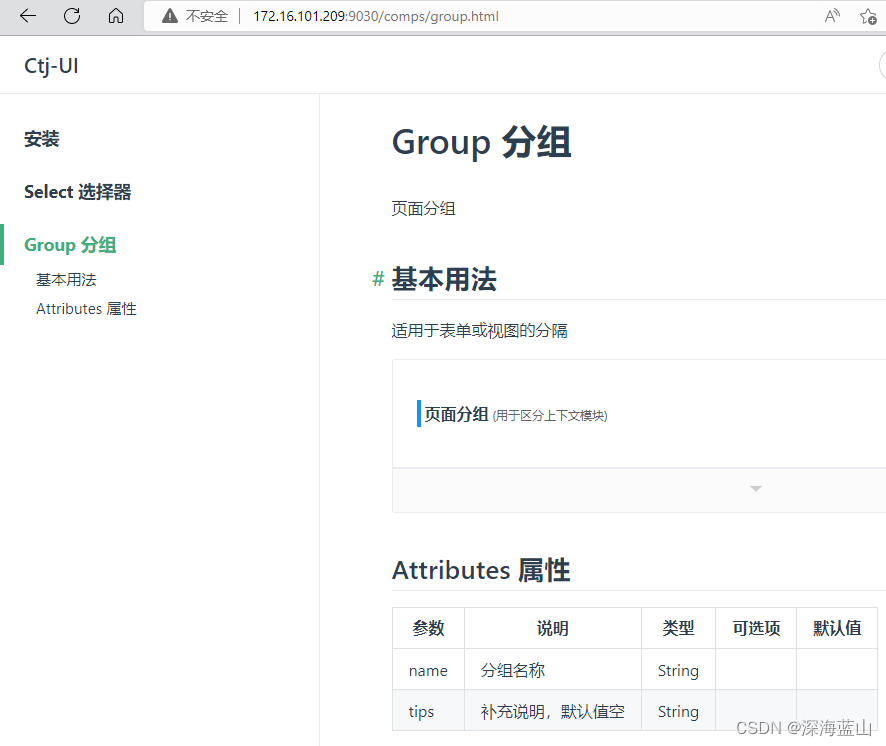
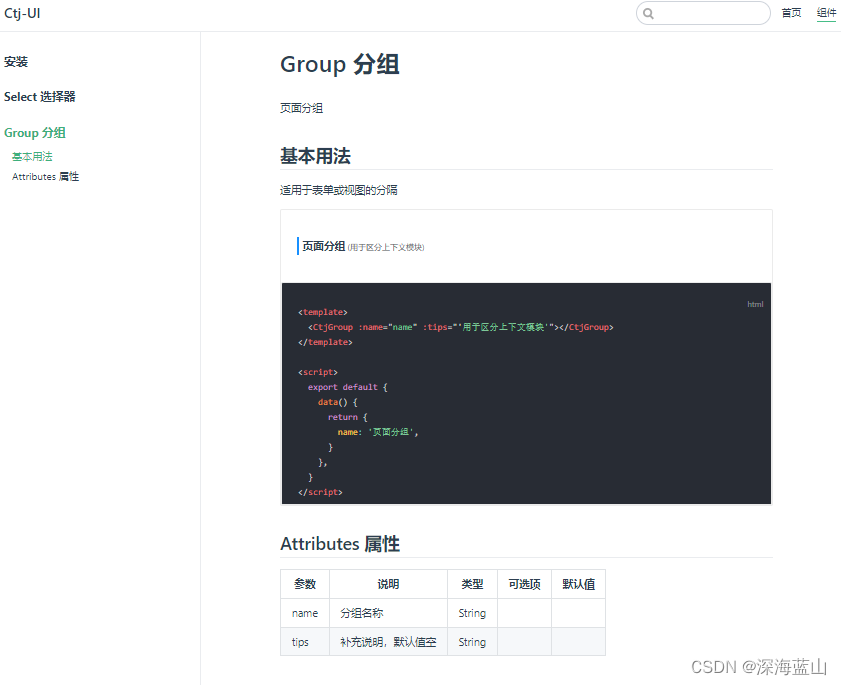
创建自定义组件文档
创建一个group文档group.md文件,文件见示例
至此VuePress文档已可以成功使用
三、部署
这步比较简单,通过 npm run build 构建文档,会在.vuepress目录下生成dist目录,将dist目录下的文件发布到服务器上就可以,效果和本地预览的一样