使用VuePress搭建个人博客
VuePress
是一个基于 Vue 的静态网站生成器。其中主要用到:Vue,VueRouter,Webpack。
类似的工具:hexo
- 基于 Markdown 语法生成网页
- 可以使用 Vue 开发的组件
使用 VuePress 搭建个人博客:
创建远程仓库
来到Github,创建仓库
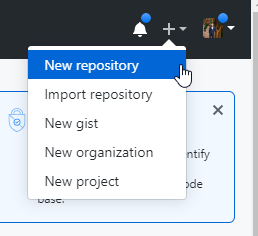
没有用户的话先注册。新建一个仓库:
点左边的New或右上角加号里面的New repository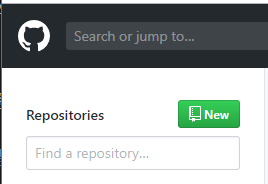
填写仓库名,点
Create repository完成创建。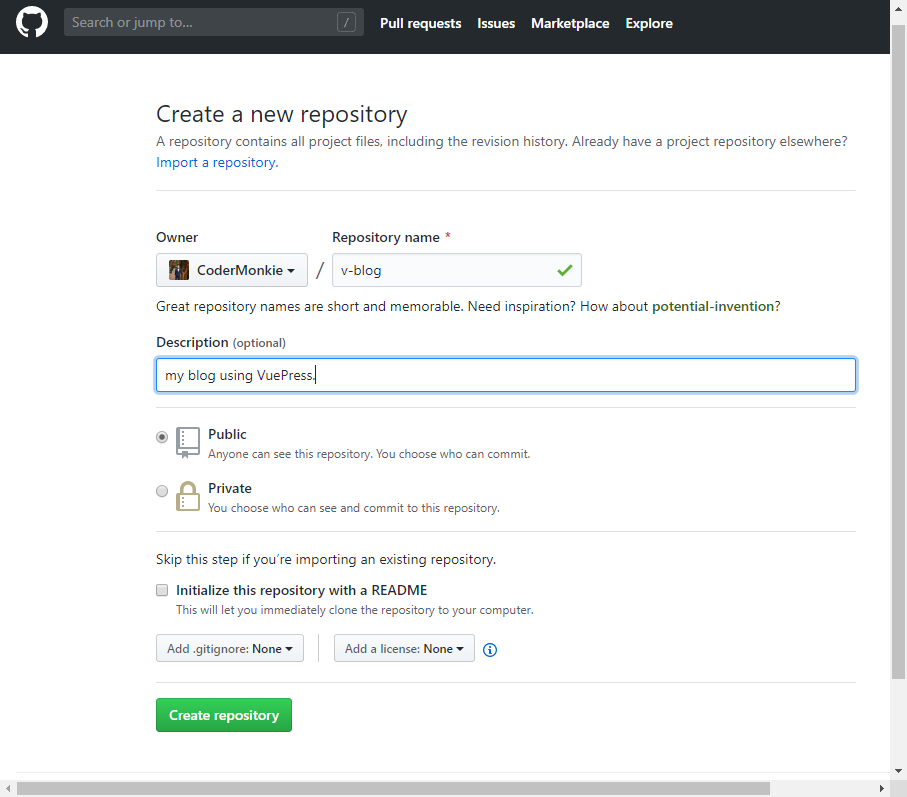
clone 到本地,然后开始开发
刚才建的仓库,地址就是
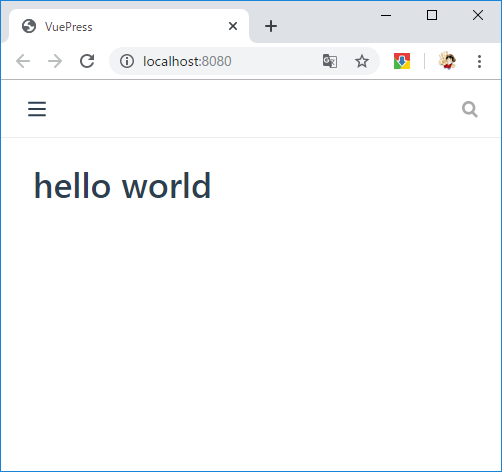
https://github.com/CoderMonkie/v-blog.git了。# [进入工作的目录] 在VSCode的terminal中执行: git clone https://github.com/CoderMonkie/v-blog.git cd v-blog # 全局安装vuepress npm install -g vuepress # 写个文件来个 HelloWorld 试试吧 echo # Hello world > readme.txt vuepress dev上面命令就让我们的blog启动起来了。HelloWorld:
本地博客项目搭建
# 初始化工程目录 v-blog
npm init -y初始化会生成package.json文件。
目录配置
极简基本结构:
.
├─ docs
│  ├─ README.md
│  └─ .vuepress
│     └─ config.js
└─ package.json
/v-blog/
新建docs文件夹(在根目录 v-blog 下),这里存放所有的博客内容。
/v-blog/docs/
docs文件夹下新建README.md,这个文件就是首页。
docs文件夹下新建.vuepress文件夹,该目录存放vuepress的所有配置。
/v-blog/docs/.vuepress/
.vuepress文件夹下,新建config.js文件,作为vuepress的配置入口文件。
当内容多时,config.js中的配置项可以抽出单独的js文件。
以上,最基本的结构就完成了,让我们生成个主页试试。
生成简单主页
/v-blog/docs/.vuepress/config.js
在config.js中编辑如下:
module.exports = {
  title: 'Coder-Monkey',
  description: '~从前端到全栈开发~和码路工人一起学~'
}
/v-blog/docs/README.md
在README.md文件中编辑如下:
(上面说了,这个是首页内容。注意---是markdown语法。)
---
home: true
actionText: 我要学习 ➡
actionLink: /senior-js/
features:
- title: JavaScript进阶
  details: 夯实高级开发所需基础,提升编程技能及代码设计能力,学会阅读分析源码,建立健全技术知识体系,平滑过渡高级前端开发工程师。
- title: 单页应用开发
  details: 全方位分析前端主流框架React、Vue在项目中的应用、剖析核心源码以及内核机制、核心技术点、架构设计思想等,从根源解决开发难题。
- title: 移动端APP开发
  details: 了解移动端适配常见难点,学习Dart语法,掌握控件、布局、动画、操作手势、传感器、线程网络以及交互等核心技能。
- title: Node开发
  details: 掌握Node项目部署、发布流程,打通全栈,完成产品的自主研发上线。
footer: MIT Licensed | © 2019-present 码路工人
---
启动起来:
vuepress dev docs或者在package.json文件里配置一个命令:
"scripts" :{
    "start": "vuepress dev docs"
}
就可以用以下命令启动:
npm run start
# 或
npm startconfig.js中的配置对应下图中的①README.md中的配置对应下图中的②
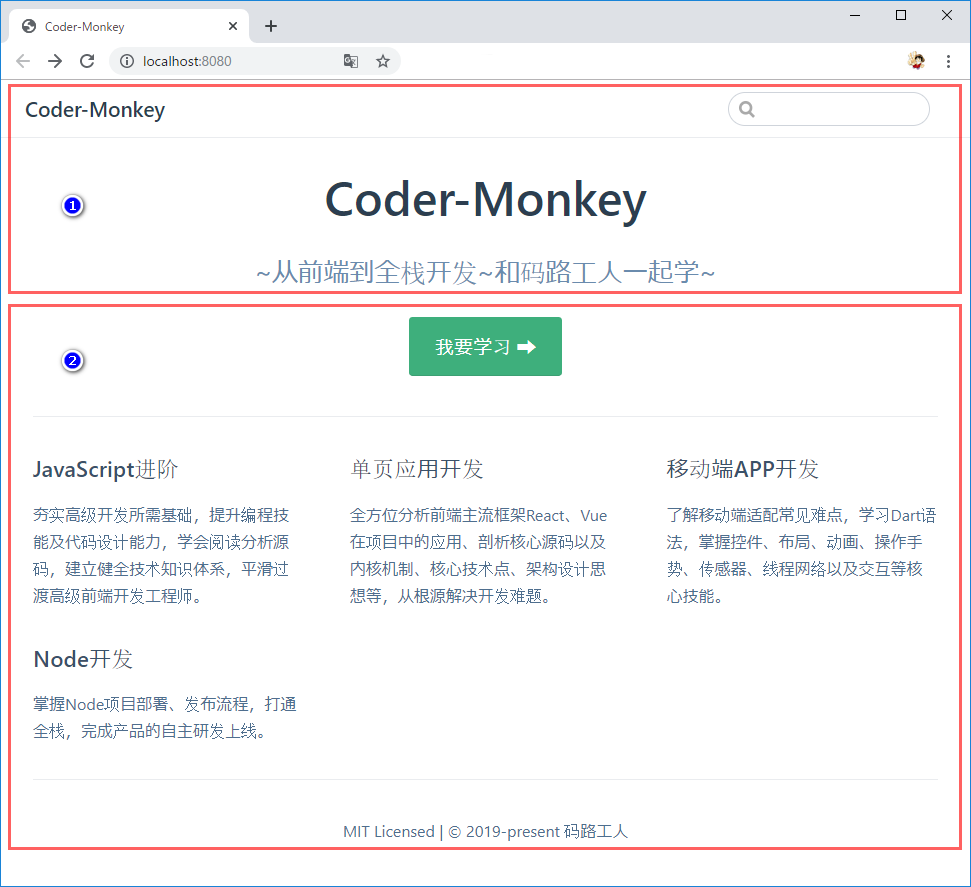
好了,简单主页出来了。下面我们要添加的是Navbar导航栏以及sidebar侧边栏。
Navbar导航栏
编辑/v-blog/docs/.vuepress/config.js文件,配置themeConfig.nav。
module.exports = {
  title: 'Coder-Monkey',
  description: '~从前端到全栈开发~和码路工人一起学~',
  themeConfig: {
    nav: [
      {
        text: 'JavaScript进阶',
        items: [
          {text: '框架的设计 jQuery源码分析', link: '/senior-js/jquery/'},
          {text: '函数式编程 Underscore源码分析', link: '/senior-js/underscore/'},
          {text: '模块化编程 自研模块加载器', link: '/senior-js/module/'},
        ]
      },
      {
        text: '单页应用开发',
        items: [
          {text: '组件化开发 React专题', link: '/spa/react/'},
          {text: '组件化开发 Vue专题', link: '/spa/vue/'},
          {text: '现代前端工程实践方案 解锁webpack', link: '/spa/webpack/'},
        ]
      },
      {
        text: '移动端APP开发',
        items: [
          {text: 'TODO-1', link: '/mobile/TODO1/'},
          {text: 'TODO-2', link: '/mobile/TODO2/'},
          {text: 'TODO-3', link: '/mobile/TODO3/'},
        ]
      },
      {
        text: 'Node开发',
        items: [
            {text: 'TODO-1', link: '/node/TODO1/'},
            {text: 'TODO-2', link: '/node/TODO2/'},
            {text: 'TODO-3', link: '/node/TODO3/'},
        ]
      },
      {
        text: 'Github',
        link: 'https://github.com/CoderMonkie/v-blog'
      },
    ]
  }
}- 导航栏里面链接条目可以嵌套(层级可设)
- 内部链接两头斜线:
link: '/route-path-here/' - 外部链接直接填上网址,如上面的 Github
结果图:
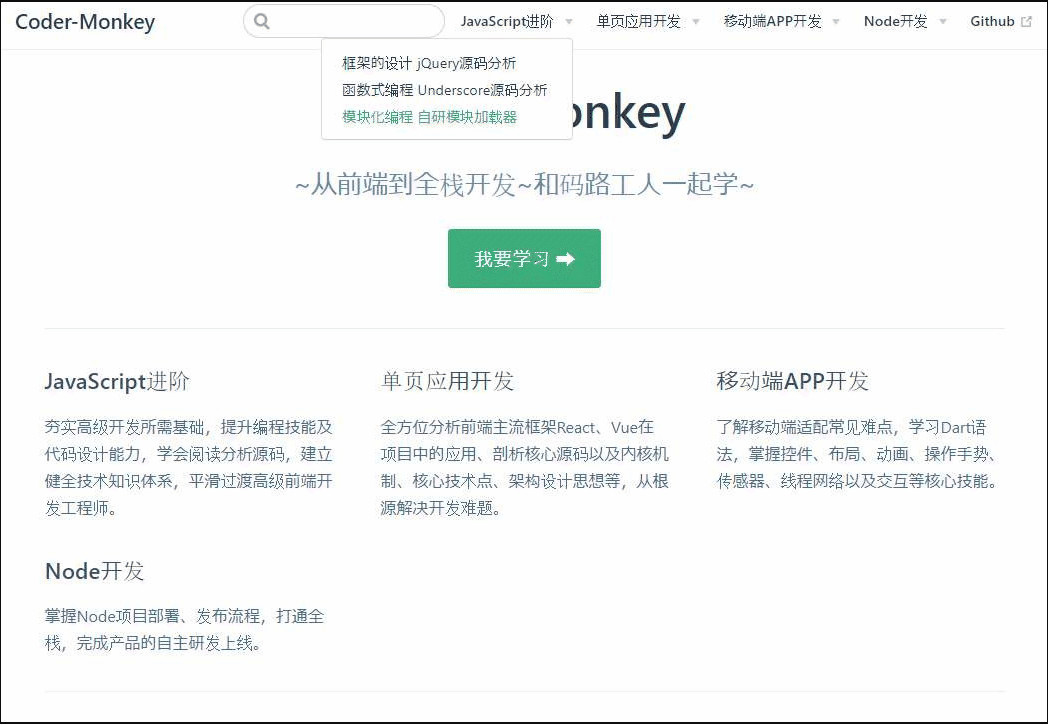
我们在上面添加了若干链接,还没有写具体文章,所以还不能跳转。
当条目越来越多,文件也越来越长,就有必要分出单独文件来管理了。
我们在config.js同级目录下新建一个nav.js,
themeConfig.nav的值直接引入nav.js文件。
/v-blog/docs/.vuepress/config.js
就变成以下:
module.exports = {
  title: 'Coder-Monkey',
  description: '~从前端到全栈开发~和码路工人一起学~',
  themeConfig: {
    nav: require('./nav')
  }
}把刚才上面的导航配置复制粘贴到nav.js文件中。
/v-blog/docs/.vuepress/nav.js文件编辑如下:
module.exports = [
    {
        text: 'JavaScript进阶',
        items: [
          {text: '框架的设计 jQuery源码分析', link: '/senior-js/jquery/'},
          {text: '函数式编程 Underscore源码分析', link: '/senior-js/underscore/'},
          {text: '模块化编程 自研模块加载器', link: '/senior-js/module/'},
        ]
      },
      {
        text: '单页应用开发',
        items: [
          {text: '组件化开发 React专题', link: '/spa/react/'},
          {text: '组件化开发 Vue专题', link: '/spa/vue/'},
          {text: '现代前端工程实践方案 解锁webpack', link: '/spa/webpack/'},
        ]
      },
      {
        text: '移动端APP开发',
        items: [
          {text: 'TODO-1', link: '/mobile/TODO1/'},
          {text: 'TODO-2', link: '/mobile/TODO2/'},
          {text: 'TODO-3', link: '/mobile/TODO3/'},
        ]
      },
      {
        text: 'Node开发',
        items: [
            {text: 'TODO-1', link: '/node/TODO1/'},
            {text: 'TODO-2', link: '/node/TODO2/'},
            {text: 'TODO-3', link: '/node/TODO3/'},
        ]
      },
      {
        text: 'Github',
        link: 'https://github.com/CoderMonkie/v-blog'
      },
]这样,config.js配置文件就简洁了。
下面在配置侧边栏时,我们直接采用同样的方法,
不再把具体配置写在config.js中了。
Sidebar侧边栏
编辑
/v-blog/docs/.vuepress/config.js文件,配置themeConfig.sidebar。
module.exports = {
  title: 'Coder-Monkey',
  description: '~从前端到全栈开发~和码路工人一起学~',
  themeConfig: {
    nav: require('./nav'),
    sidebar: require('./sidebar')
  }
}
编辑
/v-blog/docs/.vuepress/sidebar.js文件
module.exports = {
    '/senior-js/jquery/': require('../senior-js/jquery/sidebar'),
    '/senior-js/underscore/': require('../senior-js/underscore/sidebar'),
}
我们注意到,这里的链接也是嵌套的,
接下来再去配置子路由模块的内容。
编辑/v-blog/docs/senior-js/jquery/sidebar.js文件
module.exports = [
    {
        title: '核心功能',
        collapsable: true,
        children: [
            '/senior-js/jquery/1',
            '/senior-js/jquery/2',
        ]
    },
    {
        title: '回调对象设计',
        collapsable: true,
        children: [
            '/senior-js/jquery/3',
            '/senior-js/jquery/4',
        ]
    },
]
上面的1234对应的是markdown文件名,所以,在jquery文件夹下新建这四个文件:
/v-blog/docs/senior-js/jquery/1.md
# jQuery-article-1
/v-blog/docs/senior-js/jquery/2.md
# jQuery-article-2
/v-blog/docs/senior-js/jquery/3.md
# jQuery-article-3
/v-blog/docs/senior-js/jquery/4.md
# jQuery-article-4为了大家看得清晰,文件结构及配置截图如下:

npm run start启动起来查看效果:

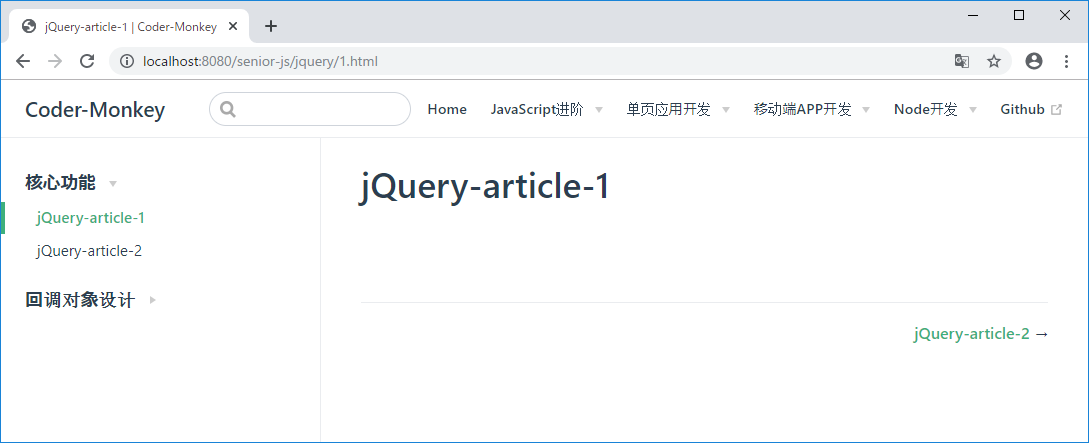
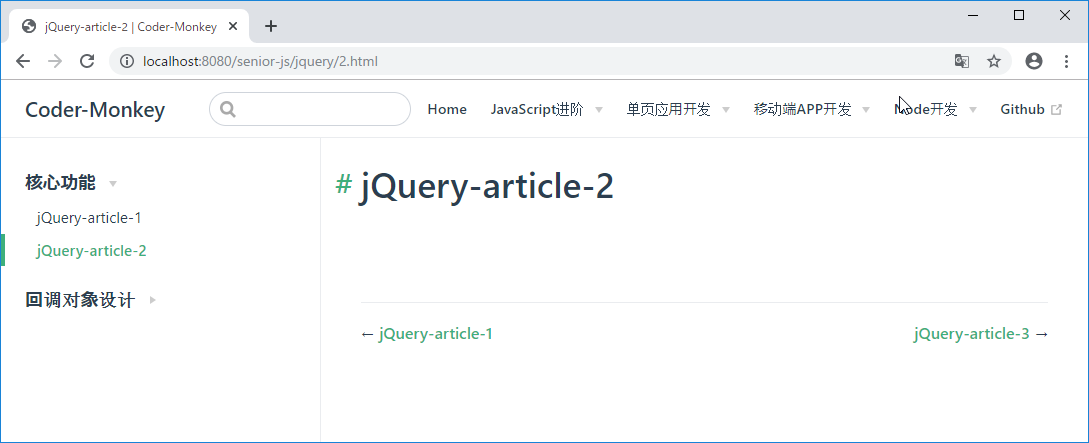
注意:
nav.js中的路由地址,
sidebar.js中的路由地址,
文件夹层级结构,
这三者都是匹配的。
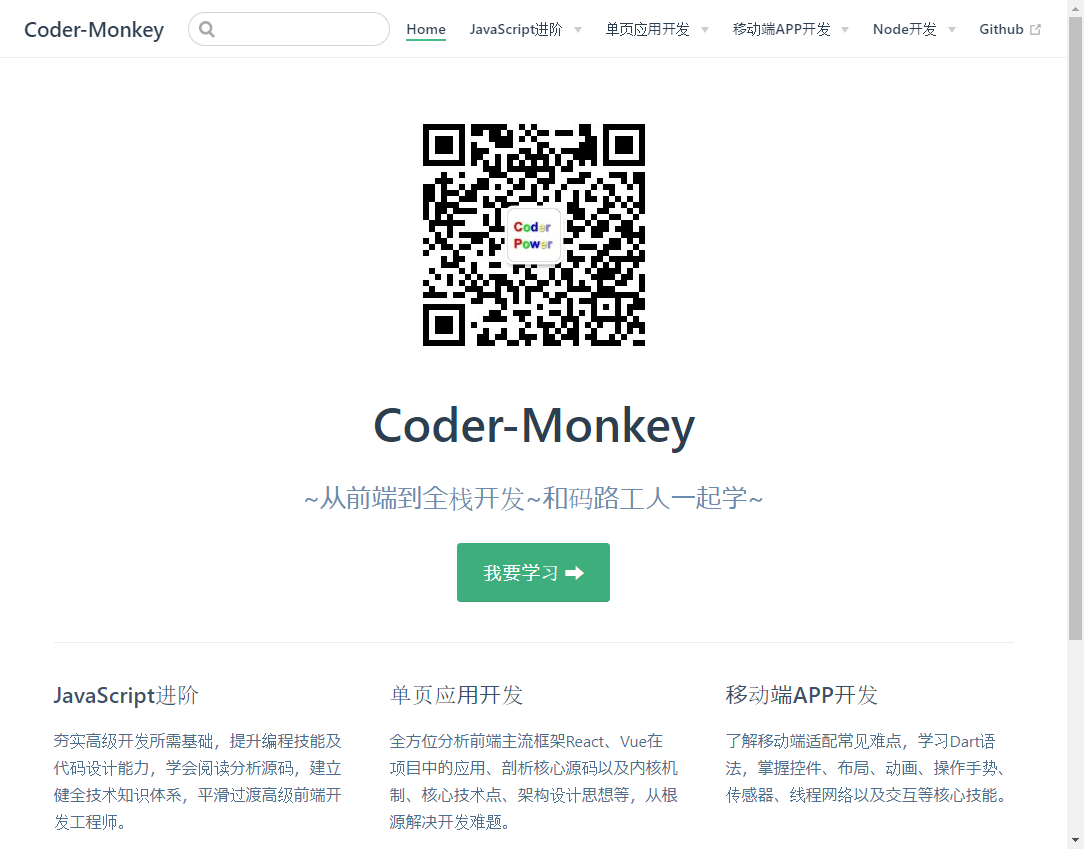
图片资源
准备一张图片/v-blog/docs/.vuepress/public/img/QRCode-CoderPower.png,把它添加到页面。
/v-blog/docs/README.md中指定主题图片
---
home: true
heroImage: /img/QRCode-CoderPower.png
actionText: 我要学习 ➡
// ...略...
---图片的默认路径是/v-blog/docs/.vuepress/public/
所以我们填写的路径是:/img/QRCode-CoderPower.png
重新启动,刷新页面,图片出来了:
编写内容
博客系统搭起来了,剩下的就是写作了,文章充实起来~
码及时保存并push到仓库。
给网站添加icon
准备
icon图片/v-blog/docs/.vuepress/public/img/icon.png在
config.js的head配置中指定head: [ ['link', {rel: 'icon', href: '/img/icon.png'}], ]
重新启动刷新页面可以看到icon有了。
在左上角添加logo
原理:
&emsp:通过添加css样式,实现添加logo图片
准备
logo图片/v-blog/docs/.vuepress/public/img/icon.png新建样式文件
/v-blog/docs/.vuepress/public/css/style.css.navbar .site-name::before { height: 2.2rem; min-width: 2.2rem; margin-right: .8rem; vertical-align: middle; display: inline-block; content: ''; background: url('../img/logo.png') no-repeat; background-size: 100%; }在
config.js的head配置中指定head: [ // ...略... ['link', {rel: 'stylesheet', href: '/css/style.css'}], ]
看下效果:
![]()
其它
博客发布静态网站到Github上
可以在
head中添加CSS和js的引用博客可以自定义主题
添加评论功能
等内容,一起探索起来吧~