如下:

使用逻辑如下:
①设置好physics;
②将资源添加到spritesheet;
③在physics中添加sprite;
④创建anims;
⑤播放anims;
完整代码如下:
import 'phaser';
class PlayGame extends Phaser.Scene {
constructor() {
super("PlayGame");
}
preload() {
this.load.spritesheet('attack', 'assets/_Attack.png', {frameWidth: 120, frameHeight: 80});
this.load.spritesheet('attack2', 'assets/_Attack2.png', {frameWidth: 120, frameHeight: 80})
}
create() {
this.action1 = this.physics.add.sprite(100, 200, 'attack');
this.action1.setScale(2);
this.anims.create({
key: 'attack1',
frames: this.anims.generateFrameNumbers('attack', {start: 0, end: 3}),
frameRate: 10,
repeat: -1
});
this.action1.anims.play('attack1', true);
this.action2 = this.physics.add.sprite(300, 200, 'attack2');
this.action2.setScale(2);
this.anims.create({
key: 'attack2',
frames: this.anims.generateFrameNumbers('attack2', {start: 0, end: 5}),
frameRate: 10,
repeat: -1
});
this.action2.anims.play('attack2', true);
this.action2.flipX = true;
}
update() {
}
}
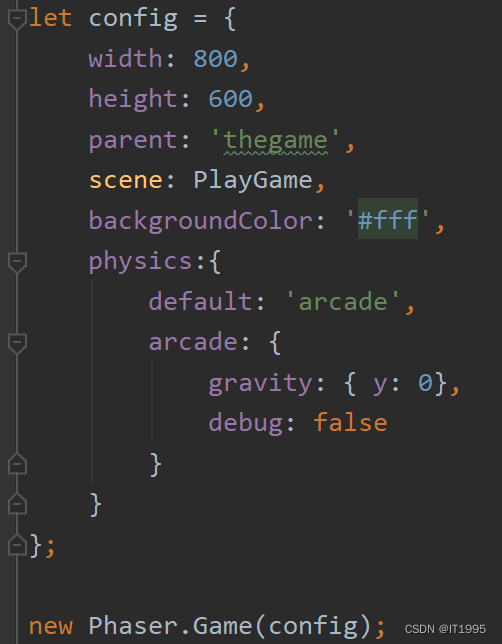
let config = {
width: 800,
height: 600,
parent: 'thegame',
scene: PlayGame,
backgroundColor: '#fff',
physics:{
default: 'arcade',
arcade: {
gravity: { y: 0},
debug: false
}
}
};
new Phaser.Game(config);
具体分析下:
①设置好physics;
②将资源添加到spritesheet;

这里说下第三个参数frameConfig,比如这个_Attack.png图:

这个图片的信息如下:

这里有4个人物,所以frameWidth: 480/4 = 120
frameHeight: 80
③在physics中添加sprite;

这里就解释下setScale放大为2。
④创建anims;

这里解释下this.anims.generateFrameNumbers中的config参数是{start: 0, end: 3},代表这个动画播放0到3。
⑤播放anims;
![]()
这里再提下旋转:
比如人物本来是往右的,现在要往左,就将flipX设置为true即可,如下图:
![]()