【三维重建】【深度学习】windows10下NeRF代码Pytorch实现
提示:最近开始在【三维重建】方面进行研究,记录相关知识点,分享学习中遇到的问题已经解决的方法。
前言
NeRF是由加利福尼亚大学伯克利分校的Mildenhall, Beni等人在《NeRF: Representing Scenes as
Neural Radiance Fields for View Synthesis【ECCV 2020】》【论文地址】一文中提出了一种5D的神经辐射场来作为复杂场景的隐式表示,其输⼊稀疏的多⻆度带pose的图像训练得到⼀个神经辐射场模型。简单来说就是通过输入同一场景不同视角下的二维图片和相机位姿,对场景进行三维隐式建模,并通过体素渲染方程实现了合成任意新视角下的场景图片。
在详细解析NeRF网络之前,首要任务是搭建NeRF【Pytorch-demo地址】所需的运行环境,并模型完成训练和测试工作,展开后续工作才有意义。
NeRF模型运行
下载源码并安装环境
在win10环境下装anaconda环境,方便搭建专用于NeRF模型的虚拟环境。
【pytorch代码推荐参考教程】
安装GPU版本的pytorch教程,pytorch-gpu版本需要根据个人计算机去安装相应版本。
# 创建虚拟环境
conda create -n nerf_mvs python=3.7
# 查看新环境是否安装成功
conda env list
# 激活环境
conda activate nerf_mvs
# 下载githup源代码到合适文件夹,并cd到代码文件夹内(科学上网)
git clone https://github.com/yenchenlin/nerf-pytorch.git
cd nerf-pytorch
# 安装pytorch包
pip3 install torch torchvision torchaudio --index-url https://download.pytorch.org/whl/cu117
# 通过清华源,安装其他包(需要删除关于pytorch的部分)
pip install -i https://pypi.tuna.tsinghua.edu.cn/simple -r requirements.txt
# 查看所有安装的包
pip list
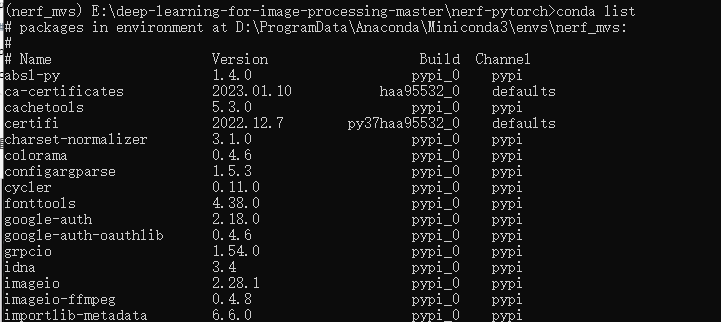
conda list
最终的安装的所有包。
检查torch版,已经安装torch-gpu版本
# 查看pytorch版本
import torch
print(torch.__version__)
# 查看cuda版本
print(torch.version.cuda)
# 查看cuda是否可用
print(torch.cuda.is_available())
# 查看可用cuda数量
print(torch.cuda.device_count())

训练NeRF
下载数据集:win10系统下还是有点麻烦,需要保证主机安装了以下环境!!!因为需要在win10下执行bash命令
win10配置wget
win10配置gitbash

# 进入nerf-pytorch目录下,需要用linux的目录格式
cd /E/deep-learning-for-image-processing-master/nerf-pytorch
bash download_example_data.sh

# download_example_data.sh内容
wget http://cseweb.ucsd.edu/~viscomp/projects/LF/papers/ECCV20/nerf/tiny_nerf_data.npz
mkdir -p data
cd data
wget http://cseweb.ucsd.edu/~viscomp/projects/LF/papers/ECCV20/nerf/nerf_example_data.zip
unzip nerf_example_data.zip
cd ..

训练网络

# 开始训练网络(lego数据集)
python run_nerf.py --config configs/lego.txt
训练个人数据集
个人数据集的制作流程,可以参考博主的另一篇博文【基于COLMAP制作自己的NeRF(LLFF格式)数据集】,制作数据集所需要的图片是用手机拍摄视频后抽帧获取的。
在/nerf-pytorch/data/nerf_llff_data/目录下查看自己的图片数据集和位姿文件;
在/nerf-pytorch/configs/目录下查看对应的配置文件。

执行nerf代码
# test_frame.txt:对应的数据集的配置文件
python run_nerf.py --config configs/test_frame.txt
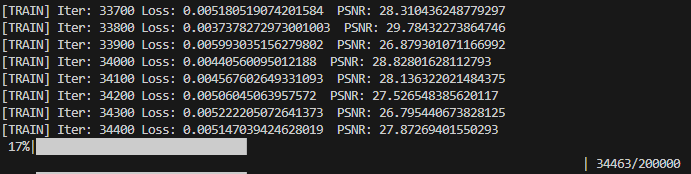
开始训练

windows下可能出现的问题:
- subprocess.CalledProcessError: Command ‘cp ./data/nerf_llff_data/scene\images/* ./data/nerf_llff_data/XXXX\images_8’ returned non-zero exit status 1.
- TypeError: cannot unpack non-iterable NoneType object
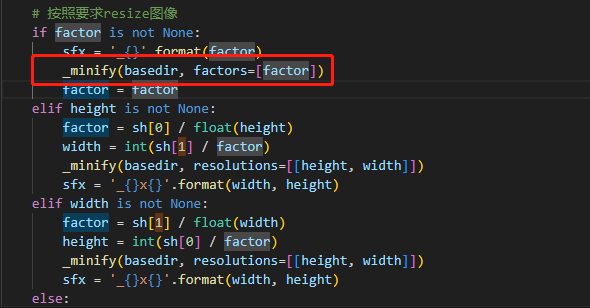
产生原因: config/文件下的配置文件XXX.Xtxt设置了factor=8,默认即是8倍下采样,下采样后的图片会被保存在image_8文件夹下,完成这一过程后nerf会从image_8读取图片并用于训练。问题就出现在下采样的过程,由于系统兼容性问题,windows系统无法执行_minify函数中的部分系统指令,导致了第一个错误,并在此过程中产生了一个的空文件夹image_8,假如代码不经过修改再次执行,判断存在文件夹image_8后跳过下采样过程直接进行后续的训练,因此在空的image_8文件夹中进行数据读取,就产生了第二个错误。
在nerf-pytorch/load_llff.py文件中:
更改意见: 自己写一个下采样的代码保存到image_8中。
import cv2
import os
from PIL import Image

images_path = './data/nerf_llff_data/test_frame/images/' # 原图路径
output_dir = './data/nerf_llff_data/test_frame/images_8/' # resize后路径
factor = 8 # 降采样倍数
images_list = os.listdir(images_path)
img = Image.open(images_path + images_list[0])
(W,H) = (img.width,img.height) #[W,H]
print("image_size : ",(W ,H))
# 保存resize后的图片到新文件夹下
for image_name in images_list:
    img = cv2.imread(images_path+image_name)
    img_resize = cv2.resize(img, (int(W/factor), int(H/factor)))
    cv2.imwrite(output_dir + image_name, img_resize)
    print(image_name , " done")
print("all images done")
总结
尽可能简单、详细的介绍NeRF的安装流程以及解决了安装过程中可能存在的问题。后续会根据自己学到的知识结合个人理解讲解NeRF的原理和代码。