Nginx系列-8.配置Nginx+Apache实现动静分离
目录 - Nginx系列
Nginx系列-1.Linux下安装Nginx
Nginx系列-2.配置LNMP(Linux、Nginx、MySQL、PHP)架构
Nginx系列-3.配置Nginx虚拟主机
Nginx系列-4.Nginx日志配置及日志切割
Nginx系列-5.配置Nginx的防盗链
Nginx系列-6.配置Nginx的HTTPS
Nginx系列-7.配置Nginx使用uwsgi支持web.py框架
Nginx系列-8.配置Nginx+Apache实现动静分离
Nginx系列-9.配置NFS实现Nginx实现动静分离
Nginx系列-10.采用Nginx搭建正向代理服务
Nginx系列-11.配置Nginx反向代理和负载均衡
实验环境
两台最小化的 CentOS 7.3 虚拟机
server1-ip: 192.168.204.133
server2-ip: 192.168.204.134
实验拓扑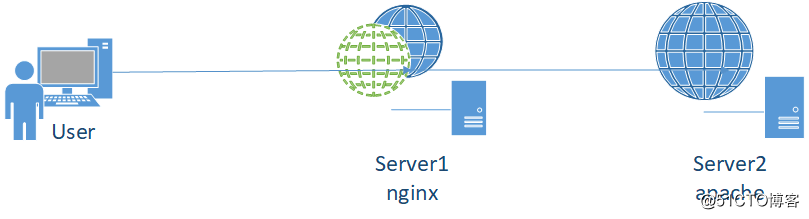
一、server1 安装配置 Nginx
-
安装
nginxyum install -y epel-* yum install -y nginx vim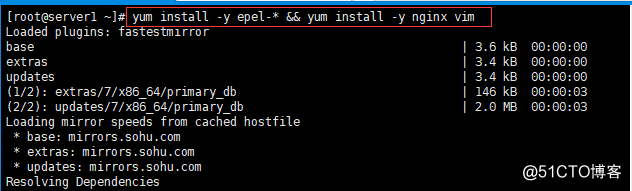
-
建立
nginx主目录和主页mkdir /var/wwwroot cd /var/wwwroot echo -e "nginx" >> nginx.html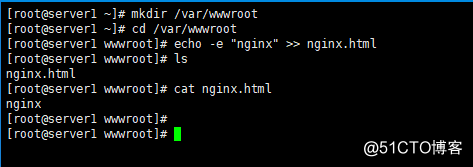
-
配置
nginx配置文件vim /etc/nginx/nginx.conf
将默认server块修改如下server { listen 80; server_name _; location / { root /var/wwwroot; index index.html index.htm; } location ~ \.php$ { proxy_pass http://[apache's ip address]; #修改为Apache的IP地址 proxy_set_header host $host; } }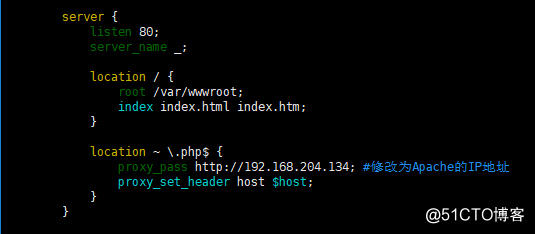
-
重启
nginx服务systemctl restart nginx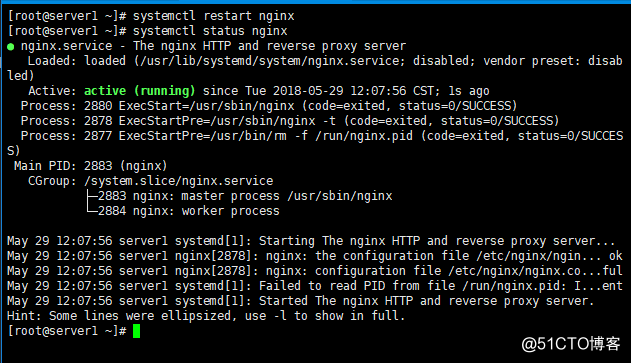
- 关闭防火墙
setenforce 0
systemctl stop firewalld
systemctl disable firewalld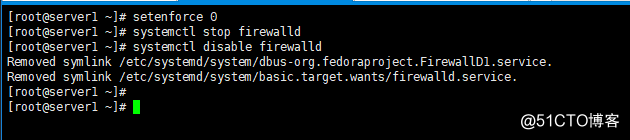
二、server2 安装配置 Apache 和 PHP
-
安装
Apache和PHPyum install -y httpd php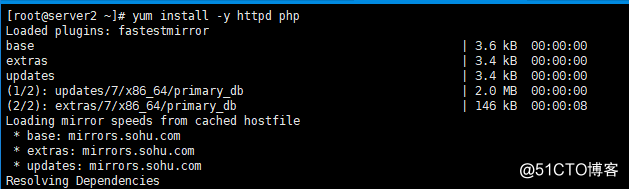
-
在
Apache的Web根目录(/var/www/html)建立PHP文件cd /var/www/html echo -e "<?php phpinfo(); ?>" >> info.php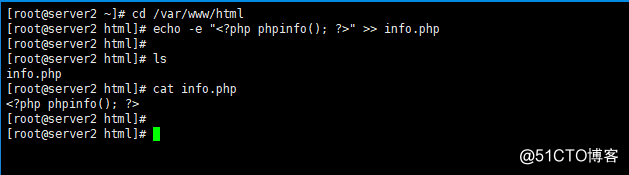
-
重启
Apache服务systemctl restart httpd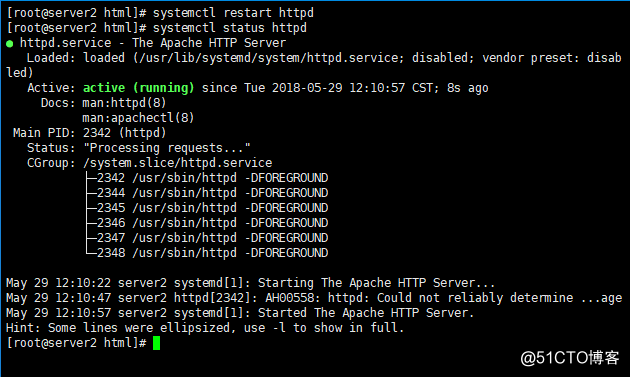
- 关闭防火墙
setenforce 0
systemctl stop firewalld
systemctl disable firewalld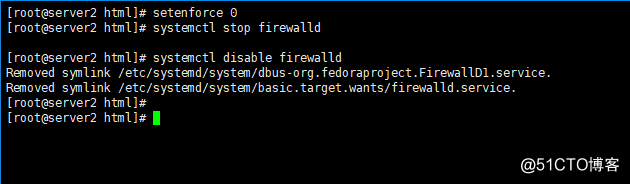
三、测试动静分离,宿主机访问server1
-
访问
http://192.168.204.133/nginx.html
返回的是server1上的资源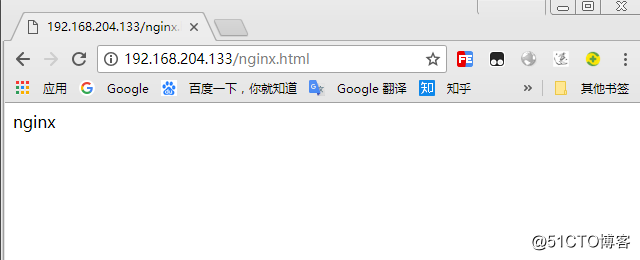
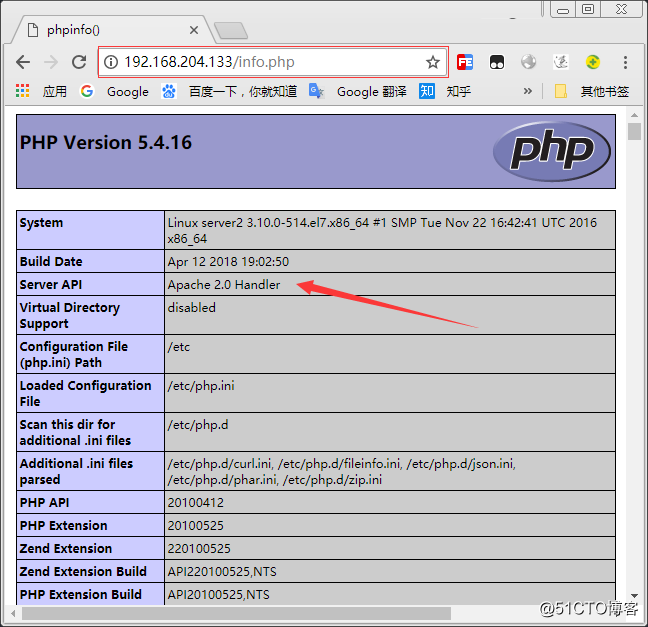
- 访问PHP页面
http://192.168.204.133/info.php
返回的是server2上的资源