摘要
号称能达到chatgpt能力的90%的minigpt4开源了! 本文向大家展示如何部署minigpt4,使用13B为例!
下载代码
Github链接:
https://github.com/Vision-CAIR/MiniGPT-4
将其下载下来,解压。然后搭建环境
安装环境
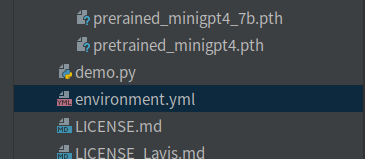
可以直接运行environment.yml 创建虚拟环境。执行命令:
conda env create name environment_name -f environment.yml
environment_name指的是虚拟环境的name。
如果担心pytorch版本和本地的cuda版本不兼容,可以自己手动创建,我采用的这种方式:
conda create --name gpt python=3.9
然后,找到合适的pytorch版本,将其安装到上面创建的虚拟环境,执行命令:
conda install pytorch==1.13.1 torchvision==0.14.1 torchaudio==0.13.1 pytorch-cuda=11.7 -c pytorch -c nvidia
然后,将environment.yml的pip部分,拿出来,新建requirements.txt,将其放进去,完整的内容:
accelerate==0.16.0
aiohttp==3.8.4
aiosignal==1.3.1
async-timeout==4.0.2
attrs==22.2.0
bitsandbytes==0.37.0
cchardet==2.1.7
chardet==5.1.0
contourpy==1.0.7
cycler==0.11.0
filelock==3.9.0
fonttools==4.38.0
frozenlist==1.3.3
huggingface-hub==0.13.4
importlib-resources==5.12.0
kiwisolver==1.4.4
matplotlib==3.7.0
multidict==6.0.4
openai==0.27.0
packaging==23.0
psutil==5.9.4
pycocotools==2.0.6
pyparsing==3.0.9
python-dateutil==2.8.2
pyyaml==6.0
regex==2022.10.31
tokenizers==0.13.2
tqdm==4.64.1
transformers==4.28.0
timm==0.6.13
spacy==3.5.1
webdataset==0.2.48
scikit-learn==1.2.2
scipy==1.10.1
yarl==1.8.2
zipp==3.14.0
omegaconf==2.3.0
opencv-python==4.7.0.72
iopath==0.1.10
decord==0.6.0
tenacity==8.2.2
peft
pycocoevalcap
sentence-transformers
umap-learn
notebook
gradio==3.24.1
gradio-client==0.0.8
wandb
尽量按照上面的版本搭建环境,否则容易出现各种奇葩问题。
下载模型
vicuna模型https://huggingface.co/lmsys
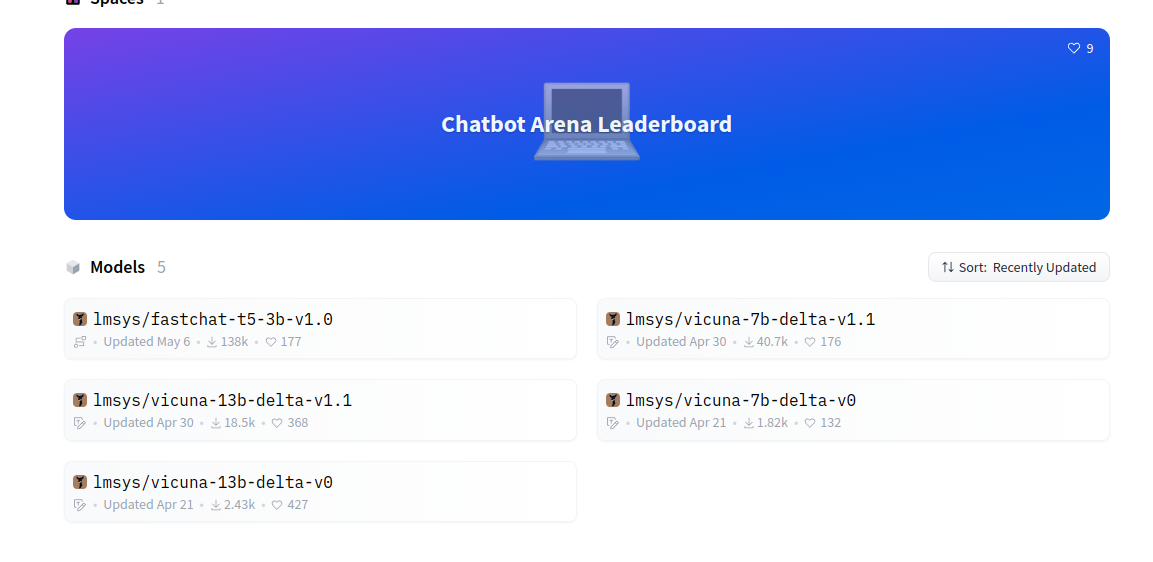
vicuna模型,建议下载v1.1版本的。新旧版本的维度不一致!
LLaMA:https://huggingface.co/decapoda-research
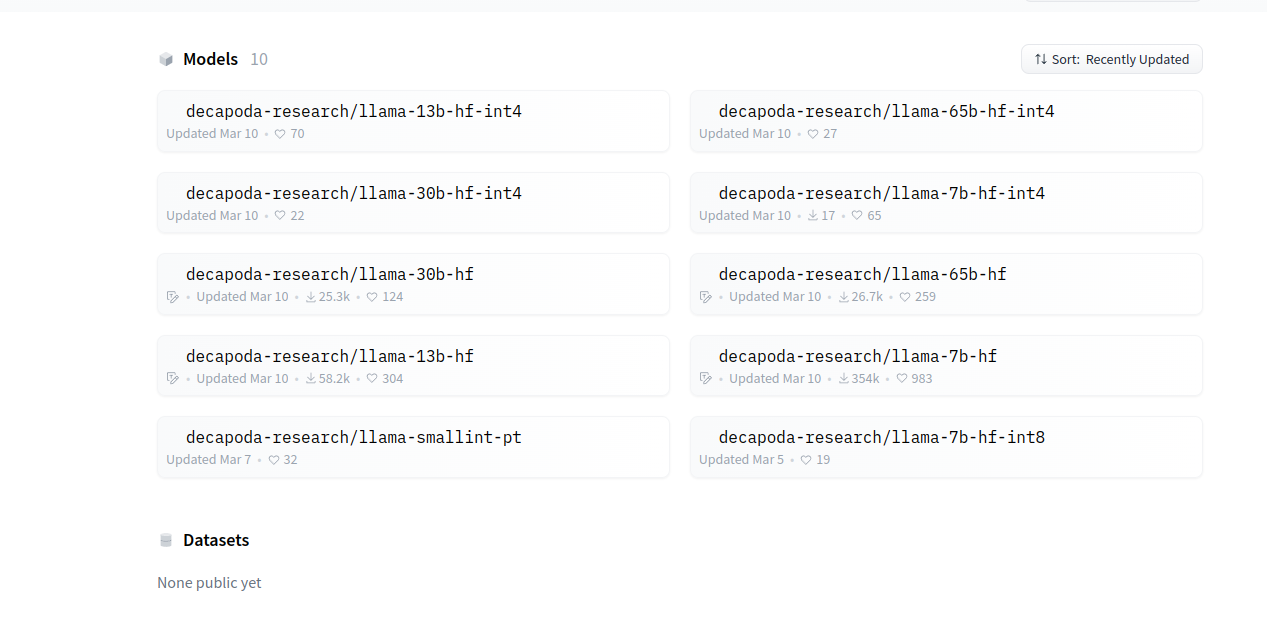
LLaMA和vicuna模型保持一直,如果选用13B,这个两个模型都用13B。
模型转换
模型转换,需要用到的库FastChat,github链接:https://github.com/lm-sys/FastChat
安装方法:
git clone https://github.com/lm-sys/FastChat.git
cd FastChat
pip install --upgrade pip  # enable PEP 660 support
pip install -e .
在FastChat的根目录新建LLAMA文件夹,将下载的llama模型和icunb模型放到LLAMA文件夹下面。
安装完成后执行命令:
python -m fastchat.model.apply_delta --base LLAMA/llama-13b-hf --target LLAMA/vicuna-13b --delta LLAMA/vicuna-13b-delta-v1.1
即可完成转换。注意:转换需要消耗大量的内存,对机器的配置要求比较高。
转换完成后 ,在MiniGPT4的根目录新建weights文件夹,将转换好的模型文件夹放进去
下载minigpt4权重文件
有两个,一个是13B,一个是7B。
| Checkpoint Aligned with Vicuna 13B | Checkpoint Aligned with Vicuna 7B |
|---|---|
| Downlad | Download |
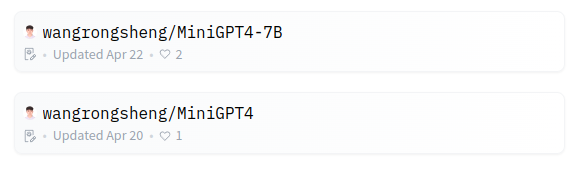
| 都在gongle网盘上,有无奈,还有有人共享了权重文件,链接:https://huggingface.co/wangrongsheng |
具体链接:
# 13B
https://huggingface.co/wangrongsheng/MiniGPT4/tree/main
# 7B
https://huggingface.co/wangrongsheng/MiniGPT4-7B/tree/main
当然,也有转换好的模型,链接:
# 13B
https://huggingface.co/wangrongsheng/MiniGPT-4-LLaMA/tree/main
#7B
https://huggingface.co/wangrongsheng/MiniGPT-4-LLaMA-7B/tree/main
rongsheng大佬太贴心了!!!
配置
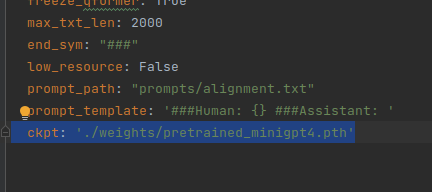
修改eval_configs/minigpt4_eval.yaml的minigpt4的路径。
ckpt: './weights/pretrained_minigpt4.pth'
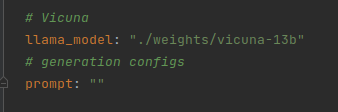
修改 minigpt4/configs/models/minigpt4.yaml文件,将llama_model修改为转换后的模型目录。
运行
python demo.py --cfg-path eval_configs/minigpt4_eval.yaml --gpu-id 0

问题
RuntimeError: The size of tensor a (32000) must match the size of tensor b
(32001) at non-singleton dimension 0
产生原因:
fastchat版本与模型版本 不兼容
解决办法:
将vicuna-7b-delta-v0 替换为 vicuna-7b-delta-v1.1 版本,
换成1.1版本的后可以转换了。
执行命令:
python -m fastchat.model.apply_delta --base LLAMA/llama-13b-hf --target LLAMA/vicuna-13b --delta LLAMA/vicuna-13b-delta-v1.1
