zabbix部署
Zabbix 是一个企业级的分布式开源监控方案。
Zabbix是一款能够监控各种网络参数以及服务器健康性和完整性的软件。Zabbix使用灵活的通知机制,允许用户为几乎任何事件配置基于邮件的告警。这样可以快速反馈服务器的问题。基于已存储的数据,Zabbix提供了出色的报告和数据可视化功能。这些功能使得Zabbix成为容量规划的理想方案。
Zabbix支持主动轮询和被动捕获。Zabbix所有的报告、统计信息和配置参数都可以通过基于Web的前端页面进行访问。基于Web的前端页面可以确保您从任何方面评估您的网络状态和服务器的健康性。适当的配置后,Zabbix可以在IT基础架构监控方面扮演重要的角色。对于只有少量服务器的小型组织和拥有大量服务器的大型公司也同样如此。
参考 https://www.zabbix.com/documentation/4.0/zh/manual
添加 Zabbix 软件仓库
[root@zabbix-server ~]# rpm -ivh http://repo.zabbix.com/zabbix/4.0/rhel/7/x86_64/zabbix-release-4.0-1.el7.noarch.rpm
一.zabbix服务端
安装 Zabbix server并使用 MySQL 数据库:
[root@zabbix-server ~]# yum install zabbix-server-mysql -y
安装 Zabbix 前端并使用 MySQL 数据库:
[root@zabbix-server ~]# yum install zabbix-web-mysql -y
安装mariadb并初始化;授权zabbix用户并创建zabbix库:
[root@zabbix-server ~]# yum install -y mariadb-server
启动mariadb服务:
[root@zabbix-server ~]# systemctl start mariadb
[root@zabbix-server ~]# systemctl enable mariadb
mysql密码初始化:
[root@zabbix-server ~]# mysql_secure_installation
NOTE: RUNNING ALL PARTS OF THIS SCRIPT IS RECOMMENDED FOR ALL MariaDB
SERVERS IN PRODUCTION USE! PLEASE READ EACH STEP CAREFULLY!
In order to log into MariaDB to secure it, we'll need the current
password for the root user. If you've just installed MariaDB, and
you haven't set the root password yet, the password will be blank,
so you should just press enter here.
Enter current password for root (enter for none):
OK, successfully used password, moving on...
Setting the root password ensures that nobody can log into the MariaDB
root user without the proper authorisation.
Set root password? [Y/n] Y (设置根密码)
New password: (密码:redhat)
Re-enter new password: (再次输入密码)
Password updated successfully!
Reloading privilege tables..
... Success!
By default, a MariaDB installation has an anonymous user, allowing anyone
to log into MariaDB without having to have a user account created for
them. This is intended only for testing, and to make the installation
go a bit smoother. You should remove them before moving into a
production environment.
Remove anonymous users? [Y/n] Y (删除匿名用户)
... Success!
Normally, root should only be allowed to connect from 'localhost'. This
ensures that someone cannot guess at the root password from the network.
Disallow root login remotely? [Y/n] Y (不允许远程超级用户登录)
... Success!
By default, MariaDB comes with a database named 'test' that anyone can
access. This is also intended only for testing, and should be removed
before moving into a production environment.
Remove test database and access to it? [Y/n] Y (删除测试数据库并访问它)
- Dropping test database...
... Success!
- Removing privileges on test database...
... Success!
Reloading the privilege tables will ensure that all changes made so far
will take effect immediately.
Reload privilege tables now? [Y/n] Y (立即重新加载权限表)
... Success!
Cleaning up...
All done! If you've completed all of the above steps, your MariaDB
installation should now be secure.
Thanks for using MariaDB!
新建zabbix库:
[root@zabbix-server ~]# mysql -uroot -p
Enter password: (输入密码:redhat)
Welcome to the MariaDB monitor. Commands end with ; or \g.
Your MariaDB connection id is 10
Server version: 5.5.64-MariaDB MariaDB Server
Copyright (c) 2000, 2018, Oracle, MariaDB Corporation Ab and others.
Type 'help;' or '\h' for help. Type '\c' to clear the current input statement.
MariaDB [(none)]> create database zabbix character set utf8;
Query OK, 1 row affected (0.00 sec)
MariaDB [(none)]> grant all privileges on zabbix.* to zabbix@localhost identified by 'zabbix';
Query OK, 0 rows affected (0.00 sec)
MariaDB [(none)]> flush privileges;
Query OK, 0 rows affected (0.00 sec)
[root@zabbix-server ~]# zcat /usr/share/doc/zabbix-server-mysql-4.0.14/create.sql.gz |mysql -uzabbix -p zabbix
Enter password: (输入密码:zabbix)
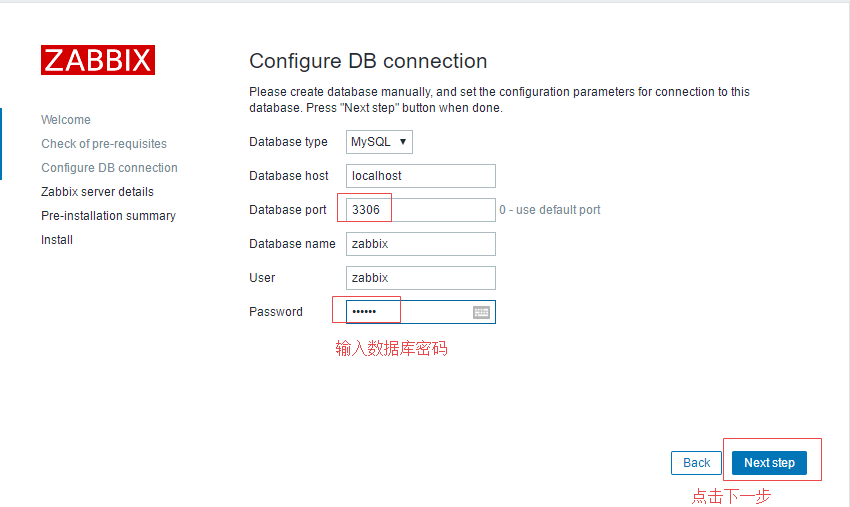
修改server配置
[root@zabbix-server ~]# vim /etc/zabbix/zabbix_server.conf
LogFile=/var/log/zabbix/zabbix_server.log
LogFileSize=0
PidFile=/var/run/zabbix/zabbix_server.pid
SocketDir=/var/run/zabbix
DBHost=localhost   #(取消注释#)
DBName=zabbix
DBUser=zabbix
DBPassword=zabbix  #(取消注释#,密码为zabbix)
SNMPTrapperFile=/var/log/snmptrap/snmptrap.log
Timeout=4
AlertScriptsPath=/usr/lib/zabbix/alertscripts
ExternalScripts=/usr/lib/zabbix/externalscripts
LogSlowQueries=3000
启动zabbix-server
[root@zabbix-server ~]# systemctl enable zabbix-server
[root@zabbix-server ~]# systemctl start zabbix-server
修改httpd配置
[root@zabbix-server ~]# vim /etc/httpd/conf.d/zabbix.conf
#
# Zabbix monitoring system php web frontend
#

Alias /zabbix /usr/share/zabbix

<Directory "/usr/share/zabbix">
    Options FollowSymLinks
    AllowOverride None
    Require all granted

    <IfModule mod_php5.c>
        php_value max_execution_time 300
        php_value memory_limit 128M
        php_value post_max_size 16M
        php_value upload_max_filesize 2M
        php_value max_input_time 300
        php_value max_input_vars 10000
        php_value always_populate_raw_post_data -1
        # php_value date.timezone Europe/Riga
        php_value date.timezone Asia/Shanghai
    </IfModule>
</Directory>

<Directory "/usr/share/zabbix/conf">
    Require all denied
</Directory>

<Directory "/usr/share/zabbix/app">
    Require all denied
</Directory>

<Directory "/usr/share/zabbix/include">
    Require all denied
</Directory>

<Directory "/usr/share/zabbix/local">
    Require all denied
</Directory>
启动httpd
[root@zabbix-server ~]# systemctl start httpd
[root@zabbix-server ~]# systemctl enable httpd
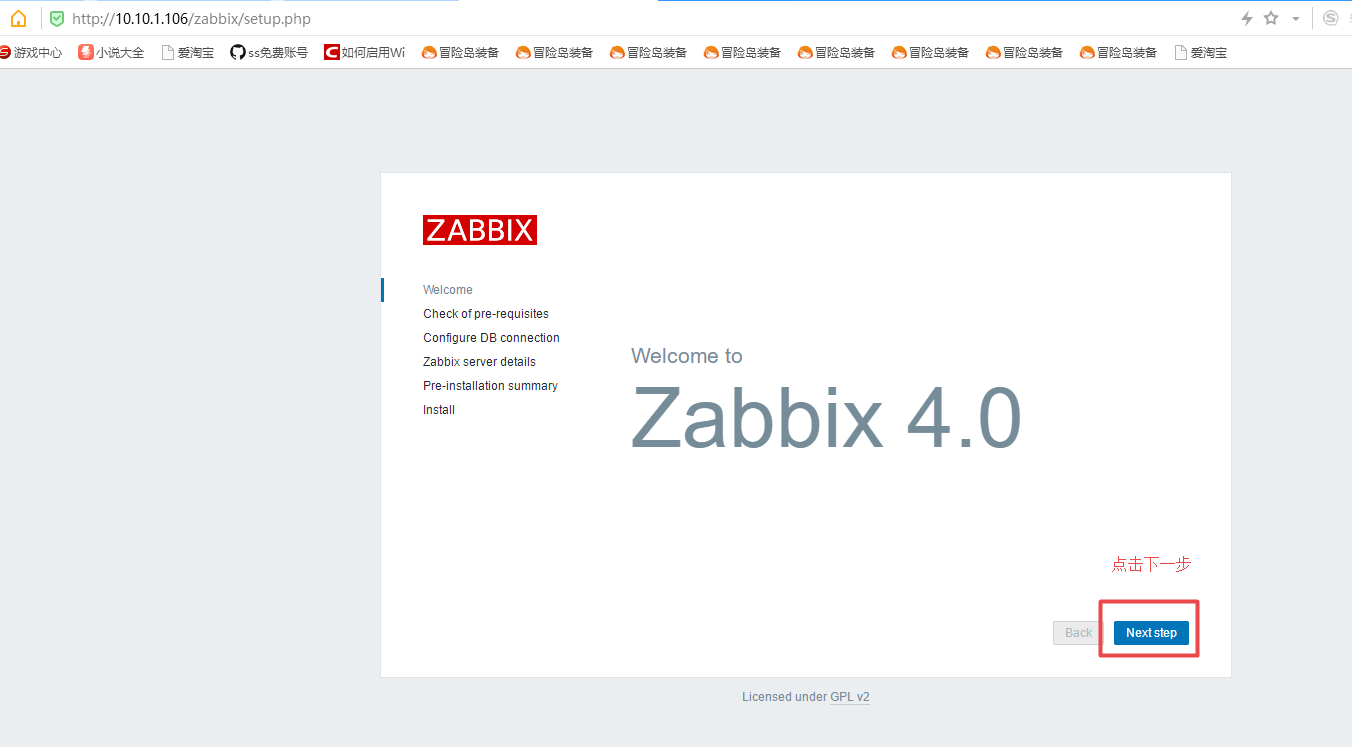
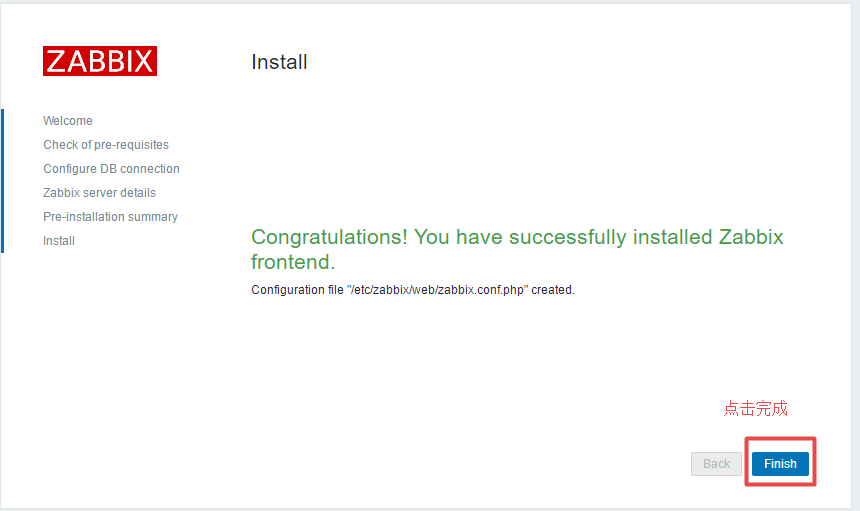
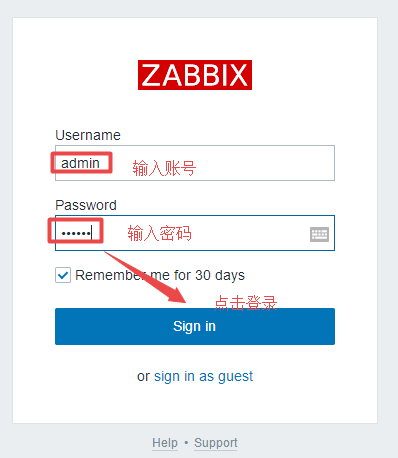
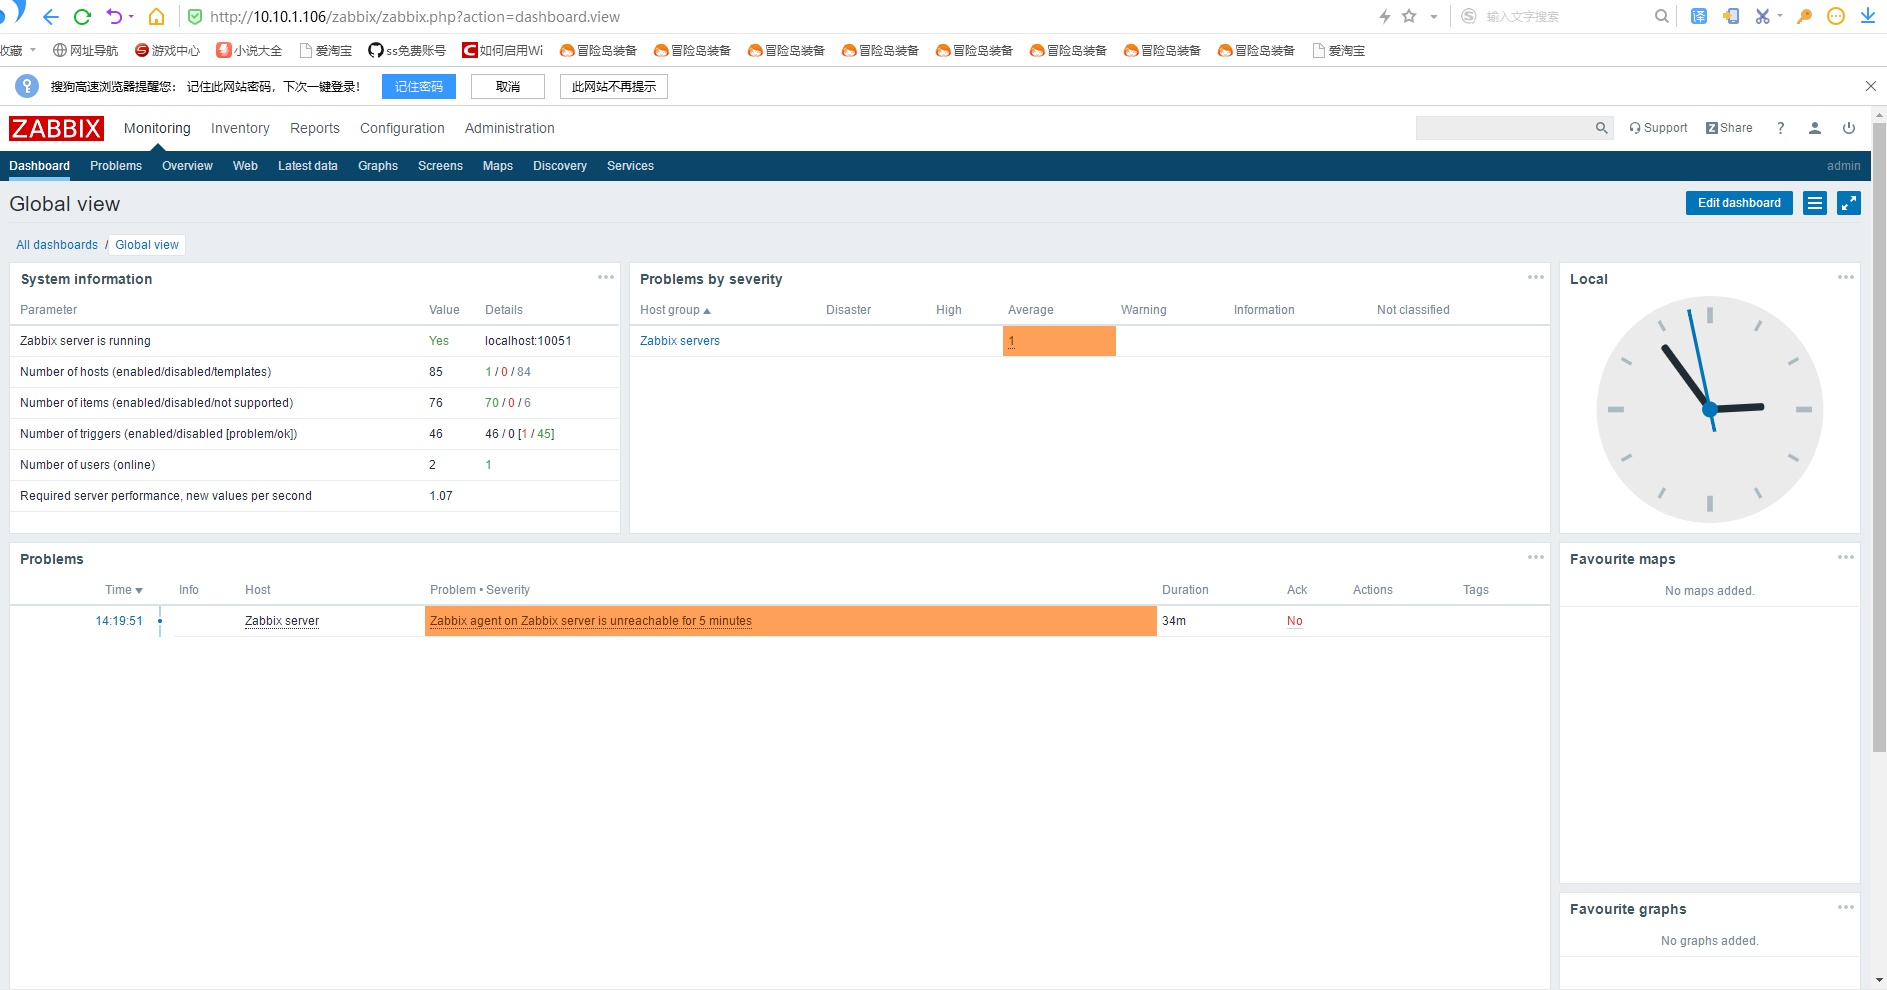
页面访问:
http://10.10.1.106/zabbix