大家不要再理解错了!warpPerspective和warpAffine 不仅仅只有透视变换一个作用。
上一次做理论题时,搜索warpPerspective,结果给我弹出来一个透视变换,如下:
 当时的我以为warpPerspective是一个专门做透视变换的函数,结果却不是这样的。
OpenCV 提供了两个变换函数, cv2.warpAffine 和 cv2.warpPerspective, 使用这两个函数你可以实现所有类型的变换。 cv2.warpAffine 接收的参数是 2 × 3 的变换矩阵,而 cv2.warpPerspective 接收的参数是 3 × 3 的变换矩阵。
下面给大家演示:
#这是不调用函数时,平移图像的例子
import cv2 as cv
import matplotlib.pyplot as plt
import numpy as np
import math

#平移变换自己实现
Simg=cv.imread("D:\woman1.tif",0)
dimg=np.zeros(Simg.shape[:2],np.uint8)
height=Simg.shape[0]
width=Simg.shape[1]
tx=50;ty=100 #右下角平移
for row in range(height-ty):
    for col in range(width-tx):
        dimg[row+ty,col+tx]=Simg[row,col]
cv.imshow("sourceImage",Simg)
cv.imshow("destImage",dimg)
cv.waitKey(0)

那么调用函数,我们应该怎么用呢?
#调用函数平移
#函数 cv2.warpAffine() 的第三个参数的是输出图像的大小,它的格式应该是图像的(宽,高)
#应该记住的是图像的宽对应的是列数,高对应的是行数

tx=50;ty=100 #右下角平移
affine_arr = np.float32([[1,0,tx],[0,1,ty],[0,0,1]])
res = cv.warpPerspective(Simg,affine_arr,(width,height))
cv.imshow("desttIMage",res)
cv.waitKey(0)
结果和上面一致。
除了平移外,我们还可以应用到很多场景。例如旋转,镜像,放缩等。
#放射变换 src 3 -> dst 3 (左上角, 左下角,右上角) 找三个点的坐标
matSrc = np.float32([[0,0],[0,height-1],[width-1, 0]]) # 需要注意的是 行列 和 坐标 是不一致的
matDst = np.float32([[50,50],[100, height-50],[width-100,50]])
matAffine = cv.getAffineTransform(matSrc,matDst) #mat 1 src 2 dst 形成组合矩阵
dst1 = cv.warpAffine(Simg, matAffine,(width, height))
cv.imshow('image',dst1)
cv.waitKey(0)
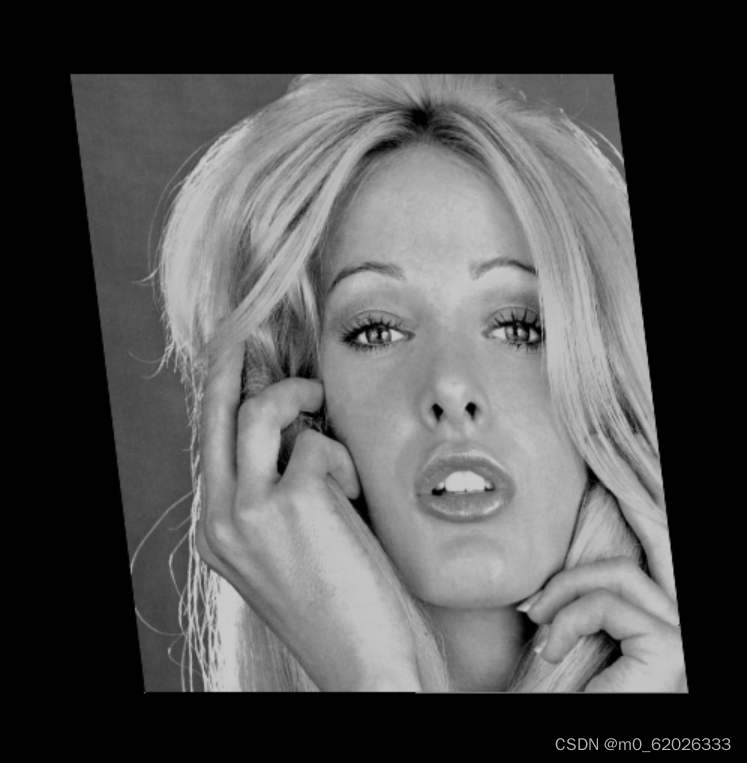
#旋转 绕图像中心点旋转,还需重算矩阵matrix
import math
angle=180#旋转角度
matrix=np.float32([[math.cos(angle),math.sin(angle),0],[-math.sin(angle),math.cos(angle),0]])
ret11=cv.warpAffine(Simg,matrix,(width,height))
cv.imshow("destIMage",ret11)
cv.waitKey(0)
放射变换如上。