大家好,我是虎哥,使用NVIDIA Jeston TX1 也有很长一段时间了,由于这是基本停产的一个模块,其实自己也担心有很多官方的demo无法适配跑起来了,所以花了点时间,进一步研究发挥其GPU性能,使用各种硬件协处理器来加速。今天周末,开始续测试一下DeepStream自带的C++DEMO,开始入门学习DeepStream的使用,讲通过详细分享官方自带的5个典型例子,来完成入门学习,分享给大家,也是自己做个笔记总结。
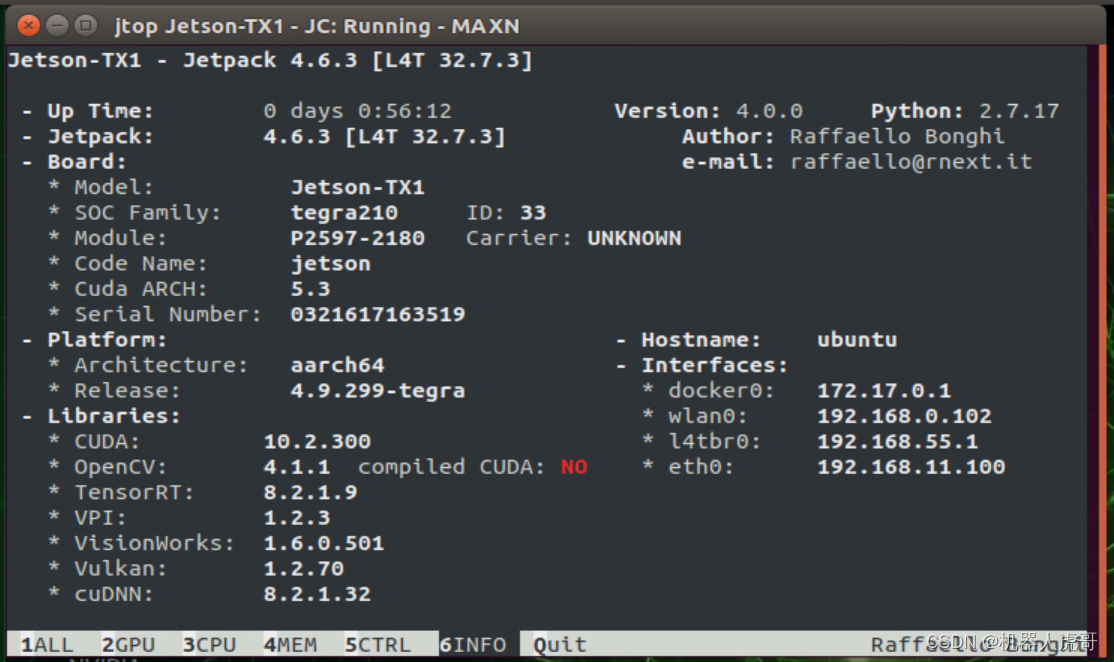
先交代一下我自己的测试环境,硬件好事TX1+EHub_tx1_tx2_E100载板的环境, 关于测试硬件EHub_tx1_tx2_E100载板请查看:EdgeBox_EHub_tx1_tx2_E100 开发板评测_机器人虎哥的博客-CSDN博客。系统装ubuntu 18.04 的环境。安装了英伟达配套的所有cuda的套件库。
目录
0、C/C++ Sample Apps Source Details
0、C/C++ Sample Apps Source Details
官网入口:https://docs.nvidia.com/metropolis/deepstream/dev-guide/text/DS_C_Sample_Apps.html
DeepStream SDK 包含插件、库、应用程序和源代码的存档。对于Debian安装(在Jetson或dGPU上)和SDK管理器安装,sources目录位于/opt/nvidia/deepstream/deepstream-6.2 sources。对于tar包,源文件位于提取的deepstream包中。DeepStream Python绑定和示例应用程序作为单独的包提供。有关详细信息,请参阅GitHub - NVIDIA-AI-IOT/deepstream_python_apps: DeepStream SDK Python bindings and sample applications.
使用Graph Composer创建的DeepStream图列在参考图部分。有关详细信息,请参见Graph Composer简介。
| Reference test application | Path inside sources directory | Description |
|---|---|---|
| Sample test application 1 | apps/sample_apps/deepstream-test1 | Sample of how to use DeepStream elements for a single H.264 stream: filesrc → decode → nvstreammux → nvinfer or nvinferserver (primary detector) → nvdsosd → renderer. This app uses resnet10.caffemodel for detection. |
| Sample test application 2 | apps/sample_apps/deepstream-test2 | Sample of how to use DeepStream elements for a single H.264 stream: filesrc → decode → nvstreammux → nvinfer or nvinferserver (primary detector) → nvtracker → nvinfer or nvinferserver (secondary classifier) → nvdsosd → renderer. This app uses resnet10.caffemodel for detection and 3 classifier models (i.e., Car Color, Make and Model). |
| Sample test application 3 | apps/sample_apps/deepstream-test3 | Builds on deepstream-test1 (simple test application 1) to demonstrate how to:Use multiple sources in the pipeline.Use a uridecodebin to accept any type of input (e.g. RTSP/File), any GStreamer supported container format, and any codec.Configure Gst-nvstreammux to generate a batch of frames and infer on it for better resource utilization.Extract the stream metadata, which contains useful information about the frames in the batched buffer.This app uses resnet10.caffemodel for detection. |
| Sample test application 4 | apps/sample_apps/deepstream-test4 | Builds on deepstream-test1 for a single H.264 stream: filesrc, decode, nvstreammux, nvinfer or nvinferserver, nvdsosd, renderer to demonstrate how to:Use the Gst-nvmsgconv and Gst-nvmsgbroker plugins in the pipeline.Create NVDS_META_EVENT_MSG type metadata and attach it to the buffer.Use NVDS_META_EVENT_MSG for different types of objects, e.g. vehicle and person.Implement “copy” and “free” functions for use if metadata is extended through the extMsg field.This app uses resnet10.caffemodel for detection. |
| Sample test application 5 | apps/sample_apps/deepstream-test5 | Builds on top of deepstream-app. Demonstrates:Use of Gst-nvmsgconv and Gst-nvmsgbroker plugins in the pipeline for multistream.How to configure Gst-nvmsgbroker plugin from the config file as a sink plugin (for KAFKA, Azure, etc.).How to handle the RTCP sender reports from RTSP servers or cameras and translate the Gst Buffer PTS to a UTC timestamp.For more details refer the RTCP Sender Report callback function test5_rtcp_sender_report_callback() registration and usage in deepstream_test5_app_main.c. GStreamer callback registration with rtpmanager element’s “handle-sync” signal is documented in apps-common/src/deepstream_source_bin.c.This app uses resnet10.caffemodel for detection. |
接下来的时间,我们就通过系统学习这5个示例程序。
-
test1: DeepStream的Hello World。介绍如何基于多种DeepStream 插件来构建一个Gstream 管道。这个样例中输入的是一个视频文件,经过解码、批处理、目标检测,并将检测信息显示在屏幕中。
-
test2: 在test1的基础上,将二级网络级联到一级网络。图中我们也能看到,在目标检测之后多了一个图像分类的模块。
-
test3: 在test1的基础上,如何实现多数据源。比如同时接入4路视频,实现对4路视频数据的同时推理。
-
test4: 在test1的基础上,展示如何使用message broker插件创建物联网服务。
参考资料
DeepStream SDK开发指南:NVIDIA DeepStream SDK Developer Guide — DeepStream 6.2 Release documentation
DeepStream 概况: https://docs.nvidia.com/metropolis/deepstream/dev-guide/text/DS_Overview.html
DeepStream 数据结构:https://docs.nvidia.com/metropolis/deepstream/dev-guide/text/DS_plugin_metadata.html
GStreamer 学习笔记: https://www.cnblogs.com/phinecos/archive/2009/06/07/1498166.html
B站DeepStream 相关视频合集:jetson nano中如何下载deepstream-哔哩哔哩_Bilibili
1、Sample test application 2

接着看一下deepstream-test2的范例,这是基于test1的基础上去添加“多级检测器”的功能,由于这个功能与DeepStream的追踪功能相捆绑,因此也许一并启动。
-
编程语言:C/C++
-
代码量:506行(含注解)
-
输入源:单个H264/H265视频文件
-
智能推理:单个的4类别(car, person, bicycle, roadsign)主检测器,加上3个基于“Car”类别的次级检测器,包括颜色、品牌、车型等等,这里还必须打开“追踪器(tracker)”的功能
-
显示输出:显示器
-
插件流:filesrc -> h264parse -> nvv4l2decoder -> nvstreammux -> nvinfer (primary detector) -> nvtracker -> nvinfer(secondary classifier) -> nvvideoconvert -> nvdsosd -> nvegltransform -> nveglglessink
1.1 进入目录,找到代码:
cd /opt/nvidia/deepstream/deepstream-6.0/sources/apps/sample_apps
cd deepstream-test2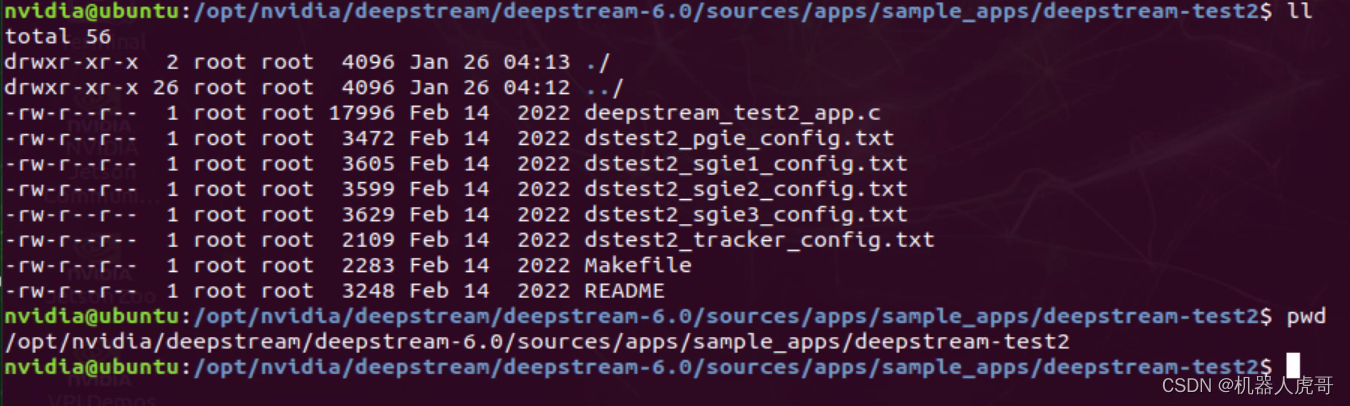
1.2 按照指导编译文件
从 README文件种可以看到编译步骤:
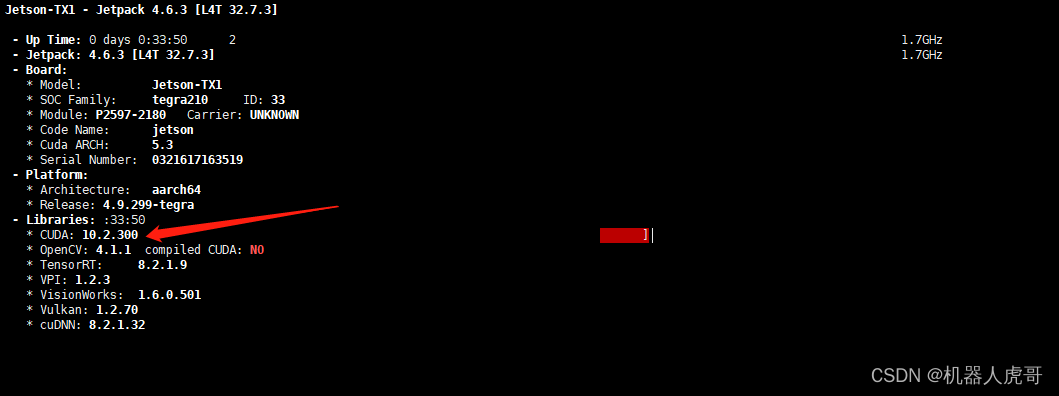
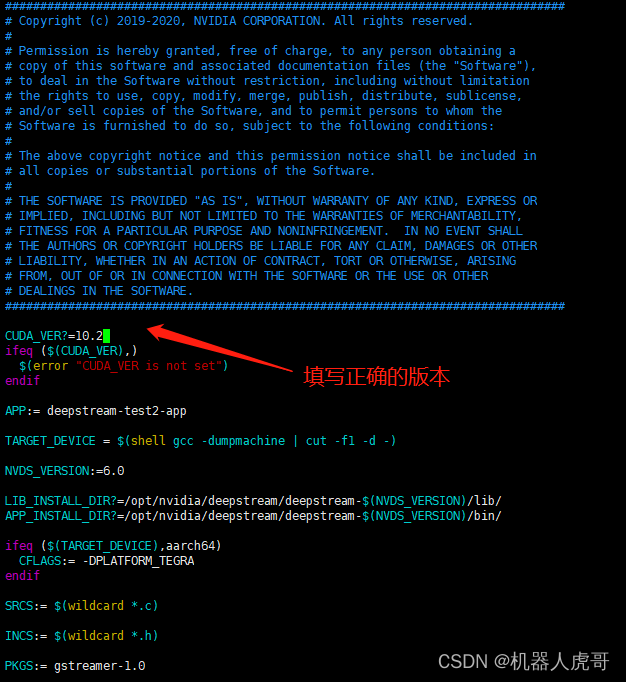
Compilation Steps: $ Set CUDA_VER in the MakeFile as per platform. For Jetson, CUDA_VER=10.2 For x86, CUDA_VER=11.4 $ sudo make
确认自己系统CUDA_VER,我自己就是CUDA_VER=10.2
打开MakeFile文件修改
保存退出后编译:
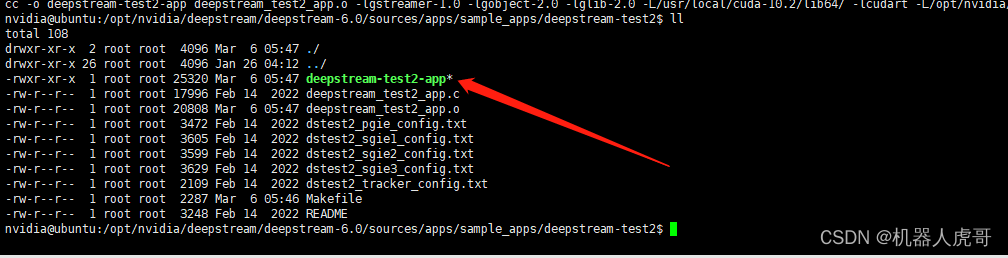
sudo makenvidia@ubuntu:/opt/nvidia/deepstream/deepstream-6.0/sources/apps/sample_apps/deepstream-test2$ sudo make
cc -c -o deepstream_test2_app.o -DPLATFORM_TEGRA -I../../../includes -I /usr/local/cuda-10.2/include -pthread -I/usr/include/gstreamer-1.0 -I/usr/include/glib-2.0 -I/usr/lib/aarch64-linux-gnu/glib-2.0/include deepstream_test2_app.c
cc -o deepstream-test2-app deepstream_test2_app.o -lgstreamer-1.0 -lgobject-2.0 -lglib-2.0 -L/usr/local/cuda-10.2/lib64/ -lcudart -L/opt/nvidia/deepstream/deepstream-6.0/lib/ -lnvdsgst_meta -lnvds_meta -Wl,-rpath,/opt/nvidia/deepstream/deepstream-6.0/lib/编译完成。
1.3 运行测试
README文件 有如何运行的说明
To run: $ ./deepstream-test2-app <h264_elementary_stream> NOTE: To compile the sources, run make with "sudo" or root permission.
官方自带的样本种有H264视频:
cd /opt/nvidia/deepstream/deepstream-6.0/samples/streams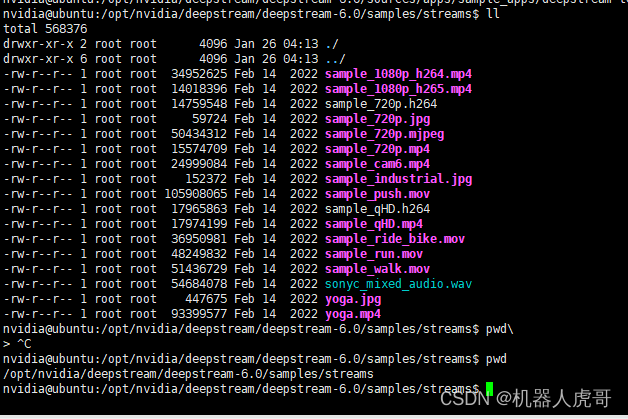
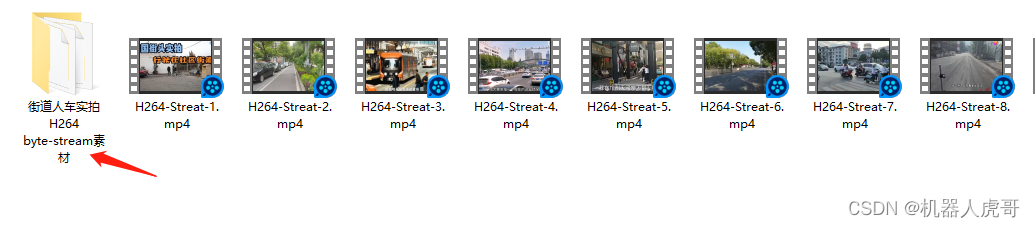
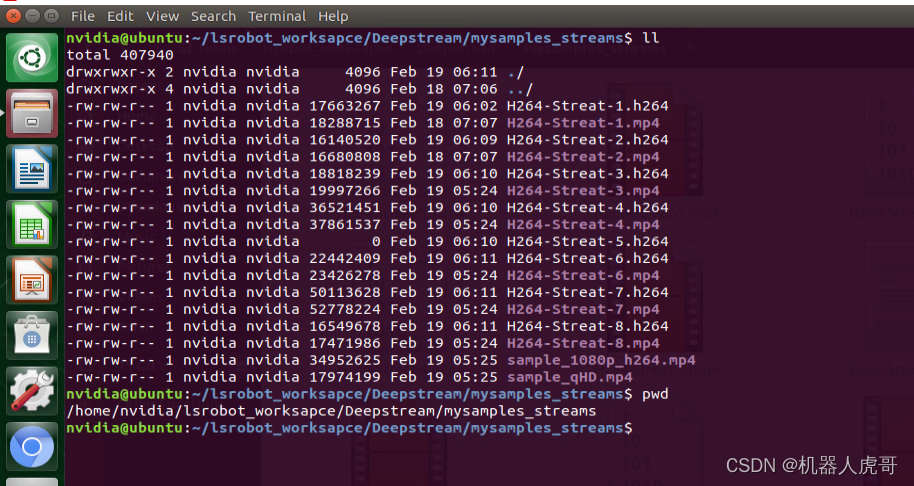
我自己也在上一篇种转了一些264的文件:

先用官方的示例视频测试,其所在目录:
cd /opt/nvidia/deepstream/deepstream-6.0/samples/streams回到测试目录:
cd /opt/nvidia/deepstream/deepstream-6.0/sources/apps/sample_apps/deepstream-test2执行测试命令:在NoMachine终端执行
./deepstream-test2-app /opt/nvidia/deepstream/deepstream-6.0/samples/streams/sample_720p.h264
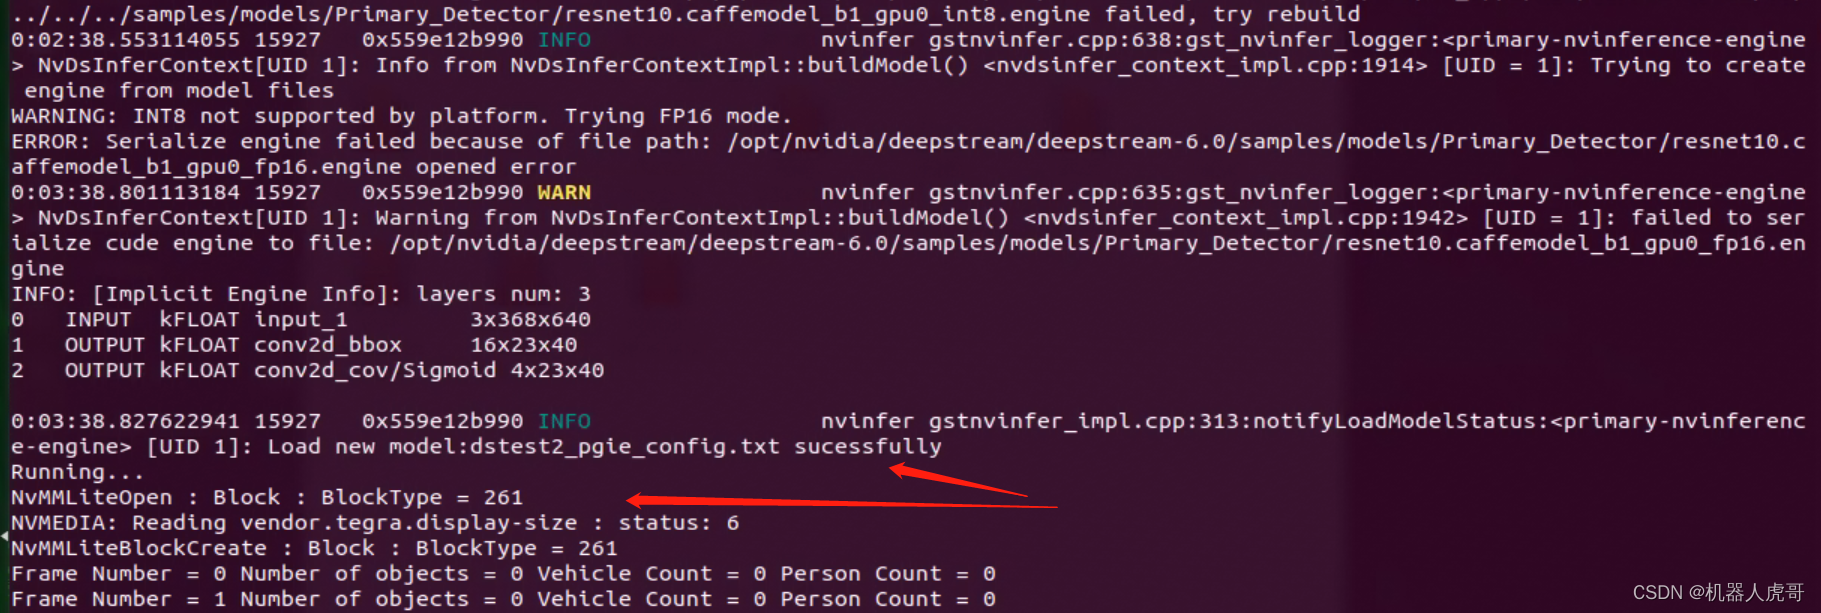
之后就是你泡杯茶,等着,就好了,等挺长时间,直到出现下列打印:

 我们可以回顾一下test1中的推理结果:

这里明显看到test2不仅能为每个检测到的物体标上编号,这就是“追踪”的功能,在“car”物体上,还有“颜色”、“品牌”、“车型”等信息。

1.4 报错尝试解决
报错信息:
ERROR: Deserialize engine failed because file path: /opt/nvidia/deepstream/deepstream-6.0/sources/apps/sample_apps/deepstream-test2/../../../../samples/models/Secondary_VehicleTypes/resnet18.caffemodel_b16_gpu0_int8.engine open error ERROR: Deserialize engine failed because file path: /opt/nvidia/deepstream/deepstream-6.0/sources/apps/sample_apps/deepstream-test2/../../../../samples/models/Secondary_CarMake/resnet18.caffemodel_b16_gpu0_int8.engine open error ERROR: Deserialize engine failed because file path: /opt/nvidia/deepstream/deepstream-6.0/sources/apps/sample_apps/deepstream-test2/../../../../samples/models/Secondary_CarColor/resnet18.caffemodel_b16_gpu0_int8.engine open error ERROR: Deserialize engine failed because file path: /opt/nvidia/deepstream/deepstream-6.0/sources/apps/sample_apps/deepstream-test2/../../../../samples/models/Primary_Detector/resnet10.caffemodel_b1_gpu0_int8.engine open error
所以,报错是打开文件失败,找这几文件
/opt/nvidia/deepstream/deepstream-6.0/samples/models/Secondary_VehicleTypes/resnet18.caffemodel_b16_gpu0_int8.engin
/opt/nvidia/deepstream/deepstream-6.0/ssamples/models/Secondary_CarMake/resnet18.caffemodel_b16_gpu0_int8.engine
/opt/nvidia/deepstream/deepstream-6.0/ssamples/models/Secondary_CarColor/resnet18.caffemodel_b16_gpu0_int8.engine
/opt/nvidia/deepstream/deepstream-6.0/ssamples/models/Secondary_CarColor/resnet18.caffemodel_b16_gpu0_int8.engine
/opt/nvidia/deepstream/deepstream-6.0/samples/models/Primary_Detector/resnet10.caffemodel_b1_gpu0_int8.engine
进入一个文件夹看看
#进入
cd /opt/nvidia/deepstream/deepstream-6.0/samples/models/Secondary_VehicleTypes/
#
ll
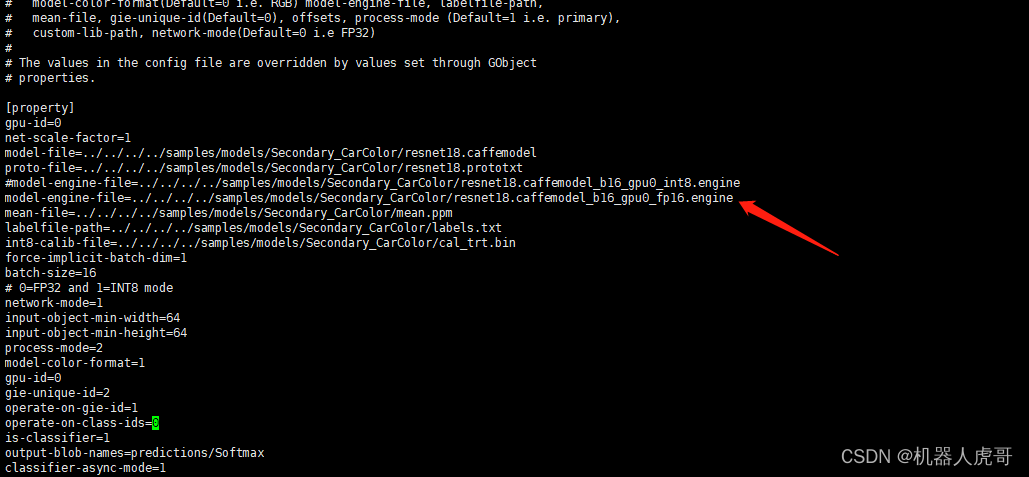
发现根本没有我们需要的:“resnet18.caffemodel_b16_gpu0_int8.engin”这个文件,取而代之的是:“resnet18.caffemodel_b16_gpu0_fp16.engine”,这个时候发现是文件名不对,所以我果断的使用了新的文件名称:
#进入测试目录
cd /opt/nvidia/deepstream/deepstream-6.0/sources/apps/sample_apps/deepstream-test2
#依次打开配置文件
sudo vim dstest2_sgie2_config.txt
sudo vim dstest2_sgie1_config.txt
sudo vim dstest2_sgie3_config.txt
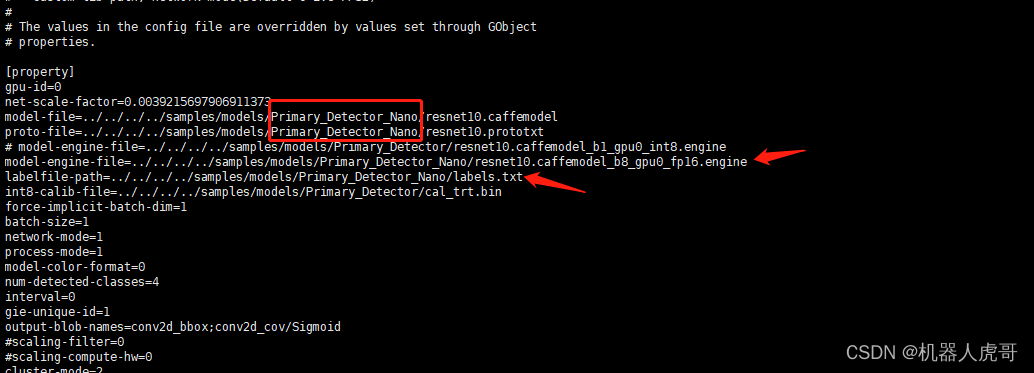
sudo vim dstest2_pgie_config.txt
#核对所有需要的engin文件位置和名称和实际是否对应dstest2_pgie_config.txt 修改后
 dstest2_sgie1_config.txt修改后
dstest2_sgie2_config.txt 修改后

dstest2_sgie3_config.txt修改后

改完之后我们再测试一下:执行测试命令:在NoMachine终端执行
./deepstream-test2-app /opt/nvidia/deepstream/deepstream-6.0/samples/streams/sample_720p.h264 无报错,而且可以感觉到加载很快,也就是之前我们的测试应该是一样的问题,这个报错导致加载很慢。

终于找到了这个问题的原因,并且解决了!可以安心睡觉了。
1.5 尝试输入不同的场景视频
上面的测试,我们都输入的事官方提供的视频,我自己转码了一些H.264存储的流文件,进行额外的一些测试看看:
 测试视频1:
#进入测试目录
cd /opt/nvidia/deepstream/deepstream-6.0/sources/apps/sample_apps/deepstream-test2
#测试视频1:/home/nvidia/lsrobot_worksapce/Deepstream/mysamples_streams/H264-Streat-1.h264
./deepstream-test2-app /home/nvidia/lsrobot_worksapce/Deepstream/mysamples_streams/H264-Streat-1.h264
测试视频2:
#进入测试目录
cd /opt/nvidia/deepstream/deepstream-6.0/sources/apps/sample_apps/deepstream-test2
#测试视频2:/home/nvidia/lsrobot_worksapce/Deepstream/mysamples_streams/H264-Streat-2.h264
./deepstream-test2-app /home/nvidia/lsrobot_worksapce/Deepstream/mysamples_streams/H264-Streat-2.h264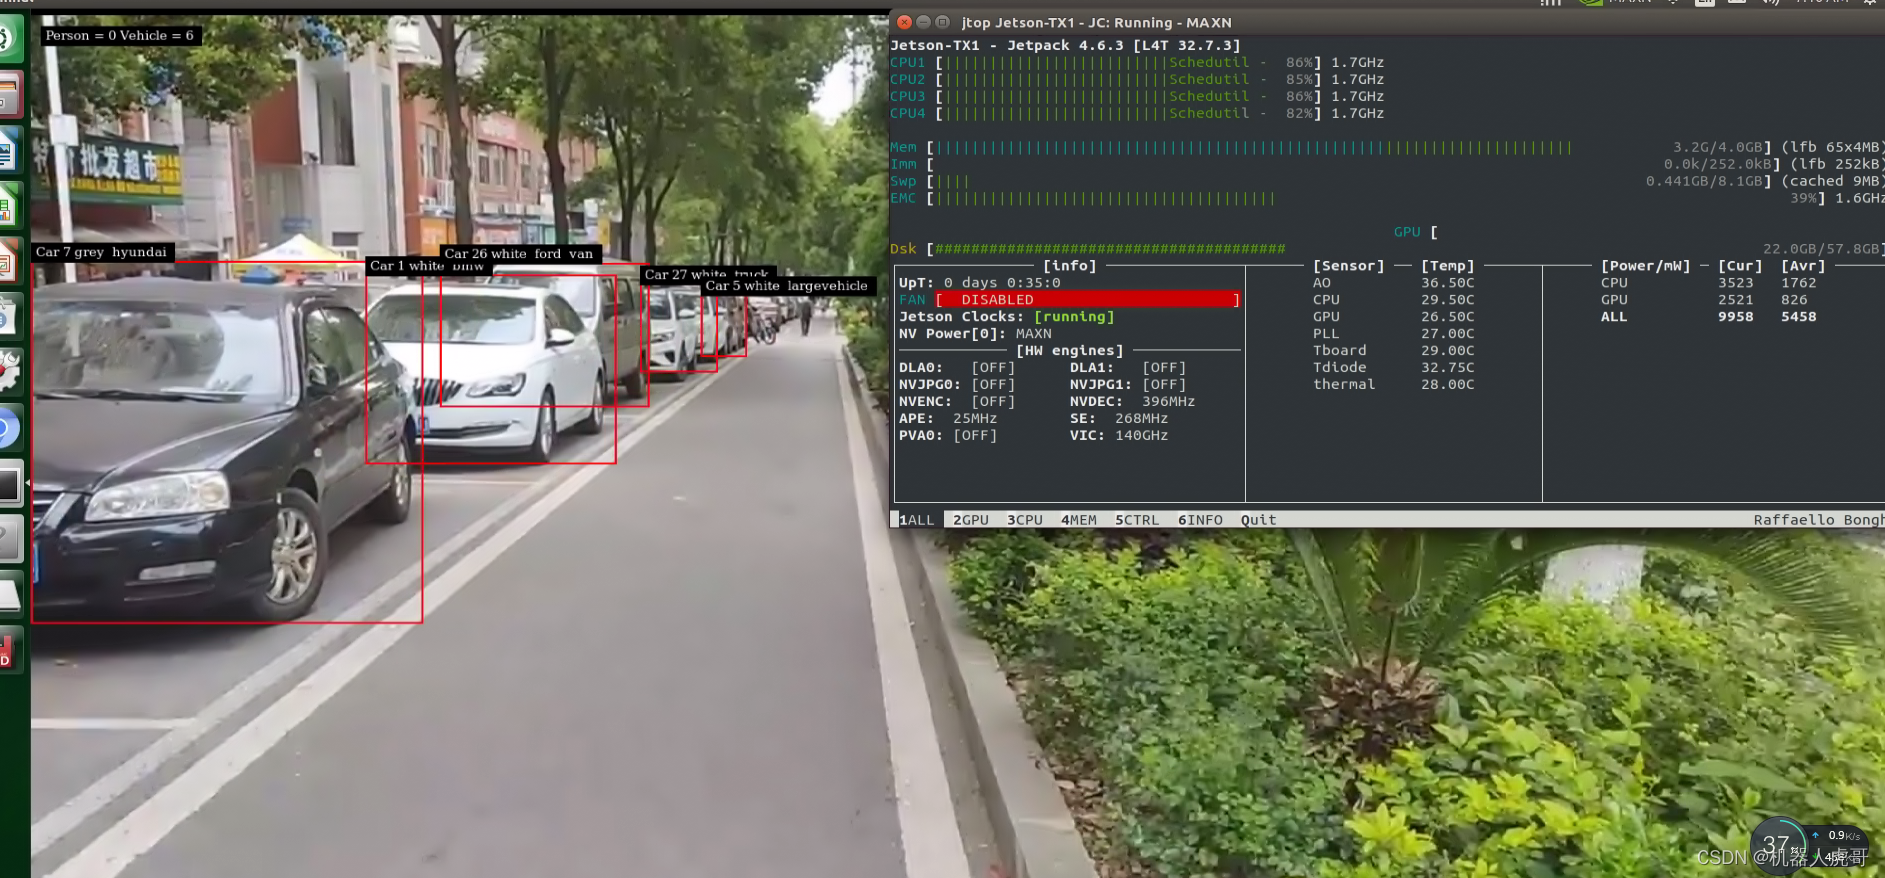
以上就是我今天要分享的内容。纠错,疑问,交流: [email protected]