实现一个哈希表–解决哈希冲突(开散列法或者链地址法)
开散列法又叫链地址法(开链法),首先对关键码集合用散列函数计算散列地址,具有相同地址的关键码归于同一子集合,每一个子集合称为一个桶,各个桶中的元素通过一个单链表链接起来,各链表的头结点存储在哈希表中。
代码:
import java.util.HashMap;
/**
* Created with IntelliJ IDEA.
* Description:
* User: HuYu
* Date: 2021-03-18
* Time: 21:16
*/
public class HashBuck {
static class Node{
//内部类
public int key;
public int val;
public Node next;
public Node(int key, int val) {
//提供构造方法
this.key = key;
this.val = val;
}
}
public Node[] array; //哈希桶中是一个node(节点)类型的数组;
public int usedSize; //填入表中的元素个数,后面用来计算负载因子(填入表数/散列表的长度);
public HashBuck (){
this.array = new Node[8]; //这个哈希桶中数组的长度为8;
}
/*
插入一个节点
*/
public void push(int key,int val){
//插入一个节点
Node node = new Node(key,val); //新节点的key和val
int index = key % array.length; //index确定放入元素的数组下标
Node cur = array[index]; //定义一个cur为此数组下标的链表头节点,
while(cur != null ){
//遍历此链表的
if(cur.key == key){
cur.val= val; //替换原来链表里的值,
return;
}
cur = cur.next; // cur遍历完链表
}
//此时未找到,开始尾插法插入这个数,此处我们用头插法演示;
node.next = array[index];
array[index] = node;
this.usedSize++;//表中元素+1
//每次放入一个元素后,检查一下哈希表的负载因子;
if(loatFactor() >=0.75){
resize(); //超过负载因子,进行扩容
}
}
//计算负载因子
public double loatFactor(){
//小数,double类型;
return this.usedSize *1.0 /this.array.length; //*1.0返回值为小数;
}
/*
扩容代码,以二倍扩容,数组中所有的元素下的单链表中的所有元素都要重新哈希;
*/
public void resize(){
Node[] newArray = new Node[array.length*2];
for(int i=0;i<array.length;i++){
//遍历原来的数组,原来数组中元素重新扩容;
Node cur = array[i]; //原来数组的下标链表的头节点;
while (cur != null) {
int index = cur.key % newArray.length;//确定元素放入下标的新位置;
Node curNext = cur.next; //cur.next值会变,提前标识好
cur.next = newArray[index]; //头插法演示;
newArray[index] = cur;
cur = curNext;
}
//说明循环结束
}//说明已经遍历完所有元素;
array = newArray;//新数组
}
public int get(int key) {
int index = key % array.length;
Node cur = array[index];
while (cur != null) {
if(cur.key == key) {
return cur.val;
}
cur = cur.next;
}
return -1;//没找到
}
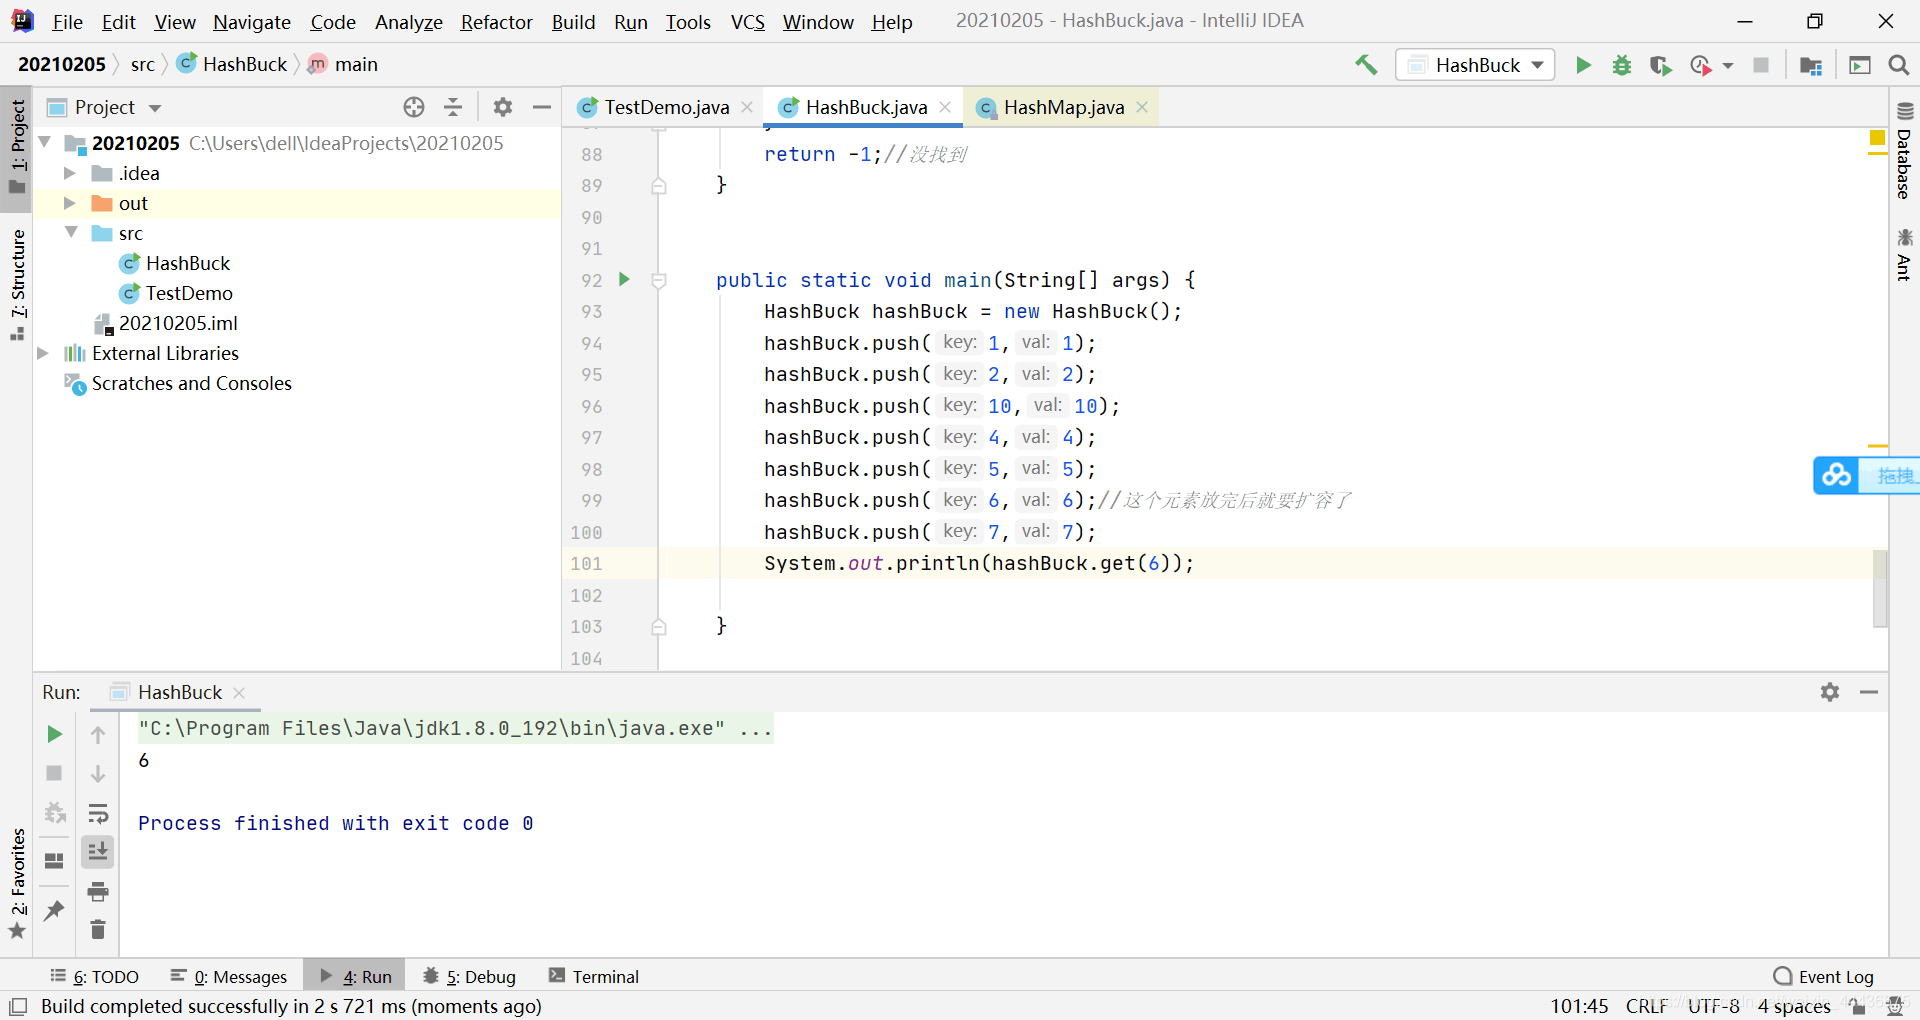
public static void main(String[] args) {
HashBuck hashBuck = new HashBuck();
hashBuck.push(1,1);
hashBuck.push(2,2);
hashBuck.push(10,10);
hashBuck.push(4,4);
hashBuck.push(5,5);
hashBuck.push(6,6);//这个元素放完后就要扩容了
hashBuck.push(7,7);
System.out.println(hashBuck.get(6));
}
}
运行结果:
未扩容前及扩容后和获取结果: