YOLOV5之TensorRT加速:Python版
前言
这篇文章是知乎的一篇文章,算是对前面几篇TensorRT官方文档翻译的小结。后面打算在Jetson Nano上做YOLO算法的TensoRT加速和部署,这篇文章作者没有给出完整的源码,只是用来学习总结用。
1.Tensorrt安装请参考C++版(环境安装有python配置)
2. PyCUDA安装
Ubuntu下环境安装参考官方文献:Installing PyCUDA on Linux,文献有点老,有些对不上.
git clone https://github.com/inducer/pycuda.git # 本人测试版本时2020.1
tar xfz pycuda-VERSION.tar.gz
cd pycuda-VERSION
pip3 install numpy==1.20rc   # 此处一定要注意版本,本人刚开始安装了1.19,一直不成功
python configure.py --cuda-root=/where/ever/you/installed/cuda  # 修改为自己cuda的路径
su -c "make install"

# 测试
cd pycuda-VERSION/test
python test_driver.py    # "OK"则通过
3 主要过程
3.1 创建runtime
import pycuda.autoinit
import pycuda.driver as cuda
import tensorrt as trt

cfx = cuda.Device(0).make_context()
stream = cuda.Stream()
TRT_LOGGER = trt.Logger(trt.Logger.INFO)
runtime = trt.Runtime(TRT_LOGGER)
3.2 反序列化并创建context
engine_file_path = "yolov5s.engine"
with open(engine_file_path, "rb") as f:
     engine = runtime.deserialize_cuda_engine(f.read())
context = engine.create_execution_context()
3.3 分配空间并绑定输入输出
host_inputs = []
cuda_inputs = []
host_outputs = []
cuda_outputs = []
bindings = []

for binding in engine:
    size = trt.volume(engine.get_binding_shape(binding)) * engine.max_batch_size
    dtype = trt.nptype(engine.get_binding_dtype(binding))
    # 分配主机和设备buffers
    host_mem = cuda.pagelocked_empty(size, dtype)    # 主机
    cuda_mem = cuda.mem_alloc(host_mem.nbytes)       # 设备
    # 将设备buffer绑定到设备.
    bindings.append(int(cuda_mem))
    # 绑定到输入输出
    if engine.binding_is_input(binding):
         host_inputs.append(host_mem)           # CPU
         cuda_inputs.append(cuda_mem)           # GPU
    else:
         host_outputs.append(host_mem)
         cuda_outputs.append(cuda_mem)
3.4 图像预处理
def preprocess_image(self, inImg):
    image_raw = inImg
    h, w, c = image_raw.shape
    image = cv2.cvtColor(image_raw, cv2.COLOR_BGR2RGB)
    # 计算最小填充比例
    r_w = INPUT_W / w
    r_h = INPUT_H / h
    if r_h > r_w:
       tw = INPUT_W
       th = int(r_w * h)
       tx1 = tx2 = 0
       ty1 = int((INPUT_H - th) / 2)
       ty2 = INPUT_H - th - ty1
    else:
       tw = int(r_h * w)
       th = INPUT_H
       tx1 = int((INPUT_W - tw) / 2)
       tx2 = INPUT_W - tw - tx1
       ty1 = ty2 = 0
    # 按比例缩放
    image = cv2.resize(image, (tw, th))
    # 填充到目标大小
    image = cv2.copyMakeBorder(
         image, ty1, ty2, tx1, tx2, cv2.BORDER_CONSTANT, (128, 128, 128))
    image = image.astype(np.float32)
    # 归一化到 [0,1]
    image /= 255.0
    # HWC -> CHW
    image = np.transpose(image, [2, 0, 1])
    # CHW -> NCHW
    image = np.expand_dims(image, axis=0)
    # Convert the image to row-major order, also known as "C order":
    image = np.ascontiguousarray(image)
    return image, image_raw, h, w
3.5 执行推理
# 拷贝输入图像到主机buffer
np.copyto(host_inputs[0], input_image.ravel())
# 将输入数据转到GPU.
cuda.memcpy_htod_async(cuda_inputs[0], host_inputs[0], stream)
# 推理.
context.execute_async(bindings=bindings, stream_handle=stream.handle)
# 将推理结果传到CPU.
cuda.memcpy_dtoh_async(host_outputs[0], cuda_outputs[0], stream)
# 同步 stream
stream.synchronize()
# 拿到推理结果 batch_size = 1
output = host_outputs[0]
3.6 后处理操作
def post_process(self, output, origin_h, origin_w):
    # 获取检测到框的个数
    num = int(output[0])
    # Reshape to a two dimentional ndarray
    pred = np.reshape(output[1:], (-1, 6))[:num, :]
    # 转换为torch张量
    pred = torch.Tensor(pred).cuda()
    # 框
    boxes = pred[:, :4]
    # 置信度
    scores = pred[:, 4]
    # classid
    classid = pred[:, 5]
    # 根据 score > CONF_THRESH 滤除框
    si = scores > CONF_THRESH
    boxes = boxes[si, :]
    scores = scores[si]
    classid = classid[si]
    # [center_x, center_y, w, h] -> [x1, y1, x2, y2]
    boxes = self.xywh2xyxy(origin_h, origin_w, boxes)
    # nms
    indices = torchvision.ops.nms(boxes, scores, iou_threshold=IOU_THRESHOLD).cpu()
    # 只保留人体信息
    result_classid = classid[indices].cpu()
    idx = indices[result_classid==0]
    result_boxes = boxes[idx, :].cpu()
    result_scores = scores[idx].cpu()

    return result_boxes, result_scores, result_classid
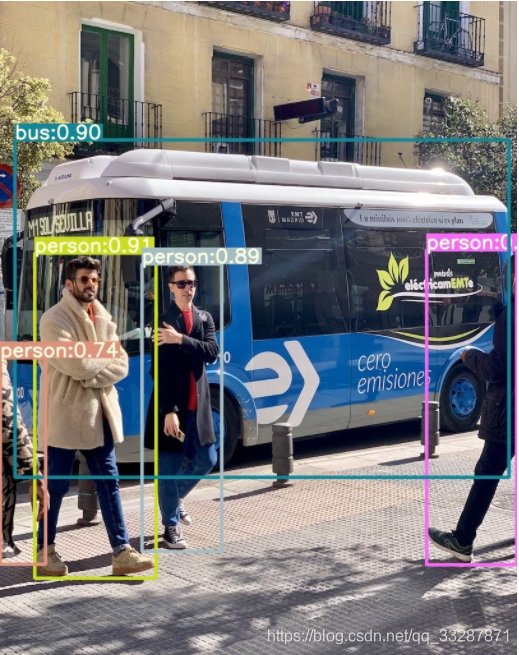
4. 结果展示