1.像素的读写
单通道和三通道的图片!
#include <opencv2\core\core.hpp>
#include <opencv2\highgui\highgui.hpp>
#include <opencv2\imgproc\imgproc.hpp>
#include <opencv2\objdetect\objdetect.hpp>
#include <opencv2\imgproc\types_c.h>
#include <opencv2\objdetect\objdetect_c.h>
#include<opencv2/opencv.hpp>
#include<iostream>
#include<cmath>
#include<cstdio>

using namespace std;
using namespace cv;

int main()
{
	Mat src;
	src=imread("ying.jpg");
	if(src.empty())
	{
		cout<<"!!???"<<endl;
		return -1;
	}
	namedWindow("milk!",1);
	imshow("milk!",src);

	/*读写像素-单通道
	Mat src_gray;
	cvtColor(src,src_gray,CV_BGR2GRAY);
	int rows=src_gray.rows;//高
	int cols=src_gray.cols;//宽

	namedWindow("out",1);
	imshow("out",src_gray);

	for(int i=0;i<rows;i++)
	{
		for(int j=0;j<cols;j++)
		{
			int x=src_gray.at<uchar>(i,j);
			src_gray.at<uchar>(i,j)=255-x;
		}
	}

	namedWindow("out2",1);
	imshow("out2",src_gray);
	*/

	Mat dst;
	dst.create(src.size(),src.type());

	int rows=src.rows;
	int cols=src.cols;
	int ch=src.channels();
	/*
	for(int i=0;i<rows;i++)
	{
		for(int j=0;j<cols;j++)
		{
			int x=src.at<Vec3b>(i,j)[0];
			int y=src.at<Vec3b>(i,j)[1];
			int z=src.at<Vec3b>(i,j)[2];
			dst.at<Vec3b>(i,j)[0]=255-x;
			dst.at<Vec3b>(i,j)[1]=255-y;
			dst.at<Vec3b>(i,j)[2]=255-z;
		}
	}
	*/
	//bitwise_not(src,dst);//和上面效果一样,求图片反差的
	/*
	for(int i=0;i<rows;i++)
	{
		for(int j=0;j<cols;j++)
		{
			int x=src.at<Vec3b>(i,j)[0];
			int y=src.at<Vec3b>(i,j)[1];
			int z=src.at<Vec3b>(i,j)[2];
			dst.at<Vec3b>(i,j)[0]=255-x;
			dst.at<Vec3b>(i,j)[1]=255-y;
			dst.at<Vec3b>(i,j)[2]=0//修改值可以得到不一样的颜色效果
		}
	}
	*/

	namedWindow("out2",1);
	imshow("out2",dst);


	waitKey(0);
	return 0;
}
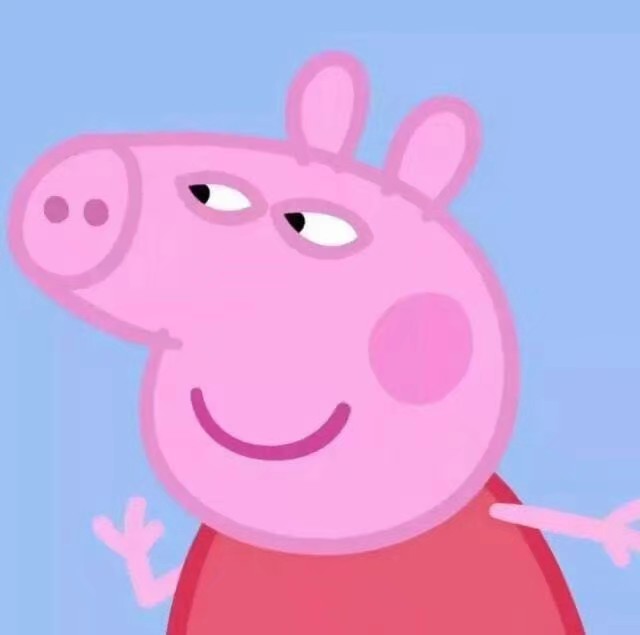
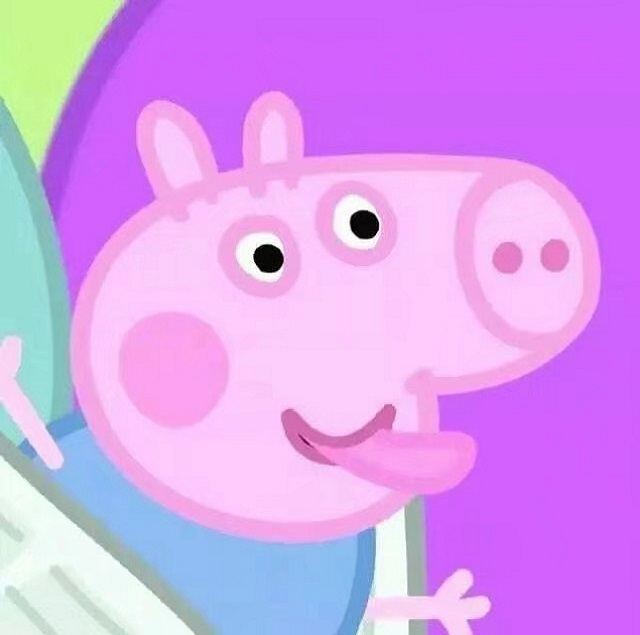
2.图像混合
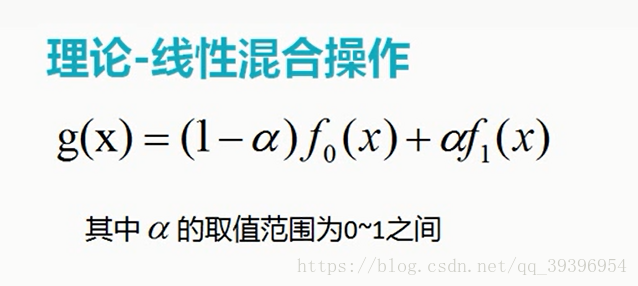
这次使用了佩奇和小花洒做pig混合↓
#include <opencv2\core\core.hpp>
#include <opencv2\highgui\highgui.hpp>
#include <opencv2\imgproc\imgproc.hpp>
#include <opencv2\objdetect\objdetect.hpp>
#include <opencv2\imgproc\types_c.h>
#include <opencv2\objdetect\objdetect_c.h>
#include<opencv2/opencv.hpp>
#include<iostream>
#include<cmath>
#include<cstdio>

using namespace std;
using namespace cv;

int main()
{
	Mat src1,src2,dst;
	src1=imread("pig1.jpeg");
	src2=imread("pig2.jpeg");
	if(!src1.data)
	{
		cout<<"!!???1"<<endl;
		return -1;
	}
	if(!src2.data)
	{
		cout<<"!!???2"<<endl;
		return -1;
	}
	double alpha=0.5;
	if(src1.rows==src2.rows && src1.cols==src2.cols && src1.type()==src2.type())
	{
		//addWeighted(src1,alpha,src2,1.0-alpha,0.0,dst);
		//add(src1,src2,dst,Mat());直接加会一片白
		//multiply(src1,src2,dst,1,0);像素相乘效果也不太妙
		imshow("1",src1);
		imshow("2",src2);
		namedWindow("mix",1);
		imshow("mix",dst);
	}
	else
	{
		cout<<"No!!!!!!"<<endl;
		return -1;
	}


	waitKey(0);
	return 0;
}
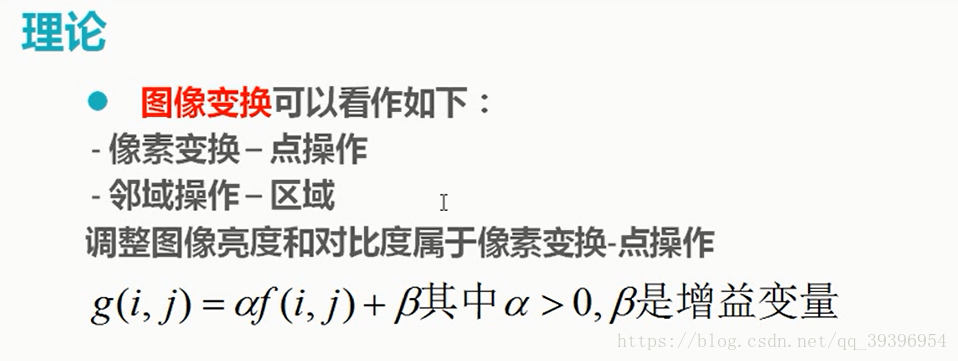
3.调整亮度、对比度
#include <opencv2\core\core.hpp>
#include <opencv2\highgui\highgui.hpp>
#include <opencv2\imgproc\imgproc.hpp>
#include <opencv2\objdetect\objdetect.hpp>
#include <opencv2\imgproc\types_c.h>
#include <opencv2\objdetect\objdetect_c.h>
#include<opencv2/opencv.hpp>
#include<iostream>
#include<cmath>
#include<cstdio>

using namespace std;
using namespace cv;

int main()
{
	Mat src,dst;
	src=imread("pig1.jpeg");
	if(src.empty())
	{
		cout<<"!!???"<<endl;
		return -1;
	}

	namedWindow("pig!",1);
	imshow("pig!",src);

	int rows=src.rows;
	int cols=src.cols;
	float alpha=1.1;
	float beta=30;
	dst=Mat::zeros(src.size(),src.type());
	for(int i=0;i<rows;i++)
	{
		for(int j=0;j<cols;j++)
		{
			if(src.channels()==3)
			{
				float x=src.at<Vec3b>(i,j)[0];
				float y=src.at<Vec3b>(i,j)[1];
				float z=src.at<Vec3b>(i,j)[2];
				dst.at<Vec3b>(i,j)[0]=saturate_cast<uchar>(x*alpha+beta);
				dst.at<Vec3b>(i,j)[1]=saturate_cast<uchar>(y*alpha+beta);
				dst.at<Vec3b>(i,j)[2]=saturate_cast<uchar>(z*alpha+beta);
			}
			else if(src.channels()==1)
			{
				float x=src.at<uchar>(i,j);
				dst.at<Vec3b>(i,j)[0]=saturate_cast<uchar>(x*alpha+beta);
			}
		}
	}

	namedWindow("out",1);
	imshow("out",dst);

	waitKey(0);
	return 0;
}
小猪佩奇的快乐磨皮就完成了!