此文是跟随尚硅谷雷神的视频进行的总结,以便以后自己对这方面知识复习时有一个理解
SpringBoot在创建项目时导入RabbitMQ,在管理平台上:15672端口上绑定好各参数的对应关系
- direct 单播,即一对一,完全匹配
- fanout 广播,一对多,全部都会接收
- topic 利用#,*来表示占位符,类似于模糊匹配,如:a.b可以匹配到
a.#,a.* ,#.b,*.b
这是消息队列
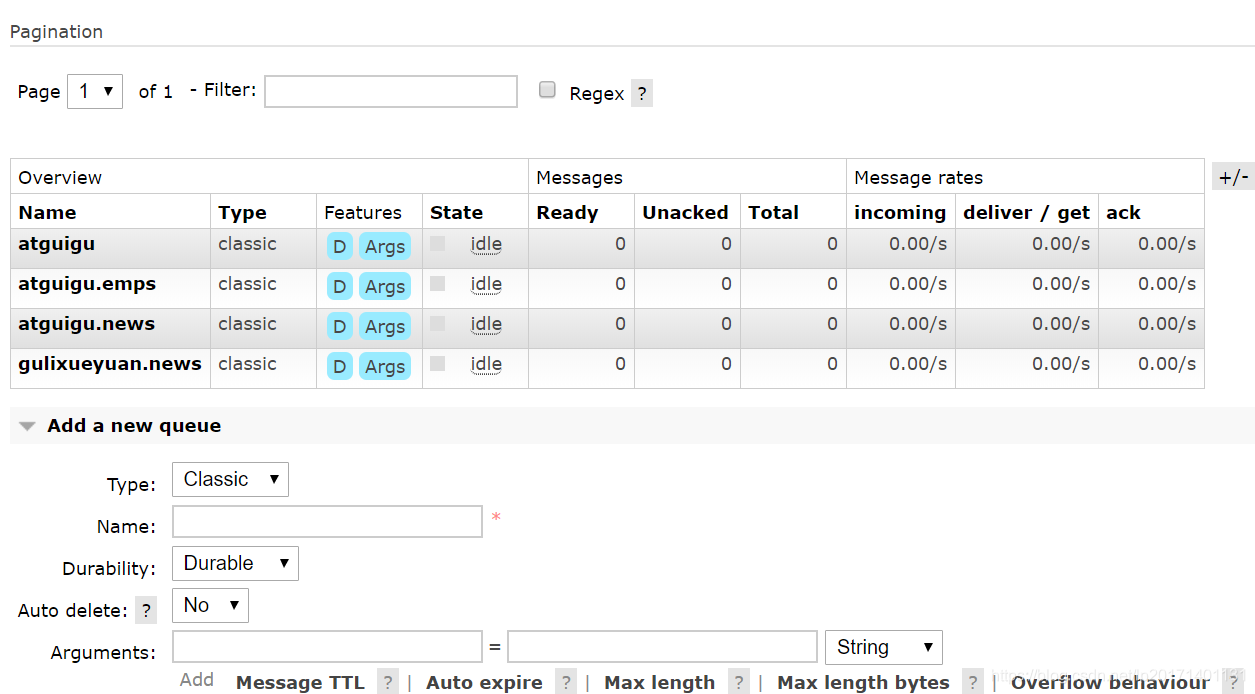
这是类型

在SpringBoot项目中把项目的相关配置做好
spring:
  rabbitmq:
    host: 188.131.137.44
    username: guest
    password: guest
首先测试类中利用RabbitTemplate来进行消息的发送和接收
@Autowired
private RabbitTemplate rabbitTemplate;
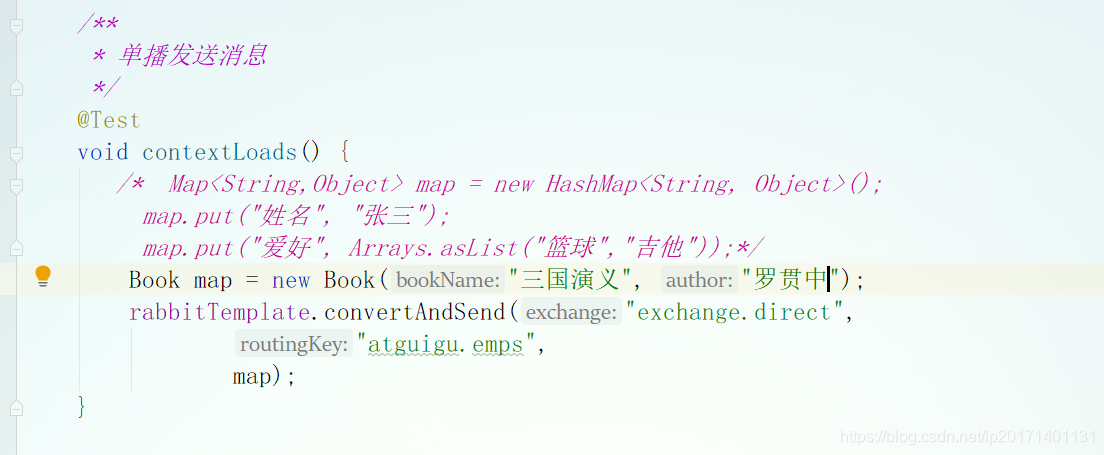
/**
* 单播发送消息
*/
@Test
void contextLoads() {
Map<String,Object> map = new HashMap<String, Object>();
map.put("姓名", "张三");
map.put("爱好", Arrays.asList("篮球","吉他"));
rabbitTemplate.convertAndSend("exchange.direct",
"atguigu.emps",
map);
}
/**
* 单播接收消息
*/
@Test
void getMessage(){
Object o = rabbitTemplate.receiveAndConvert("atguigu.emps");
System.out.println(o.getClass());
System.out.println(o);
}
由于源码中写到发送消息是默认不以json的格式序列化所以我们需要写一个配置类
package com.lp.rabbitmq.config;

import org.springframework.amqp.support.converter.Jackson2JsonMessageConverter;
import org.springframework.amqp.support.converter.MessageConverter;
import org.springframework.context.annotation.Bean;
import org.springframework.context.annotation.Configuration;

/**
 * 将消息序列化成json格式
 *
 * @Date 2020/6/19 17:16
 * @Author luopeng
 */
@Configuration
public class MyMessageConverter {

    @Bean
    public MessageConverter messageConverter() {
        return new Jackson2JsonMessageConverter();
    }
}
运行发送消息测试,消息将会被发送至消息队列中,当取出的时候消息也会从中取出,消息队列为空
消息监听
@RabbitListener(方法上标注) @EnableRabbit(SpringBoot启动类上标注)
来一个实体类
public class Book {
    private String bookName;
    private String author;
    //方法自己补全
来一个TestService
@Service
public class TestService {
    @RabbitListener(queues = "atguigu.emps")
    public void test(Book book){
        System.out.println("监听到消息:"+book);
    }
}
测试类中改一下
先启动启动类
然后启动测试方法
启动类会收到消息
创建exchange,queue,绑定关系可以用AmqpAdmin对象
在测试类中添加如下代码进行测试
@Autowired
    private AmqpAdmin amqpAdmin;

    //用于创建exchange和queue以及绑定
    @Test
    public void testAmqpAdmin() {
        //创建exchange
        amqpAdmin.declareExchange(new DirectExchange("amqpAdmin.exchange"));
        //创建queue
        amqpAdmin.declareQueue(new Queue("amqpAdmin.queue"));
        //绑定两者的关系
        amqpAdmin.declareBinding(new Binding("amqpAdmin.queue",
                Binding.DestinationType.QUEUE,
                "amqpAdmin.exchange",
                "amqp.exchange",
                null));
        System.out.println("success!");
    }
运行,在管理端收到这些创建的消息就说明成功了