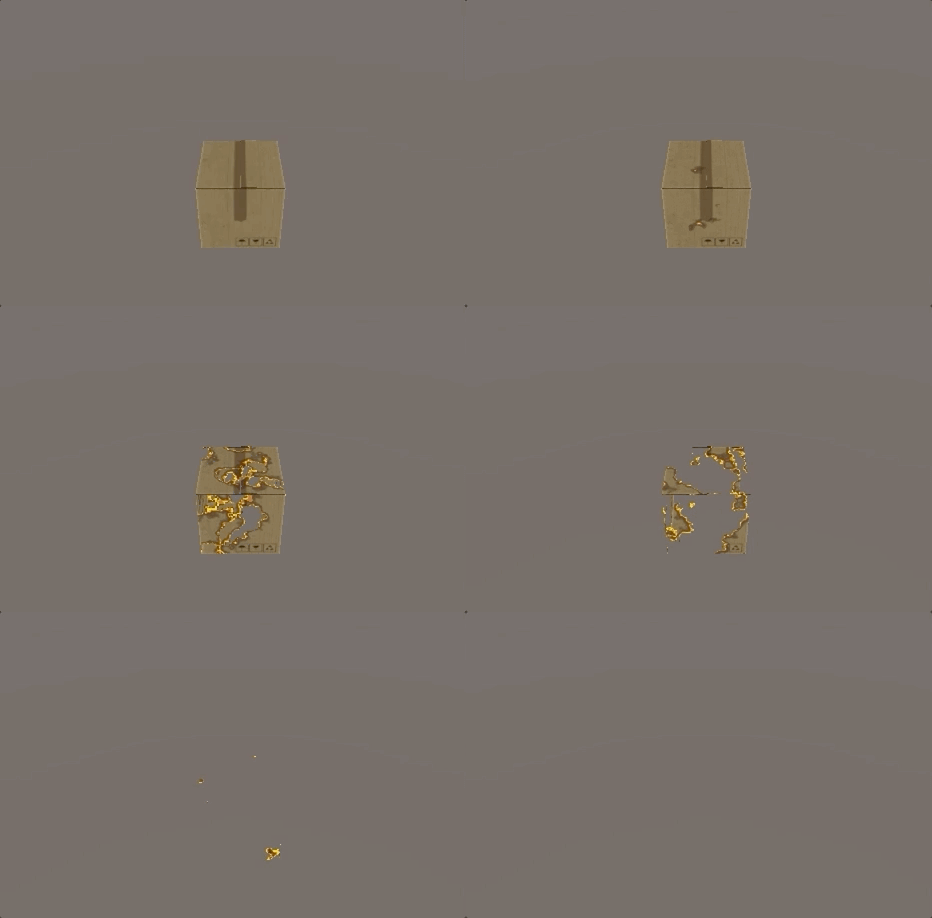
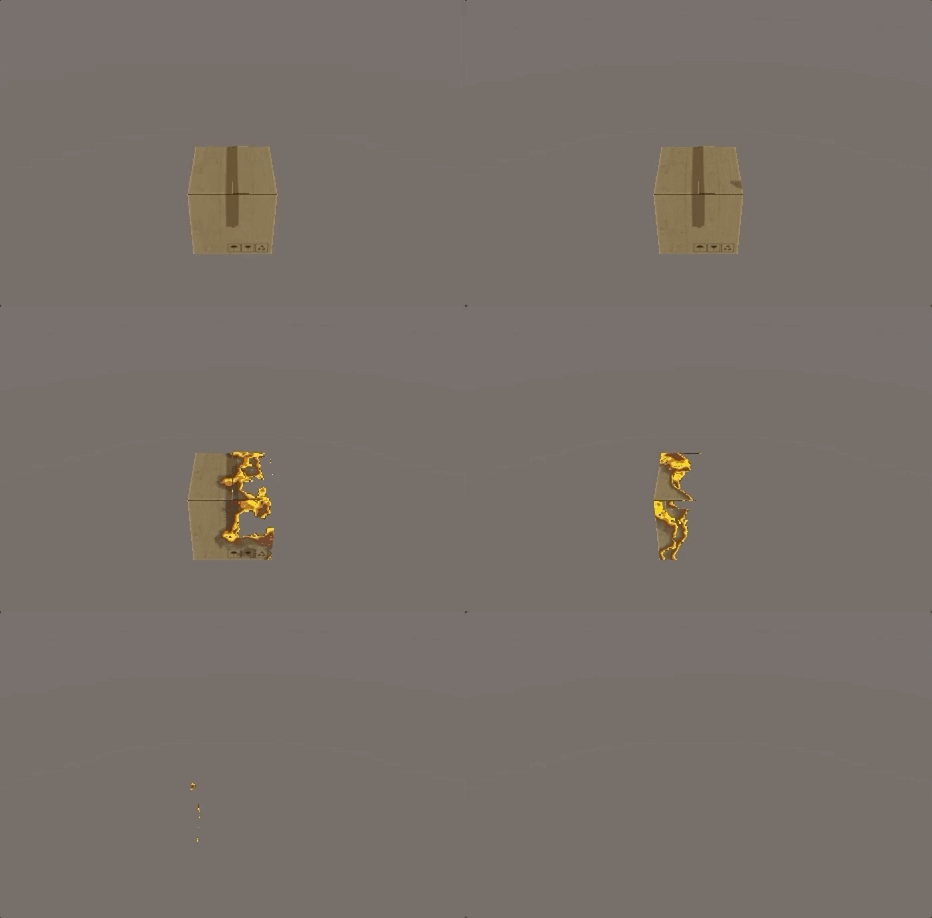
一:使用两种颜色混合消融

Shader "Custom/Dissolve"
{
    Properties
    {
        _MainTex ("Texture", 2D) = "white" {}//主贴图
        _NoiseTex("Noise", 2D) = "white" {}//噪音贴图
        _Threshold("Threshold", Range(0.0, 1.0)) = 0//消融程度
        _EdgeLength("Edge Length", Range(0.0, 0.2)) = 0.1//边缘多长范围要显示边缘颜色
        _EdgeFirstColor("First Edge Color", Color) = (1,1,1,1)//第一种颜色
        _EdgeSecondColor("Second Edge Color", Color) = (1,1,1,1)//第二种颜色
    }
    SubShader
    {
        Tags { "Queue"="Geometry" "RenderType"="Opaque" }

        Pass
        {
            Cull Off //要渲染背面保证效果正确

            CGPROGRAM
            #pragma vertex vert
            #pragma fragment frag

            #include "UnityCG.cginc"

            struct appdata
            {
                float4 vertex : POSITION;
                float2 uv : TEXCOORD0;
            };

            struct v2f
            {
                float4 vertex : SV_POSITION;
                float2 uvMainTex : TEXCOORD0;
                float2 uvNoiseTex : TEXCOORD1;
            };

            sampler2D _MainTex;
            float4 _MainTex_ST;
            sampler2D _NoiseTex;
            float4 _NoiseTex_ST;
            float _Threshold;
            float _EdgeLength;
            fixed4 _EdgeFirstColor;
            fixed4 _EdgeSecondColor;

            v2f vert (appdata v)
            {
                v2f o;
                o.vertex = UnityObjectToClipPos(v.vertex);
                o.uvMainTex = TRANSFORM_TEX(v.uv, _MainTex);
                o.uvNoiseTex = TRANSFORM_TEX(v.uv, _NoiseTex);
                return o;
            }

            fixed4 frag (v2f i) : SV_Target
            {
                //镂空
                fixed cutout = tex2D(_NoiseTex, i.uvNoiseTex).r;
                clip(cutout - _Threshold);

                float degree = saturate((cutout - _Threshold) / _EdgeLength);
                fixed4 edgeColor = lerp(_EdgeFirstColor, _EdgeSecondColor, degree);

                fixed4 col = tex2D(_MainTex, i.uvMainTex);

                fixed4 finalColor = lerp(edgeColor, col, degree);
                return fixed4(finalColor.rgb, 1);
            }
            ENDCG
        }
    }
}
二:使用渐变纹理消融

Shader "Custom/Dissolve"
{
    Properties
    {
        _MainTex ("Texture", 2D) = "white" {}//主贴图
        _NoiseTex("Noise", 2D) = "white" {}//噪音贴图
        _Threshold("Threshold", Range(0.0, 1.0)) = 0//消融程度
        _EdgeLength("Edge Length", Range(0.0, 0.2)) = 0.1//边缘多长范围要显示边缘颜色
        _RampTex("Ramp", 2D) = "white" {}//渐变贴图
    }
    SubShader
    {
        Tags { "Queue"="Geometry" "RenderType"="Opaque" }

        Pass
        {
            Cull Off //要渲染背面保证效果正确

            CGPROGRAM
            #pragma vertex vert
            #pragma fragment frag

            #include "UnityCG.cginc"

            struct appdata
            {
                float4 vertex : POSITION;
                float2 uv : TEXCOORD0;
            };

            struct v2f
            {
                float4 vertex : SV_POSITION;
                float2 uvMainTex : TEXCOORD0;
                float2 uvNoiseTex : TEXCOORD1;
                float2 uvRampTex : TEXCOORD2;
            };

            sampler2D _MainTex;
            float4 _MainTex_ST;
            sampler2D _NoiseTex;
            float4 _NoiseTex_ST;
            float _Threshold;
            float _EdgeLength;
            sampler2D _RampTex;
            float4 _RampTex_ST;

            v2f vert (appdata v)
            {
                v2f o;
                o.vertex = UnityObjectToClipPos(v.vertex);
                o.uvMainTex = TRANSFORM_TEX(v.uv, _MainTex);
                o.uvNoiseTex = TRANSFORM_TEX(v.uv, _NoiseTex);
                o.uvRampTex = TRANSFORM_TEX(v.uv, _RampTex);
                return o;
            }

            fixed4 frag (v2f i) : SV_Target
            {
                //镂空
                fixed cutout = tex2D(_NoiseTex, i.uvNoiseTex).r;
                clip(cutout - _Threshold);

                float degree = saturate((cutout - _Threshold) / _EdgeLength);
                fixed4 edgeColor = tex2D(_RampTex, float2(degree, degree));

                fixed4 col = tex2D(_MainTex, i.uvMainTex);

                fixed4 finalColor = lerp(edgeColor, col, degree);
                return fixed4(finalColor.rgb, 1);
            }
            ENDCG
        }
    }
}
三:从指定方向开始消融

Shader "Custom/Dissolve"
{
    Properties
    {
        _MainTex ("Texture", 2D) = "white" {}//主贴图
        _NoiseTex("Noise", 2D) = "white" {}//噪音贴图
        _Threshold("Threshold", Range(0.0, 1.0)) = 0//消融的程度
        _EdgeLength("Edge Length", Range(0.0, 0.2)) = 0.1//边缘多长范围要显示边缘颜色
        _RampTex("Ramp", 2D) = "white" {}//渐变贴图
        _Direction("Direction", Int) = 1 //1表示从X正方向开始,其他值则从X负方向
        _MinBorderX("Min Border X", Float) = -0.5//X方向的最小边界(代码动态获取)
        _MaxBorderX("Max Border X", Float) = 0.5//X方向的最大边界(代码动态获取)
        _DistanceEffect("Distance Effect", Range(0.0, 1.0)) = 0.5//最大距离的值对整个消融过程的影响程度
    }
    SubShader
    {
        Tags { "Queue"="Geometry" "RenderType"="Opaque" }

        Pass
        {
            Cull Off

            CGPROGRAM
            #pragma vertex vert
            #pragma fragment frag

            #include "UnityCG.cginc"

            struct appdata
            {
                float4 vertex : POSITION;
                float2 uv : TEXCOORD0;
            };

            struct v2f
            {
                float4 vertex : SV_POSITION;
                float2 uvMainTex : TEXCOORD0;
                float2 uvNoiseTex : TEXCOORD1;
                float2 uvRampTex : TEXCOORD2;
                float objPosX : TEXCOORD3;
            };

            sampler2D _MainTex;
            float4 _MainTex_ST;
            sampler2D _NoiseTex;
            float4 _NoiseTex_ST;
            float _Threshold;
            float _EdgeLength;
            sampler2D _RampTex;
            float4 _RampTex_ST;
            int _Direction;
            float _MinBorderX;
            float _MaxBorderX;
            float _DistanceEffect;

            v2f vert (appdata v)
            {
                v2f o;
                o.vertex = UnityObjectToClipPos(v.vertex);

                o.uvMainTex = TRANSFORM_TEX(v.uv, _MainTex);
                o.uvNoiseTex = TRANSFORM_TEX(v.uv, _NoiseTex);
                o.uvRampTex = TRANSFORM_TEX(v.uv, _RampTex);

                o.objPosX = v.vertex.x;

                return o;
            }

            fixed4 frag (v2f i) : SV_Target
            {
                float range = _MaxBorderX - _MinBorderX;
                float border = _MinBorderX;
                if(_Direction == 1) //1表示从X正方向开始,其他值则从负方向
                    border = _MaxBorderX;

                float dist = abs(i.objPosX - border);
                float normalizedDist = saturate(dist / range);

                fixed cutout = tex2D(_NoiseTex, i.uvNoiseTex).r * (1 - _DistanceEffect) + normalizedDist * _DistanceEffect;
                clip(cutout - _Threshold);

                float degree = saturate((cutout - _Threshold) / _EdgeLength);
                fixed4 edgeColor = tex2D(_RampTex, float2(degree, degree));

                fixed4 col = tex2D(_MainTex, i.uvMainTex);

                fixed4 finalColor = lerp(edgeColor, col, degree);
                return fixed4(finalColor.rgb, 1);
            }
            ENDCG
        }
    }
}
脚本动态获取X方向的最大最小边界:
using UnityEngine;

public class GetDissolveBorder : MonoBehaviour
{
    void Start()
    {
        Material mat = GetComponent<Renderer>().material;
        float minX, maxX;
        CalculateMinMaxX(out minX, out maxX);
        mat.SetFloat("_MinBorderX", minX);
        mat.SetFloat("_MaxBorderX", maxX);
    }

    /// <summary>
    /// 获取X方向的最大最小边界
    /// </summary>
    /// <param name="minX"></param>
    /// <param name="maxX"></param>
    private void CalculateMinMaxX(out float minX, out float maxX)
    {
        Vector3[] vertices = GetComponent<MeshFilter>().mesh.vertices;
        minX = maxX = vertices[0].x;
        for (int i = 1; i < vertices.Length; i++)
        {
            float x = vertices[i].x;
            if (x < minX)
            {
                minX = x;
            }
            if (x > maxX)
            {
                maxX = x;
            }
        }
    }
}
四:从指定点开始消融

Shader "Custom/Dissolve"
{
    Properties
    {
        _MainTex ("Texture", 2D) = "white" {}//主贴图
        _NoiseTex("Noise", 2D) = "white" {}//噪音贴图
        _Threshold("Threshold", Range(0.0, 1.0)) = 0//消融程度
        _EdgeLength("Edge Length", Range(0.0, 0.2)) = 0.1//边缘多长范围要显示边缘颜色
        _RampTex("Ramp", 2D) = "white" {}//渐变贴图
        _StartPoint("Start Point", Vector) = (0, 0, 0, 0)//开始消融的位置
        _MaxDistance("Max Distance", Float) = 0//最大距离的值
        _DistanceEffect("Distance Effect", Range(0.0, 1.0)) = 0.5//最大距离的值对整个消融过程的影响程度
    }
    SubShader
    {
        Tags { "Queue"="Geometry" "RenderType"="Opaque" }

        Pass
        {
            Cull Off

            CGPROGRAM
            #pragma vertex vert
            #pragma fragment frag

            #include "UnityCG.cginc"

            struct appdata
            {
                float4 vertex : POSITION;
                float2 uv : TEXCOORD0;
            };

            struct v2f
            {
                float4 vertex : SV_POSITION;
                float2 uvMainTex : TEXCOORD0;
                float2 uvNoiseTex : TEXCOORD1;
                float2 uvRampTex : TEXCOORD2;
                float3 objPos : TEXCOORD3;
                float3 objStartPos : TEXCOORD4;
            };

            sampler2D _MainTex;
            float4 _MainTex_ST;
            sampler2D _NoiseTex;
            float4 _NoiseTex_ST;
            float _Threshold;
            float _EdgeLength;
            sampler2D _RampTex;
            float4 _RampTex_ST;
            float _MaxDistance;
            float4 _StartPoint;
            float _DistanceEffect;

            v2f vert (appdata v)
            {
                v2f o;
                o.vertex = UnityObjectToClipPos(v.vertex);

                o.uvMainTex = TRANSFORM_TEX(v.uv, _MainTex);
                o.uvNoiseTex = TRANSFORM_TEX(v.uv, _NoiseTex);
                o.uvRampTex = TRANSFORM_TEX(v.uv, _RampTex);

                o.objPos = v.vertex;
                o.objStartPos = mul(unity_WorldToObject, _StartPoint);

                return o;
            }

            fixed4 frag (v2f i) : SV_Target
            {
                float dist = length(i.objPos.xyz - i.objStartPos.xyz);
                float normalizedDist = saturate(dist / _MaxDistance);

                fixed cutout = tex2D(_NoiseTex, i.uvNoiseTex).r * (1 - _DistanceEffect) + normalizedDist * _DistanceEffect;
                clip(cutout - _Threshold);

                float degree = saturate((cutout - _Threshold) / _EdgeLength);
                fixed4 edgeColor = tex2D(_RampTex, float2(degree, degree));

                fixed4 col = tex2D(_MainTex, i.uvMainTex);

                fixed4 finalColor = lerp(edgeColor, col, degree);
                return fixed4(finalColor.rgb, 1);
            }
            ENDCG
        }
    }
}
