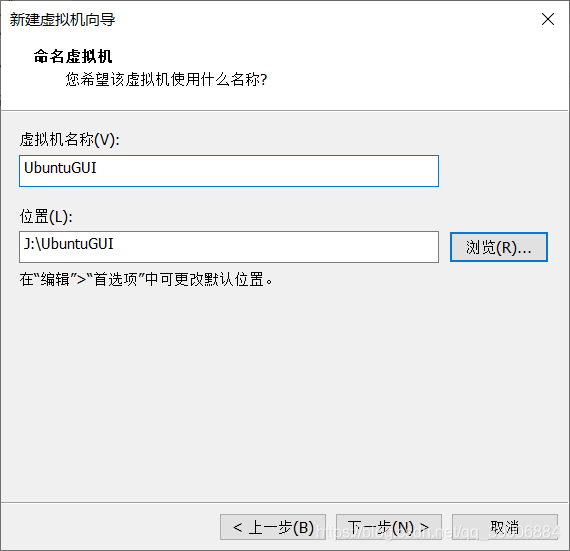
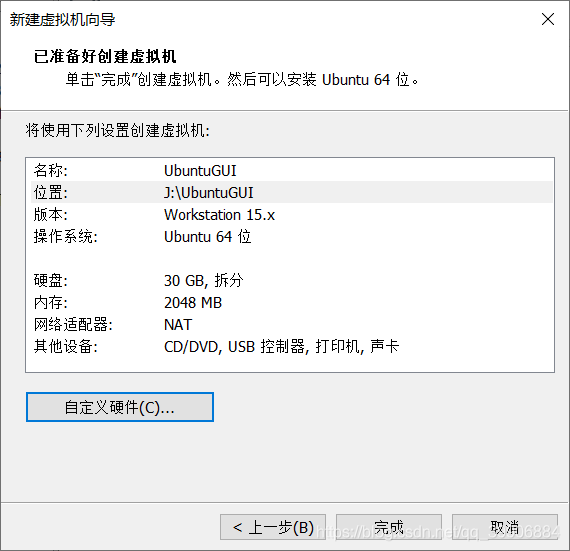
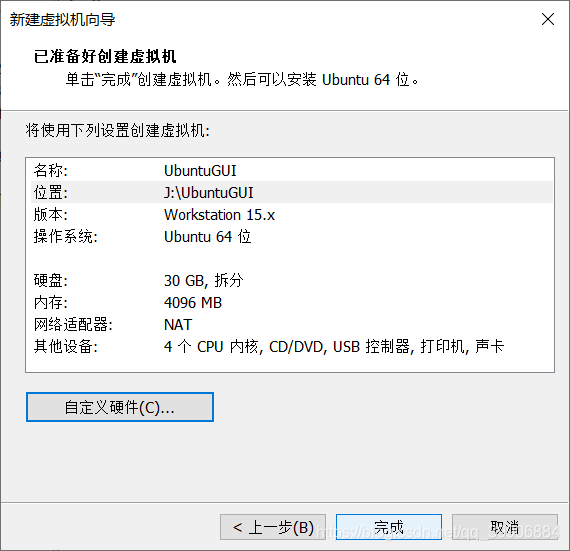
Set the virtual machine name and hard disk location
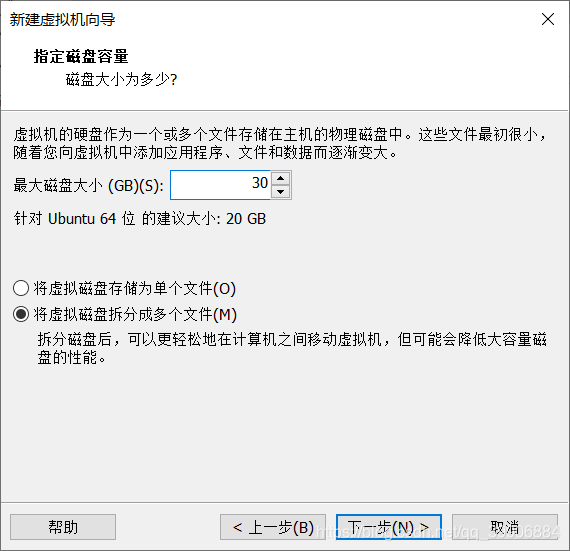
The disk size is allocated according to the needs
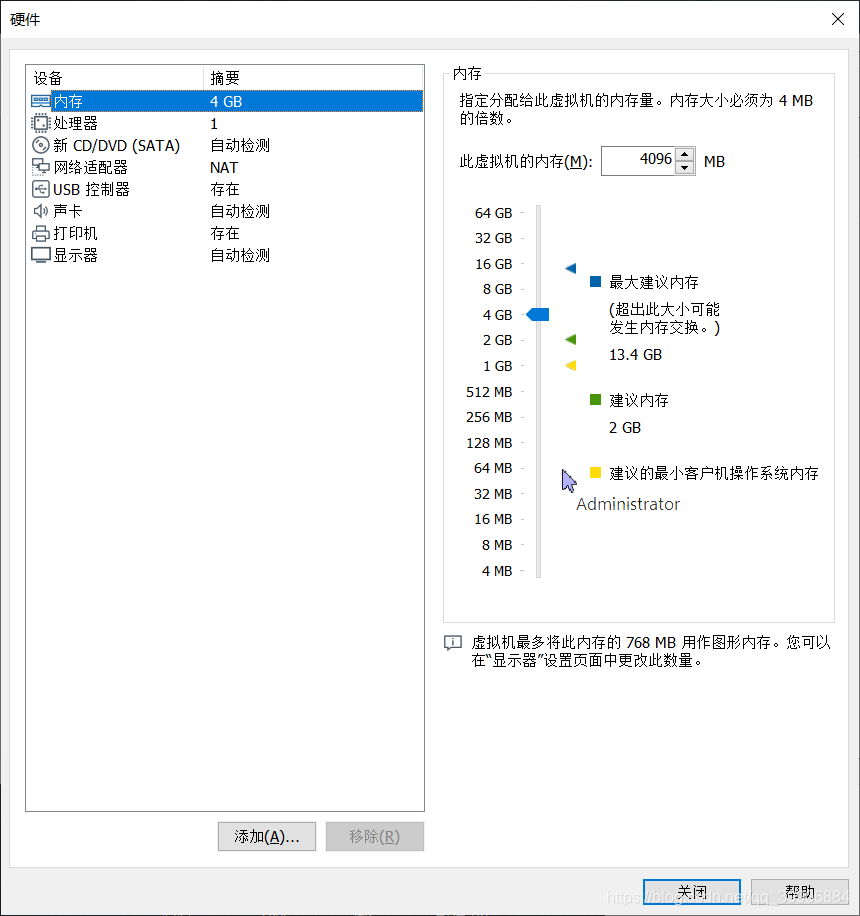
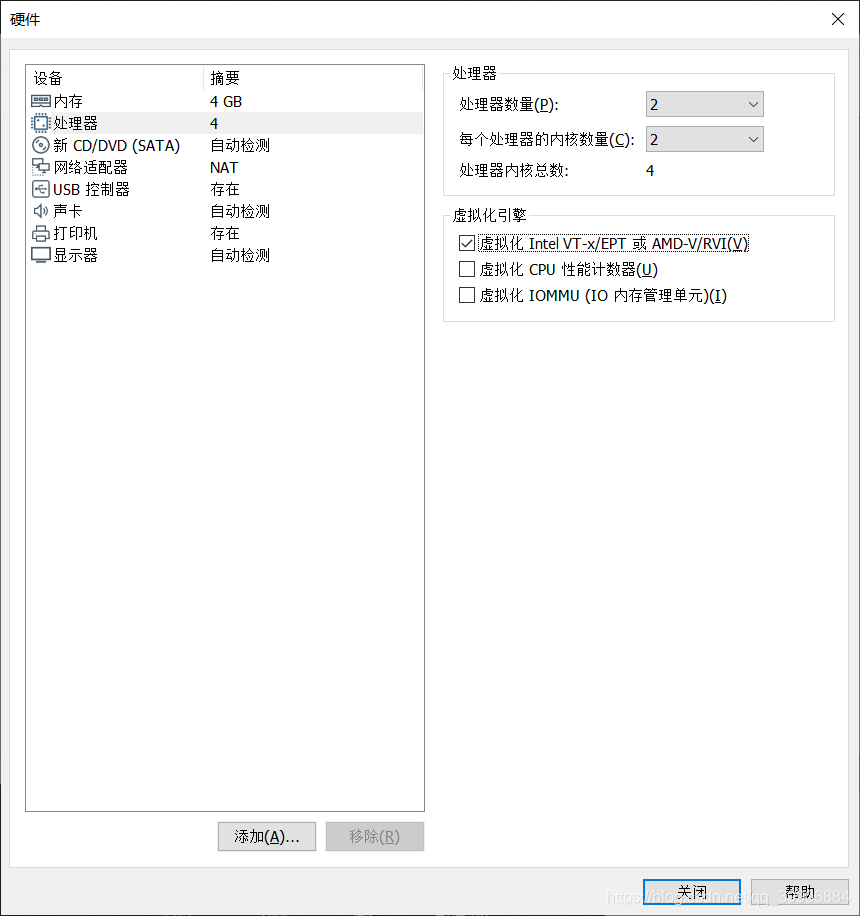
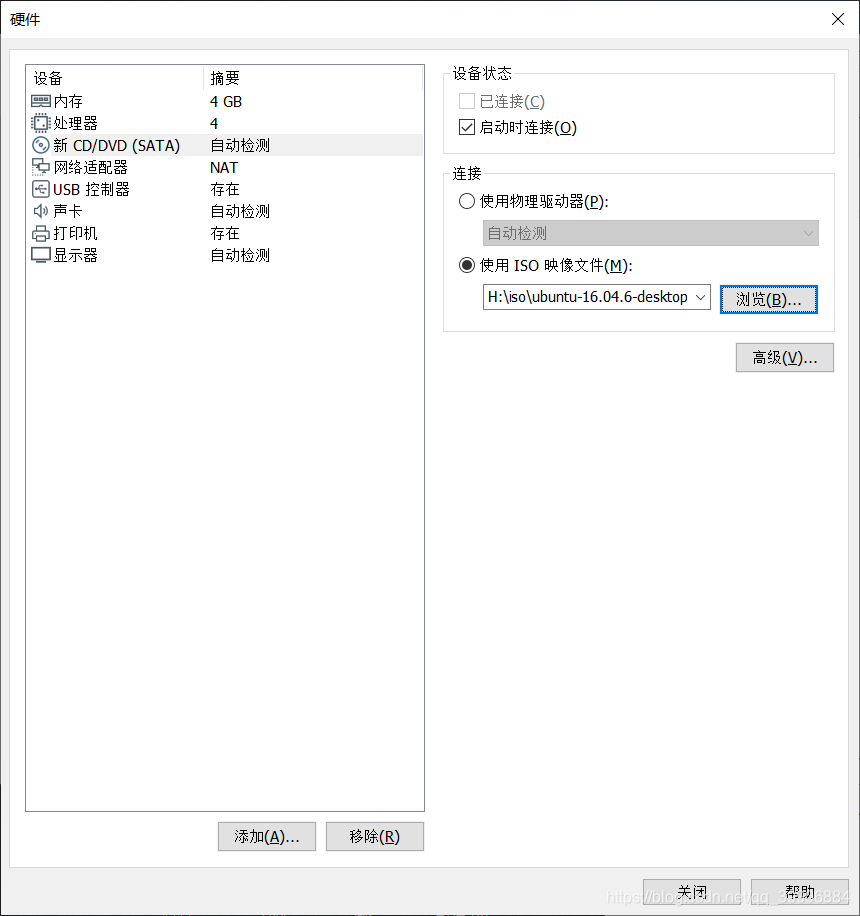
Custom hardware
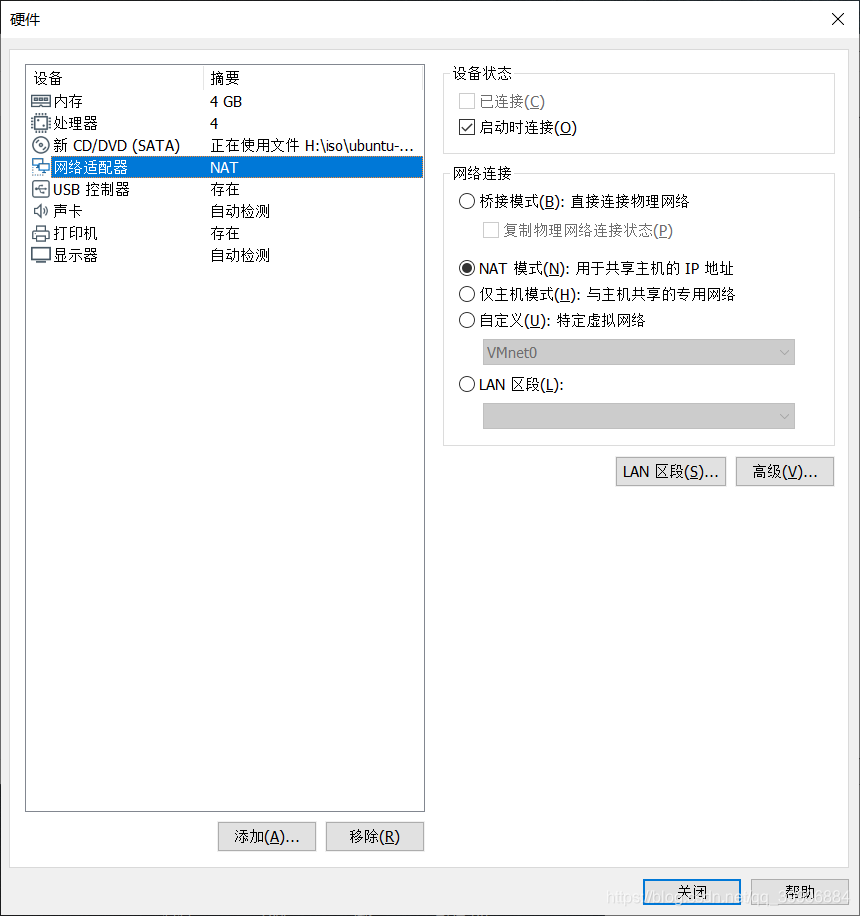
The hardware needs to be configured according to your needs (I will use it for development in the future, so I will give more) firstly the memory and then the CPU (to be virtualized in the future, so I check the support for CPU virtualization) to choose the ISO image to use File The network connection is selected according to the needs (I chose the default NAT) and other settings can be defaulted
Complete the configuration
Start the virtual machine
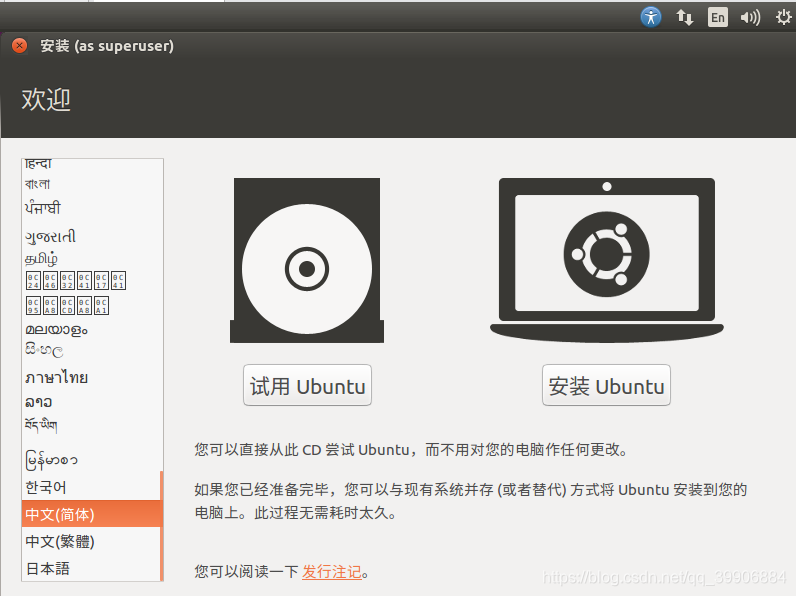
Choose language, install Ubuntu
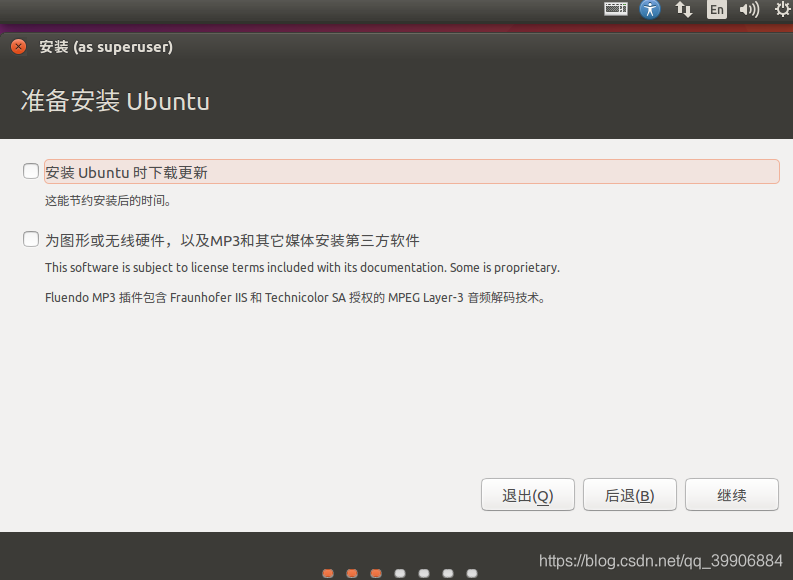
I don't want to check it, just continue
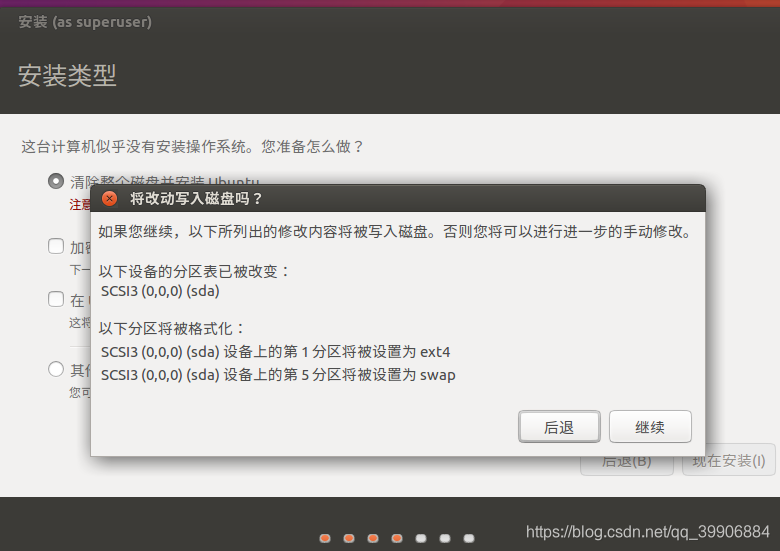
The installation type is selected by default (you can choose other if you want to partition by yourself)
Install now, continue
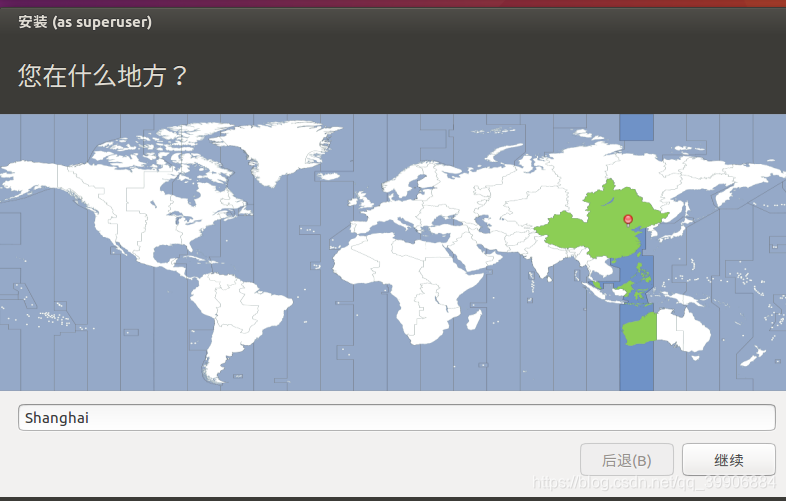
Time zone selection
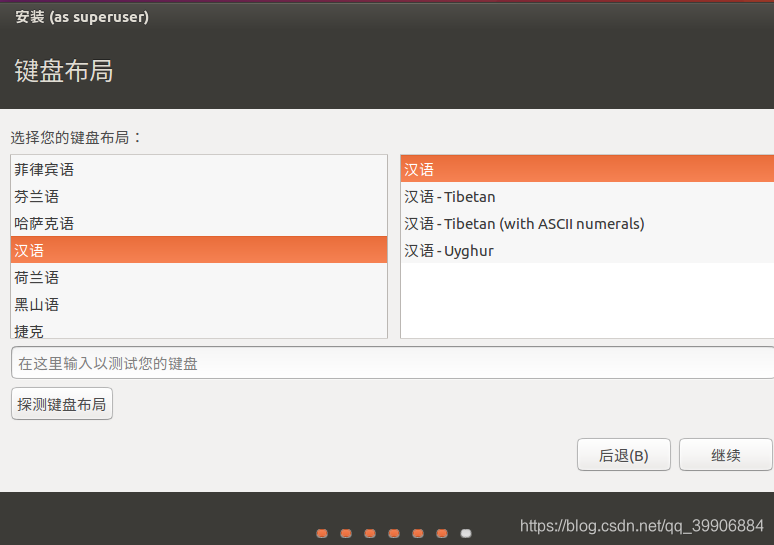
Keyboard layout, default, continue
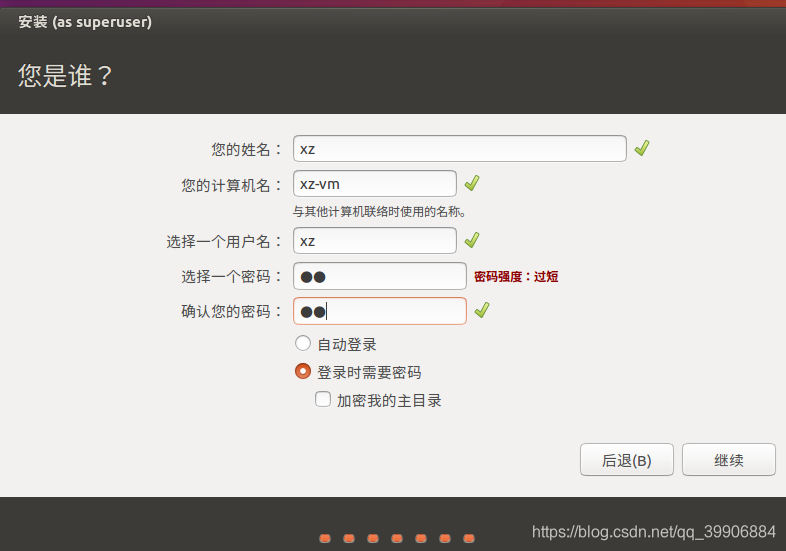
Set your own username and password
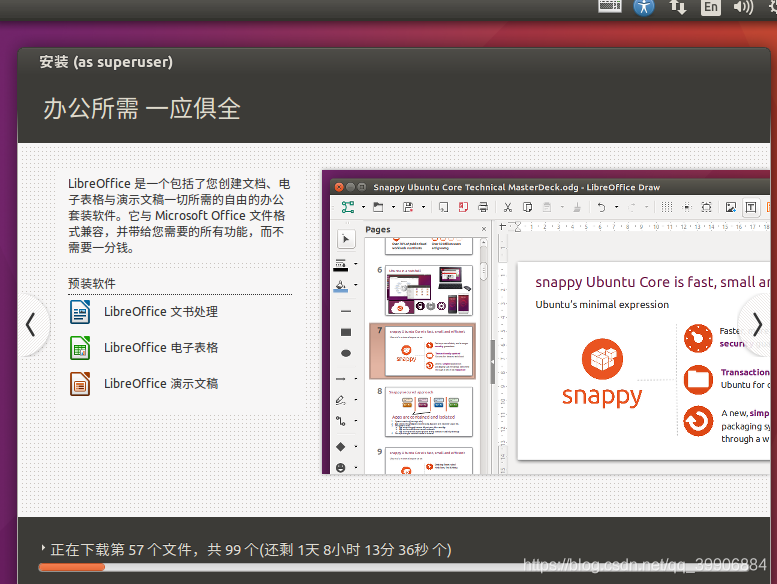
Then, wait for the installation (a long time)
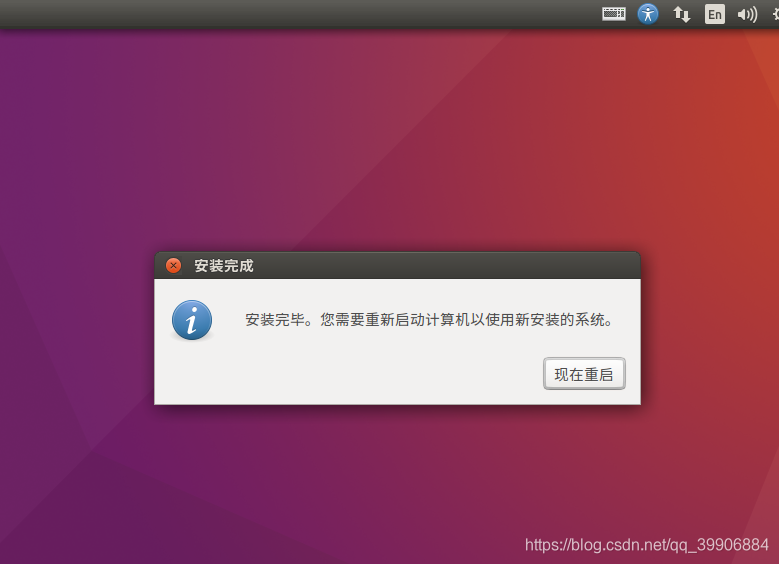
Installation is complete, now restart
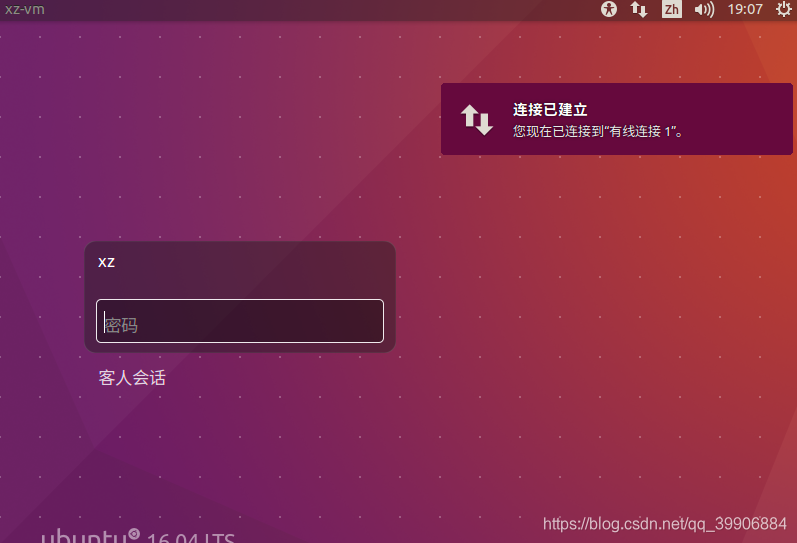
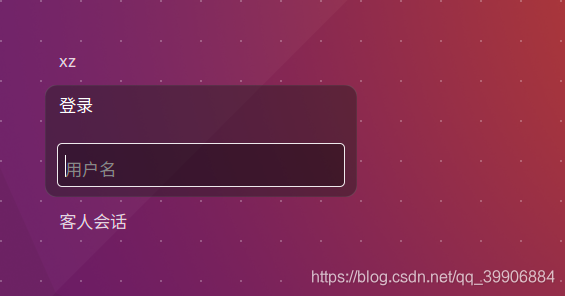
Just log in
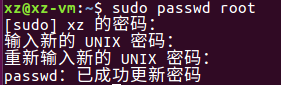
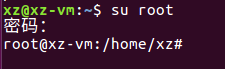
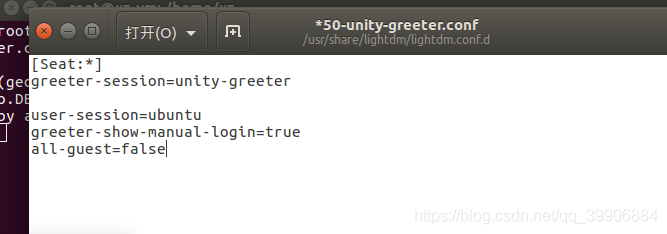
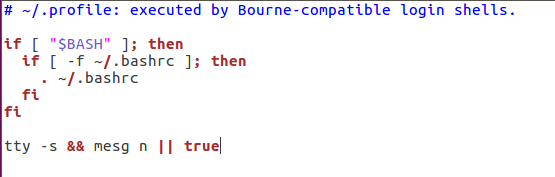
At this point the installation is over, the following is the configuration of the root user