1. The virtualization software VMware has been installed on the computer. The picture shows VMware.
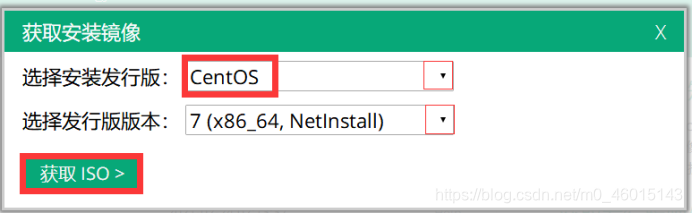
2. Obtain the mirror file: http://centos.ustc.edu.cn/
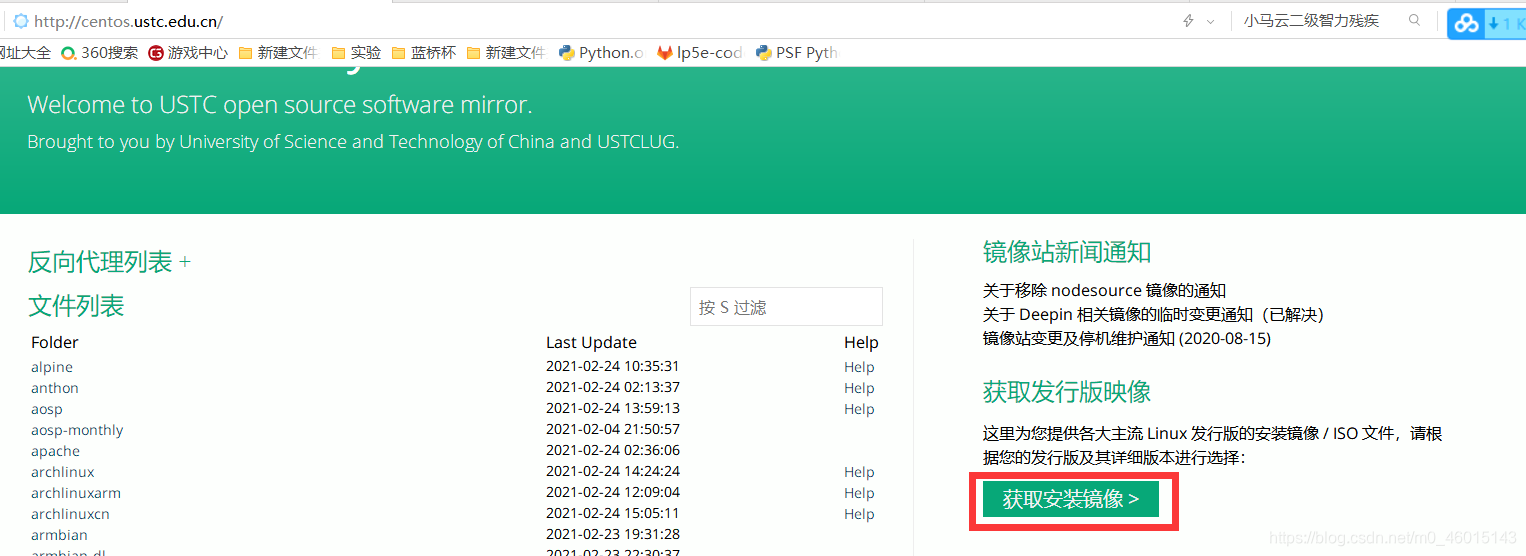
Choose the version by yourself :
File storage location: It is recommended not to put the C drive, of course, if the C drive has a large capacity, you can put the C drive.

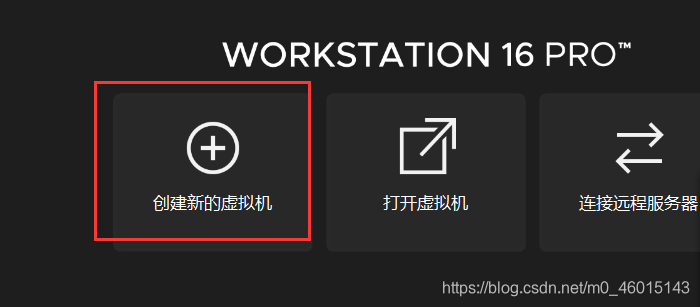
3. Install CentOS
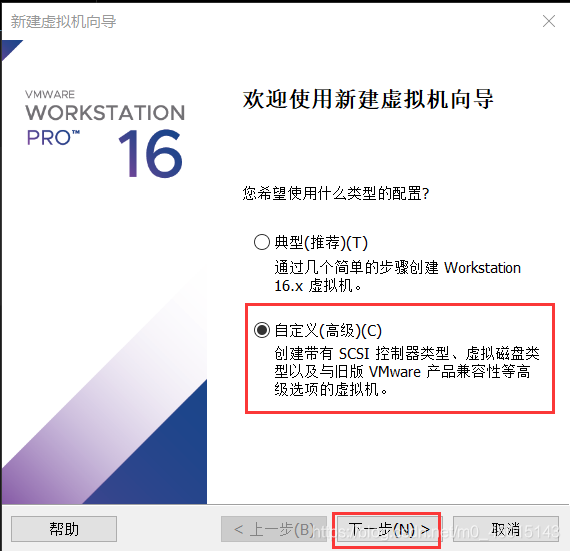
(1) Create a new virtual machine
(2) Select "Custom" and click "Next" (select the default hardware compatibility of the virtual machine):
(3) Choose to install the operating system, as shown in the figure 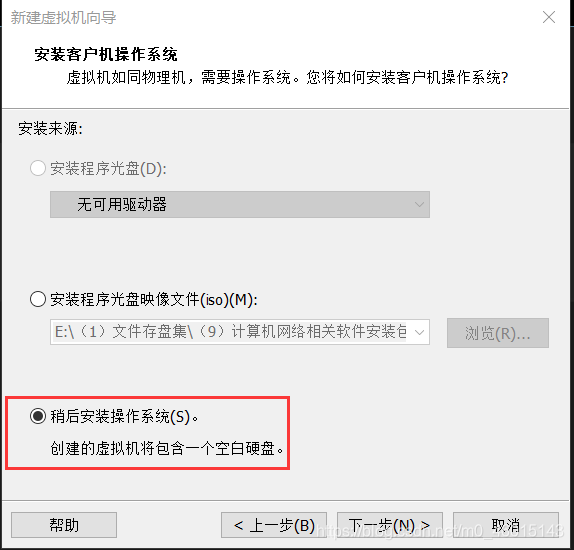
(4) Choose the Linux version of CentOS 64-bit:

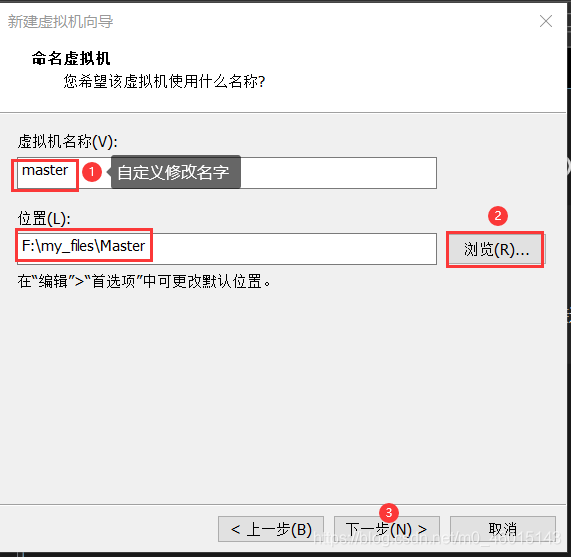
(5) Name it master, select the storage location (default C drive, it is recommended not to put C drive)
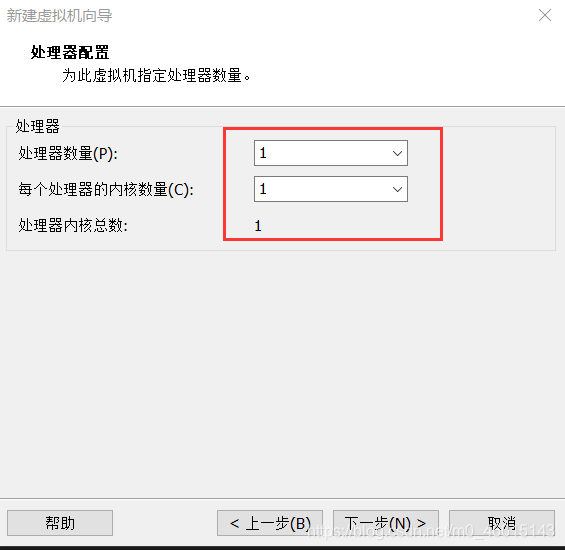
(6) This step is determined The performance of the virtual machine, if it is not particularly necessary, whether the processor of the Host (physical machine) machine has several cores and the main frequency, each has one virtual machine and one physical core, as shown in the figure, which affects the performance of the Host machine. Not too big. For development, the performance of the Guest machine (ie virtual machine) is also sufficient.
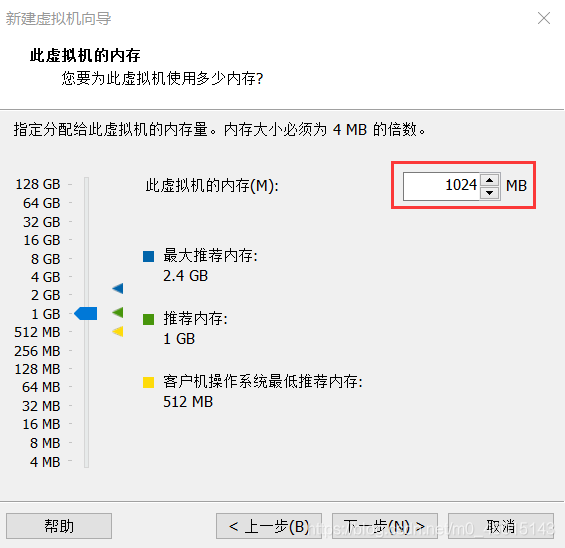
(7) Based on the principle of being sufficient and not affecting the Host machine, a virtual machine allocates 1024MS memory, as shown in the figure.
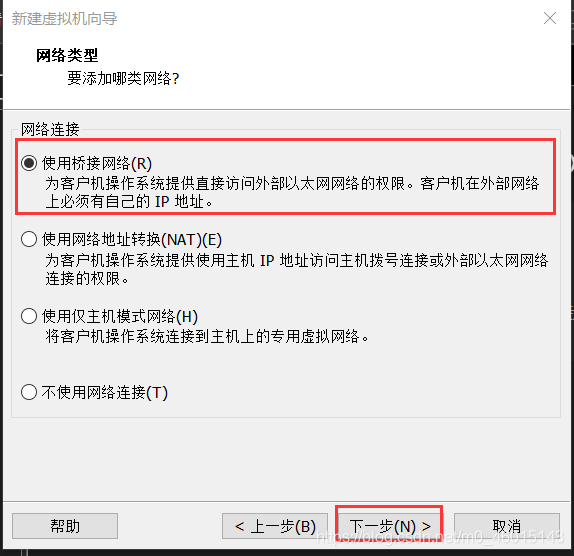
(8) Select the bridge mode : in order to allow other nodes to access the Hadoop cluster. (The first item in the picture )
<1>Bridge mode: The virtual machine is like an independent host in the local area network, which can access any machine in the network. The relationship between the virtual machine using the bridge mode and the Host machine is like two computers connected to the same Hub, and they are in an equal position.
<2>NAT Mode: (Network Address Translation Mode), which allows the virtual machine to use the NAT function to access the external network through the network where the Host machine is located. The TCP/IP configuration information of the virtual system in NAT mode is provided by the DHCP server of the VMnet8 (NAT) virtual network and cannot be manually modified. Therefore, the virtual system cannot communicate with other real hosts on the local area network.
The biggest advantage of using this mode is that the virtual machine access to the Internet is very simple, no other configuration is required, only the Host machine can access the Internet. In this way, two-way access between the Host and the virtual machine can also be realized.
<3>Host mode: In the default special network debugging environment, the real environment and the virtual environment are required to be isolated , then this mode can be used. In this mode, the virtual machine and the Host machine can communicate with each other, which is equivalent to that the two machines are interconnected through a twisted pair.
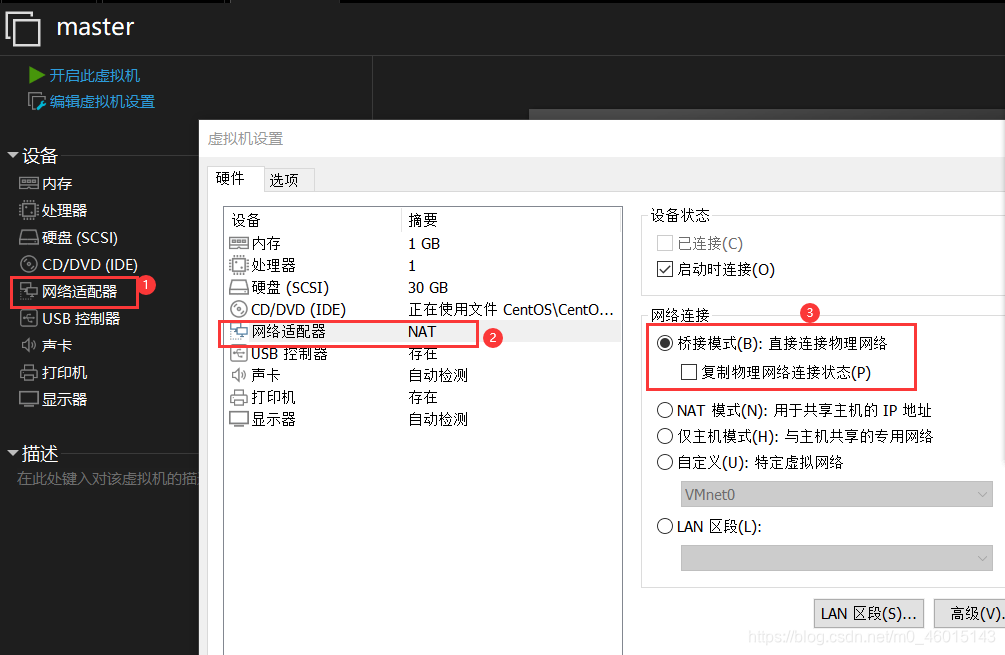
If you choose the wrong one, you can click "Back" to modify, or you can modify it as shown in the figure if you have set it:
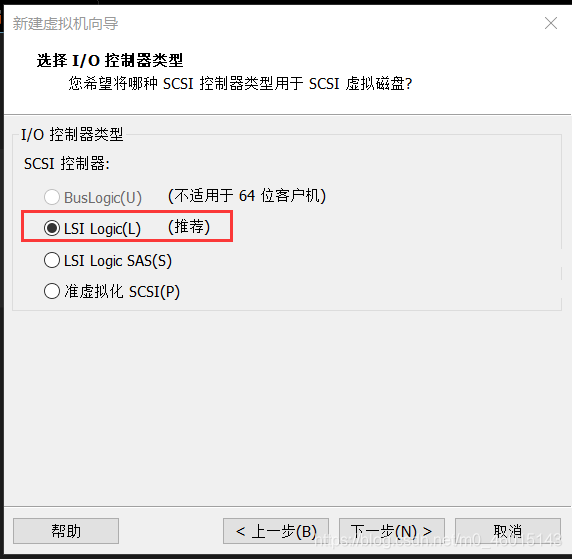
(9) Enter the I/O controller: select the recommended configuration, and click "Next"
(10) Enter the virtual machine disk capacity settings, select the default recommended configuration, and click "Next" 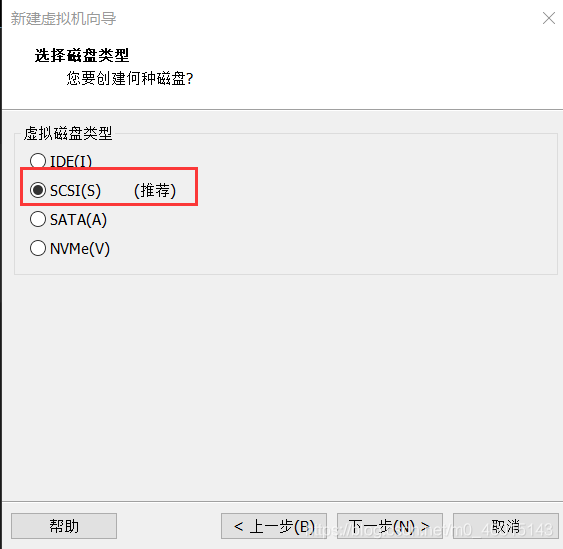
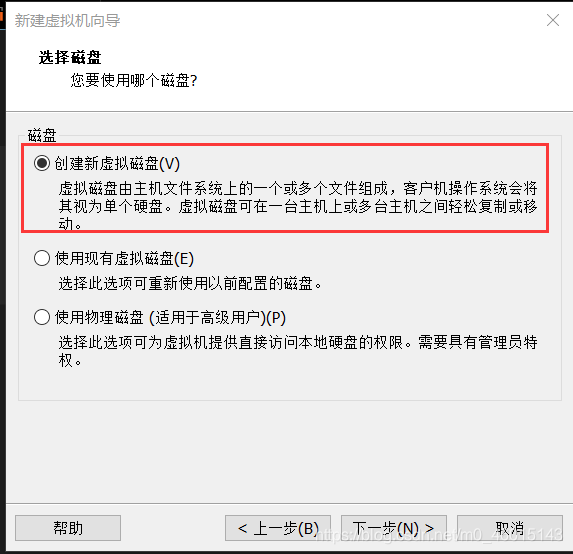
(11) Select "Create a new virtual machine disk"
(12) Set the maximum disk capacity of the virtual machine, the default is 20GB. Note: No matter how much you fill in here, the disk capacity occupied by the virtual machine is always the actual consumption, that is to say, this number is only the upper limit, so it can be a bit larger, and 30GB is recommended. Of course, the default option can also be selected.

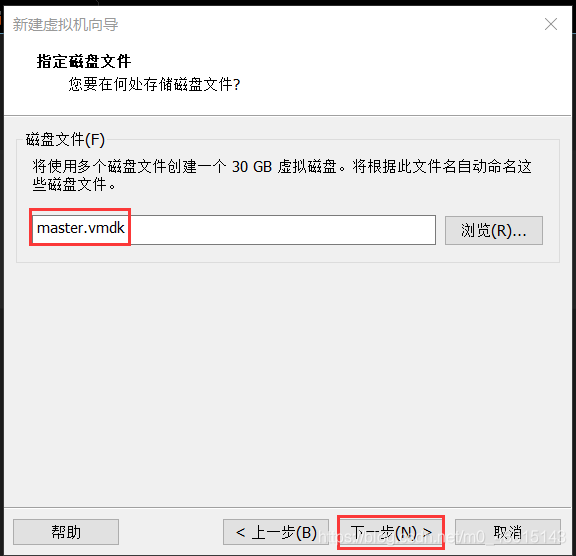
(13) This step will set the basic information of the file that stores the virtual machine. As shown in the figure, vmdk is a format that VMware can recognize. This file saves the basic information of the virtual machine and only takes up a small amount of capacity. It actually stores the virtual machine data. The file is the file name. The file name is filled in with -s-001, -s002 at the end of the file name to be the file, and so on, for example, CentOS 64-bit-s001.vmdk. These files are stored in the folder filled in in the step of naming the virtual machine, click "Next".
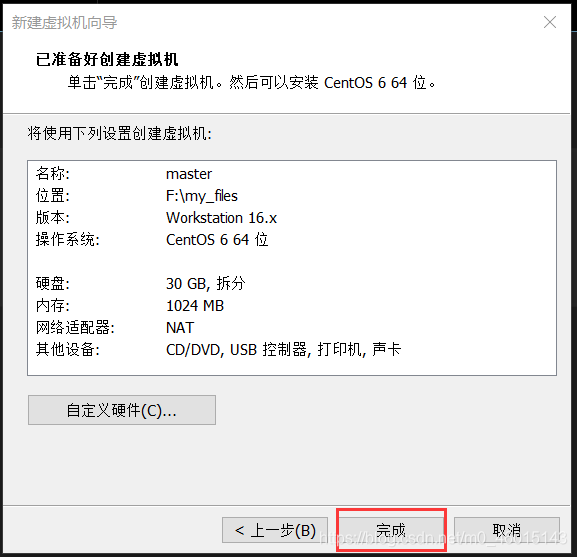
(14) Enter the virtual machine information confirmation: here you can see all the information of the virtual machine, such as network, computing resources, storage resources, name, etc. If you think the hardware settings of the virtual machine are inappropriate, you can click "Customize Hardware" "Make changes to the configuration. Finally click "Finish" to complete the entire virtual machine settings.
The above steps are equivalent to installing a machine by yourself.
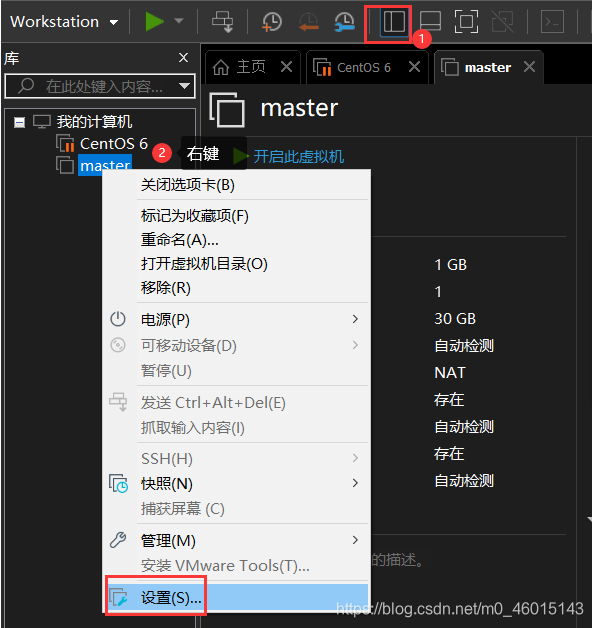
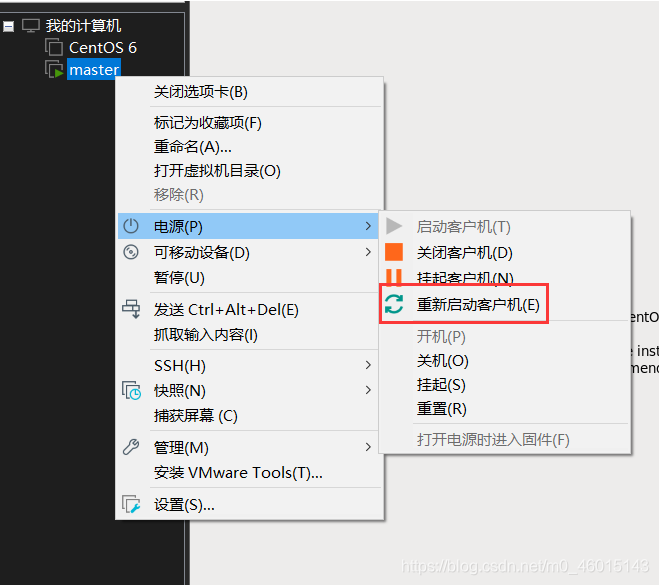
(15) Now you need to put the installation CD into the CD drive of the Host machine. The default setting of the CD drive of the virtual machine is to use the CD drive of the Host machine. If you are using the image file installation method, you need to right-click the configured virtual machine in the list on the left of the working area, as shown in the figure:
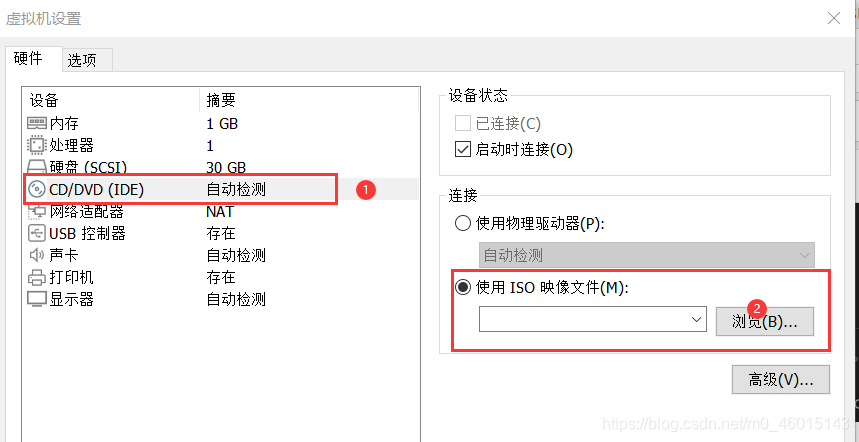
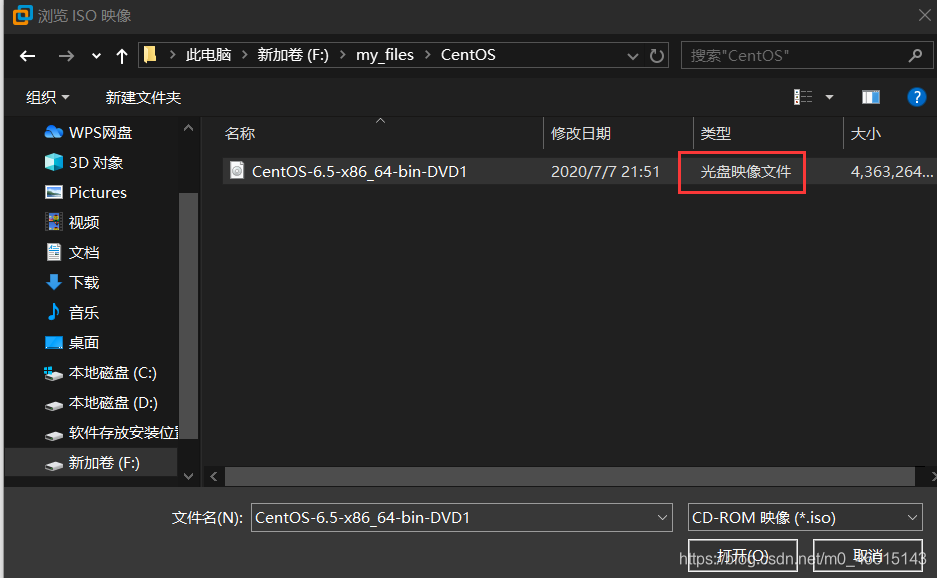
(16) Select "Settings" to enter the virtual machine setting interface, as shown in the figure, click "Hardware" ——"CD/DVD"——"Use ISO image file"——"Browse", find the prepared image file, and finally click "Finish" and
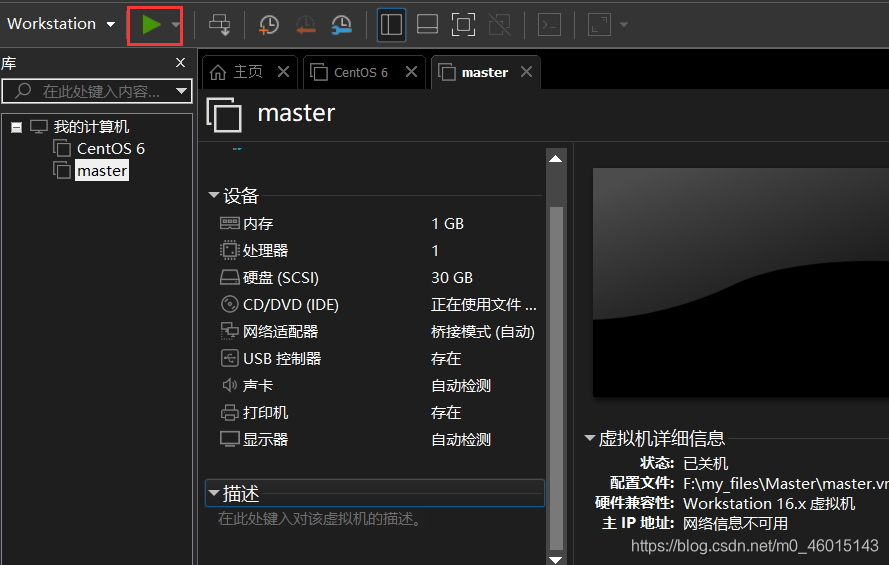
click to run:
4. Interface description:
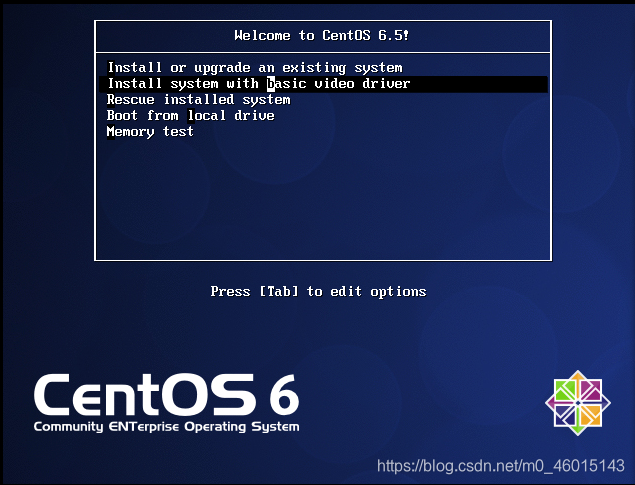
(1) Press the left, right, up and down keys of the keyboard to proceed, select the second item , and click "enter"
Install or upgrade an existing system
Install system with basic video driver used in the installation process Basic graphics driver
Rescue installed system Enter the system repair mode
Boot from local drive Exit the installation Start
Memory test from the hard disk Memory test
(Note: My computer is Lenovo, after selecting the first item, there will be an abnormality, and then select the second item. Go to the following page)
(2) Medium selection "skip":

(3) Click "enter"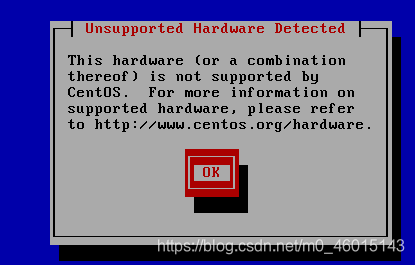
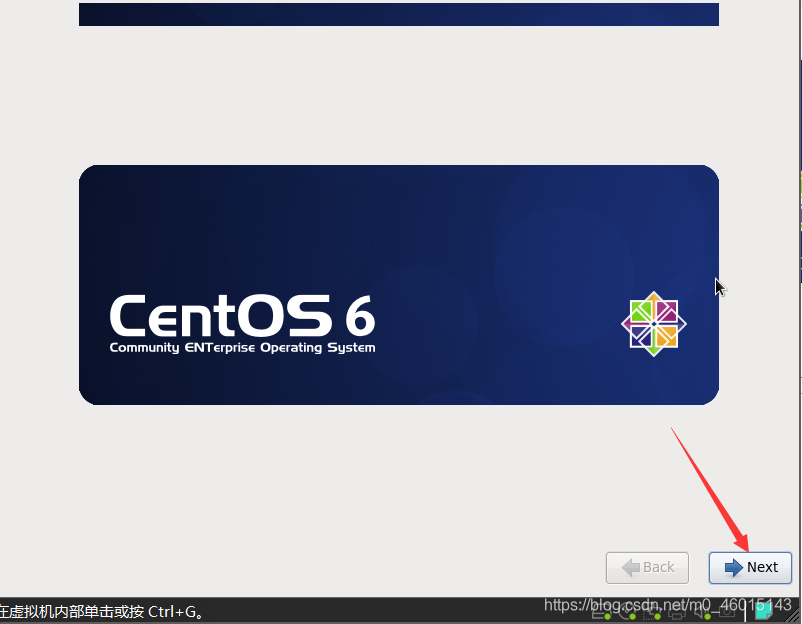
(4) When the boot interface appears, click "enter" or click "Next", (sometimes it is useless to click "enter"). For the position where next does not appear next, you need to use the mouse to blind point the next position to make it continue.
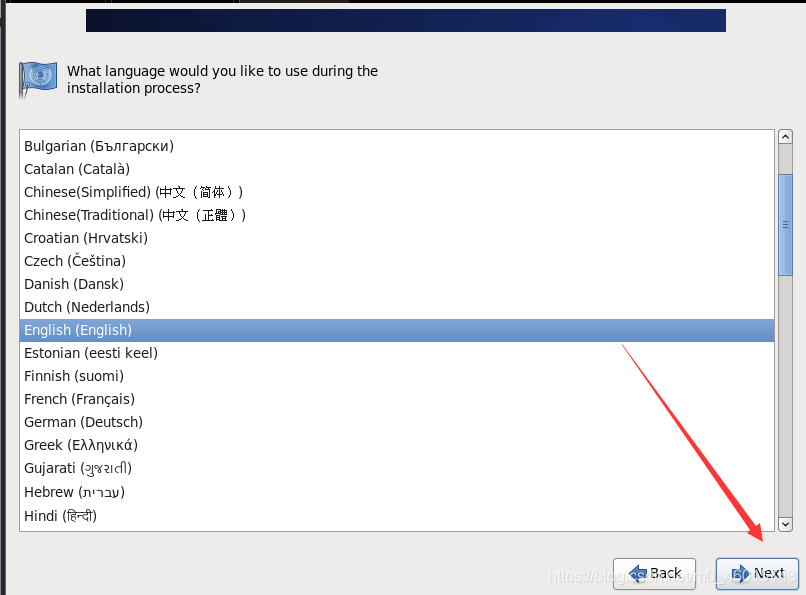
(5) By default, "english" is selected, don't choose, just "enter", otherwise an abnormality will occur later (pro-test).
(6) Select "US.English" for keyboard layout

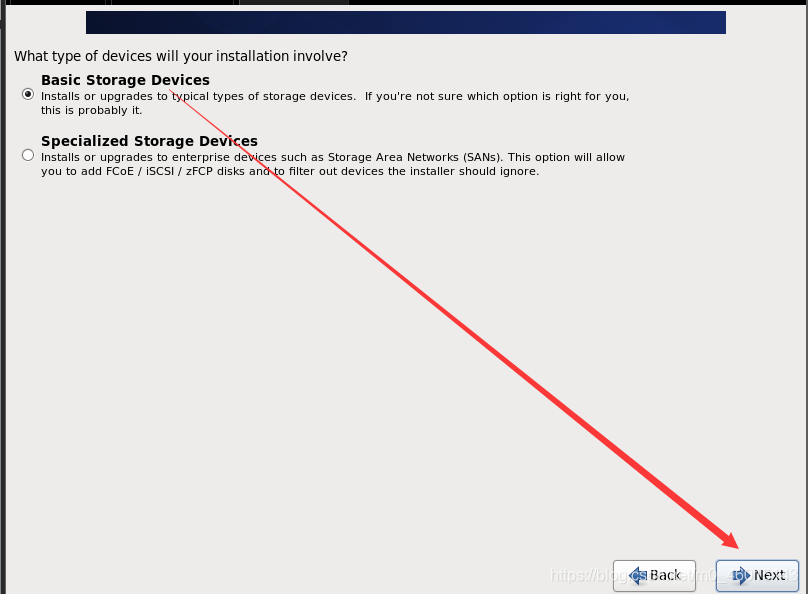
(7) Select "Basic Storage Devies"
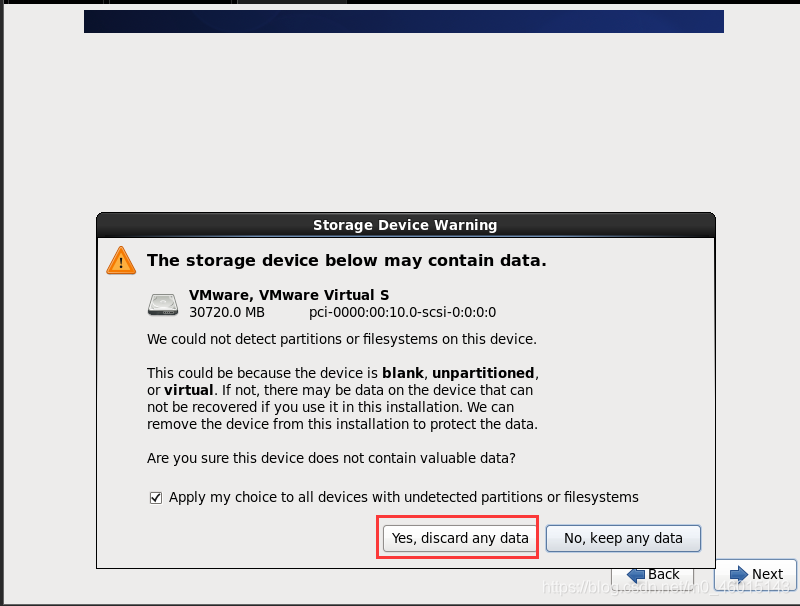
(8) Ask whether to ignore all data, choose "Yes, discard any data" for the new computer installation system
(9) Hostname fills in the format "English name. Surname"
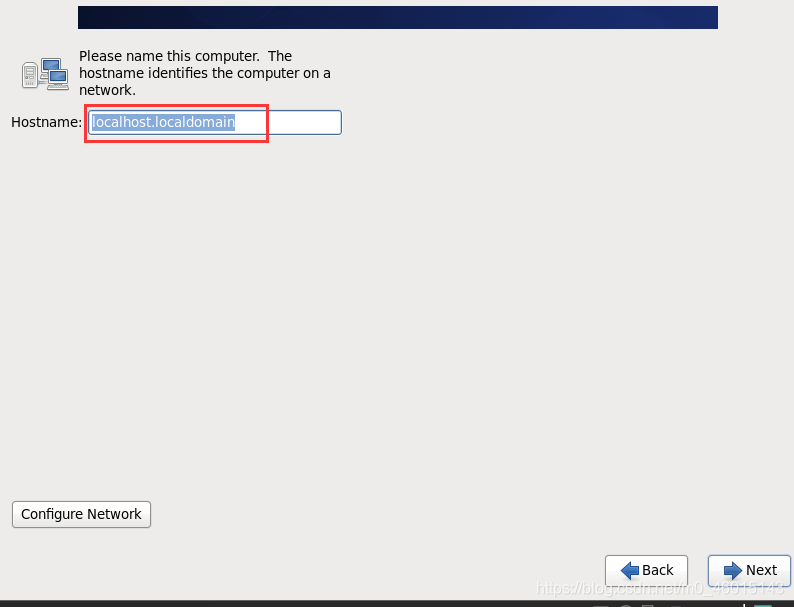
(10) Network setting installation order selection: Configure Network——System etho——Edit——[√] Connect automatically——Click Apply
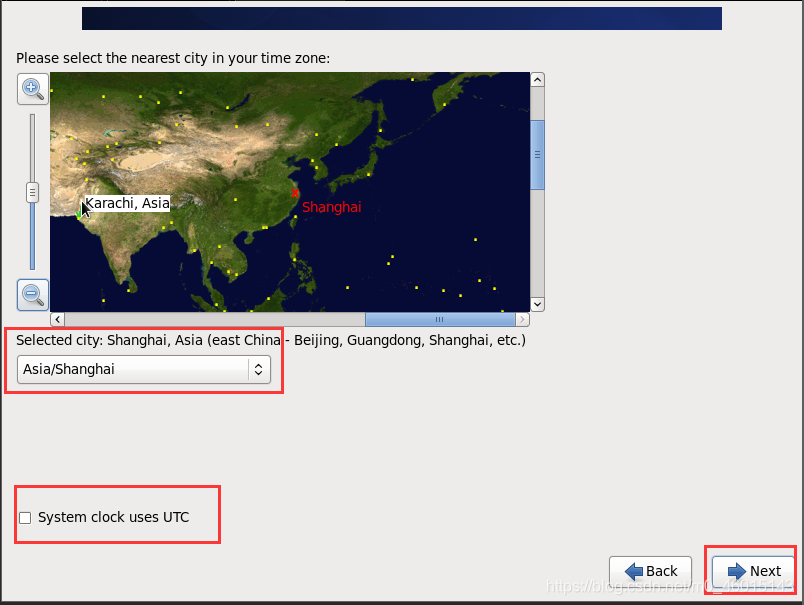
(11) Time zone selection "" and cancel the check mark in front of System clock uses UTC
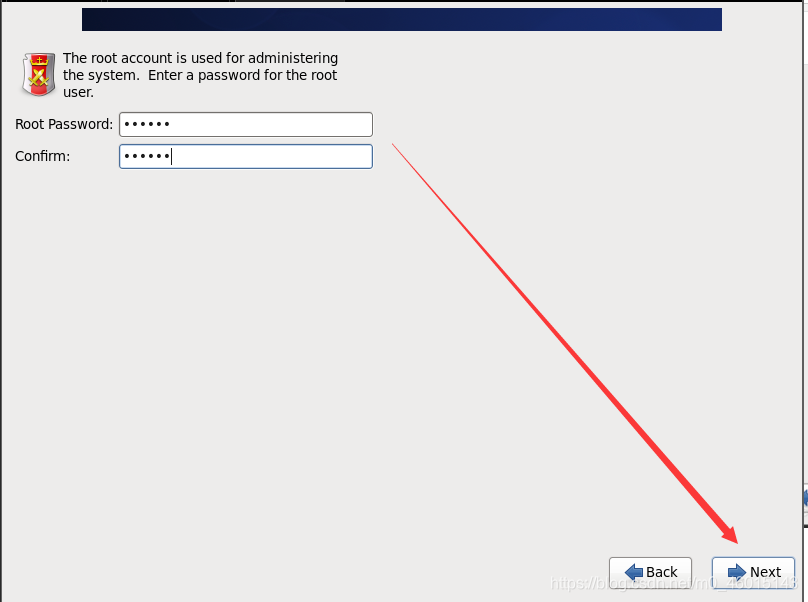
(12) Set the root password
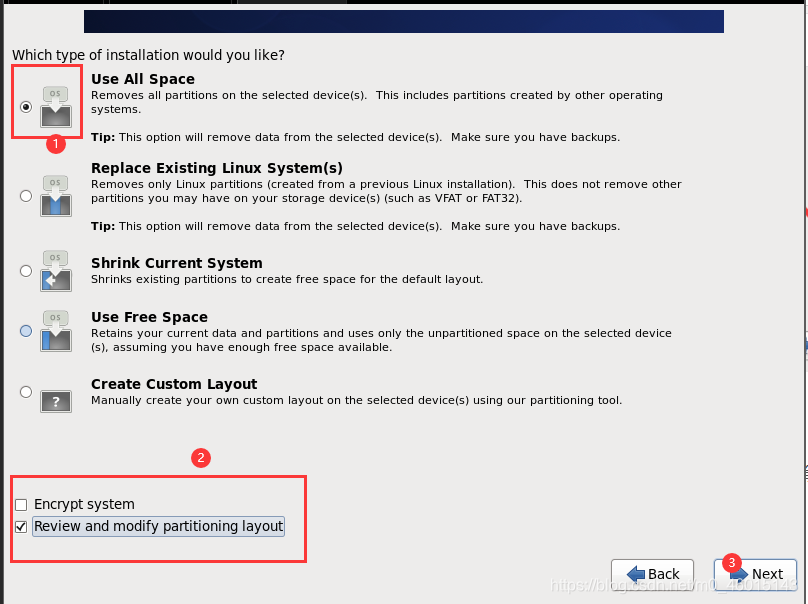
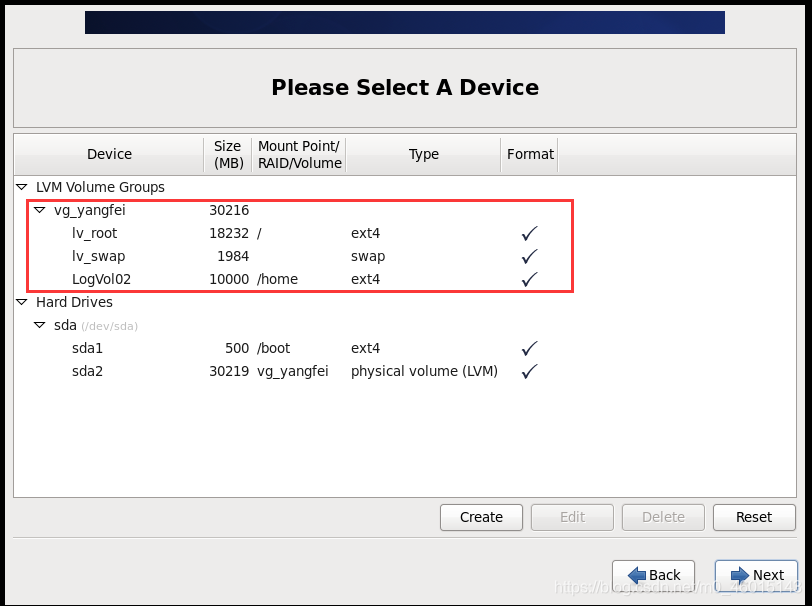
(13) The hard disk partition is shown in the figure:
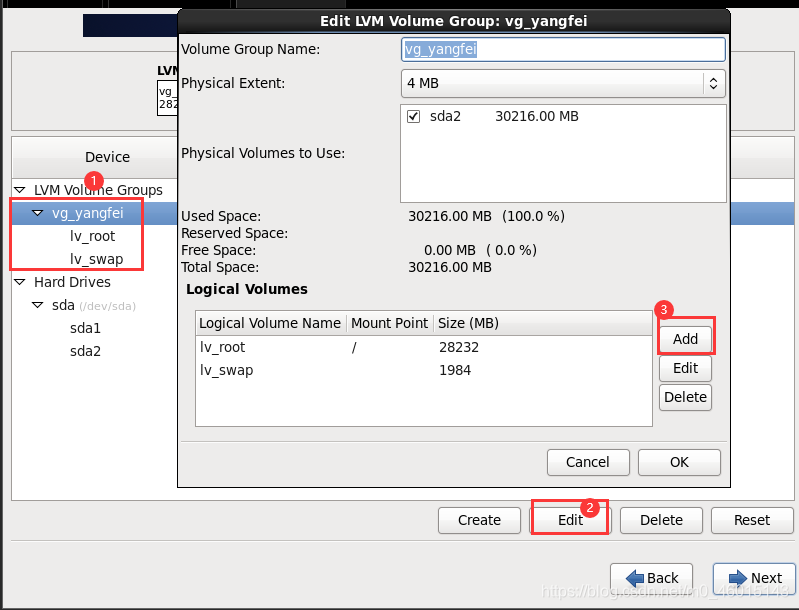
(14) To adjust the partition, there must be a /home partition. If there is no such partition, some software installation problems will not occur.
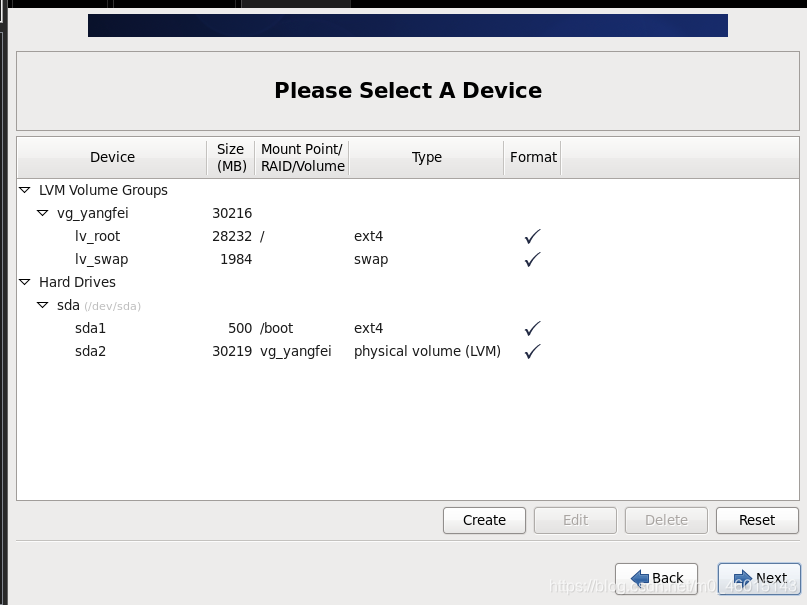
I don't have a home here, so add it: it prompts that there is not enough memory. So edit other partitions and allocate some memory to the home to be created

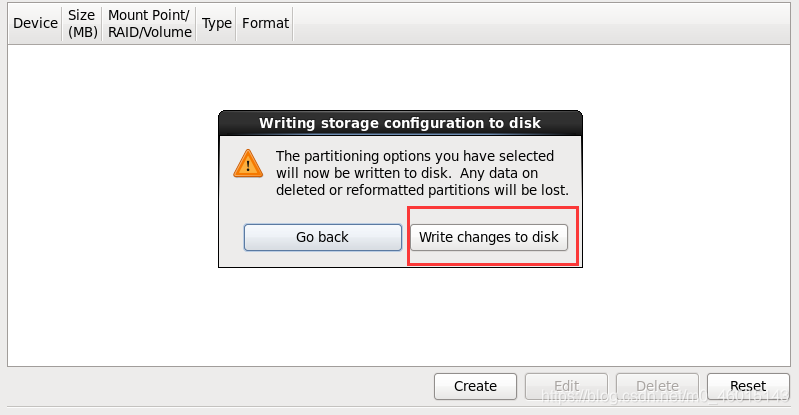
(15) Ask whether to format the partition, click the "Format"
link: https://pan.baidu.com/s/1-qn0OBNpmNhCxc-J50Jrzw
Extraction code: After ogex
copy this content, open the Baidu SkyDrive mobile app and operate More convenient
(16) Write changes to the hard disk
(17) Bootloader installation location
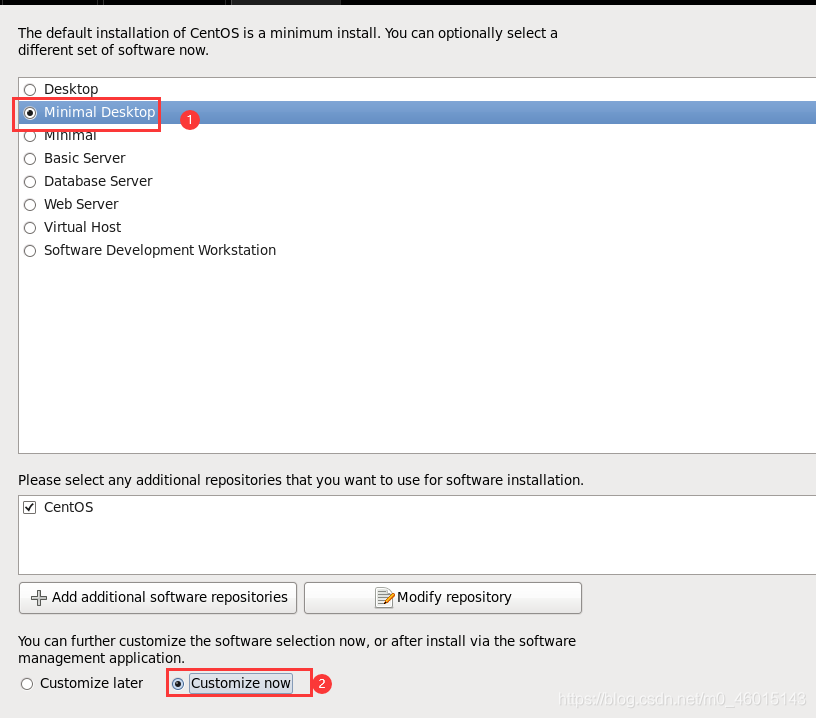
(18) The key step, according to the order shown in the figure, Minimal Desktop-Customize now
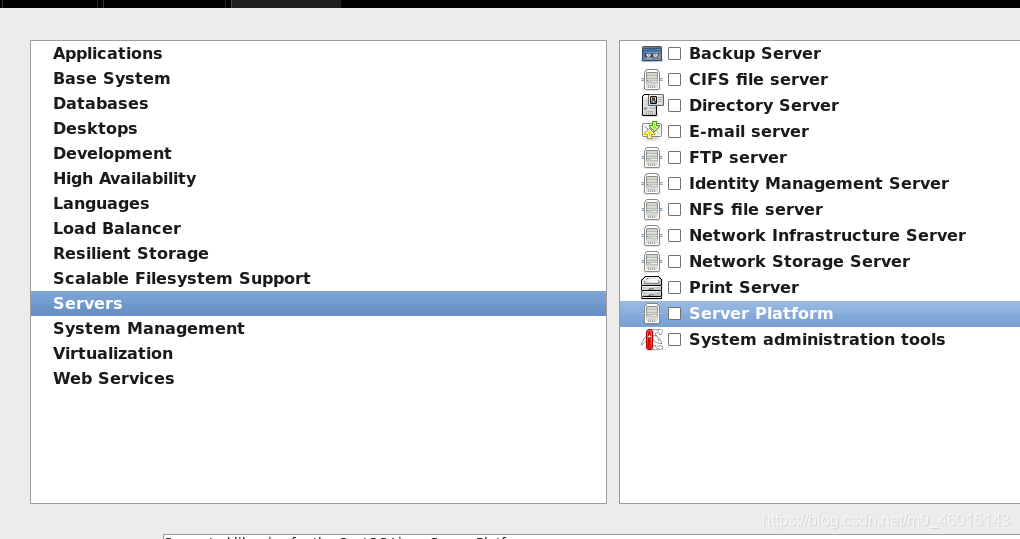
(19) Cancel all options of the following content:
Applications,
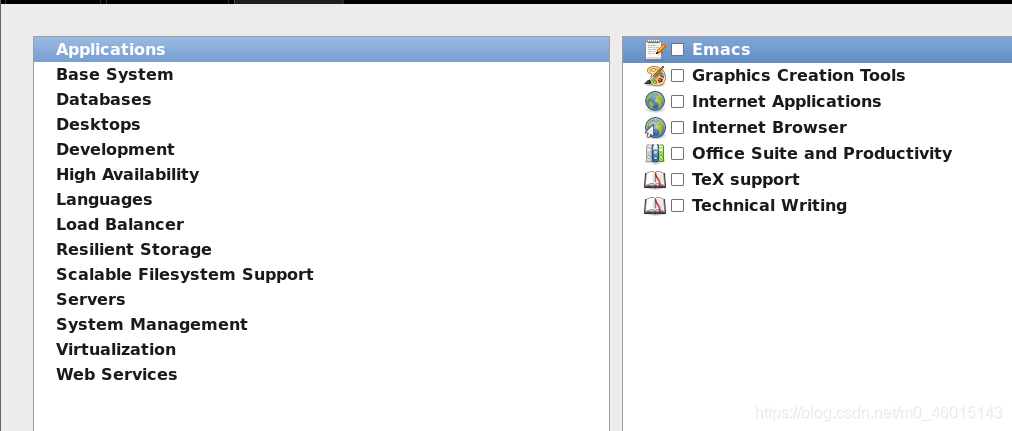
Base System、

Servers
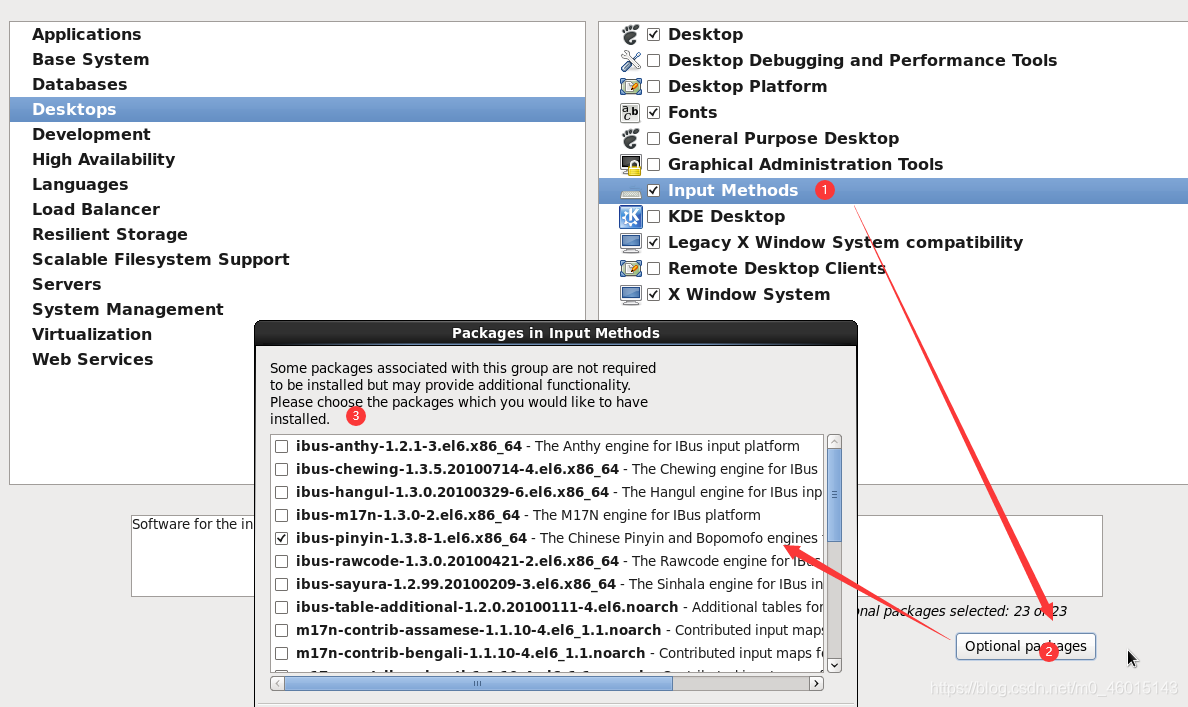
And set Desktops as follows:
cancel the following options:
Desktio Debugging and Performance Tools
Desktop Platfrom
Remote Desktop Clients
Input Methods only keep ibus-pinyin-1.3.8-1.el6.x86_64, cancel all others
(20) Select Languages, and select Chinese Support on the right, and then click Optional packages, after the adjustment is completed, as shown in the figure:
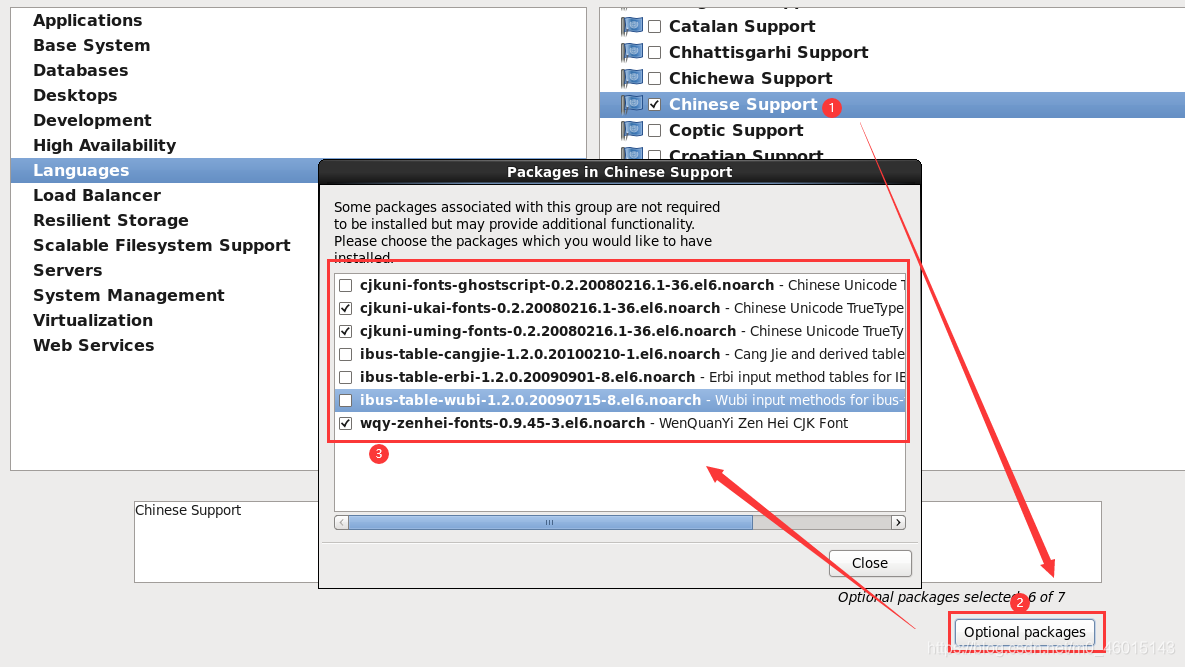
At this point, a streamlined desktop environment is set up.

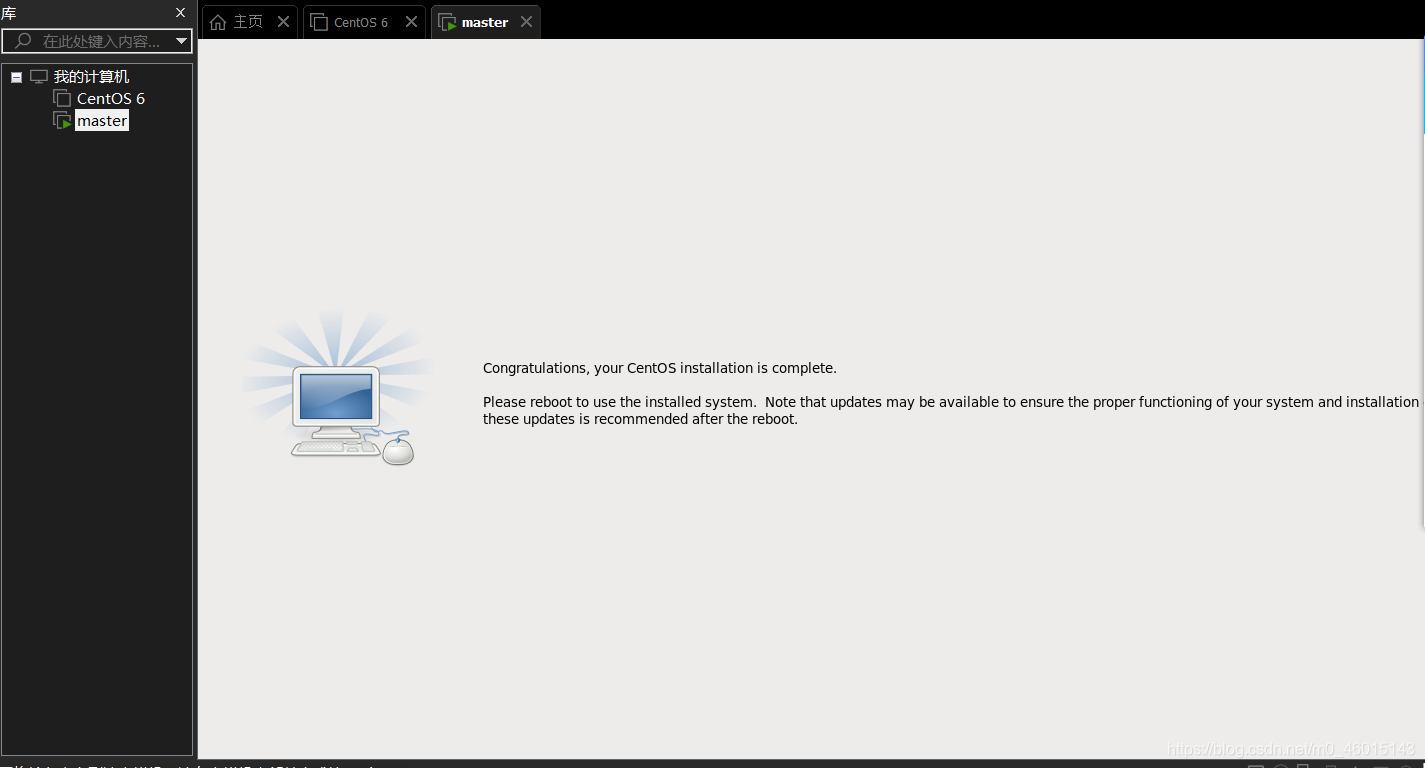
(21) The installation is complete, restart.
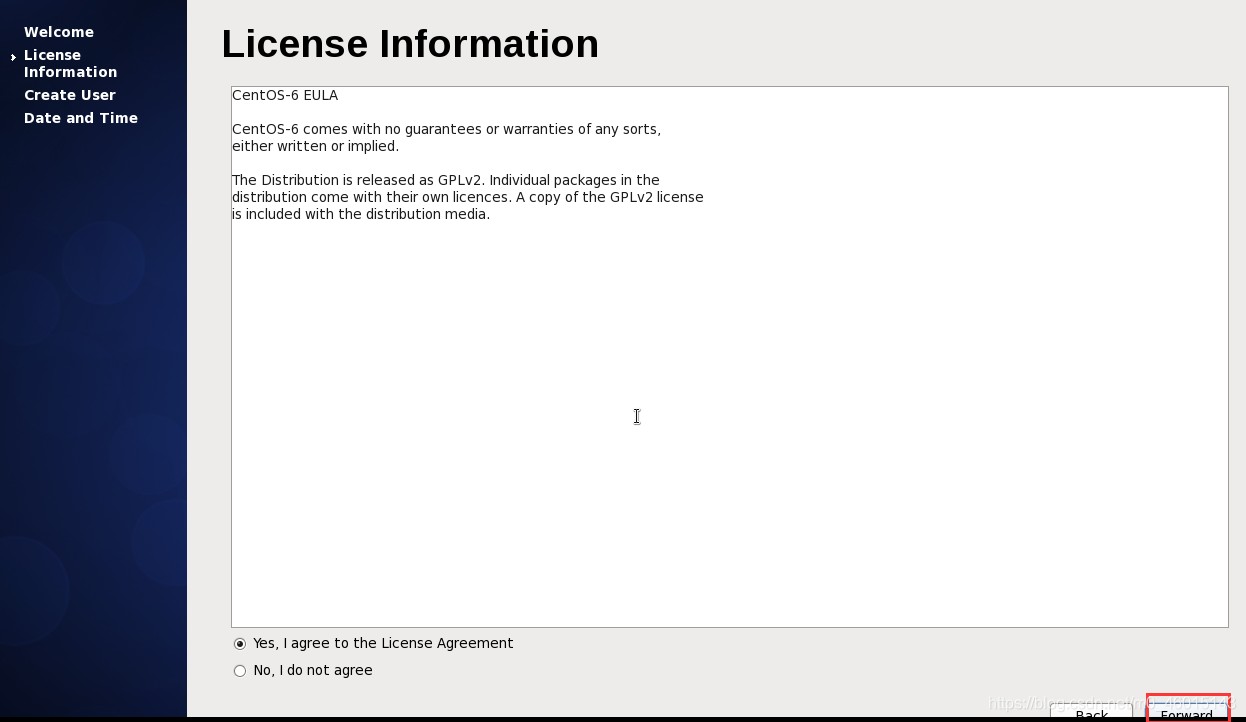
(22) License Information after restart
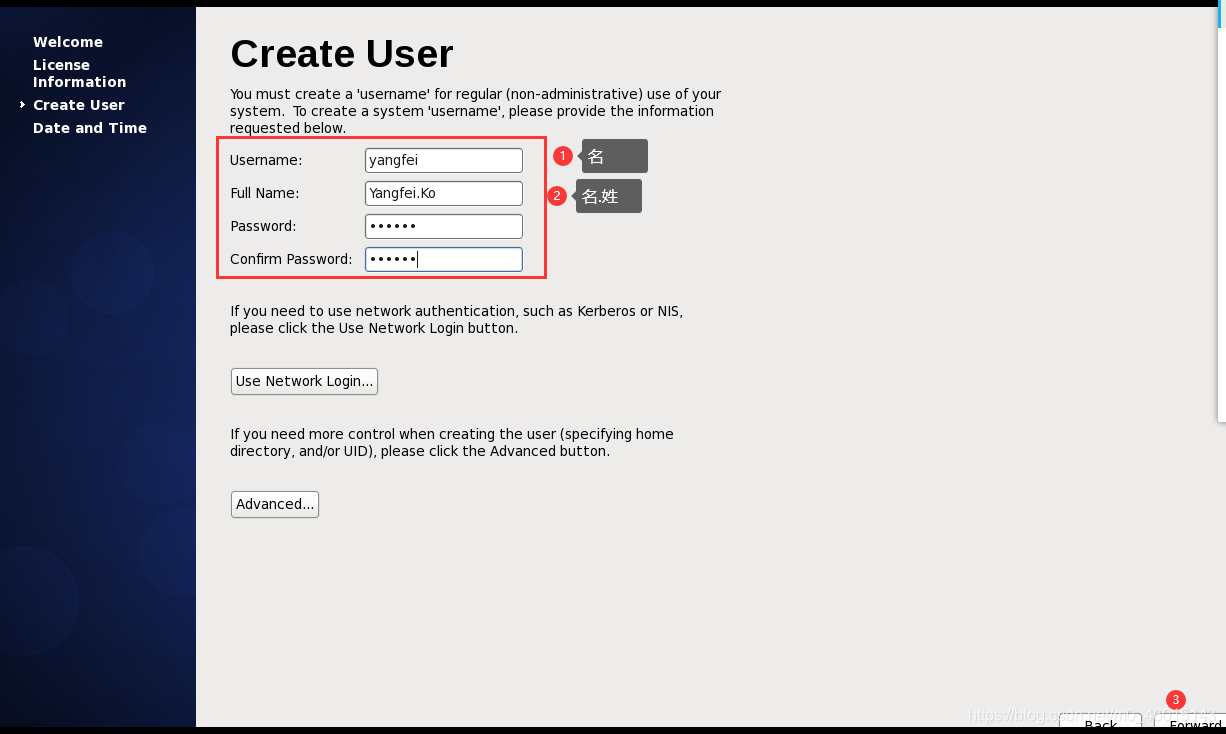
(23) Create User
Username: fill in your English name (without surname)
Full Name: fill in your English name. Surname (first letter capitalized)
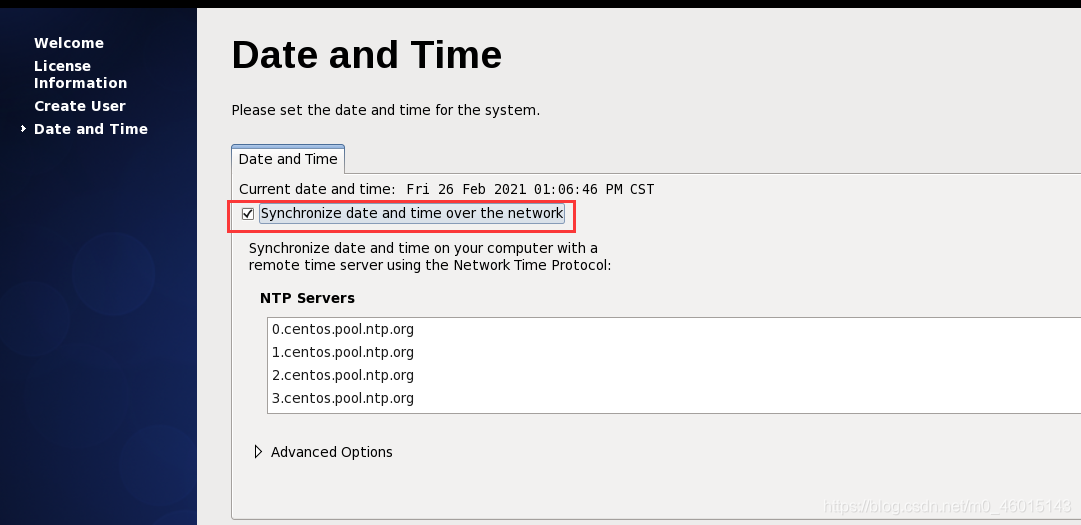
(24) "Data and Time" select "Synchronize data and time over the network"
after Finsh, the system will restart
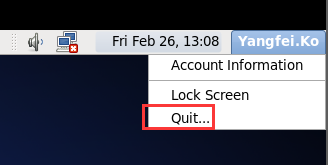
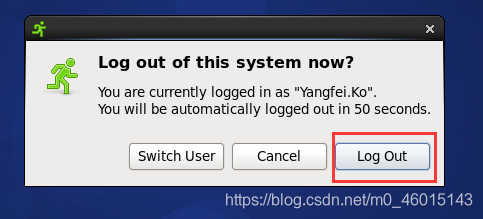
(25) When logging in for the first time, do not make any changes before logging in, and log out immediately after logging in.
Successful installation! ! !
4. Set the system language to Simplified Chinese
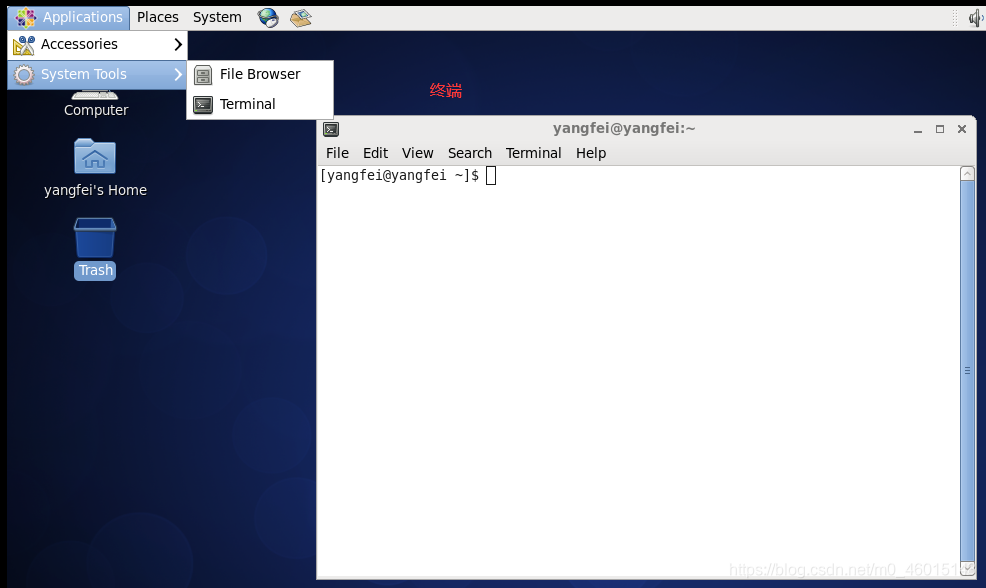
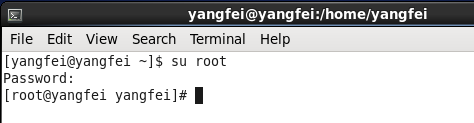
(1) Enter root authority:
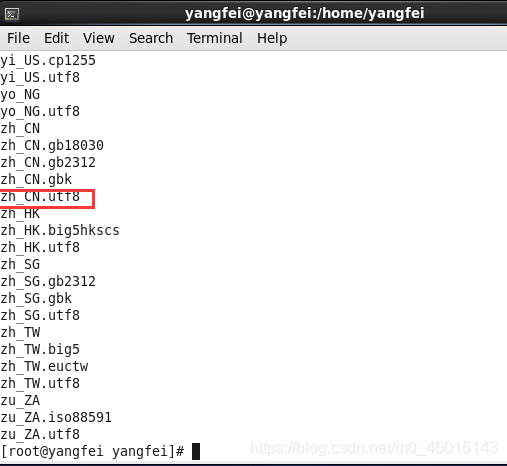
(2) Check the current language environment:

as shown in the figure, it shows zh_CN.uf8 (that is, simplified Chinese), indicating that your system supports Chinese language:
(3) Enter the i18n file:

click the letter [i] to edit the configuration: After the
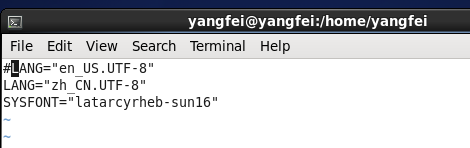
configuration is complete, click [Esc] + colon + input [wq] + press Enter to save and exit the editing
(4) After restarting the system and
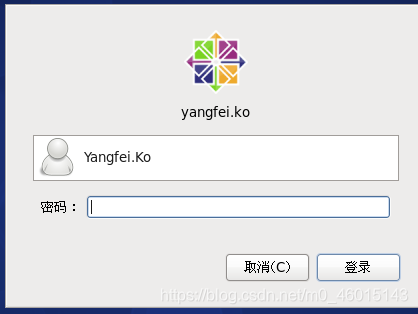
logging in, select- —Update name
carry out! ! !