table of Contents
Install virtual machine
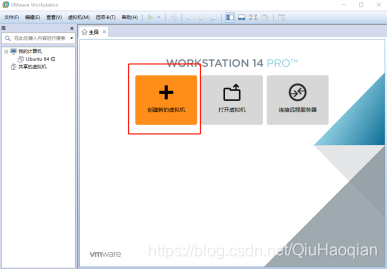
1 File-New Virtual Machine-Custom

2 Hard disk compatibility-default

3 Install the operating system
later. You need to delete unnecessary hardware after the virtual machine is installed, so install the operating system later

4 Select the client operating system:
guest operating system-Linux
version-centos 64 bit
(note: the version must correspond to the image file version)

5 Naming the virtual machine and installation address
Briefly indicate the type and version of the virtual machine. Example: centos-7

6 processor configuration (CPU)

The total number of virtual machine cores cannot exceed the number of host cores. If it exceeds, it will warn and remind, it is not recommended to configure too high otherwise the host will get stuck

7 Virtual machine memory-generally 2G

8 Network Type-Bridge

8 Network type-explain non-operation steps (very important)


Bridge mode: directly connect to the real network card of the host and then communicate (minimal restriction)
NAT mode: use virtual network card VMnet8 for communication
Only host mode: use virtual network card VMnet1 for communication

注意:	桥接自默认动选择一个真实网卡(可能是无线也可能是有线)。
		如果使用无线上网,自动桥接到有线网卡了就会出现无法访问网络。
		所以要手动指定桥接到的真实网卡
Here I was found to be unable to connect to the Internet after the installation was completed because of the automatic bridging here.
8 Manually set the real network card of the bridge
Edit -> Virtual Network Editor

9 Select the I/O controller type (relative to the hard disk)-the default
is I (input)
from the hard disk to the memory, and O (output) from the memory in the hard disk

10 Select the disk type-default
hard disk interface, SATA type commonly used by households, and SCSI type commonly used by servers

11 Select a disk to
create a new virtual disk (the other two are not commonly used)

12 The designated disk capacity is
20G (it is a fake virtual and does not occupy host storage)

13 Specify the disk file (.vmdk) file

14 completed

15 Delete unnecessary hardware (optional operation)
Delete-USB controller, sound card, printer (can make the virtualizer start faster)

16 Add image file
Select the CD/DVD (IDE) in the device and select at the connection point – use ISO image file – OK

Install centos7
1 Turn on the virtual machine

2 Choose to install

3 Choose language

4 Choose whether to have a desktop system


5 Installation location


6 Network and hostname


7 Start the installation

8 User settings After
starting the installation, set the root password. Otherwise the root user will not be enabled.


Reboot

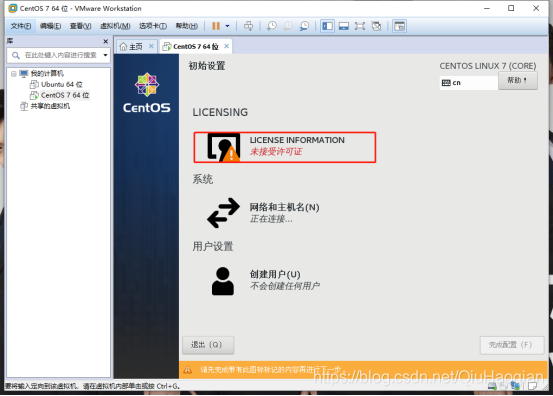
9 license


Then follow the guide step by step.
Remote tool connection
View the ip address of centos7

View the network card

used by centos Use remote tools to connect

Practical functions of virtual machine
1 snapshot

Generally, an initial snapshot should be kept after installing the system
2 Copy a virtual machine
Virtual Machine -> Management -> Clone


