1、页面跳转
wx.navigateTo({ url: "../four/four" })——可返回
wx.redirectTo({ url: "../four/four" })——不可返回
<view>
<navigator url="../four/four" hover-class="changestyle">页面跳转,可以返回</navigator>
</view>
<view>
<navigator url="../logs/logs" hover-class="changestyle" redirect>页面跳转,无法返回</navigator>
</view>
2、底部导航栏
1、添加icon图片
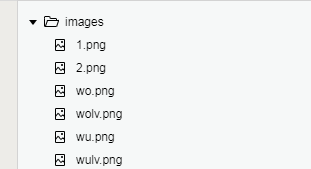
2、 添加tabBar到app.json文件下即可
"tabBar": {
"color": "#8c8c8c",
"selectedColor": "#f4645f",
"backgroundColor": "white",
"list": [
{
"pagePath": "pages/index/index",
"text": "首页",
"iconPath": "images/1.png",
"selectedIconPath": "images/2.png"
},
{
"pagePath": "pages/tianqi/tianqi",
"text": "天气",
"iconPath": "images/wu.png",
"selectedIconPath": "images/wulv.png"
},
{
"pagePath": "pages/wode/wode",
"text": "话题",
"iconPath": "images/wo.png",
"selectedIconPath": "images/wolv.png"
}
],
"position": "bottom"
},
3、效果:

3 、用户点击右上角分享
1、默认方式
onShareAppMessage: function () {
},
2、自定义分享
onShareAppMessage: function () {
return {
title: '自定义分享标题',
desc: '自定义分享描述',
path: '/pages/user/user'
}
},
4、加载图片标签
1、单张图片
<image class="userinfo-avatar" src="./images/tt.png" ></image>
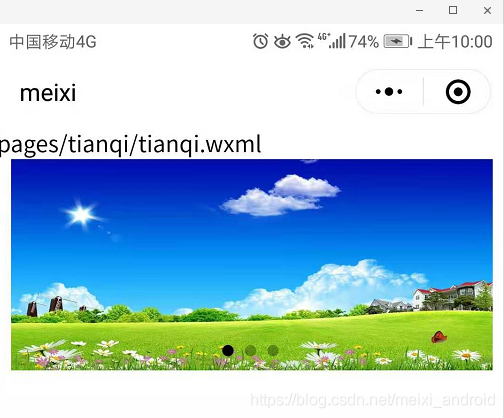
2、轮播图
wxml代码:
<swiper indicator-dots="{{indicatorDots}}"
autoplay="{{autoplay}}" interval="{{interval}}" duration="{{duration}}">
<block wx:for="{{imgUrls}}" wx:key="unique">
<swiper-item>
<image src="{{item}}" class="slide-image"/>
</swiper-item>
</block>
</swiper>
js脚本
data: {
imgUrls: [
'http://e.hiphotos.baidu.com/image/pic/item/4610b912c8fcc3cef70d70409845d688d53f20f7.jpg',
'http://f.hiphotos.baidu.com/image/pic/item/4bed2e738bd4b31c5a30865b89d6277f9f2ff8c6.jpg',
'http://g.hiphotos.baidu.com/image/pic/item/83025aafa40f4bfbb5163db50d4f78f0f6361808.jpg'
],
indicatorDots: true,
autoplay: true,
interval: 3000,
duration: 500,
},
wxss样式
.slide-image {
height: 100%;
width:95%;
margin-left: 10px;
margin-right: 10px;
}
效果:
5、条件逻辑语句
<block wx:if="{{3>2}}">>
<text>pages/tianqi/11111.wxml</text>
</block>
<block wx:else>
<text>pages/tianqi/33.wxml</text>
</block>
6、自定义变量
https://blog.csdn.net/meixi_android/article/details/94616272
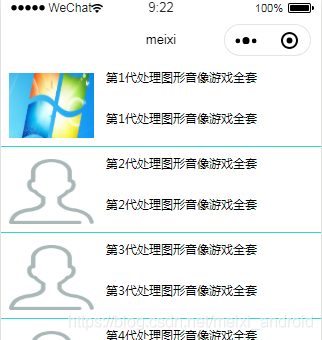
7、列表渲染
1、wxml布局
<view wx:for="{{array}}" id="{{cardTeam.id}}" class="item" >
<image class="img" src="{{item.imgsrc}}" mode="scaleToFill"></image>
<view class="number-wrapper">
<text class="name">{{item.name}}</text>
<text class="name">{{item.name}}</text>
</view>
</view>
2、wxss
.item{
width: 100%;
height: 190rpx;
position: relative;
display: flex;
margin-top: 10rpx;
border-bottom: 1px solid rgb(45, 216, 216);
}
.item .img{
width: 200rpx;
height: auto;
padding: 20rpx;
}
.item .name{
margin: 10rpx 10rpx 10rpx 10rpx;
font-size: 30rpx;
overflow: hidden;
flex: 1;
}
.item .number-wrapper{
height: 100%;
flex: 1;
display: flex;
flex-direction: column;
}
3、js实现
data: {
array: [{
message: 'foo',
"imgsrc": "../../images/wo.png",
"name": "第1代处理图形音像游戏全套",
}, {
message: 'bar',
"imgsrc": "../../images/wo.png",
"name": "第2代处理图形音像游戏全套",
} , {
message: 'bar',
"imgsrc": "../../images/wo.png",
"name": "第3代处理图形音像游戏全套",
}, {
message: 'bar',
"imgsrc": "../../images/wo.png",
"name": "第4代处理图形音像游戏全套",
}, {
message: 'bar',
"imgsrc": "../../images/wo.png",
"name": "第5代处理图形音像游戏全套",
}]
},
附:全局images与pages内images引用
"imgsrc": "../../../images/tt.png",——pages内images
"imgsrc": "../../images/wo.png",——全局images
效果:
8、刷新列表item,添加item
列表保持原状态——添加属性wx:key
<switch wx:for="{{numberArray}}" wx:key="*this" > {{item}} </switch>1、刷新item
changedataa: function(e){
const length = this.data.array.length
for (let i = 0; i < length; ++i) {
if(i==3){
this.data.array[3].name = 'aabbcc'
}
}
this.setData({
array: this.data.array,
time: 'sfsdfewf',
})
},
2、添加item
addToFront: function(e) {
const length = this.data.objectArray.length
this.data.objectArray = [{
id: length,
unique: 'unique_' + length
}].concat(this.data.objectArray)
this.setData({
objectArray: this.data.objectArray
})
},
