从b站学习springcloud,现在进行总结,该总结除去了视频中出现的小错误,对有些易错的地方进行了提醒
b站链接:https://www.bilibili.com/video/av55993157
资料链接:
https://pan.baidu.com/s/1o0Aju3IydKA15Vo1pP4z5w
提取码: 21ru
上一节链接
下一节链接:
下面的内容总结:
新建工程→父pom→resources/application和java→com/southwind/controller/HelloHandler→启动类Application
复制entity/Student和repository→修改HelloHandler→删除webapp/index.jsp而新建index.jsp在里面添加代码→重启Application
添加index.jsp代码→添加controller/HelloHandler代码→重启Application
webapp中新建save.jsp和update.jsp加代码→在controller/HelloHandler中加代码→检测
实现细节:
1.新建工程springjsp

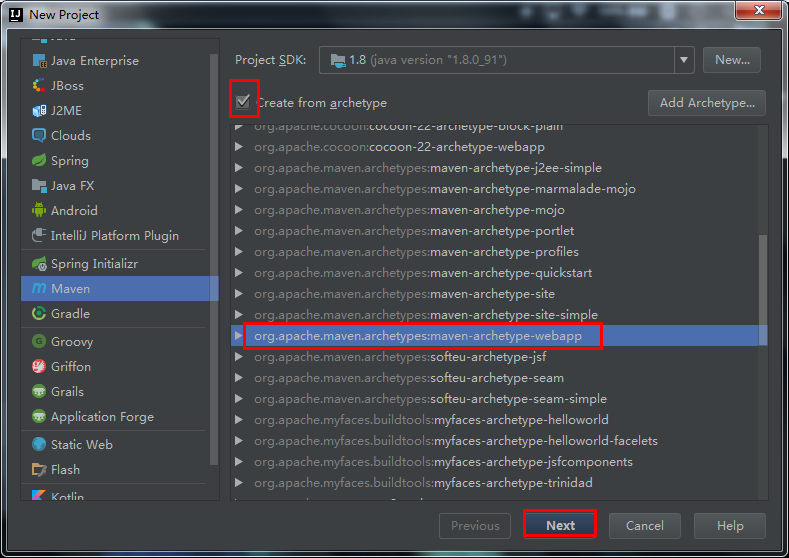
打钩,选择webapp,next
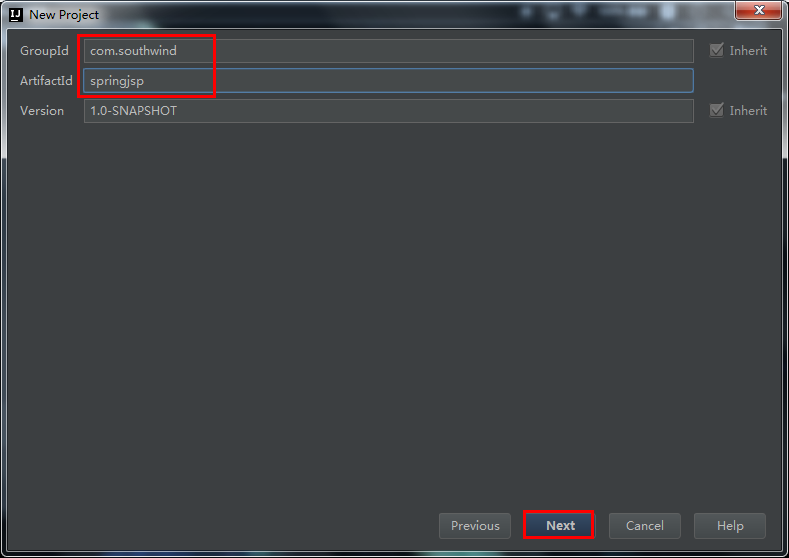
后面一直next,最后Finish
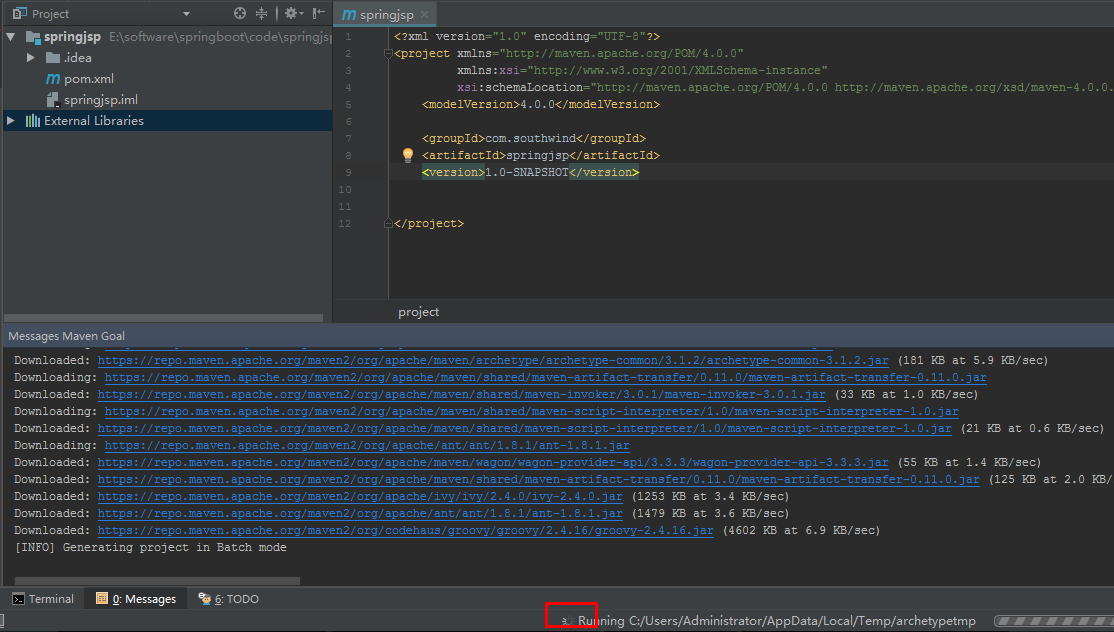
等待下载,若是第一次创建应该要等很久!

半小时后更新结束,最下面有个finish
2.父pom
删掉dependencies部分,在properties后面添加代码:
  <parent>
    <groupId>org.springframework.boot</groupId>
    <artifactId>spring-boot-starter-parent</artifactId>
    <version>2.0.3.RELEASE</version>
  </parent>

  <dependencies>
    <!--web-->
    <dependency>
      <groupId>org.springframework.boot</groupId>
      <artifactId>spring-boot-starter-web</artifactId>
    </dependency>

    <!--jsp-->
    <dependency>
      <groupId>org.springframework.boot</groupId>
      <artifactId>spring-boot-starter-tomcat</artifactId>
    </dependency>
    <dependency>
      <groupId>org.apache.tomcat.embed</groupId>
      <artifactId>tomcat-embed-jasper</artifactId>
    </dependency>

    <!--JSTL-->
    <dependency>
      <groupId>jstl</groupId>
      <artifactId>jstl</artifactId>
      <version>1.2</version>
    </dependency>

    <dependency>
      <groupId>org.projectlombok</groupId>
      <artifactId>lombok</artifactId>
      <version>1.18.8</version>
    </dependency>
  </dependencies>
第一次加入以上代码,可能有部分是红色无法解析

等待刷新完毕红色部分就好了,就可以识别了
父pom文件完整代码:
<?xml version="1.0" encoding="UTF-8"?>

<project xmlns="http://maven.apache.org/POM/4.0.0" xmlns:xsi="http://www.w3.org/2001/XMLSchema-instance"
  xsi:schemaLocation="http://maven.apache.org/POM/4.0.0 http://maven.apache.org/xsd/maven-4.0.0.xsd">
  <modelVersion>4.0.0</modelVersion>

  <groupId>com.southwind</groupId>
  <artifactId>springjsp</artifactId>
  <version>1.0-SNAPSHOT</version>
  <packaging>war</packaging>

  <name>springjsp Maven Webapp</name>
  <!-- FIXME change it to the project's website -->
  <url>http://www.example.com</url>

  <properties>
    <project.build.sourceEncoding>UTF-8</project.build.sourceEncoding>
    <maven.compiler.source>1.7</maven.compiler.source>
    <maven.compiler.target>1.7</maven.compiler.target>
  </properties>

  <parent>
    <groupId>org.springframework.boot</groupId>
    <artifactId>spring-boot-starter-parent</artifactId>
    <version>2.0.3.RELEASE</version>
  </parent>

  <dependencies>
    <!--web-->
    <dependency>
      <groupId>org.springframework.boot</groupId>
      <artifactId>spring-boot-starter-web</artifactId>
    </dependency>

    <!--jsp-->
    <dependency>
      <groupId>org.springframework.boot</groupId>
      <artifactId>spring-boot-starter-tomcat</artifactId>
    </dependency>
    <dependency>
      <groupId>org.apache.tomcat.embed</groupId>
      <artifactId>tomcat-embed-jasper</artifactId>
    </dependency>

    <!--JSTL-->
    <dependency>
      <groupId>jstl</groupId>
      <artifactId>jstl</artifactId>
      <version>1.2</version>
    </dependency>

    <dependency>
      <groupId>org.projectlombok</groupId>
      <artifactId>lombok</artifactId>
      <version>1.18.8</version>
    </dependency>
  </dependencies>


  <build>
    <finalName>springjsp</finalName>
    <pluginManagement><!-- lock down plugins versions to avoid using Maven defaults (may be moved to parent pom) -->
      <plugins>
        <plugin>
          <artifactId>maven-clean-plugin</artifactId>
          <version>3.1.0</version>
        </plugin>
        <!-- see http://maven.apache.org/ref/current/maven-core/default-bindings.html#Plugin_bindings_for_war_packaging -->
        <plugin>
          <artifactId>maven-resources-plugin</artifactId>
          <version>3.0.2</version>
        </plugin>
        <plugin>
          <artifactId>maven-compiler-plugin</artifactId>
          <version>3.8.0</version>
        </plugin>
        <plugin>
          <artifactId>maven-surefire-plugin</artifactId>
          <version>2.22.1</version>
        </plugin>
        <plugin>
          <artifactId>maven-war-plugin</artifactId>
          <version>3.2.2</version>
        </plugin>
        <plugin>
          <artifactId>maven-install-plugin</artifactId>
          <version>2.5.2</version>
        </plugin>
        <plugin>
          <artifactId>maven-deploy-plugin</artifactId>
          <version>2.8.2</version>
        </plugin>
      </plugins>
    </pluginManagement>
  </build>
</project>
3.在包main中新建文件夹resources

并标记为资源包
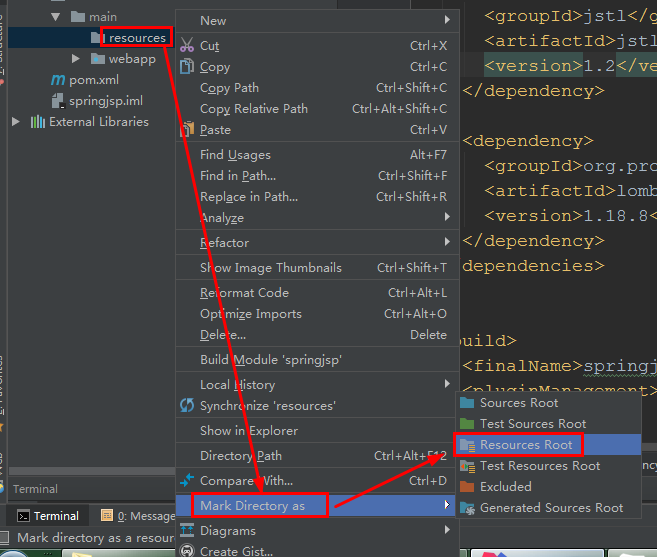
并列新建文件夹java,并标记

在文件resources中新建配置文件application.yml
填入代码:
server:
  port: 8181
spring:  #视图解析器
  mvc:
    view:
      prefix: /      #前缀
      suffix: .jsp   #后缀
4.在文件夹java中创包com.southwind.controller
在包controller中新建控制类HelloHandler.java
加入代码:
package com.southwind.controller;

import org.springframework.stereotype.Controller;
import org.springframework.web.bind.annotation.GetMapping;
import org.springframework.web.bind.annotation.RequestMapping;

@Controller
/*
@Controller 可以解析return 的 jsp和 html 页面
@RestController就不能 ,但 @RestController = @ResponseBody + @Controller
* */
@RequestMapping("/hello")
public class HelloHandler {

    @GetMapping("/index")
    public String index(){
        System.out.println("index...");
        return "index";
    }
}
5.在包southwind中新建启动类Application
加入代码:
package com.southwind;

import org.springframework.boot.SpringApplication;
import org.springframework.boot.autoconfigure.SpringBootApplication;

@SpringBootApplication
public class Application {
    public static void main(String[] args) {
        SpringApplication.run(Application.class,args);
    }
}
6.启动Application
进入 http://localhost:8181/hello/index
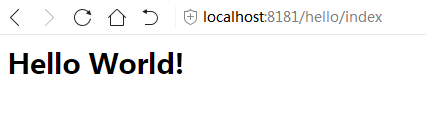
这个hello world来自于:
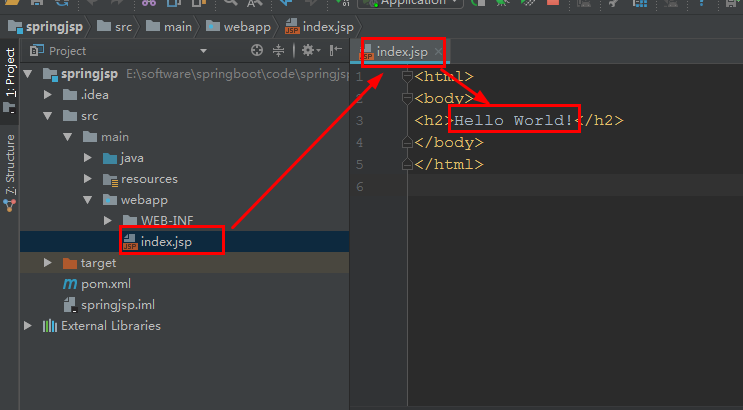

且index…在控制台中打印出来了
7.将上一节中的包entity和包repository复制至 本工程包southwind中
8.修改HelloHandler的内容:
代码变成:
package com.southwind.controller;

import com.southwind.repository.StudentRepository;
import org.springframework.beans.factory.annotation.Autowired;
import org.springframework.stereotype.Controller;
import org.springframework.web.bind.annotation.GetMapping;
import org.springframework.web.bind.annotation.RequestMapping;
import org.springframework.web.servlet.ModelAndView;

@Controller
/*
@Controller 可以解析return 的 jsp和 html 页面
@RestController就不能 ,但 @RestController = @ResponseBody + @Controller
* */
@RequestMapping("/hello")
public class HelloHandler {

    @Autowired
    private StudentRepository studentRepository;

    @GetMapping("/index")
    public ModelAndView index(){
        ModelAndView modelAndView = new ModelAndView();
        modelAndView.setViewName("index");
        modelAndView.addObject("list",studentRepository.findAll());
        return modelAndView;
    }
}
9.把包webapp中的index.jsp删除
新建jsp文件,命名为index

9.1
第8行<%@ page contentType=“text/html;charset=UTF-8” language=“java” %>后面添加:
<%@ page isELIgnored="false" %>
<%@ taglib prefix="c" uri="http://java.sun.com/jsp/jstl/core" %>
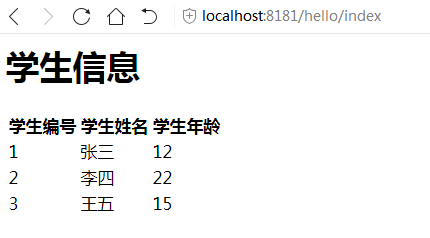
9.2在< body> </ body>中添加代码:
    <h1>学生信息</h1>
    <table>
        <tr>
            <th>学生编号</th>
            <th>学生姓名</th>
            <th>学生年龄</th>
        </tr>
        <c:forEach items="${list}" var="student">
            <tr>
                <td>${student.id}</td>
                <td>${student.name}</td>
                <td>${student.age}</td>
            </tr>
        </c:forEach>
    </table>
所以index.jsp完整代码:
<%--
  Created by IntelliJ IDEA.
  User: Administrator
  Date: 2020-03-05
  Time: 12:00
  To change this template use File | Settings | File Templates.
--%>
<%@ page contentType="text/html;charset=UTF-8" language="java" %>
<%@ page isELIgnored="false" %>
<%@ taglib prefix="c" uri="http://java.sun.com/jsp/jstl/core" %>
<html>
<head>
    <title>Title</title>
</head>
<body>
    <h1>学生信息</h1>
    <table>
        <tr>
            <th>学生编号</th>
            <th>学生姓名</th>
            <th>学生年龄</th>
        </tr>
        <c:forEach items="${list}" var="student">
            <tr>
                <td>${student.id}</td>
                <td>${student.name}</td>
                <td>${student.age}</td>
            </tr>
        </c:forEach>
    </table>

</body>
</html>
10.重启 启动类Application
进入 http://localhost:8181/hello/index
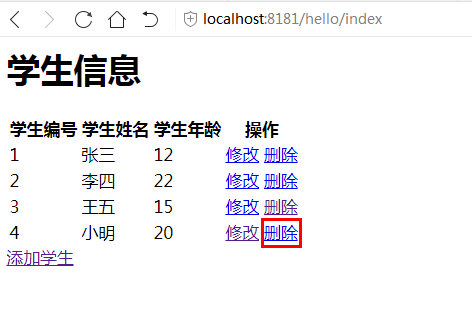
11.修改、删除 的操作补充完整:
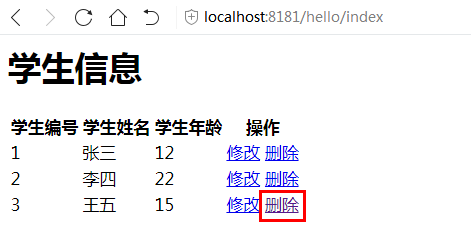
11.1 index.jsp中
            <th>学生编号</th>
            <th>学生姓名</th>
            <th>学生年龄</th>
            <th>操作</th>
                <td>${student.id}</td>
                <td>${student.name}</td>
                <td>${student.age}</td>
                <td>
                    <a href="/hello/findById/${student.id}">修改</a>
                    <a href="/hello/deleteById/${student.id}">删除</a>
                </td>
在< table></ table>后面添加(注意是后面!)
/save前面的斜杠表示 从根目录开始取
<a href="/save.jsp">添加学生</a>
完整的index.jsp代码:
<%--
Created by IntelliJ IDEA.
User: Administrator
Date: 2020-03-05
Time: 12:00
To change this template use File | Settings | File Templates.
--%>
<%@ page contentType="text/html;charset=UTF-8" language="java" %>
<%@ page isELIgnored="false" %>
<%@ taglib prefix="c" uri="http://java.sun.com/jsp/jstl/core" %>
<html>
<head>
<title>Title</title>
</head>
<body>
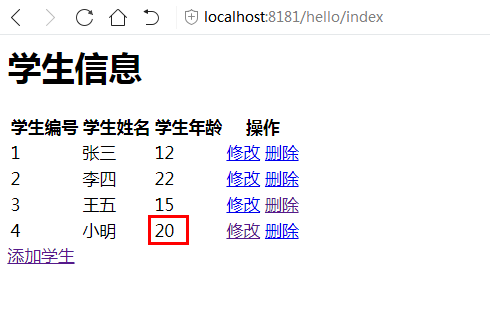
<h1>学生信息</h1>
<table>
<tr>
<th>学生编号</th>
<th>学生姓名</th>
<th>学生年龄</th>
<th>操作</th>
</tr>
<c:forEach items="${list}" var="student">
<tr>
<td>${student.id}</td>
<td>${student.name}</td>
<td>${student.age}</td>
<td>
<a href="/hello/findById/${student.id}">修改</a>
<a href="/hello/deleteById/${student.id}">删除</a>
</td>
</tr>
</c:forEach>
</table>
<a href="/save.jsp">添加学生</a>
</body>
</html>
11.2在controller/HelloHandler中 添加代码:
注意删除部分的@GetMapping我没有写错!
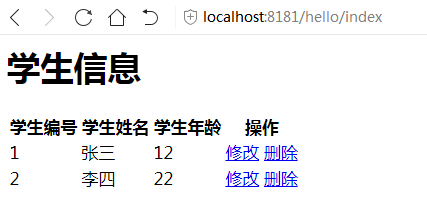
	@GetMapping("/deleteById/{id}")
    public String deleteById(@PathVariable("id")long id){
        studentRepository.deleteById(id);
        return "redirect:/hello/index";/* redirect:重对象 */
    }
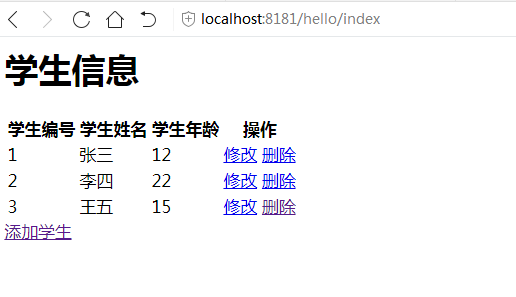
测试一下:重启Application
进入 http://localhost:8181/hello/index
点击删除后:
11.3 在文件夹webapp中新建 save.jsp
在< body></ body>中添加代码:
    <form action="/hello/save" method="post">
        ID:<input type="text" name ="id"/><br/>
        name:<input type="text" name ="name"/><br/>
        age:<input type="text" name ="age"/><br/>
        <input type="submit" value="提交"/>
    </form>
11.4 在文件夹webapp中新建 update.jsp
在< body></ body>中添加代码:
    <form action="/hello/update" method="post">
    ID:<input type="text" name ="id" value="${student.id}" readonly/><br/>
    name:<input type="text" name ="name" value="${student.name}"/><br/>
    age:<input type="text" name ="age" value="${student.age}"/><br/>
    <input type="submit" value="提交"/>
11.5 在controller/HelloHandler中 添加代码:
其中update对应的 @PostMapping("/update")我没写错
modelAndView.setViewName(“update”); / * 这个update就是跳转至webapp/update.jsp中 * /
    @PostMapping("/save")
    public String save(Student student){
        studentRepository.saveorupdate(student);
        return "redirect:/hello/index";
    }

    @PostMapping("/update")
    public String update(Student student){
        studentRepository.saveorupdate(student);
        return "redirect:/hello/index";
    }

    @GetMapping("/findById/{id}")
    public ModelAndView findById(@PathVariable("id")long id){
        ModelAndView modelAndView = new ModelAndView();
        modelAndView.setViewName("update");/*这个update就是跳转至webapp/update.jsp中*/
        modelAndView.addObject("student",studentRepository.findById(id));
        return modelAndView;
    }
12检查
进入 http://localhost:8181/hello/index

12.1点击 添加学生

提交后:

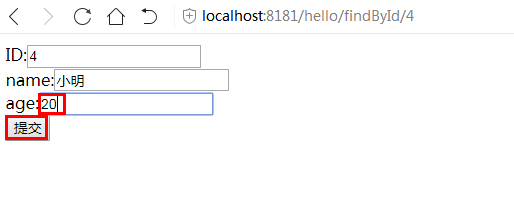
12.2 修改信息
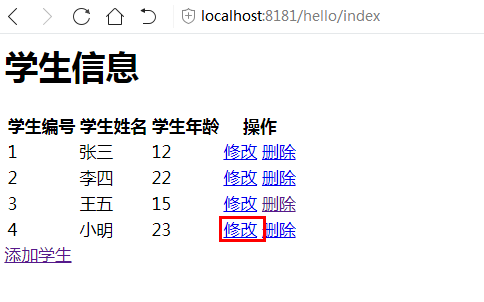
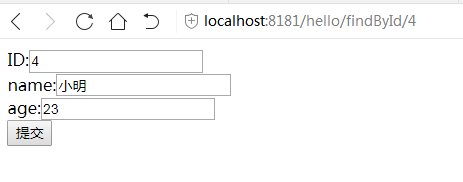
修改年龄,提交
12.3 删除