页面路由踩坑笔记
页面底部导航栏,点击跳转不同界面

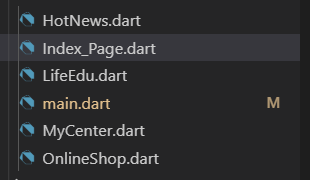
就制作这种底部导航栏吧!四个界面!个人喜欢在项目中建立六个dart文档。一个main.dart入口文件,一个index_page.dart导航文件,剩下四个就是这个界面的文件啦!
入口文件:
import 'package:beanlover/Index_Page.dart';
import 'package:flutter/material.dart';
import 'package:flutter/cupertino.dart';

void main() => runApp(MyApp());

class MyApp extends StatefulWidget {
  @override
  _MyAppState createState() => _MyAppState();
}

class _MyAppState extends State<MyApp> {
  @override
  Widget build(BuildContext context) {
    return MaterialApp(
      home: Index_Page(),
    );
  }
}
//MaterialApp和Scaffold是Flutter提供的两个Widget
//MaterialApp是一个方便的Widget,它封装了应用程序实现Material Design所需要的
//一些Widget。
//Scaffold组件是Material Design布局结构的基本实现。此类提供了用于显示
//drawer、snackbar和底部sheet的API。
## 这些是Materialapp的一些属性:
 this.navigatorKey, // 导航的key
    this.home, // 主页
    this.routes = const <String, WidgetBuilder>{},// 路由
    this.initialRoute,//初始路由
    this.onGenerateRoute,//生成路由
    this.onUnknownRoute,//位置路由
    this.navigatorObservers = const <NavigatorObserver>[],//导航的观察者
    this.builder,//widget的构建
    this.title = '',//设备用于识别用户的应用程序的单行描述。在Android上,标题显示在任务管理器的应用程序快照上方,当用户按下“最近的应用程序”按钮时会显示这些快照。 在iOS上,无法使用此值。 来自应用程序的`Info.plist`的`CFBundleDisplayName`在任何时候都会被引用,否则就会引用`CFBundleName`。要提供初始化的标题,可以用 onGenerateTitle。
    this.onGenerateTitle,//每次在WidgetsApp构建时都会重新生成
    this.color,//背景颜色
    this.theme,//主题,用ThemeData
    this.locale,//app语言支持
    this.localizationsDelegates,//多语言代理
    this.localeResolutionCallback,//
    this.supportedLocales = const <Locale>[Locale('en', 'US')],//支持的多语言
    this.debugShowMaterialGrid = false,//显示网格
    this.showPerformanceOverlay = false,//打开性能监控,覆盖在屏幕最上面
    this.checkerboardRasterCacheImages = false,
    this.checkerboardOffscreenLayers = false,
    this.showSemanticsDebugger = false,//打开一个覆盖图,显示框架报告的可访问性信息 显示边框
    this.debugShowCheckedModeBanner = true,//右上角显示一个debug的图标
导航文件:
路由我采用BottomNavigationBar这个组件:
建立图标列表(BottomNavigationBarItem):
final List<BottomNavigationBarItem> bottomTabs = [
    //图标列表
    BottomNavigationBarItem(
      backgroundColor: Colors.white70,
      icon: Icon(
        Icons.fiber_new,
      ),
      title: Text(
        '热点资讯',
      ),
    ),
    BottomNavigationBarItem(
      backgroundColor: Colors.white70,
      icon: Icon(
        Icons.book,
      ),
      title: Text(
        '生活教育',
      ),
    ),
    BottomNavigationBarItem(
      backgroundColor: Colors.white70,
      icon: Icon(
        Icons.store,
      ),
      title: Text(
        '在线商城',
      ),
    ),
    BottomNavigationBarItem(
      backgroundColor: Colors.white70,
      icon: Icon(
        Icons.person,
      ),
      title: Text(
        '个人中心',
      ),
    ),
 ];
建立页面列表:
  final List tabBodies = [
    //页面列表
    HotNews(),
    LifeEdu(),
    OnlineShop(),
    MyCenter(),
  ];
Widget build:
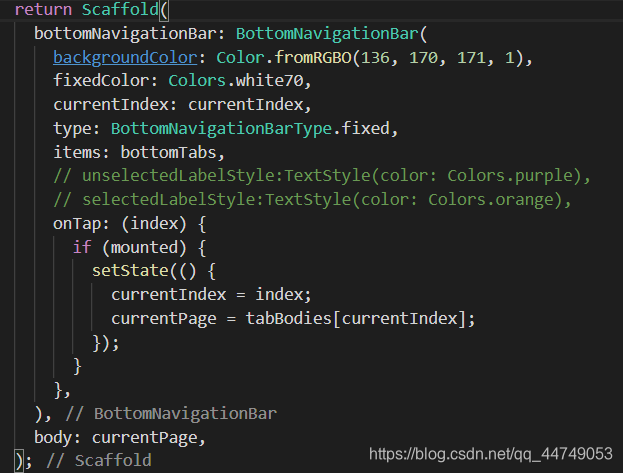
余下的四个界面就各写各的吧!
接下来分享BottomNavigationBar这个组件的使用经验:
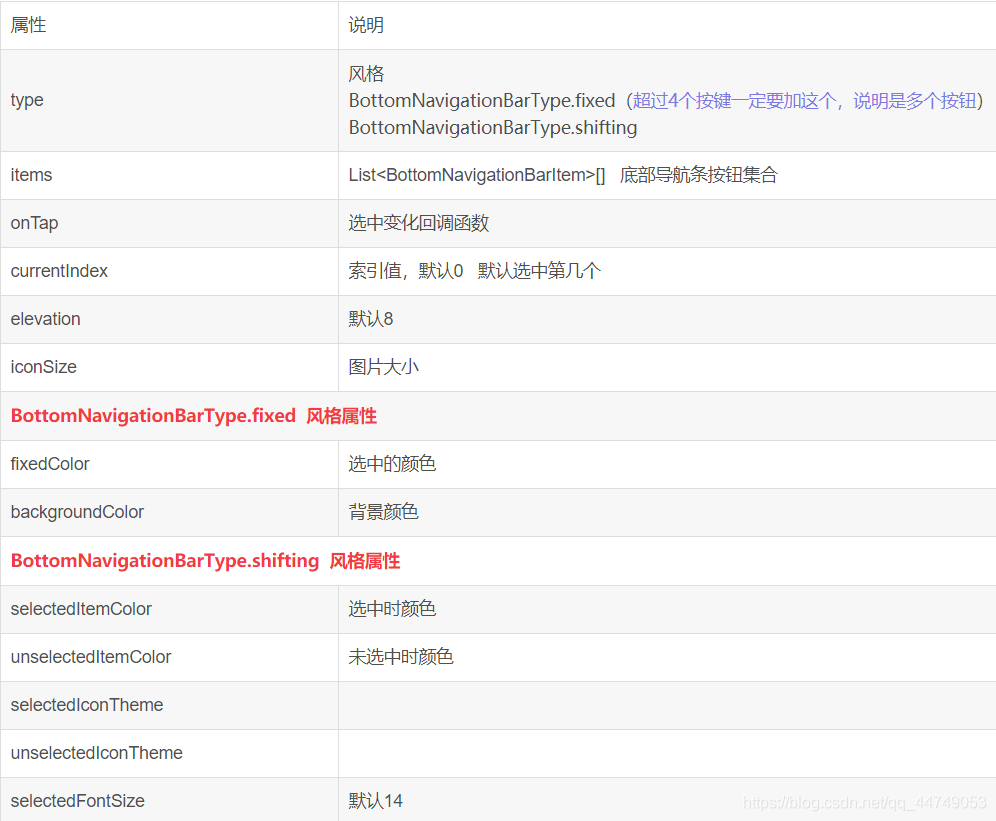
图片来源:https://blog.csdn.net/ruoshui_t/article/details/91519019
重点分享以下:
fixedColor:该组件可设置底部导航图标被点击之后,图标和字体颜色上的变化。
type: BottomNavigationBarType.fixed: 当items大于3时需要设置此类型
activeicon:设置被选中后的图标属性
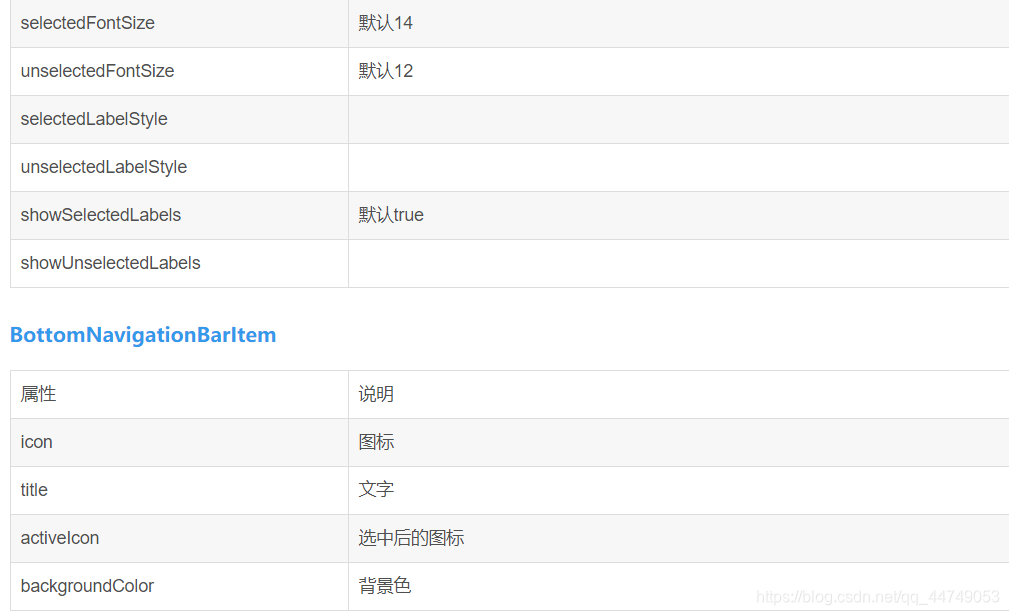
selectedItemColor:unselectedItemColor:
selectedLabelStyle:unselectedLabelStyle:
如果在icon和title里面已经设置了icon的color和textstyle的color,这些属性将不会产生效果。也就是说,该组件只能使系统自带的原始颜色发生点击变色。
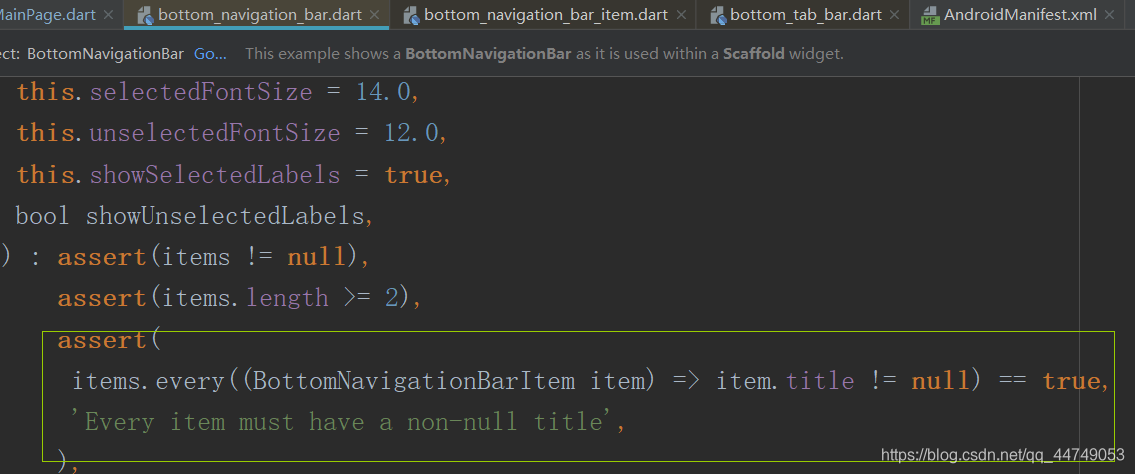
*title:*不能为null
有两种方法可以使其为null
第一种方法:推荐使用,最快速最方便
new BottomNavigationBarItem(
            icon: Icon(Icons.info),
            title: new Container(),
          ),
第二种方法:强迫症程序员专用(暂时能力比较低级,我没发现什么好处)
找到底层代码:删除这层判断语句
特别注意:
仅供参考学习,转载请附上原文链接
分享学习心得,如有侵权,望联系本人处理
还在读大学的程序员,项目经验少,如有纰漏,感谢指正
需要源代码请联系本人
谢谢配合
如果这篇文章对您有帮助,小小的点个赞,算是给小学弟的鼓励吧!谢谢大佬!!/呱呱.jpg
