Flutter - 1 : BottomNavigateBar底部导航栏
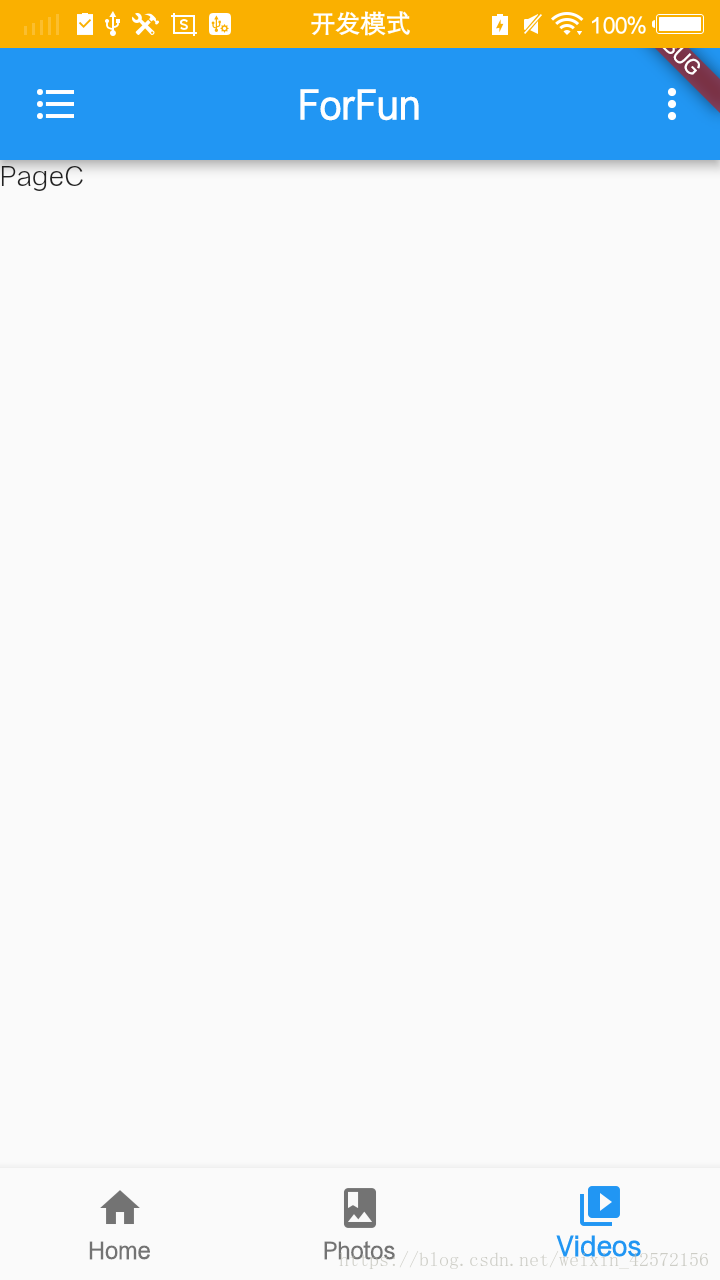
预览图,大概就是这个熊样的,对,颜值是衬托来的,其实还是。。。要什么自行车。。。
EventBus的flutter版。
event_bus: ">=1.0.0<2.0.0"
一个简单的,没啥玩意的,连主题都只有一行的application。
void main() => runApp(new MyApp());

class MyApp extends StatelessWidget {
  @override
  Widget build(BuildContext context) {
    return new MaterialApp(
        title: 'FlutterApplication',
        theme: new ThemeData(
          primaryColor: Colors.blue,
        ),
        home: new MainPage());
  }
}
该加的还是加一下,Title左边和右边的按钮,虽然并没有什么卵用。然后把body页面和导航用的Item给创建好,写在一块方便改;
//   主页面
class MainPage extends StatelessWidget {

  final String appbar_title = "ForFun";

  final List<Widget> body_pages = new List<Widget>();

  final List<BottomNavigationBarItem> bottom_items = new List<BottomNavigationBarItem>();

  @override
  Widget build(BuildContext context) {

    setBodyViews();

    setBottomItems();

    return new Scaffold(
      appBar: new AppBar(
        leading: new IconButton(
            icon: new Icon(Icons.format_list_bulleted),
            onPressed: () {
              print("Left Icon Printed");
            }),
        title: new Text(
          appbar_title,
          style: new TextStyle(fontWeight: FontWeight.bold),
        ),
        centerTitle: true,
        actions: <Widget>[
          new IconButton(
              icon: new Icon(Icons.more_vert),
              onPressed: () {
                print("Right Icon Printed");
              })
        ],
      ),
      body: new BodyPage(
        body_pages: body_pages,
      ),
      bottomNavigationBar: new BottomNavigator(
        bottom_items: bottom_items,
      ),
    );
  }

  //   body页面
  void setBodyViews() {
    body_pages
      ..add(new BodyPageA())
      ..add(new BodyPageB())
      ..add(new BodyPageC());
  }

  //   bottom导航
  void setBottomItems() {
    TextStyle _navigate_bar_style =
    new TextStyle(fontSize: 14.0, fontWeight: FontWeight.bold);

    bottom_items
      ..add(new BottomNavigationBarItem(
          icon: new Icon(Icons.home),
          title: new Text(
            "Home",
            style: _navigate_bar_style,
          )))
      ..add(new BottomNavigationBarItem(
          icon: new Icon(Icons.photo_album),
          title: new Text(
            "Photos",
            style: _navigate_bar_style,
          )))
      ..add(new BottomNavigationBarItem(
          icon: new Icon(Icons.video_library),
          title: new Text(
            "Videos",
            style: _navigate_bar_style,
          )));
  }
}
把上面new出来的页面放进Stack,然后再在外面包一层Offstage。
通过StatefulWidget的setState((){})方法控制它们的显示与隐藏
//   Body部分的页面
class BodyPage extends StatefulWidget {
  final List<Widget> body_pages;

  BodyPage({Key key, this.body_pages}) : super(key: key);

  @override
  State<StatefulWidget> createState() {
    return new _BodyPageState(body_pages);
  }
}

class _BodyPageState extends State<BodyPage> {
  final List<Widget> body_pages;

  List<Offstage> _body = new List<Offstage>();

  int _len = 0;

  int _current_position = 0;

  _BodyPageState(this.body_pages);

  @override
  void initState() {
    super.initState();

    _len = body_pages.length;

    createBodyPage();

    onSelectChanged();
  }

  @override
  Widget build(BuildContext context) {

    return Stack(
      children: _body,
    );
  }

  void createBodyPage(){
    _body.clear();
    for(int i=0;i<_len;i++){
      if(i == _current_position){
        _body.add(new Offstage(offstage: false,child: body_pages[i],));
      }else{
        _body.add(new Offstage(offstage: true,child: body_pages[i],));
      }
    }
  }

  void onSelectChanged() {
    Event.event_bus.on<MainSelectedTab>().listen((MainSelectedTab events) {
      int position = events.message;
      if (_current_position != position) {
        setState(() {
          _current_position = position;
          createBodyPage();
        });
      }
    });
  }
}
跟body页面同样的待遇,只是不需要隐藏了,点击之后调用setState((){})刷新控件,然后通过EventBus发消息通知dody部分隐藏和显示页面就好了。
//   Bottom部分的导航栏
class BottomNavigator extends StatefulWidget {
  final List<BottomNavigationBarItem> bottom_items;

  BottomNavigator({Key key, this.bottom_items}) : super(key: key);

  @override
  State<StatefulWidget> createState() {
    return new _BottomNavigatorState(bottom_items);
  }
}

class _BottomNavigatorState extends State<BottomNavigator> {
  final List<BottomNavigationBarItem> bottom_items;

  int _current_position = 0;

  _BottomNavigatorState(this.bottom_items);

  @override
  Widget build(BuildContext context) {
    return new BottomNavigationBar(
      currentIndex: _current_position,
      type: BottomNavigationBarType.fixed,
      fixedColor: Colors.blue,
      items: bottom_items,
      onTap: (int position) {
        setState(() {
          _current_position = position;
          Event.event_bus.fire(new MainSelectedTab(position));
        });
      },
    );
  }
}
最后把EventBus监听的消息类加上。
class MainSelectedTab{
  final int message;
  MainSelectedTab(this.message);
}