一、什么是openresty?
OpenResty是一个基于 Nginx 与 Lua 的高性能 Web 平台,其内部集成了大量精良的 Lua 库、第三方模块以及大多数的依赖项。用于方便地搭建能够处理超高并发、扩展性极高的动态 Web 应用、Web 服务和动态网关。 通过汇聚各种设计精良的 Nginx 模块(主要由 OpenResty 团队自主开发),从而将 Nginx 有效地变成一个强大的通用 Web 应用平台。这样,Web 开发人员和系统工程师可以使用 Lua 脚本语言调动 Nginx 支持的各种 C 以及 Lua 模块,快速构造出足以胜任 10K 乃至 1000K 以上单机并发连接的高性能 Web 应用系统。 OpenResty的目标是让web服务直接运行在Nginx服务内部,利用Ngnix的非阻塞IO模型,对HTTP客户端请求和后端DB进行一致的高性能响应。
1、运行原理
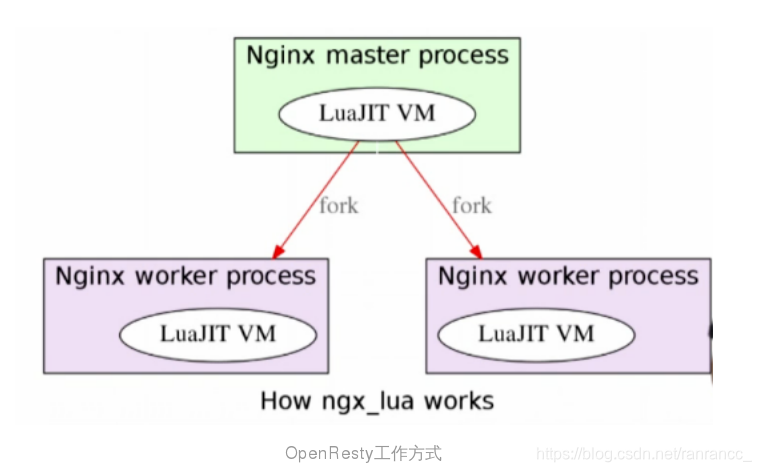
Nginx 采用的是 master-worker 模型,一个 master 进程管理多个 worker 进程
- woker负责基本事件的处理
- master 负责一些全局初始化,以及对 worker 的管理
在OpenResty中,每个 woker 使用一个 LuaVM,当请求被分配到 woker 时,将在这个 LuaVM 里创建一个 coroutine(协程)协程之间数据隔离,每个协程具有独立的全局变量_G
二、利用OpenResty给nginx添加memcache
在上一篇博客lnmp架构(四)中,我们给php添加了memcache模块,现在我们利用OpenResty给nginx添加memcache模块,这样不用等待第三方返回,大大提高了应用的性能。
实验环境
| 主机(版本:ip) | 功用 |
|---|---|
| 虚拟机server1(rhel6.5:172.25.2.1) | lnmp环境主机 |
| 真机(rhel7.3:172.25.2.250) | 测试机 |
1、我们先关闭之前配置好的nginx,因为openresty是一个类似于nginx的服务,调用都是80端口。

2、从真机下载openresty的包到虚拟机,并解压
tar zxf openresty-1.13.6.1.tar.gz

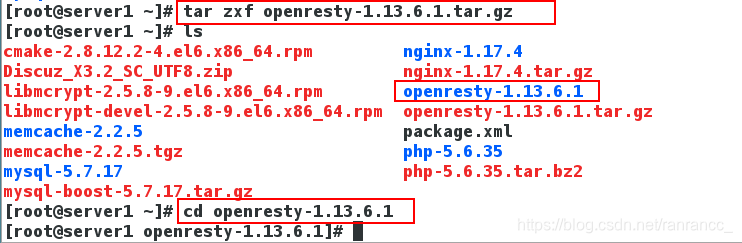
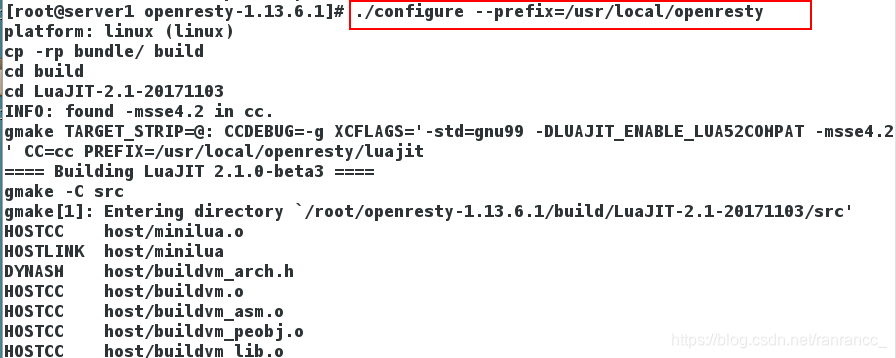
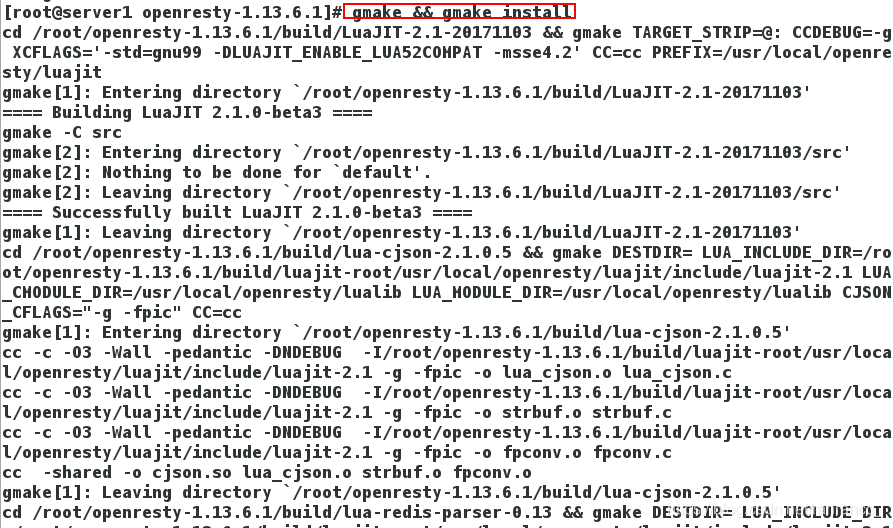
3、进入解压目录cd openresty-1.13.6.1,直接编译并安装。
cd openresty-1.13.6.1
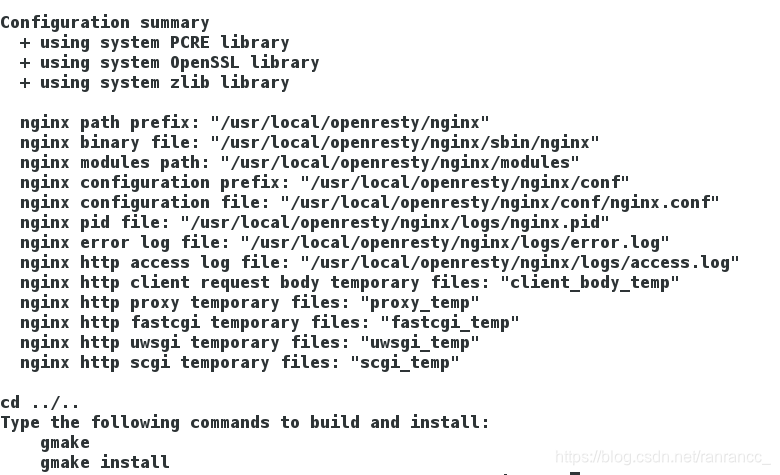
./configure --prefix=/usr/local/openresty
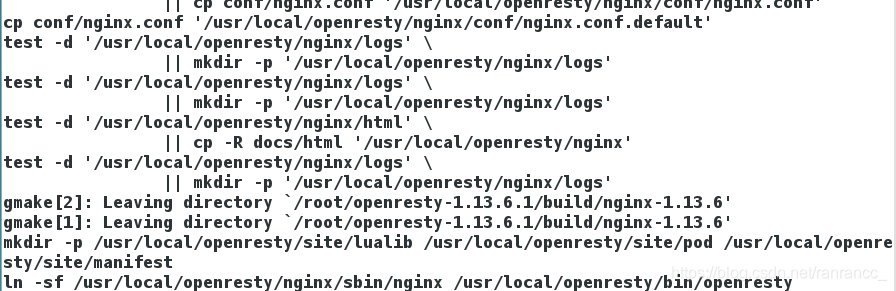
gmake && gmake install
4、拷贝之前example.php和index.php到默认发布目录准备测试
[root@server1 openresty-1.13.6.1]# cd /usr/local/openresty/nginx/html
[root@server1 html]# cp /usr/local/lnmp/nginx/html/index.php .
[root@server1 html]# cp /usr/local/lnmp/nginx/html/example.php .

5、编辑openresty的nginx配置文件/usr/local/openresty/nginx/conf/nginx.conf
vim /usr/local/openresty/nginx/conf/nginx.conf
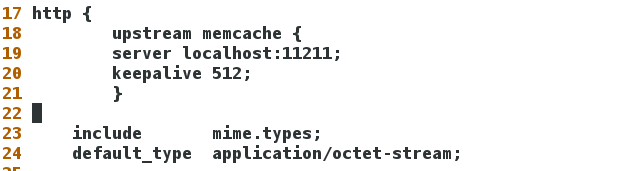
17 http {
18 upstream memcache {
19 server localhost:11211;
20 keepalive 512;
21 }
22
#upstream属于handler,只是他不产生自己的内容,而是通过请求后端服务器得到内容,所以才称为upstream(上游)。请求并取得响应内容的整个过程已经被封装到nginx内部,所以upstream模块只需要开发若干回调函数,完成构造请求和解析响应等具体的工作。
# nginx将memcache缓存前移,客户端请求到来,先查看memcache缓存
23 include mime.types;
24 default_type application/octet-stream;
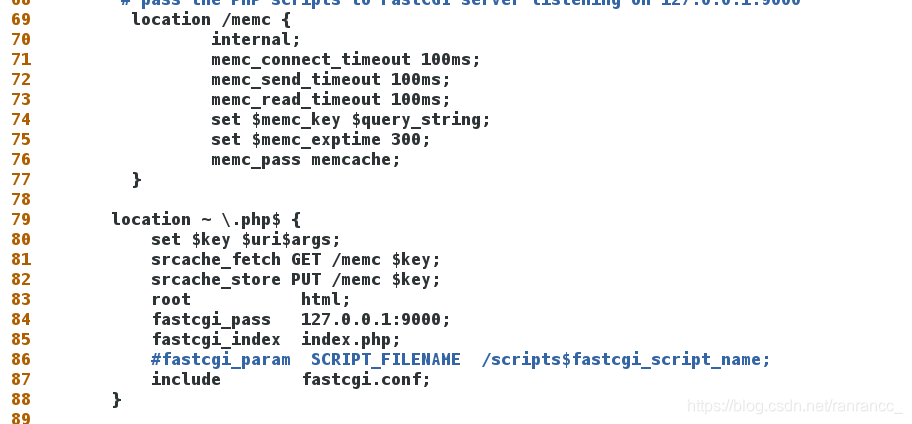
69 location /memc {
70 internal; # 只接收内部访问,不接受外部http访问。比较安全
71 memc_connect_timeout 100ms;
72 memc_send_timeout 100ms; # 后端服务器数据回传时间
73 memc_read_timeout 100ms; # 连接成功后,后端服务器响应时间
74 set $memc_key $query_string; # 键值对的形式存储
75 set $memc_exptime 300;
76 memc_pass memcache;
77 }
78
79 location ~ \.php$ {
80 set $key $uri$args; # http的GET方法表示get、PUT方法表示set
81 srcache_fetch GET /memc $key;
82 srcache_store PUT /memc $key;
# 这两个配置的作用是:请求php页面时,先会去memcache中找,如果没有,正常访问;访问结束后将结果存到memcache,下次访问时直接从缓存中
83 root html;
84 fastcgi_pass 127.0.0.1:9000;
85 fastcgi_index index.php;
86 # fastcgi_param SCRIPT_FILENAME /scripts$fastcgi_script_name;
87 include fastcgi.conf;
88 }

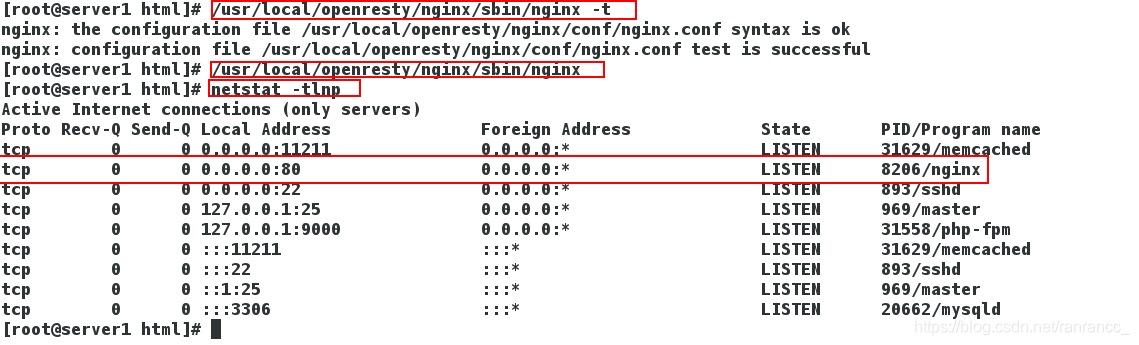
6、检查没有语法错误之后开启服务,查看端口号
[root@server1 html]# /usr/local/openresty/nginx/sbin/nginx -t
[root@server1 html]# /usr/local/openresty/nginx/sbin/nginx
[root@server1 html]# netstat -tlnp
7、 复制之前更改过的/usr/local/lnmp/nginx/html/memcache.php到/usr/local/openresty/nginx/html目录下
cp /usr/local/lnmp/nginx/html/memcache.php /usr/local/openresty/nginx/html

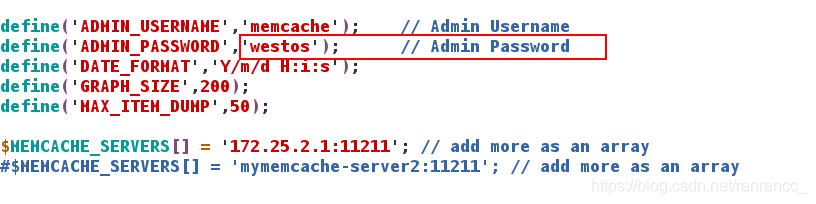
8、访问页面:http://172.25.2.1/memcache.php输入用户名密码,查看memcache命中率,

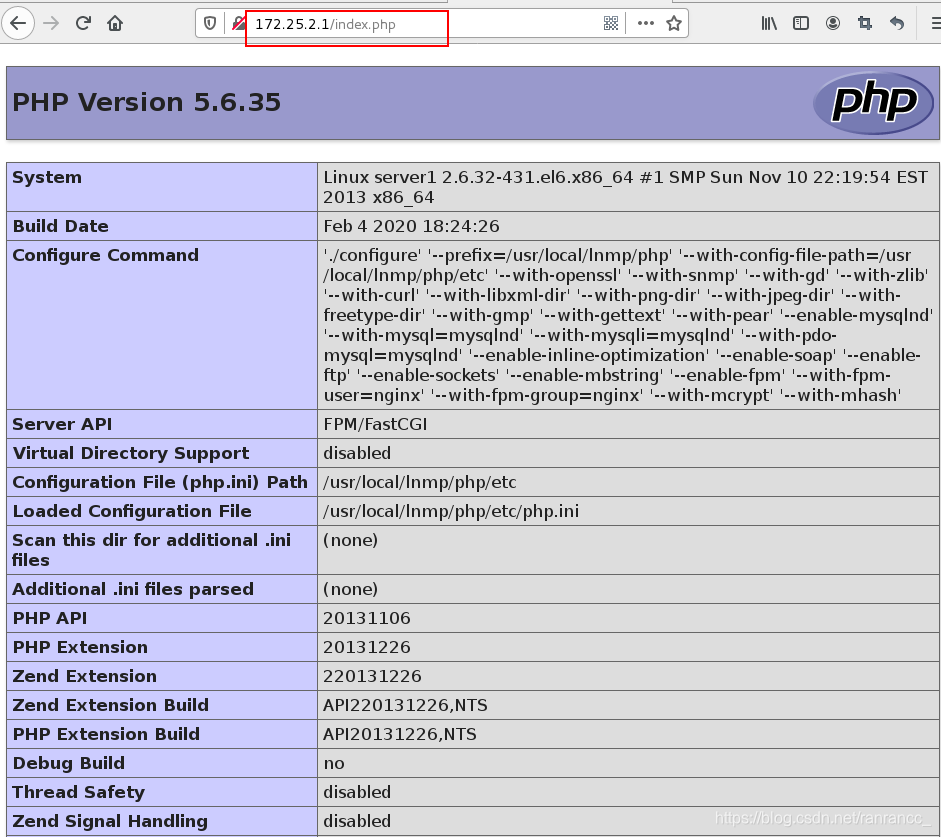
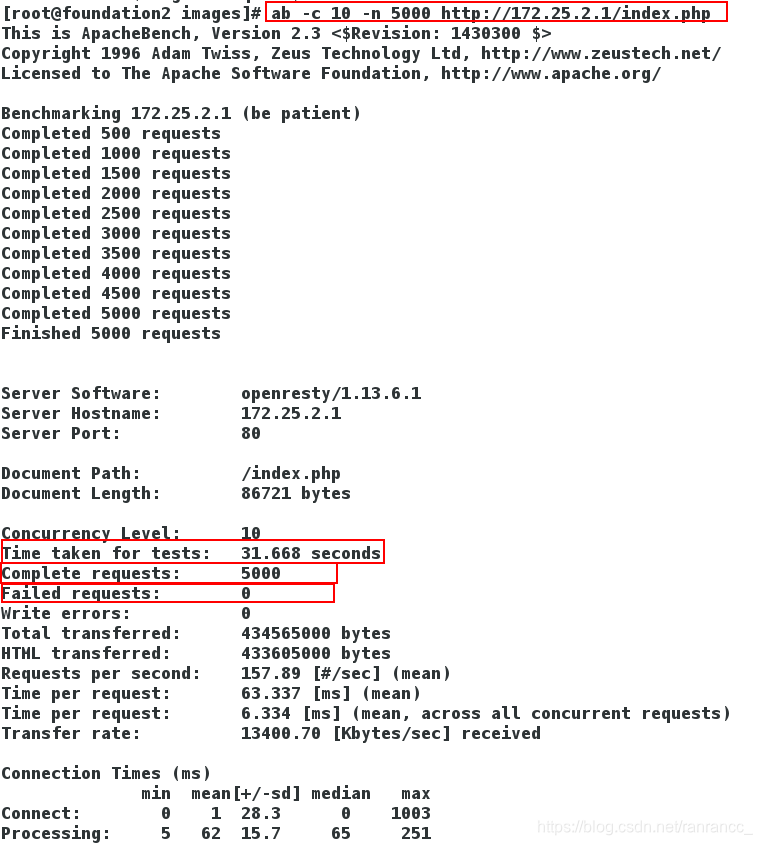
9、在真机,压力测试,模拟5000请求量
ab -c 10 -n 5000 http://172.25.2.1/index.php
发现访问index.php没有失败,而且访问时间都比给php添加memcache短
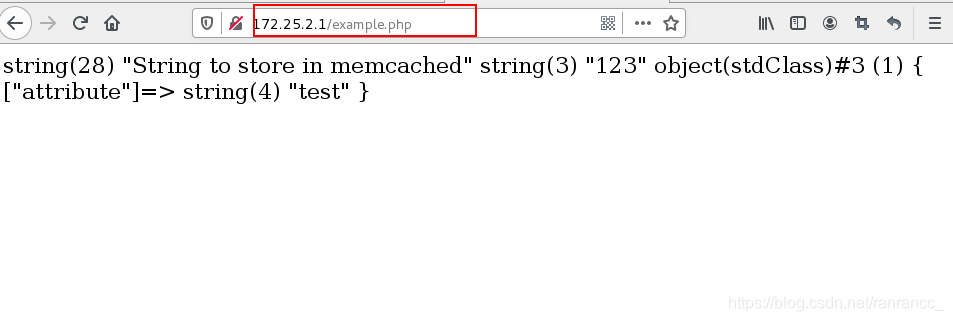
ab -c 10 -n 5000 http://172.25.2.1/example.php
 访问速度有了明显的差别 ,因为php是没有缓存的
