一、php源码编译
1.软件下载:软件下载 (这里使用的时php-7.4.6版本)
如果系统已经装了php请先卸载,以免与源码编译冲突
[root@server1 ~]# yum install bzip2 -y
[root@server1 ~]# tar jxf php-7.4.6.tar.bz2
[root@server1 ~]# cd php-7.4.6/
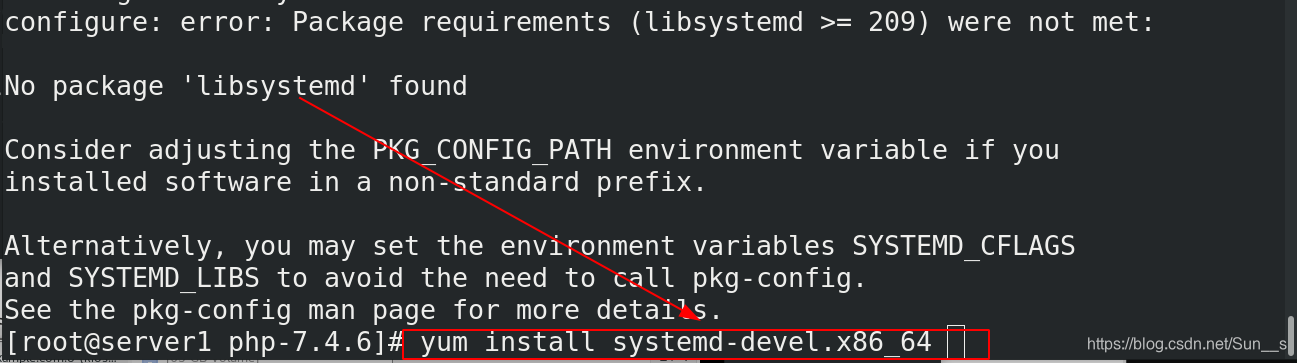
[root@server1 php-7.4.6]# ./configure --prefix=/usr/local/php --with-config-file-path=/usr/local/php/etc --enable-fpm --with-fpm-user=nginx --with-fpm-group=nginx --with-curl --with-iconv --with-mhash --with-zlib --with-openssl --enable-mysqlnd --with-mysqli --with-pdo-mysql --disable-debug --enable-sockets --enable-soap --enable-inline-optimization --enable-xml --enable-ftp --enable-gd --enable-exif --enable-mbstring --enable-bcmath --with-fpm-systemd
[root@server1 php-7.4.6]# yum install systemd-devel.x86_64 -y
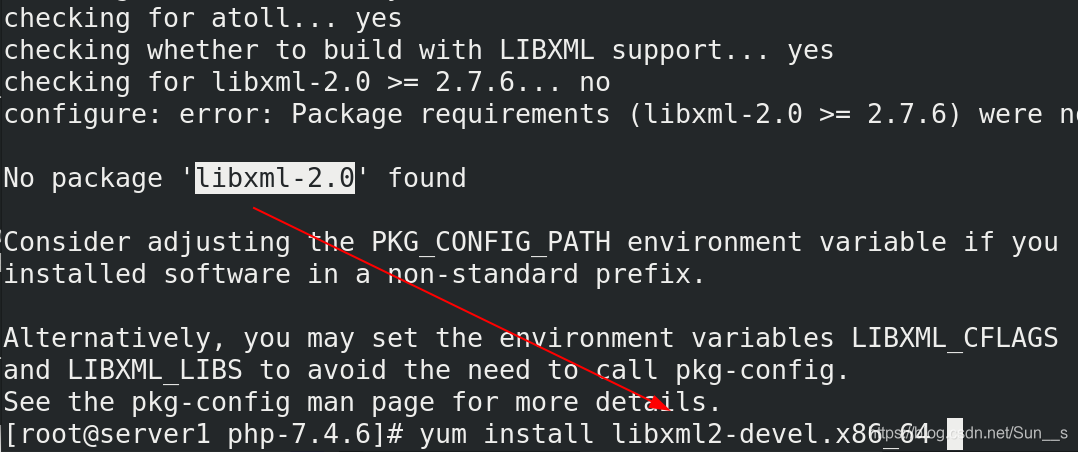
[root@server1 php-7.4.6]# yum install libxml2-devel.x86_64 -y
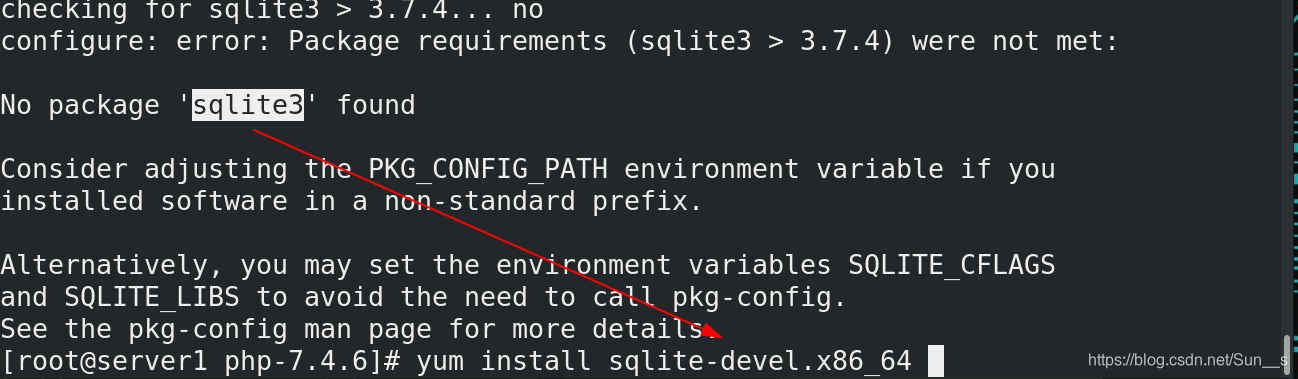
[root@server1 php-7.4.6]# yum install sqlite-devel.x86_64 -y
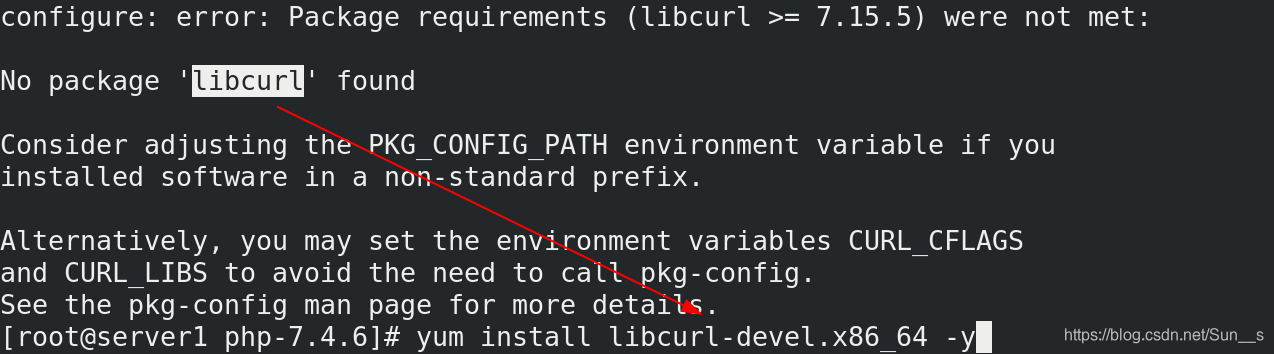
[root@server1 php-7.4.6]# yum install libcurl-devel.x86_64 -y
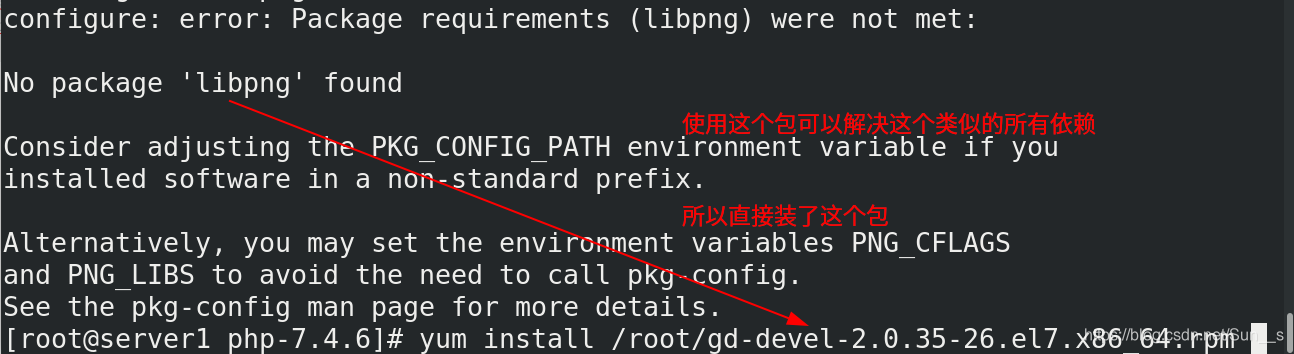
[root@server1 php-7.4.6]# yum install /root/gd-devel-2.0.35-26.el7.x86_64.rpm -y
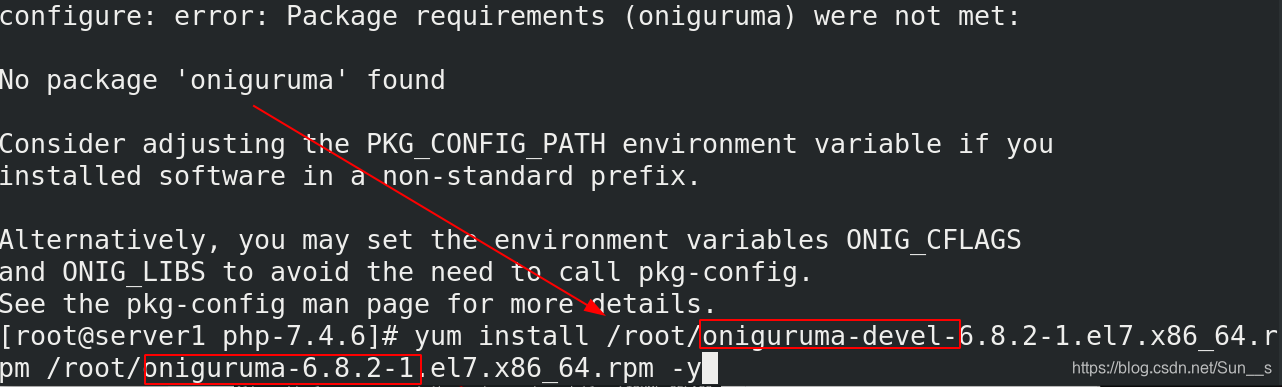
[root@server1 php-7.4.6]# yum install /root/oniguruma-devel-6.8.2-1.el7.x86_64.rpm /root/oniguruma-6.8.2-1.el7.x86_64.rpm -y
编译过程中会出现一些依赖性问题一个一个解决即可
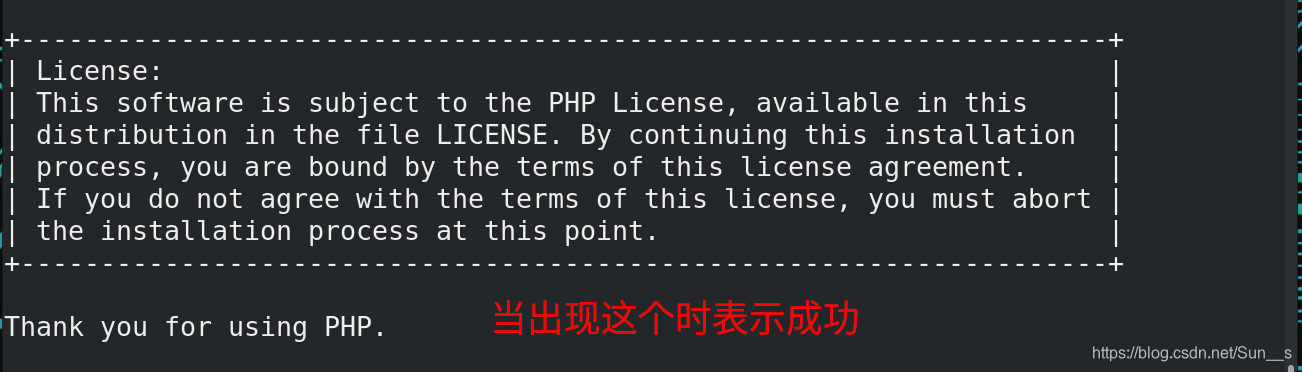
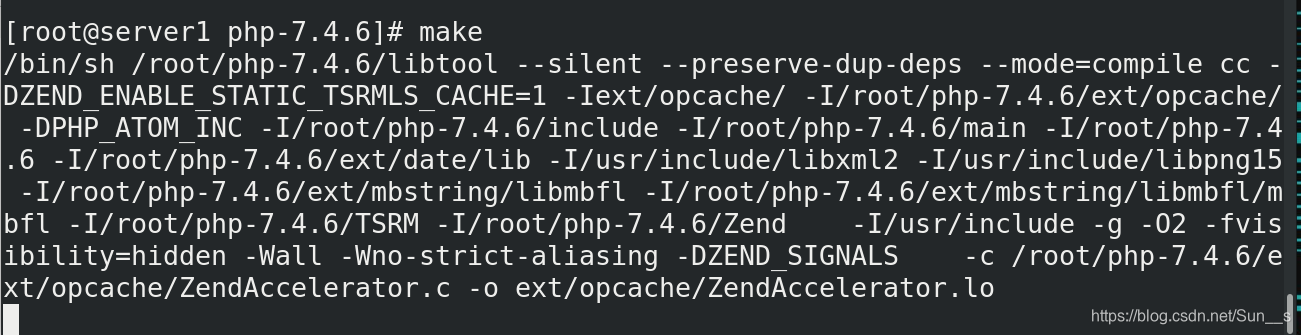
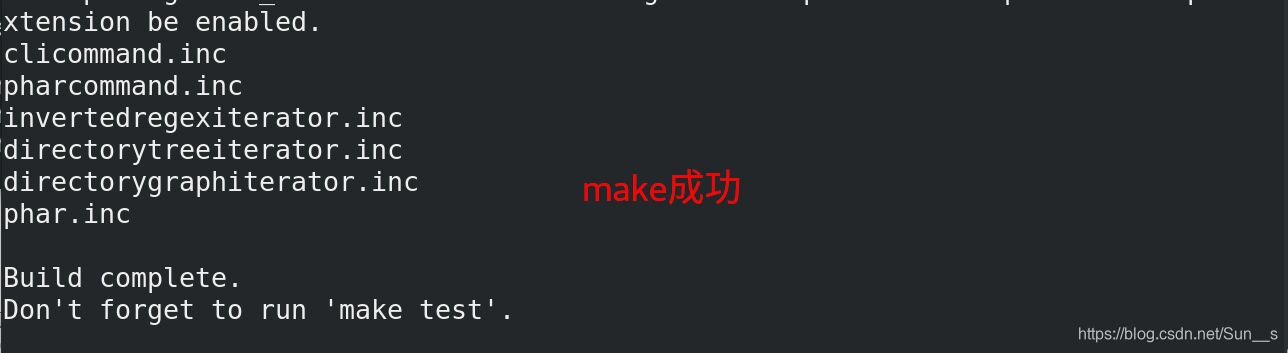
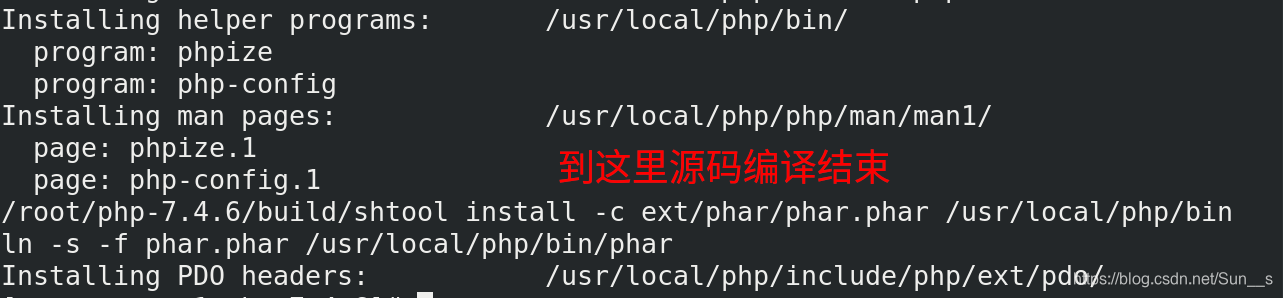
[root@server1 php-7.4.6]# make
[root@server1 php-7.4.6]# make instal
编译
2.拷贝php-fpm配置文件:
[root@server1 php-7.4.6]# cd /usr/local/php/
[root@server1 php]# cd etc/
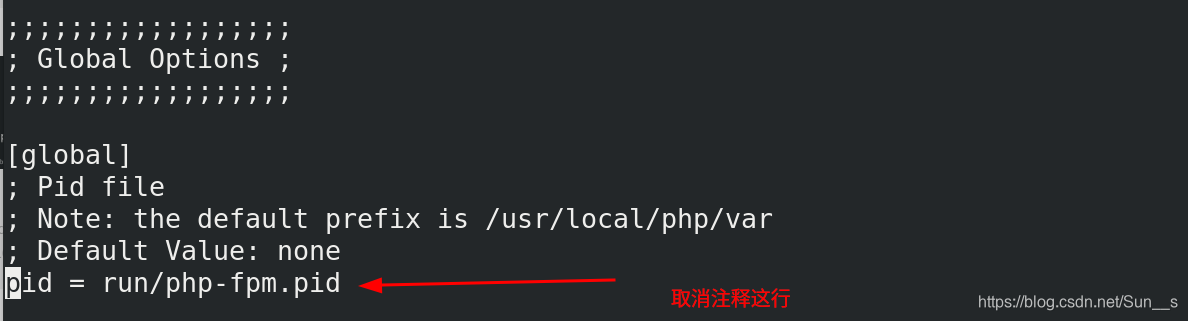
[root@server1 etc]# cp php-fpm.conf.default php-fpm.conf
[root@server1 etc]# vim php-fpm.conf
[root@server1 etc]# cd php-fpm.d/
[root@server1 php-fpm.d]# cp  www.conf.default www.conf

[root@server1 php-7.4.6]# cp php.ini-production /usr/local/php/etc/php.ini
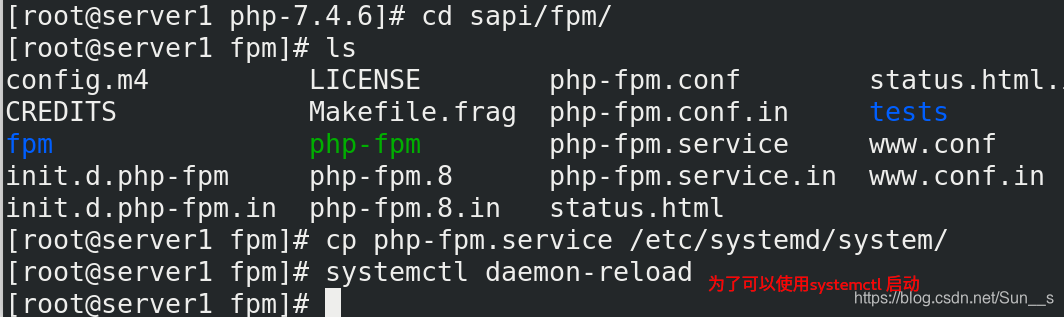
[root@server1 php-7.4.6]# cd sapi/fpm/
[root@server1 fpm]# cp php-fpm.service /etc/systemd/system/
[root@server1 fpm]# systemctl daemon-reload
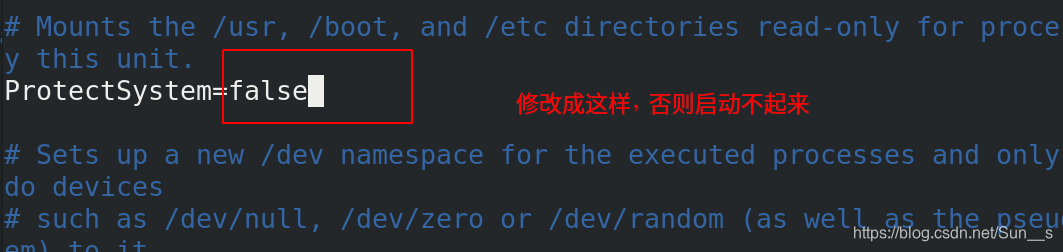
[root@server1 etc]# vim /etc/systemd/system/php-fpm.service
3.修改php-fpm启动文件:

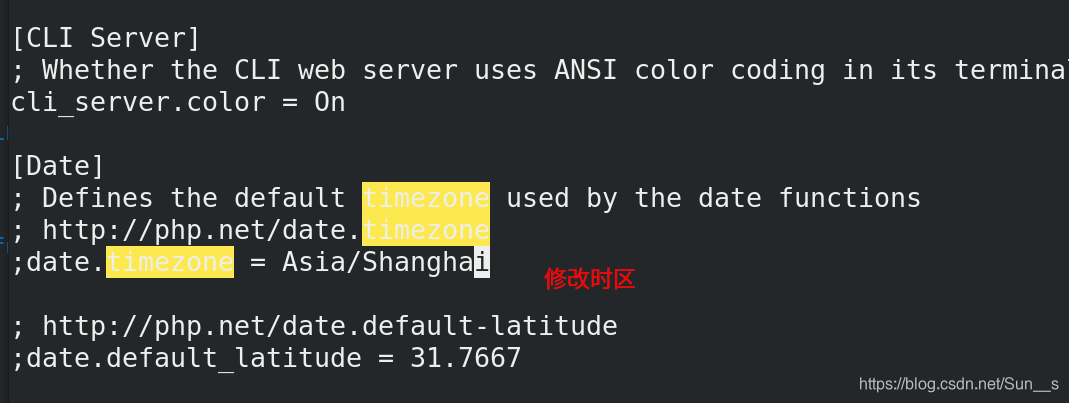
[root@server1 etc]# vim php.ini
[root@server1 etc]# systemctl reload php-fpm.service
二、nginx结合php-fpm
1.修改nginx配置文件:
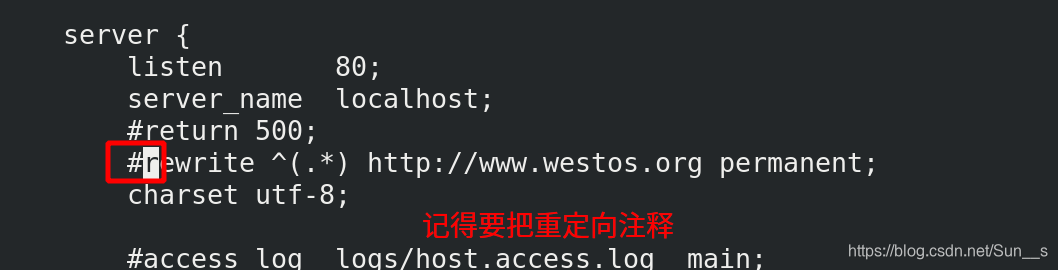
[root@server1 etc]# vim /usr/local/nginx/conf/nginx.conf
location ~ \.php$ {
            root           html;
            fastcgi_pass   127.0.0.1:9000;
            fastcgi_index  index.php;
            #fastcgi_param  SCRIPT_FILENAME  /scripts$fastcgi_script_name;
            include        fastcgi.conf;
        }
 [root@server1 html]# nginx -s reload


[root@server1 etc]# cd /usr/local/nginx/html/
[root@server1 html]# vim index.php
<?php
phpinfo()
?>
添加环境变量
[root@server1 ~]# vim ~/.bash_profile
[root@server1 ~]# source ~/.bash_profile

测试:

三、php添加memcache功能模块(高速缓存)
memcache介绍
memcache是一套分布式的高速缓存系统,由LiveJournal的Brad Fitzpatrick开发,但目前被许多网站使用以提升网站的访问速度,尤其对于一些大型的、需要频繁访问数据库的网站访问速度提升效果十分显著 [1] 。这是一套开放源代码软件,以BSD license授权发布。
软件下载
1.软件安装:
这里用到的是memcache-4.0.5.2.tgz
[root@server1 ~]# tar zxf memcache-4.0.5.2.tgz
[root@server1 ~]# cd memcache-4.0.5.2/
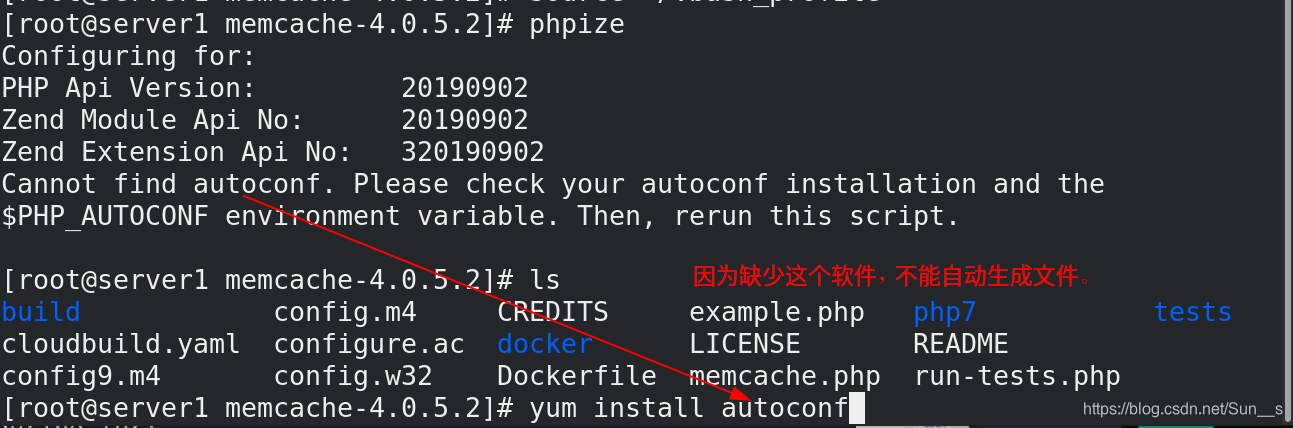
[root@server1 memcache-4.0.5.2]# phpize
[root@server1 memcache-4.0.5.2]# yum install autoconf
[root@server1 memcache-4.0.5.2]# phpize
[root@server1 memcache-4.0.5.2]# ./configure
[root@server1 memcache-4.0.5.2]# make
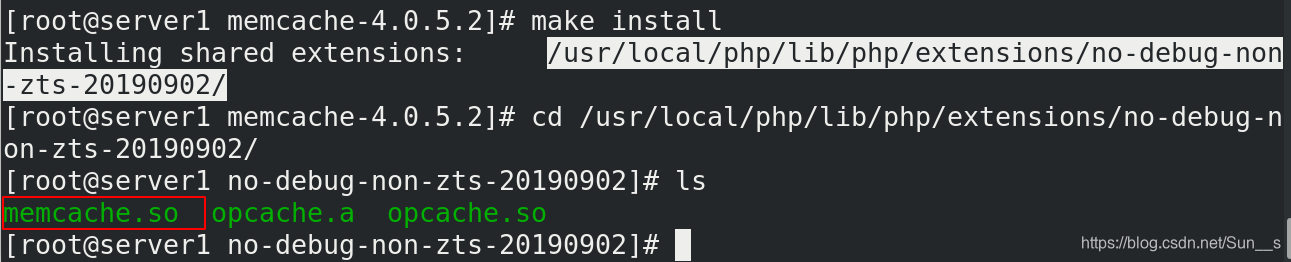
[root@server1 memcache-4.0.5.2]# make install
phpize是用来扩展php扩展模块的,通过phpize可以建立php的外挂模块


2.配置php加载模块
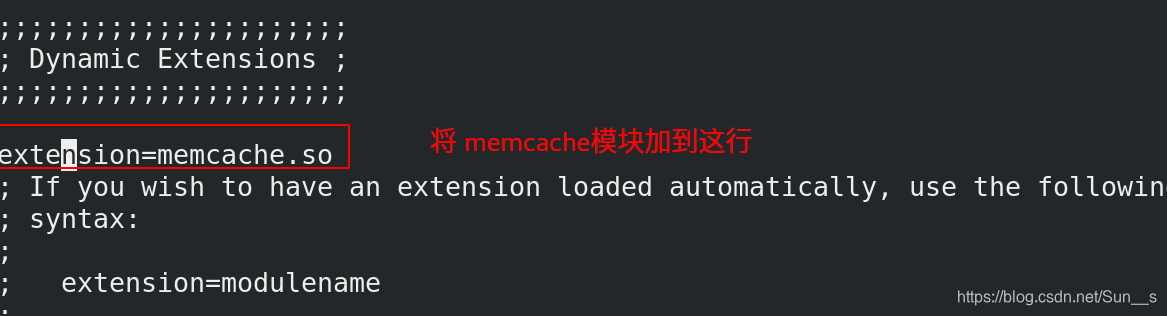
[root@server1 no-debug-non-zts-20190902]# cd /usr/local/php/etc/
[root@server1 etc]# vim php.ini
extension=memcache.so
[root@server1 etc]# systemctl reload php-fpm.service
[root@server1 etc]# php -m |grep memcache
memcache
加入memcache模块

[root@server1 etc]# yum install memcached -y
[root@server1 etc]# systemctl start memcached
[root@server1 etc]# netstat -antlp | grep 11211

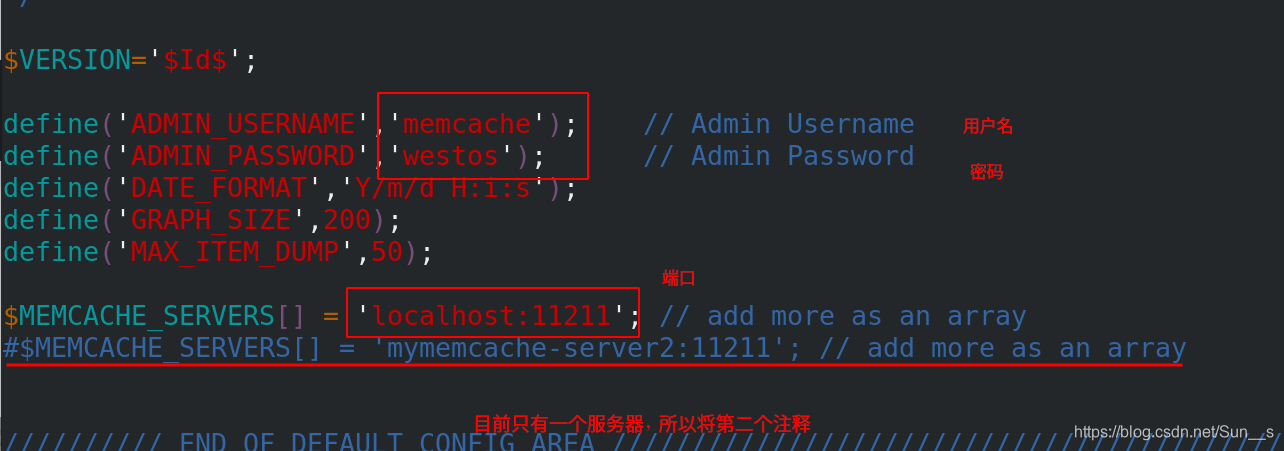
[root@server1 etc]# cp /root/memcache-4.0.5.2/example.php memcache.php /usr/local/nginx/html/
[root@server1 html]# vim memcache.php
配置memcache登陆信息
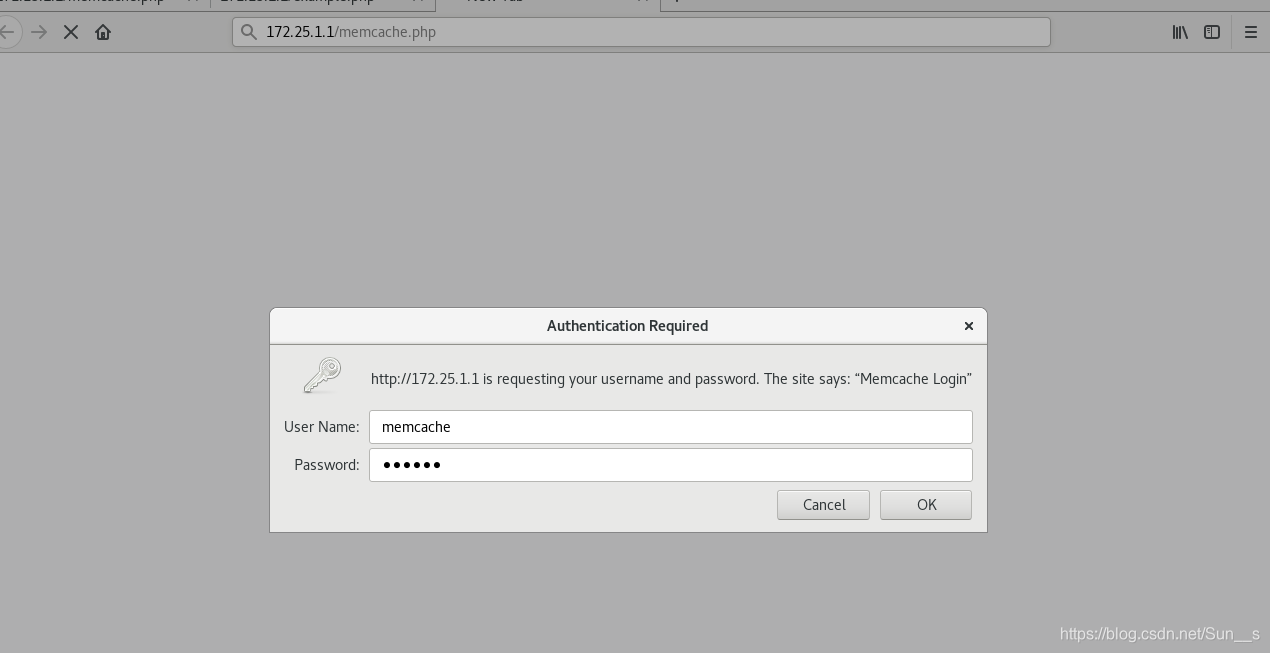
测试
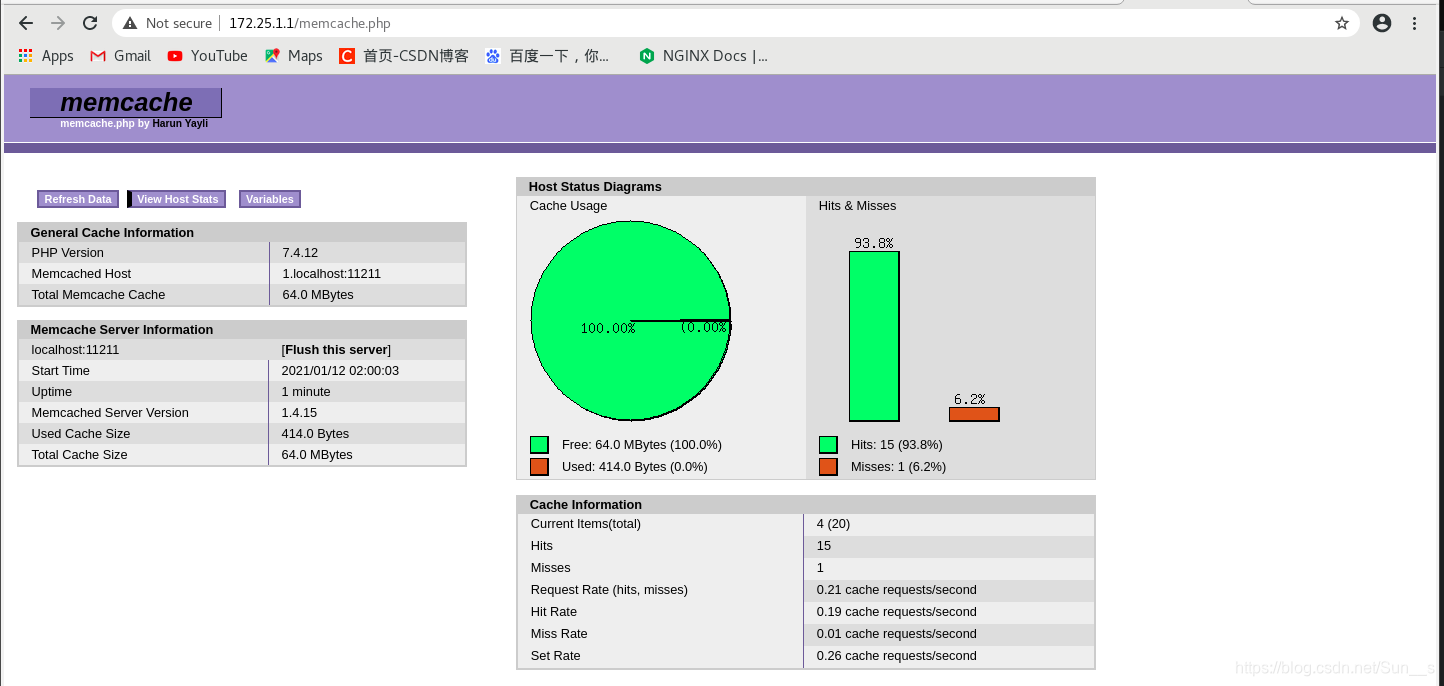
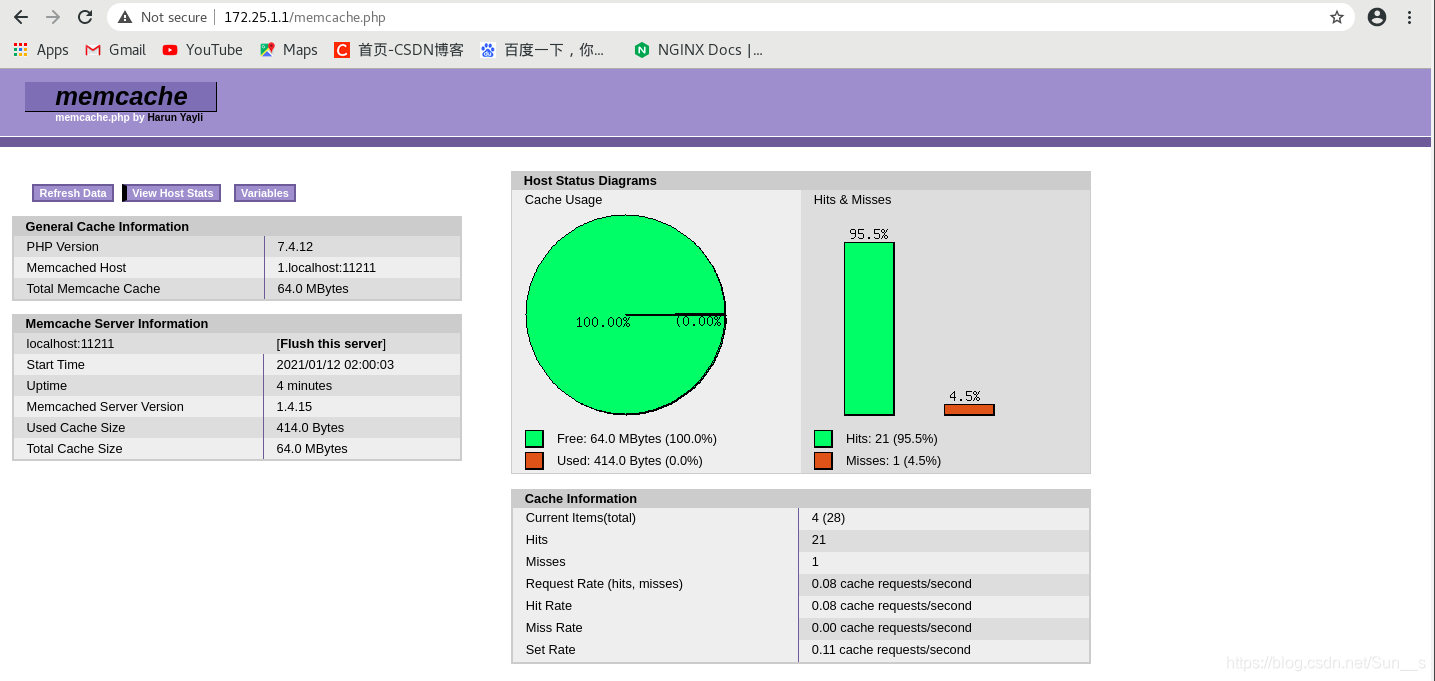
此时的命中率为93,再次访问时,查看命中率的改变:(即进入example.php界面刷新,然后再次进入memcache.php界面,查看命中率):此时,命中率有了一定的提高,意思是,所读取的内容是从缓存中进行拿取的,提高了速度,也减轻了后台服务器的压力


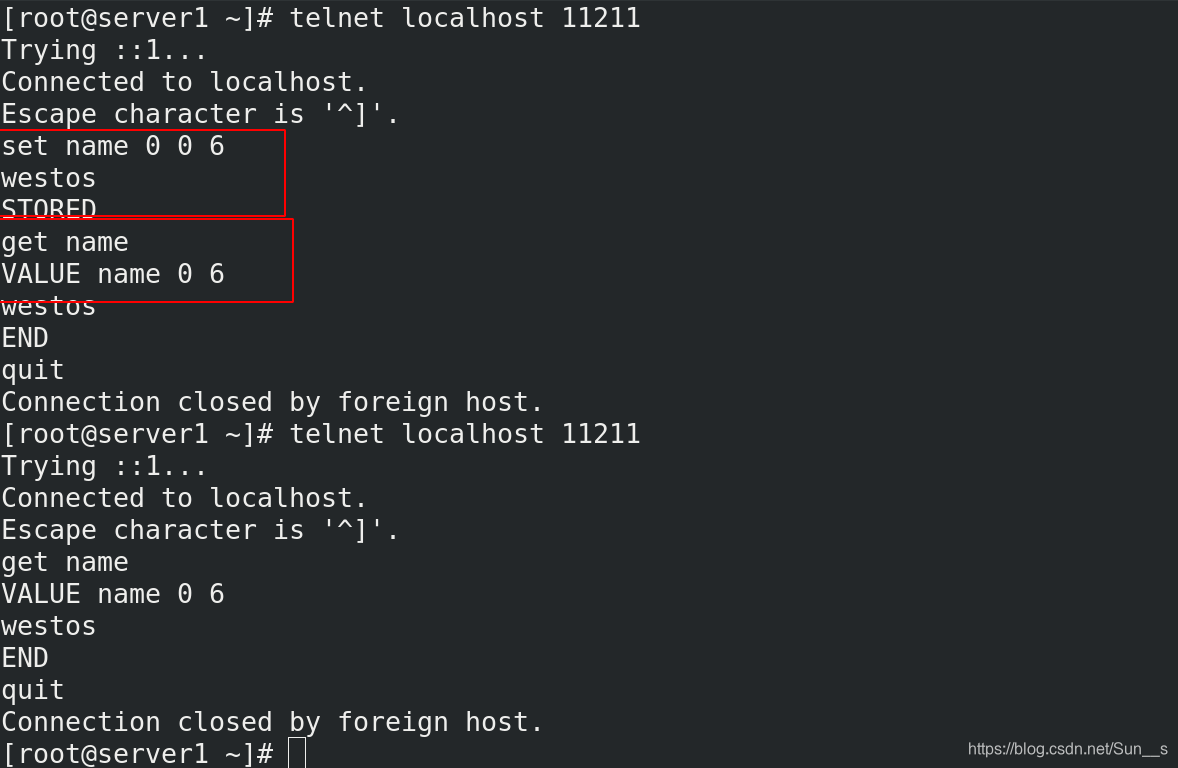
[root@server1 ~]# yum install telnet -y   ##高速缓存测试软件
[root@server1 ~]# telnet localhost 11211
add key flag expiretime bytes
key : 给这个值设置一个名字;
flag : 标志,是一个整数;
expiretime : 有效期,以秒为单位,0表示没有延迟;
bytes : 这是一个需要存储在memcached的数据的长度;
value : 是一个需要存储的数据。数据需要将通过在新的一行后输入
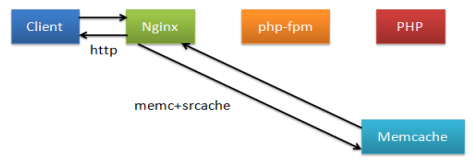
四、构建nginx高速缓存
使用memc-nginx和srcache-nginx模块构建高效透明的缓存机制
传统缓存策略
高效缓存策略

1.软件下载(openresty)
OpenResty(又称:ngx_openresty) 是一个基于 NGINX 的可伸缩的 Web 平台,由中国人章亦春发起,提供了很多高质量的第三方模块。
OpenResty 是一个强大的 Web 应用服务器,Web 开发人员可以使用 Lua 脚本语言调动 Nginx 支持的各种 C 以及 Lua 模块,更主要的是在性能方面,OpenResty可以 快速构造出足以胜任 10K 以上并发连接响应的超高性能 Web 应用系统。
360,UPYUN,阿里云,新浪,腾讯网,去哪儿网,酷狗音乐等都是 OpenResty 的深度用户。
软件下载
软件安装:
# wget https://openresty.org/package/rhel/openresty.repo
# mv openresty.repo /etc/yum.repos.d/
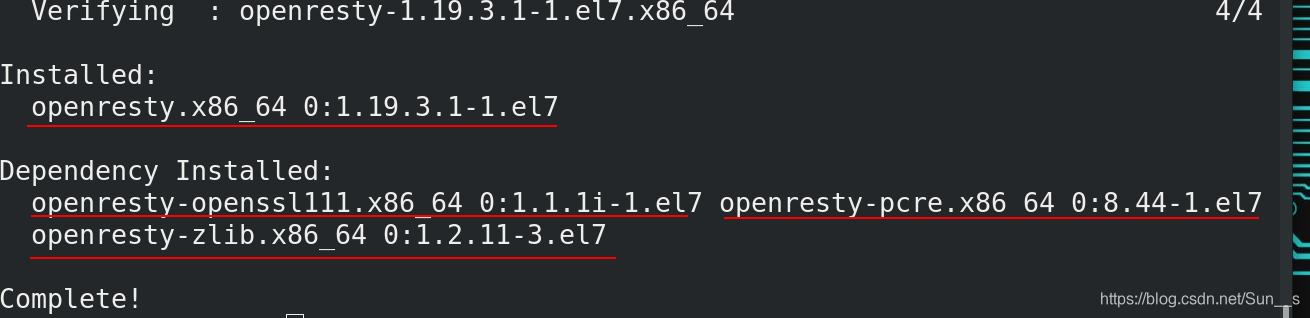
# yum install -y openresty
# rpm -ql openresty-1.19.3.1-1.el7.x86_64 ##查看文件配置信息
# ps aux | grep nginx ##不能存在nginx 的进程,如果有的话,kill掉
软件配置:
# cd /usr/local/openresty/nginx/conf
# vim nginx.conf
其余部分和nginx 配置一样,以下仅展示不同处
upstream memcache {
server 127.0.0.1:11211;
keepalive 512; //保持512个不立即关闭的连接用于提升性能
}
location /memc {
internal; //表示只接受内部访问
memc_connect_timeout 100ms;
memc_send_timeout 100ms;
memc_read_timeout 100ms;
set $memc_key $query_string; //使用内置的$query_string来作为key
set $memc_exptime 300; //表示缓存失效时间
memc_pass memcache;
}
location ~ \.php$ {
set $key $uri$args;
srcache_fetch GET /memc $key;
srcache_store PUT /memc $key;
root html;
fastcgi_pass 127.0.0.1:9000;
fastcgi_index index.php;
#fastcgi_param SCRIPT_FILENAME /scripts$fastcgi_script_name;
include fastcgi.conf;
}
当所请求的uri以“.php”结尾时,首先到memcache中查询有没有以$uri$args为key的数据,如果有则直接返回;否则,执行location的逻辑,如果返回的http状态码为200,则在输出前以$uri$args为key,将输入结果存入memcache。
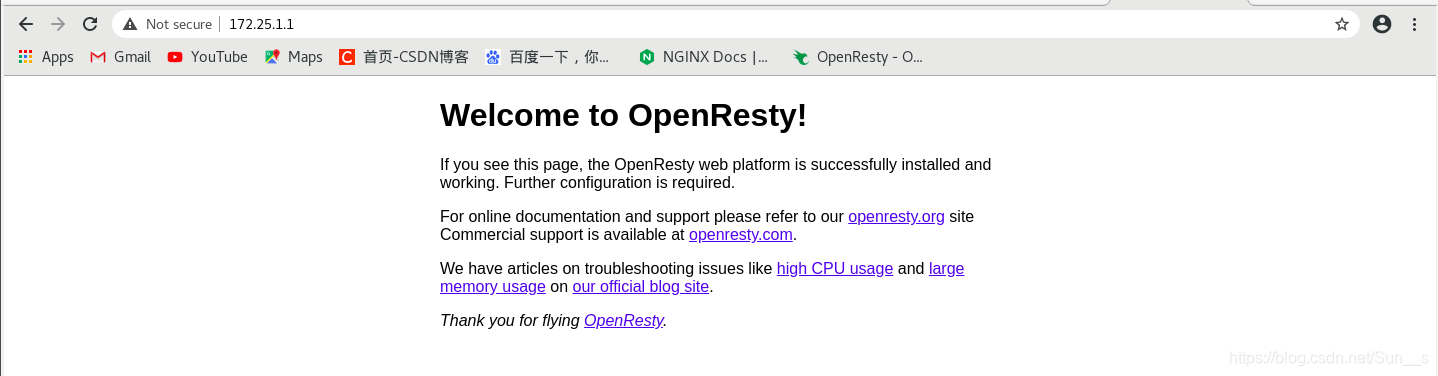
# systemctl start openresty
# vim /usr/local/openresty/nginx/html/index.php
<?php
phpinfo()
?>
测试:
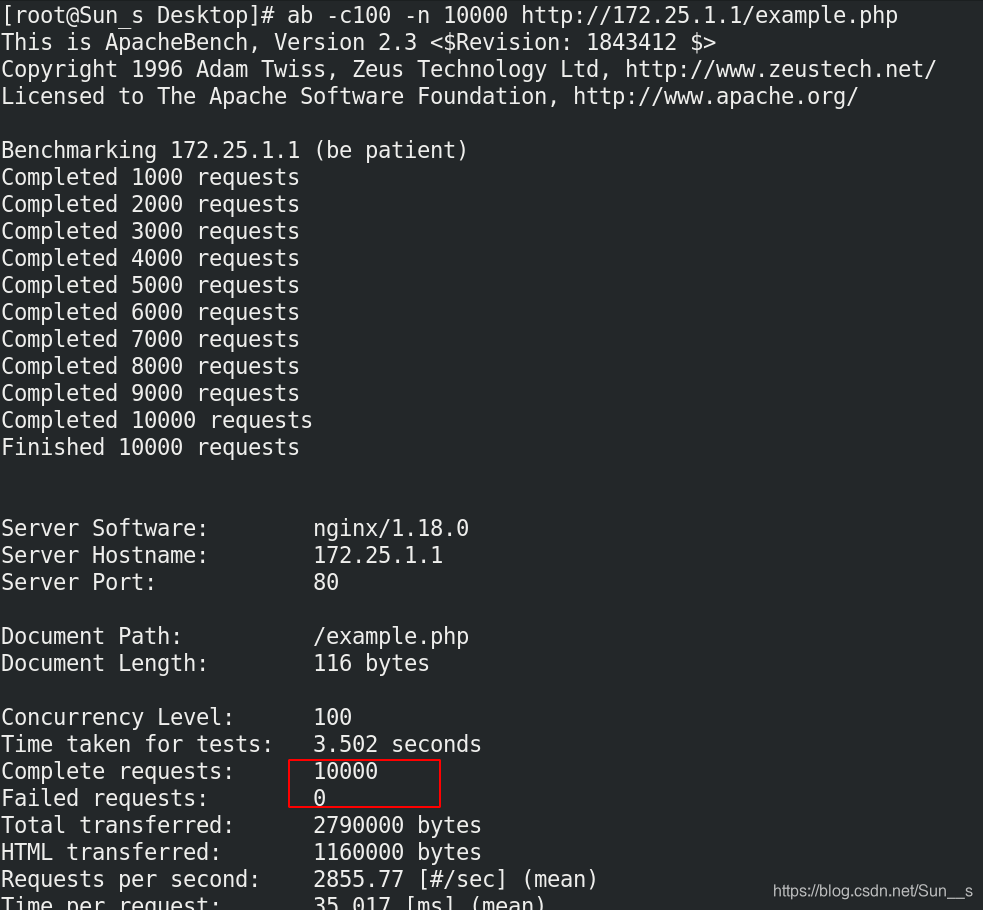
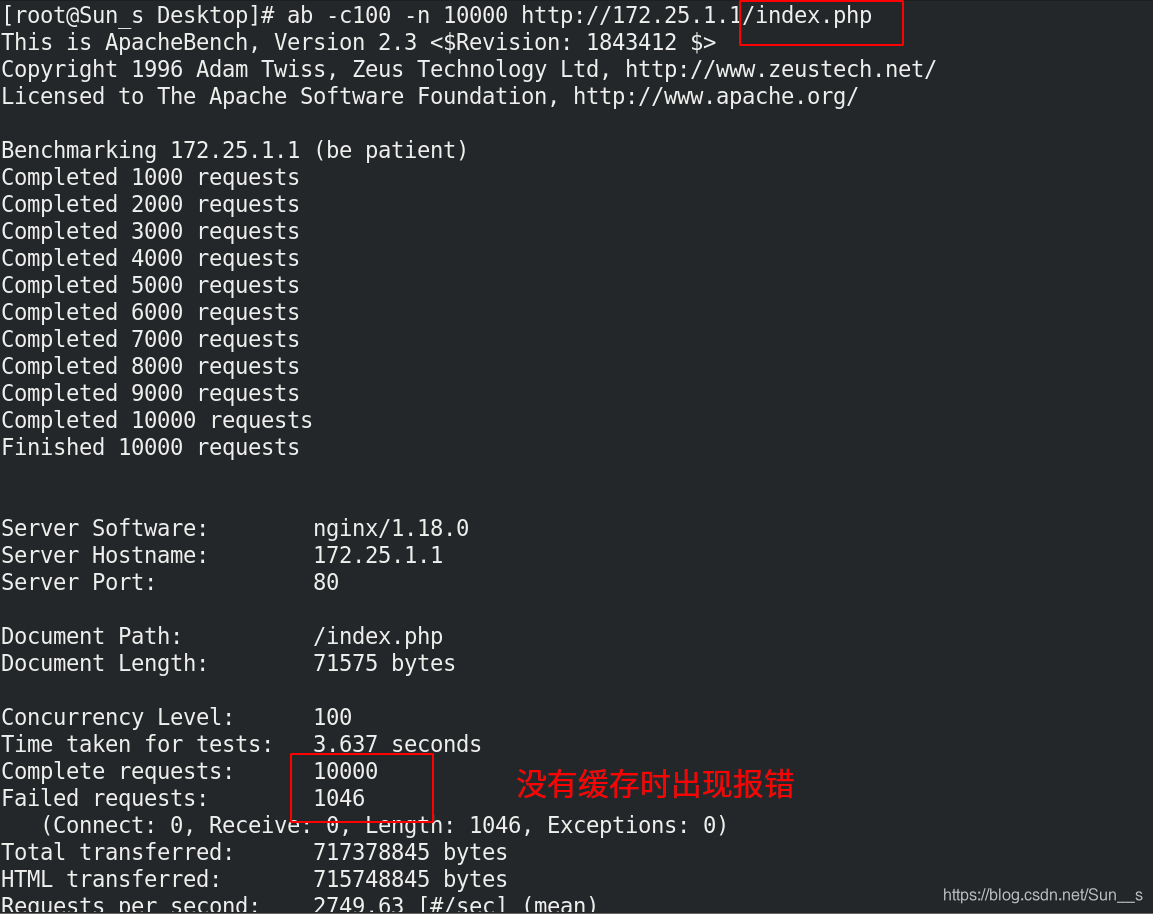
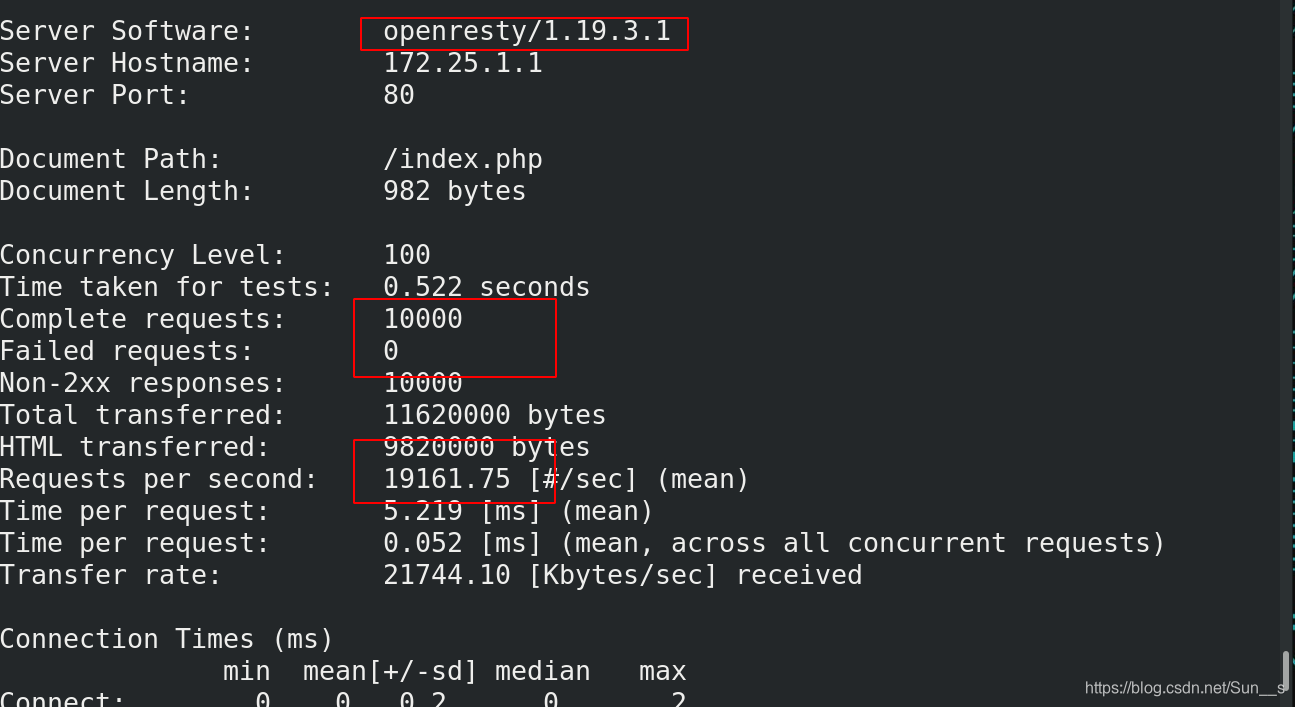
ab -c 100 -n 10000 http://172.25.1.1/index.php
我们可以看到压测速度很快,且没有报错,速度很快。
通过来回切换观察两者速度,及出错数目。

nginx结合lua
location @client {


proxy_pass  http://172.25.0.3;
}
location ~ \.php$ {


default_type  text/html;
content_by_lua 'ngx.say("this is westos.org")';
access_by_lua '
if ngx.var.remote_addr == "172.25.0.250" then
ngx.exec("@client")
end
';
}