旋转循环页视图实现
在这一节中我们实现一个类似旋转门的页视图(PageView)。
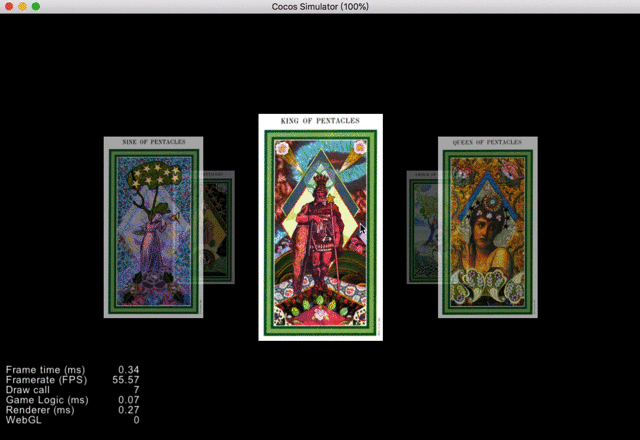
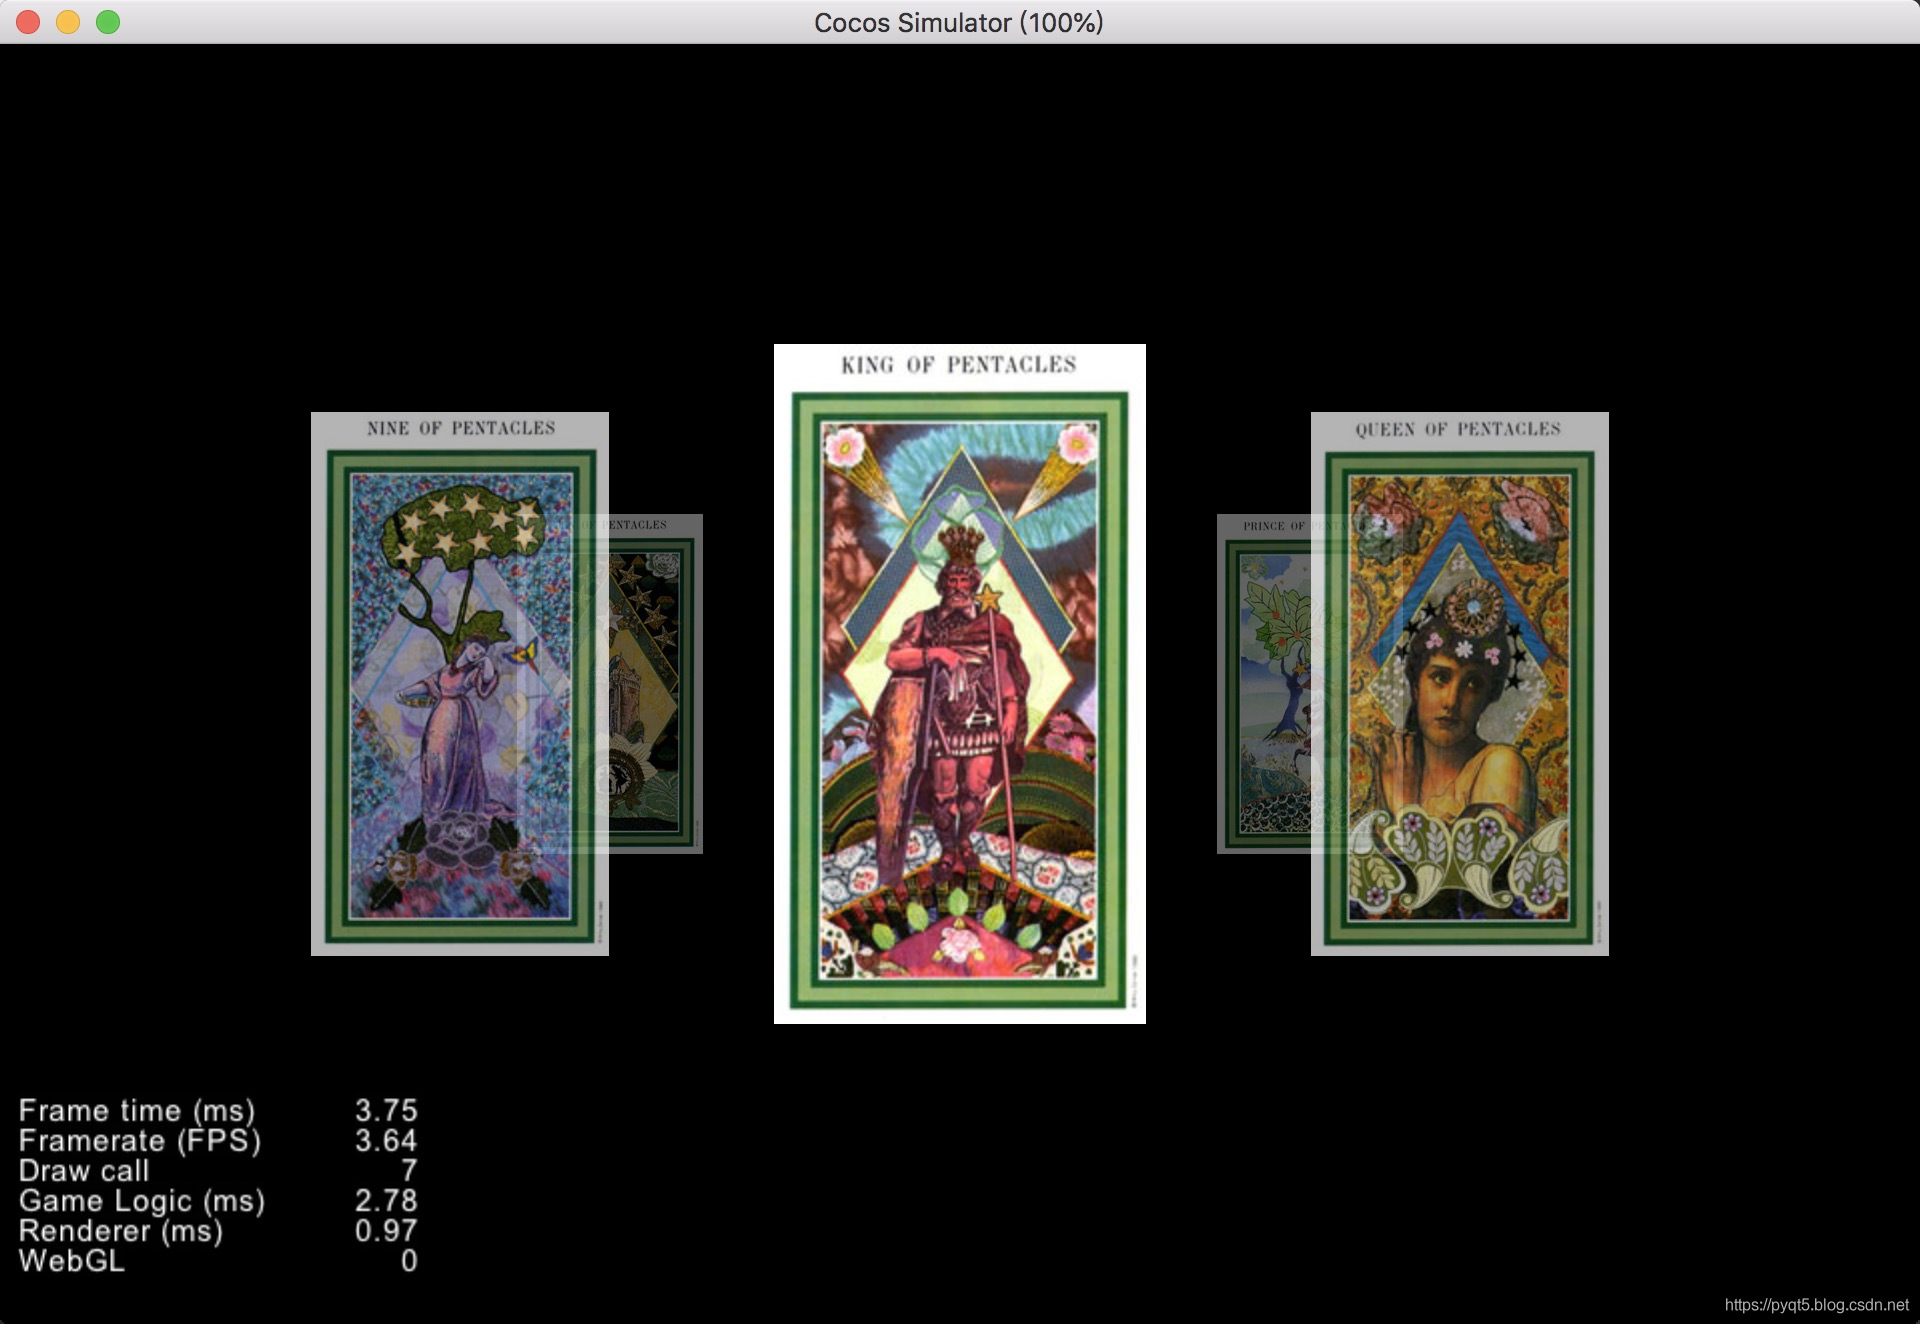
运行效果如下:
Cocos Creator版本:2.2.0
后台回复"旋转页视图",获取该项目完整文件:

设置节点
首先创建以下节点:
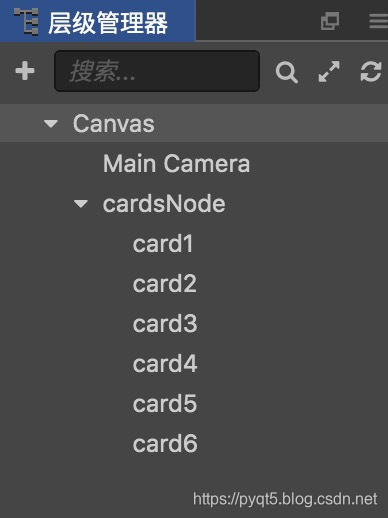
1. cardsNode为一个空节点,大小跟Canvas一样(我们之后会在该节点上设置触摸监听)。
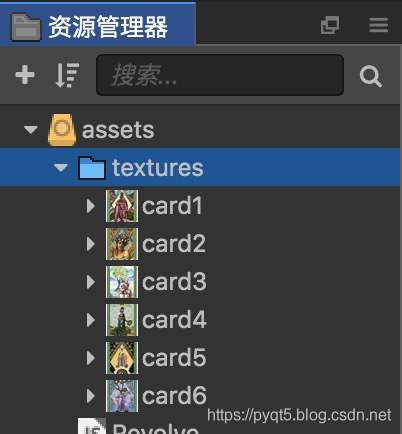
2. card1-card6为cardNode的子节点,类型为Sprite,图片都在textures文件夹中:
现在我们把card1-card6节点的x坐标设置一下,将他们摆放在不同位置:
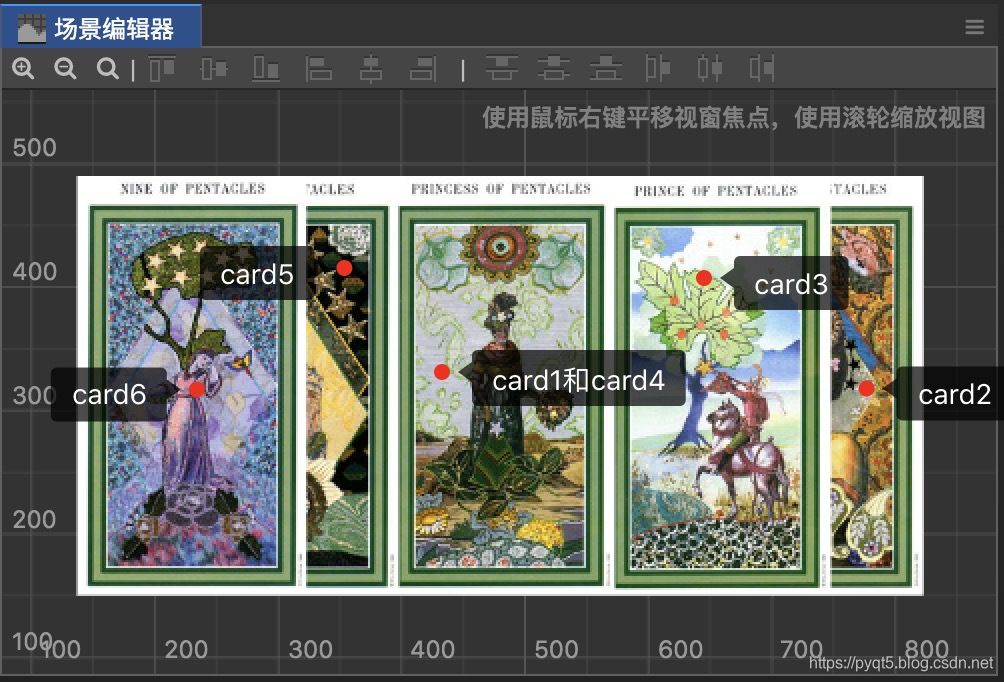
card1和card4是重叠的,其他card节点朝两边摆开。
注:因为节点顺序zIndex的关系,所以我们发现这里的遮挡关系其实不正确,之后需要在代码中调整。
编写代码
创建一个Revolve.js脚本文件,挂到cardsNode节点上,在onLoad方法中设置在各个位置上的card节点应有的属性:
// Revolve.js
onLoad () {
    this.attrArray = [
        JSON.stringify({
            zIndex: 3,
            scale: 1,
            opacity: 255,
            pos: this.node.children[0].position
        }),
        JSON.stringify({
            zIndex: 2,
            scale: 0.8,
            opacity: 180,
            pos: this.node.children[1].position
        }),
        JSON.stringify({
            zIndex: 1,
            scale: 0.5,
            opacity: 100,
            pos: this.node.children[2].position
        }),
        JSON.stringify({
            zIndex: 0,
            scale: 0.2,
            opacity: 30,
            pos: this.node.children[3].position
        }),
        JSON.stringify({
            zIndex: 1,
            scale: 0.5,
            opacity: 100,
            pos: this.node.children[4].position
        }),
        JSON.stringify({
            zIndex: 2,
            scale: 0.8,
            opacity: 180,
            pos: this.node.children[5].position
        }),
    ];
},
attrArray变量是一个数组,其中的元素都为JSON类型。
我们拿第一个元素来讲解:第一个元素指的是在正当中(C位),玩家当前正在观看的那张card节点(注意不一定是card1,因为玩家会滑动屏幕,card节点会更换)。
zIndex:此时该节点的zIndex值应该是最大的,不能被其他节点所遮挡。
scale和opacity:节点大小和透明度为原始状态,所以scale值和opacity值为1。
pos:因为我们最开始摆放时,card1节点在正当中,所以card1最开始的位置就是C位卡片应有的位置。由于card1节点位置会在玩家滑动后发生改变,所以我们这里需要调用JSON.stringfy方法对元素进行字符串化。
其余的元素代表其他位置上card节点应有的属性状态。
现在在onLoad方法中添加如下代码对各个节点进行初始化:
// Revolve.js
onLoad () {
    ...

    // 将cardsNode子节点的各个属性初始化
    this.cardsArray = this.node.children;
    for (let i=0; i<this.cardsArray.length; i++) {
        this.cardsArray[i].num = i;
        let initAttr = JSON.parse(this.attrArray[i]);
        this.cardsArray[i].zIndex = initAttr['zIndex'];
        this.cardsArray[i].scale = initAttr['scale'];
        this.cardsArray[i].opacity = initAttr['opacity'];
        // this.cardsArray[i].pos = initAttr['pos'];
    }
},
笔者这里给各个card节点加了一个num属性值,该值用来判断它们各自所处的位置,也就知道它们当前所应该呈现的属性状态。比如某节点num等于2的话,那么该节点的属性状态就对应为attrArray数组中的第3个元素。当然num值在玩家滑动后会发生改变。
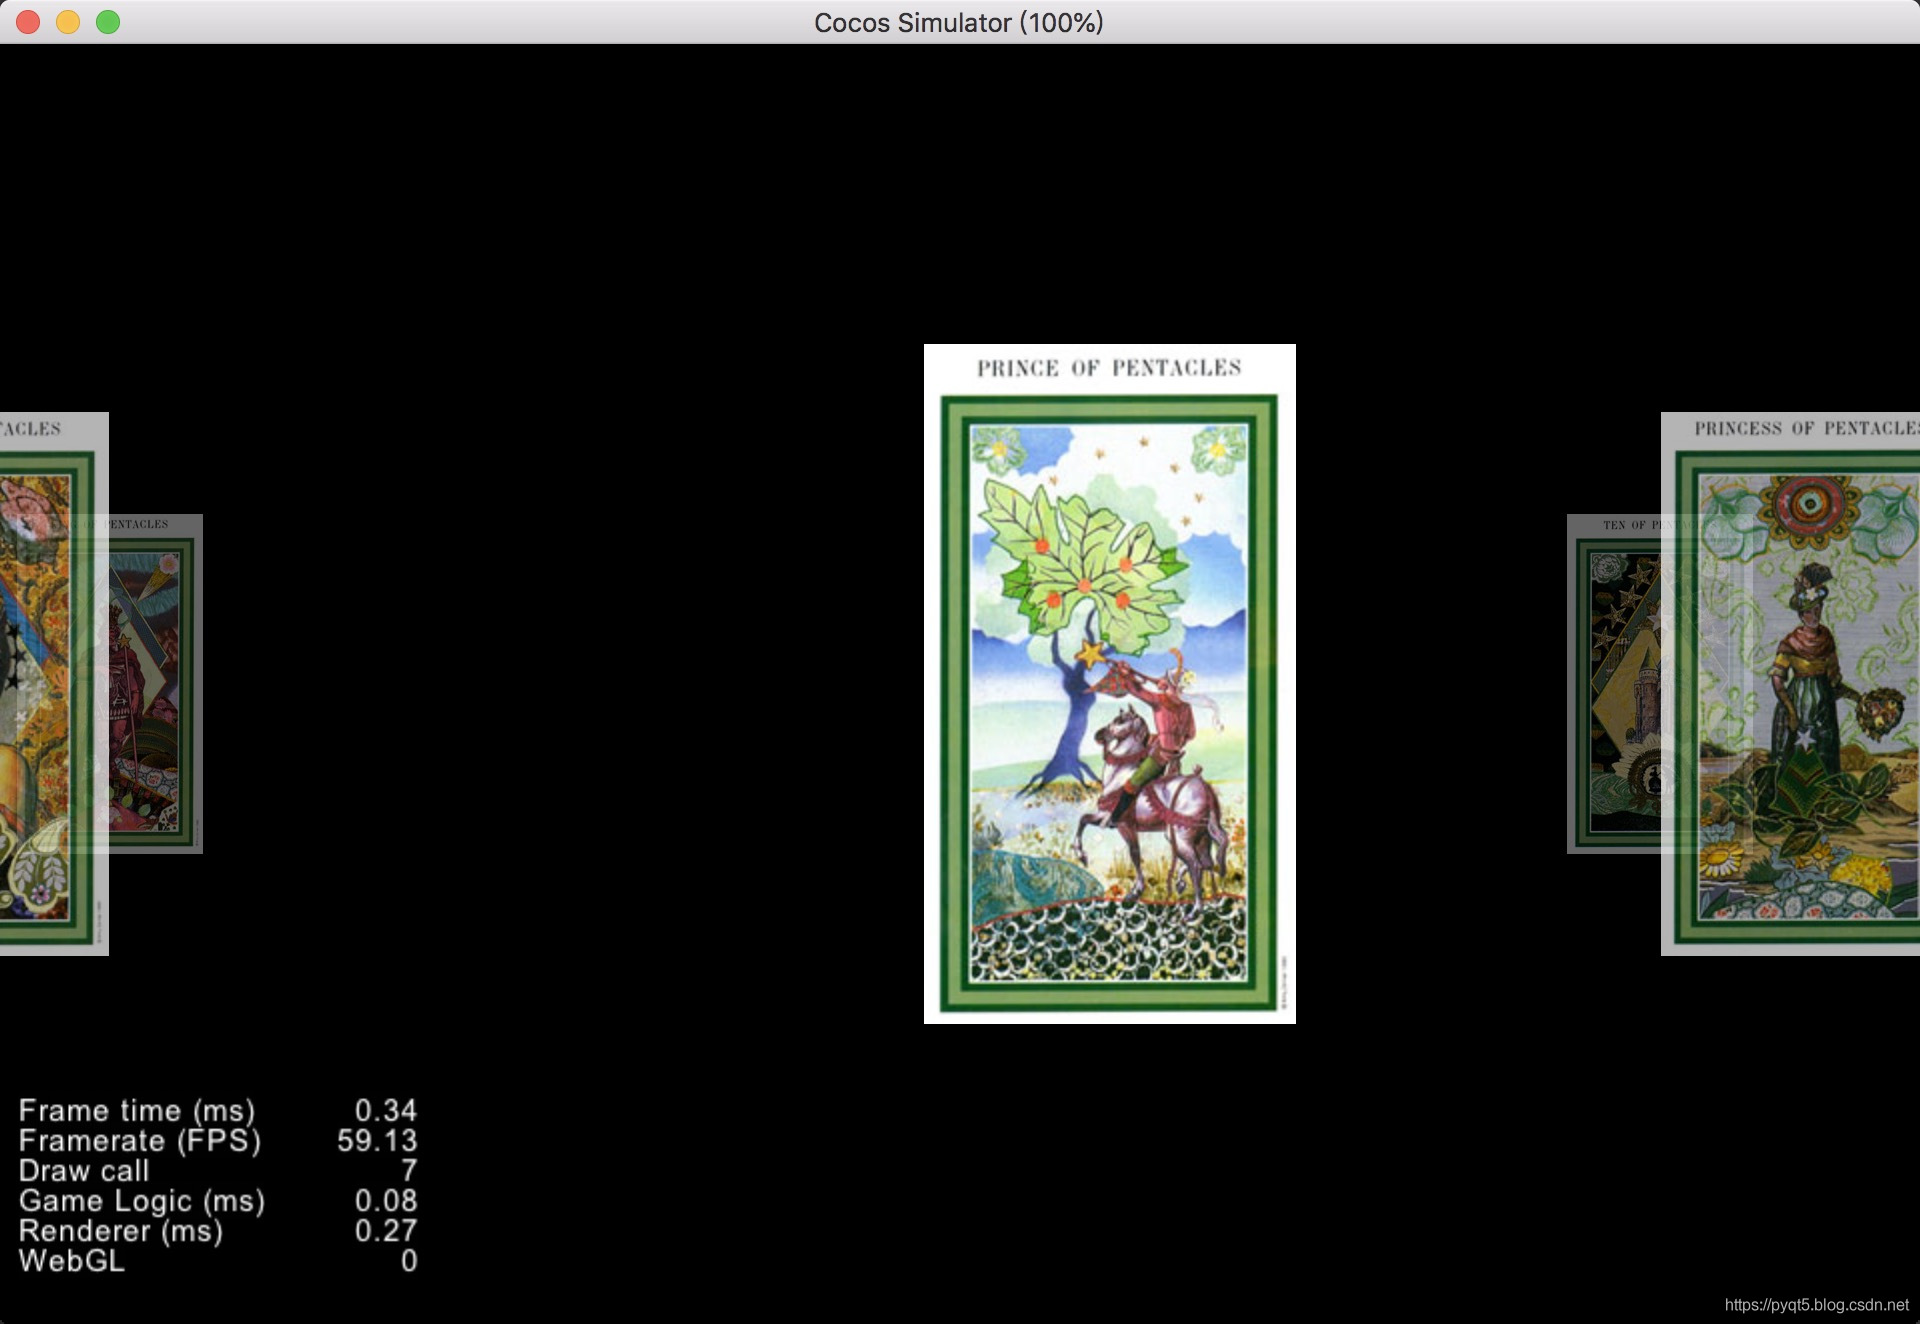
运行后,效果如下:
接着我们要做的就是处理玩家滑动事件。在onLoad方法中添加触摸监听代码(只用监听touchmove就可以了):
// Revolve.js
onLoad () {
    ...

    // 触摸监听
    this.node.on('touchmove', this.onTouchMove, this);
},
onTouchMove方法编写如下:
// Revolve.js
onTouchMove (event) {
    let deltaX = event.getDelta().x;
    if (deltaX > this.node.parent.width / 40) {
        // 说明是往右滑动
        this.revolve2Right();
    }
    else if (deltaX < -this.node.parent.width / 40) {
        // 说明是向左滑动
        this.revolve2Left();
    }
},
通过判断玩家横向滑动的距离来执行相应代码(this.node.parent就是Canvas)。
revolve2Right方法编写如下:
// Revolve.js
revolve2Right () {
    // 往右旋转
    for (let i=0; i<this.cardsArray.length; i++) {
        // 所有节点编号+1
        if (this.cardsArray[i].num < this.cardsArray.length-1)
            this.cardsArray[i].num += 1;
        else
            this.cardsArray[i].num = 0;

        // 获取目标属性
        let nextAttr = JSON.parse(this.attrArray[this.cardsArray[i].num]);

        // 改变z值
        this.cardsArray[i].zIndex = nextAttr['zIndex'];

        // 改变大小、透明度、位置
        let scaleAction = cc.scaleTo(this.revolveTime, nextAttr['scale']);
        let fadeAction = cc.fadeTo(this.revolveTime, nextAttr['opacity']);
        let moveAction = cc.moveTo(this.revolveTime, nextAttr['pos']);
        let spawnAction = cc.spawn(scaleAction, fadeAction, moveAction);
        spawnAction.setTag(1);      // 设置动作标签
        this.cardsArray[i].runAction(spawnAction);
    }
}
如果向右滑动的话,那么所有card节点的num值加1,但注意num值最大如果超过cardsArray数组长度减1的话,就要归0(不然就超过数组下标临界值,获取不到元素了)。设置好num值后,我们就可以设置各个card节点的zIndex,scale,opacity和pos值了。revolveTime在properties中创建:
properties: {
    revolveTime: 0.8            // 旋转所需时间
},
大家可以发现笔者给spawnAction设置了一个tag,这个稍后会讲到。
rovolve2Left方法同理:
// Revolve.js
revolve2Left () {
    // 往左旋转
    for (let i=0; i<this.cardsArray.length; i++) {
        // 所有节点编号-1
        if (this.cardsArray[i].num > 0)
            this.cardsArray[i].num -= 1;
        else
            this.cardsArray[i].num = this.cardsArray.length-1;

        // 获取目标属性
        let nextAttr = JSON.parse(this.attrArray[this.cardsArray[i].num]);

        // 改变z值
        this.cardsArray[i].zIndex = nextAttr['zIndex'];

        // 改变大小、透明度、位置
        let scaleAction = cc.scaleTo(this.revolveTime, nextAttr['scale']);
        let fadeAction = cc.fadeTo(this.revolveTime, nextAttr['opacity']);
        let moveAction = cc.moveTo(this.revolveTime, nextAttr['pos']);
        let spawnAction = cc.spawn(scaleAction, fadeAction, moveAction);
        spawnAction.setTag(1);      // 设置动作标签
        this.cardsArray[i].runAction(spawnAction);
    }
},
现在大家运行项目,滑动后发现界面变成了下面这个混乱的样子:
那是因为我们每次滑动,onTouchMove方法都被调用了好几次,而每次调用时各个card节点都会执行相应动作。问题是之前的动作都还没执行完毕,新的执行就又来了,所以才会导致以上情况出现。
解决办法就是在onTouchMove中先判断动作是否执行完毕。如果不是的话,直接return。
// Revolve.js
onTouchMove (event) {
    // 首先判断动作是否执行完
    for (let i=0; i<this.cardsArray.length; i++) {
        if (this.cardsArray[i].getActionByTag(1))
            return;
    }

    let deltaX = event.getDelta().x;
    if (deltaX > this.node.parent.width / 40) {
        // 说明是往右滑动
        this.revolve2Right();
    }
    else if (deltaX < -this.node.parent.width / 40) {
        // 说明是向左滑动
        this.revolve2Left();
    }
},
这里的重点就是getActionByTag方法。我们在revolve2Right和revolve2Left方法中给spawnAction设置了一个标签,如果spawnAction没有在执行(或者执行完毕),那么getActionByTag(1)就会返回null;而如果正在执行的话,就会返回一个object。
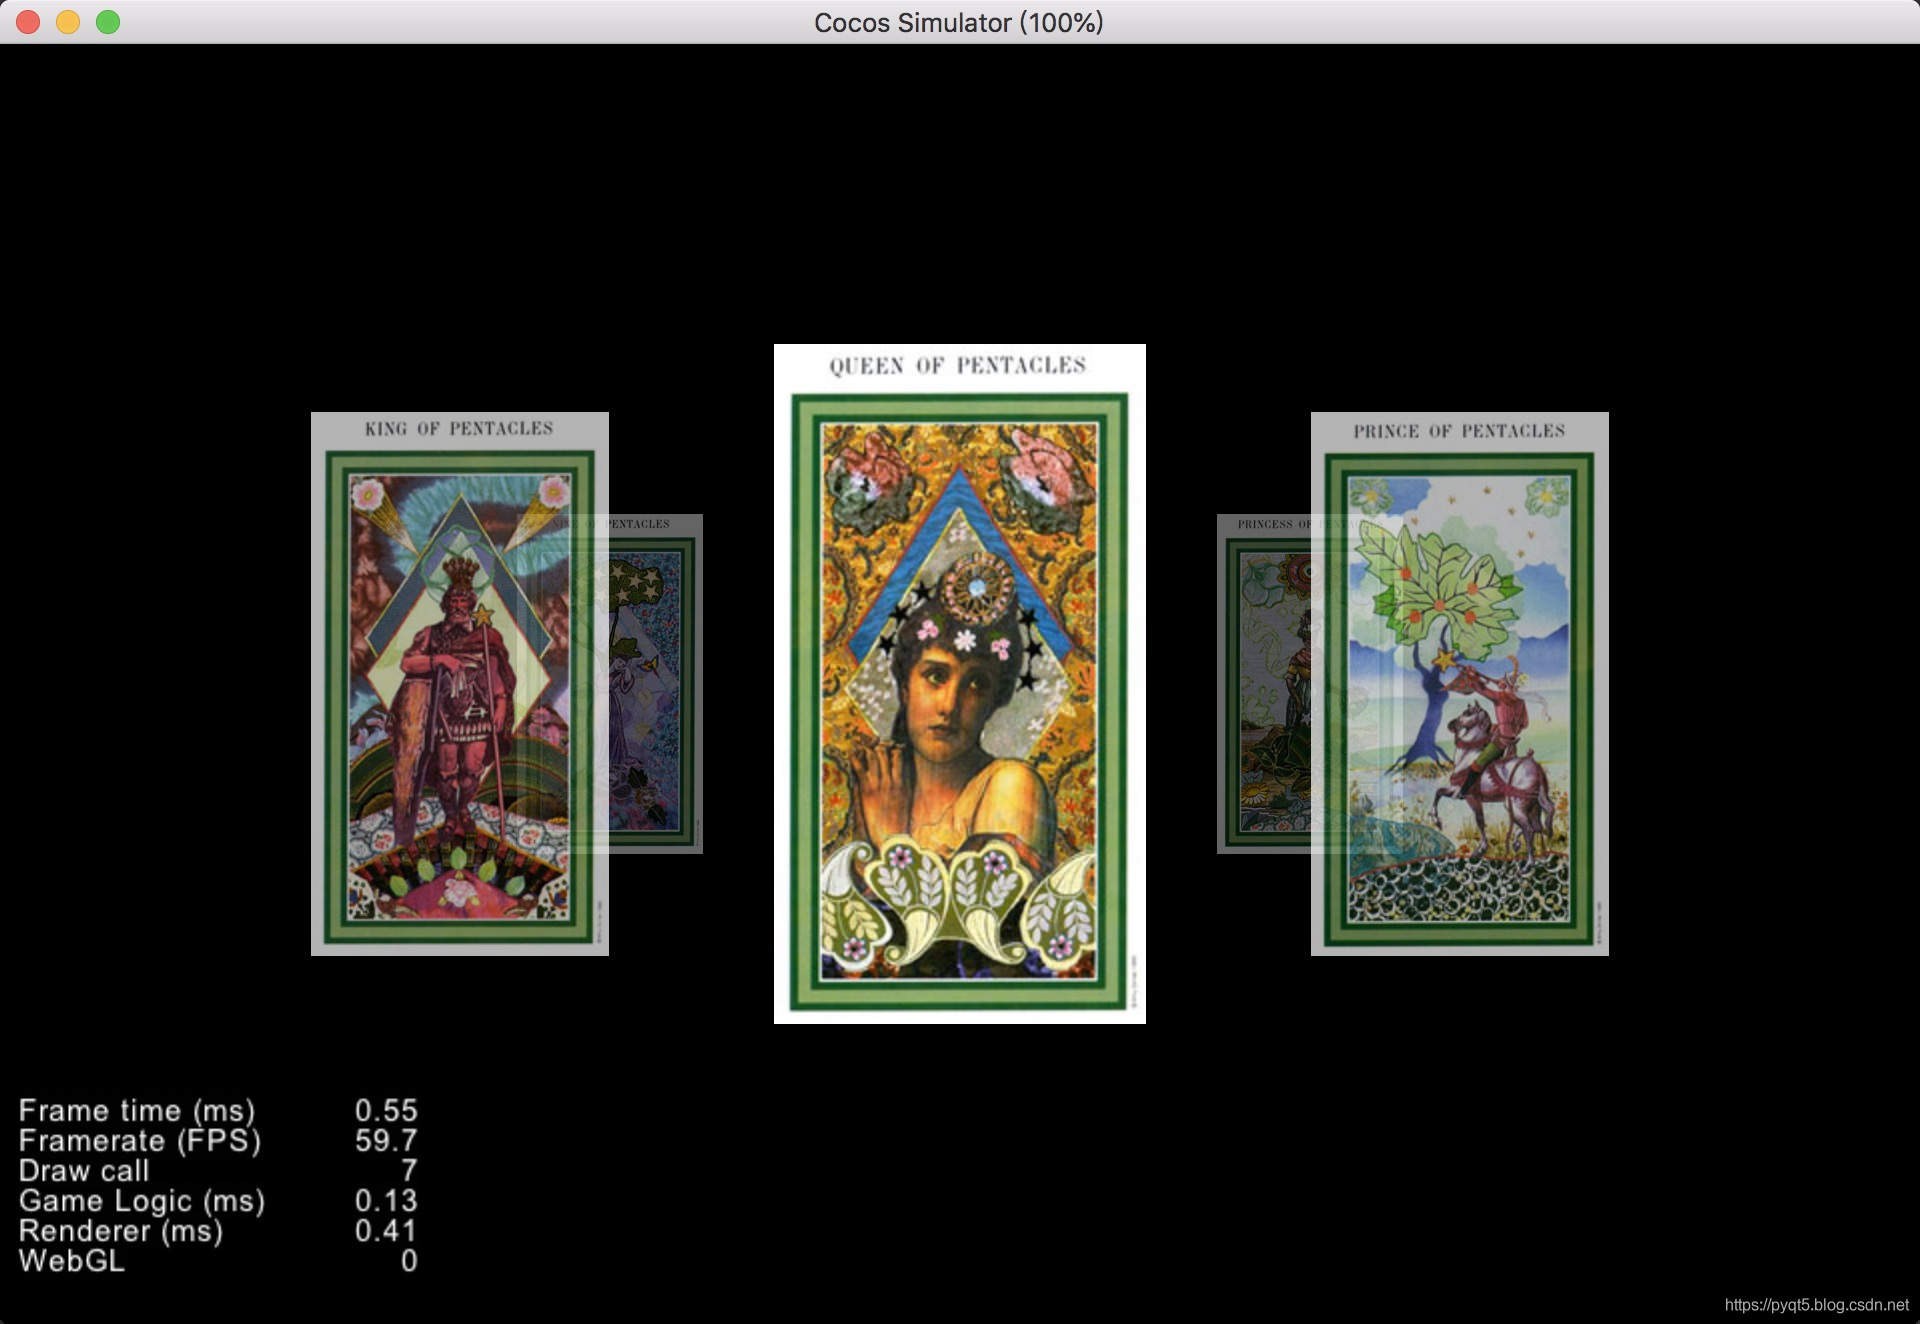
现在运行项目,旋转就正常了:
好,那今天的教程就到这,希望大家有所收获~
