前面的文章介绍过Prometheus的安装和部署方式,而在Kubernetes安装和部署Prometheus也非常简单,本身Helm等工具已经提供了相应的Chart可以进行一键安装,而直接使用Kubernetes进行部署也并不复杂,这篇文章使用2.15.1版本的Prometheus进行部署说明。
Prometheus安装方法
Prometheus可以通过容器或者二进制文件方式很容易的启动服务,使用方法详细可参看:
而在Kubernetes上安装Prometheus,使用如下步骤即可
事前准备
本文使用Kubernetes 1.17,可参看下文进行快速环境搭建:
[root@host131 ~]# kubectl get node -o wide
NAME              STATUS   ROLES    AGE   VERSION   INTERNAL-IP       EXTERNAL-IP   OS-IMAGE                KERNEL-VERSION          CONTAINER-RUNTIME
192.168.163.131   Ready    <none>   20h   v1.17.0   192.168.163.131   <none>        CentOS Linux 7 (Core)   3.10.0-957.el7.x86_64   docker://18.9.7
[root@host131 ~]#
步骤1: 创建ConfigMap
创建Prometheus使用的ConfigMap配置,所使用的yaml文件如下所示
[root@host131 kubernetes]# cat prometheus.yml
---
apiVersion: v1
kind: ConfigMap
metadata:
  name: prometheus-configmap
  namespace: default
data:
  prometheus.yml: |
    global:
      scrape_interval:     10s
      evaluation_interval: 10s
    scrape_configs:
      - job_name: 'prometheus'
        static_configs:
        - targets: ['localhost:9090']
...
[root@host131 kubernetes]#
创建并确认ConfigMap配置
[root@host131 kubernetes]# kubectl create -f prometheus.yml
configmap/prometheus-configmap created
[root@host131 kubernetes]#
[root@host131 kubernetes]# kubectl get cm
NAME                   DATA   AGE
prometheus-configmap   1      4s
[root@host131 kubernetes]# kubectl describe cm prometheus-configmap
Name:         prometheus-configmap
Namespace:    default
Labels:       <none>
Annotations:  <none>

Data
====
prometheus.yml:
----
global:
  scrape_interval:     10s
  evaluation_interval: 10s
scrape_configs:
  - job_name: 'prometheus'
    static_configs:
    - targets: ['localhost:9090']

Events:  <none>
[root@host131 kubernetes]#
步骤2: 创建Service与Deployment
首先准备如下的yaml文件,包含了Prometheus所需的Deployment和Service的配置
[root@host131 kubernetes]# cat prometheus-deployment.yml
---
apiVersion: v1
kind: "Service"
metadata:
  name: prometheus
  labels:
    name: prometheus
spec:
  ports:
  - name: prometheus
    protocol: TCP
    port: 9090
    targetPort: 9090
  selector:
    app: prometheus
  type: NodePort
...
---
apiVersion: apps/v1
kind: Deployment
metadata:
  labels:
    name: prometheus
  name: prometheus
spec:
  replicas: 1
  selector:
    matchLabels:
      app: prometheus
  template:
    metadata:
      labels:
        app: prometheus
    spec:
      containers:
      - name: prometheus
        image: prom/prometheus:v2.15.1
        command:
        - "/bin/prometheus"
        args:
        - "--config.file=/etc/prometheus/prometheus.yml"
        ports:
        - containerPort: 9090
          protocol: TCP
        volumeMounts:
        - mountPath: "/etc/prometheus"
          name: prometheus-configmap
      volumes:
      - name: prometheus-configmap
        configMap:
          name: prometheus-configmap
...
[root@host131 kubernetes]#
创建Service与Deployment
[root@host131 kubernetes]# kubectl create -f prometheus-deployment.yml
service/prometheus created
deployment.apps/prometheus created
[root@host131 kubernetes]#
确认Service信息
[root@host131 kubernetes]# kubectl get service -o wide
NAME         TYPE        CLUSTER-IP       EXTERNAL-IP   PORT(S)          AGE   SELECTOR
kubernetes   ClusterIP   10.254.0.1       <none>        443/TCP          20h   <none>
prometheus   NodePort    10.254.229.211   <none>        9090:30944/TCP   7s    app=prometheus
[root@host131 kubernetes]#
确认Pod信息
[root@host131 kubernetes]# kubectl get pods
NAME                         READY   STATUS    RESTARTS   AGE
prometheus-fcd87fbf4-ljzrb   1/1     Running   0          13s
[root@host131 kubernetes]#
步骤3: 结果确认
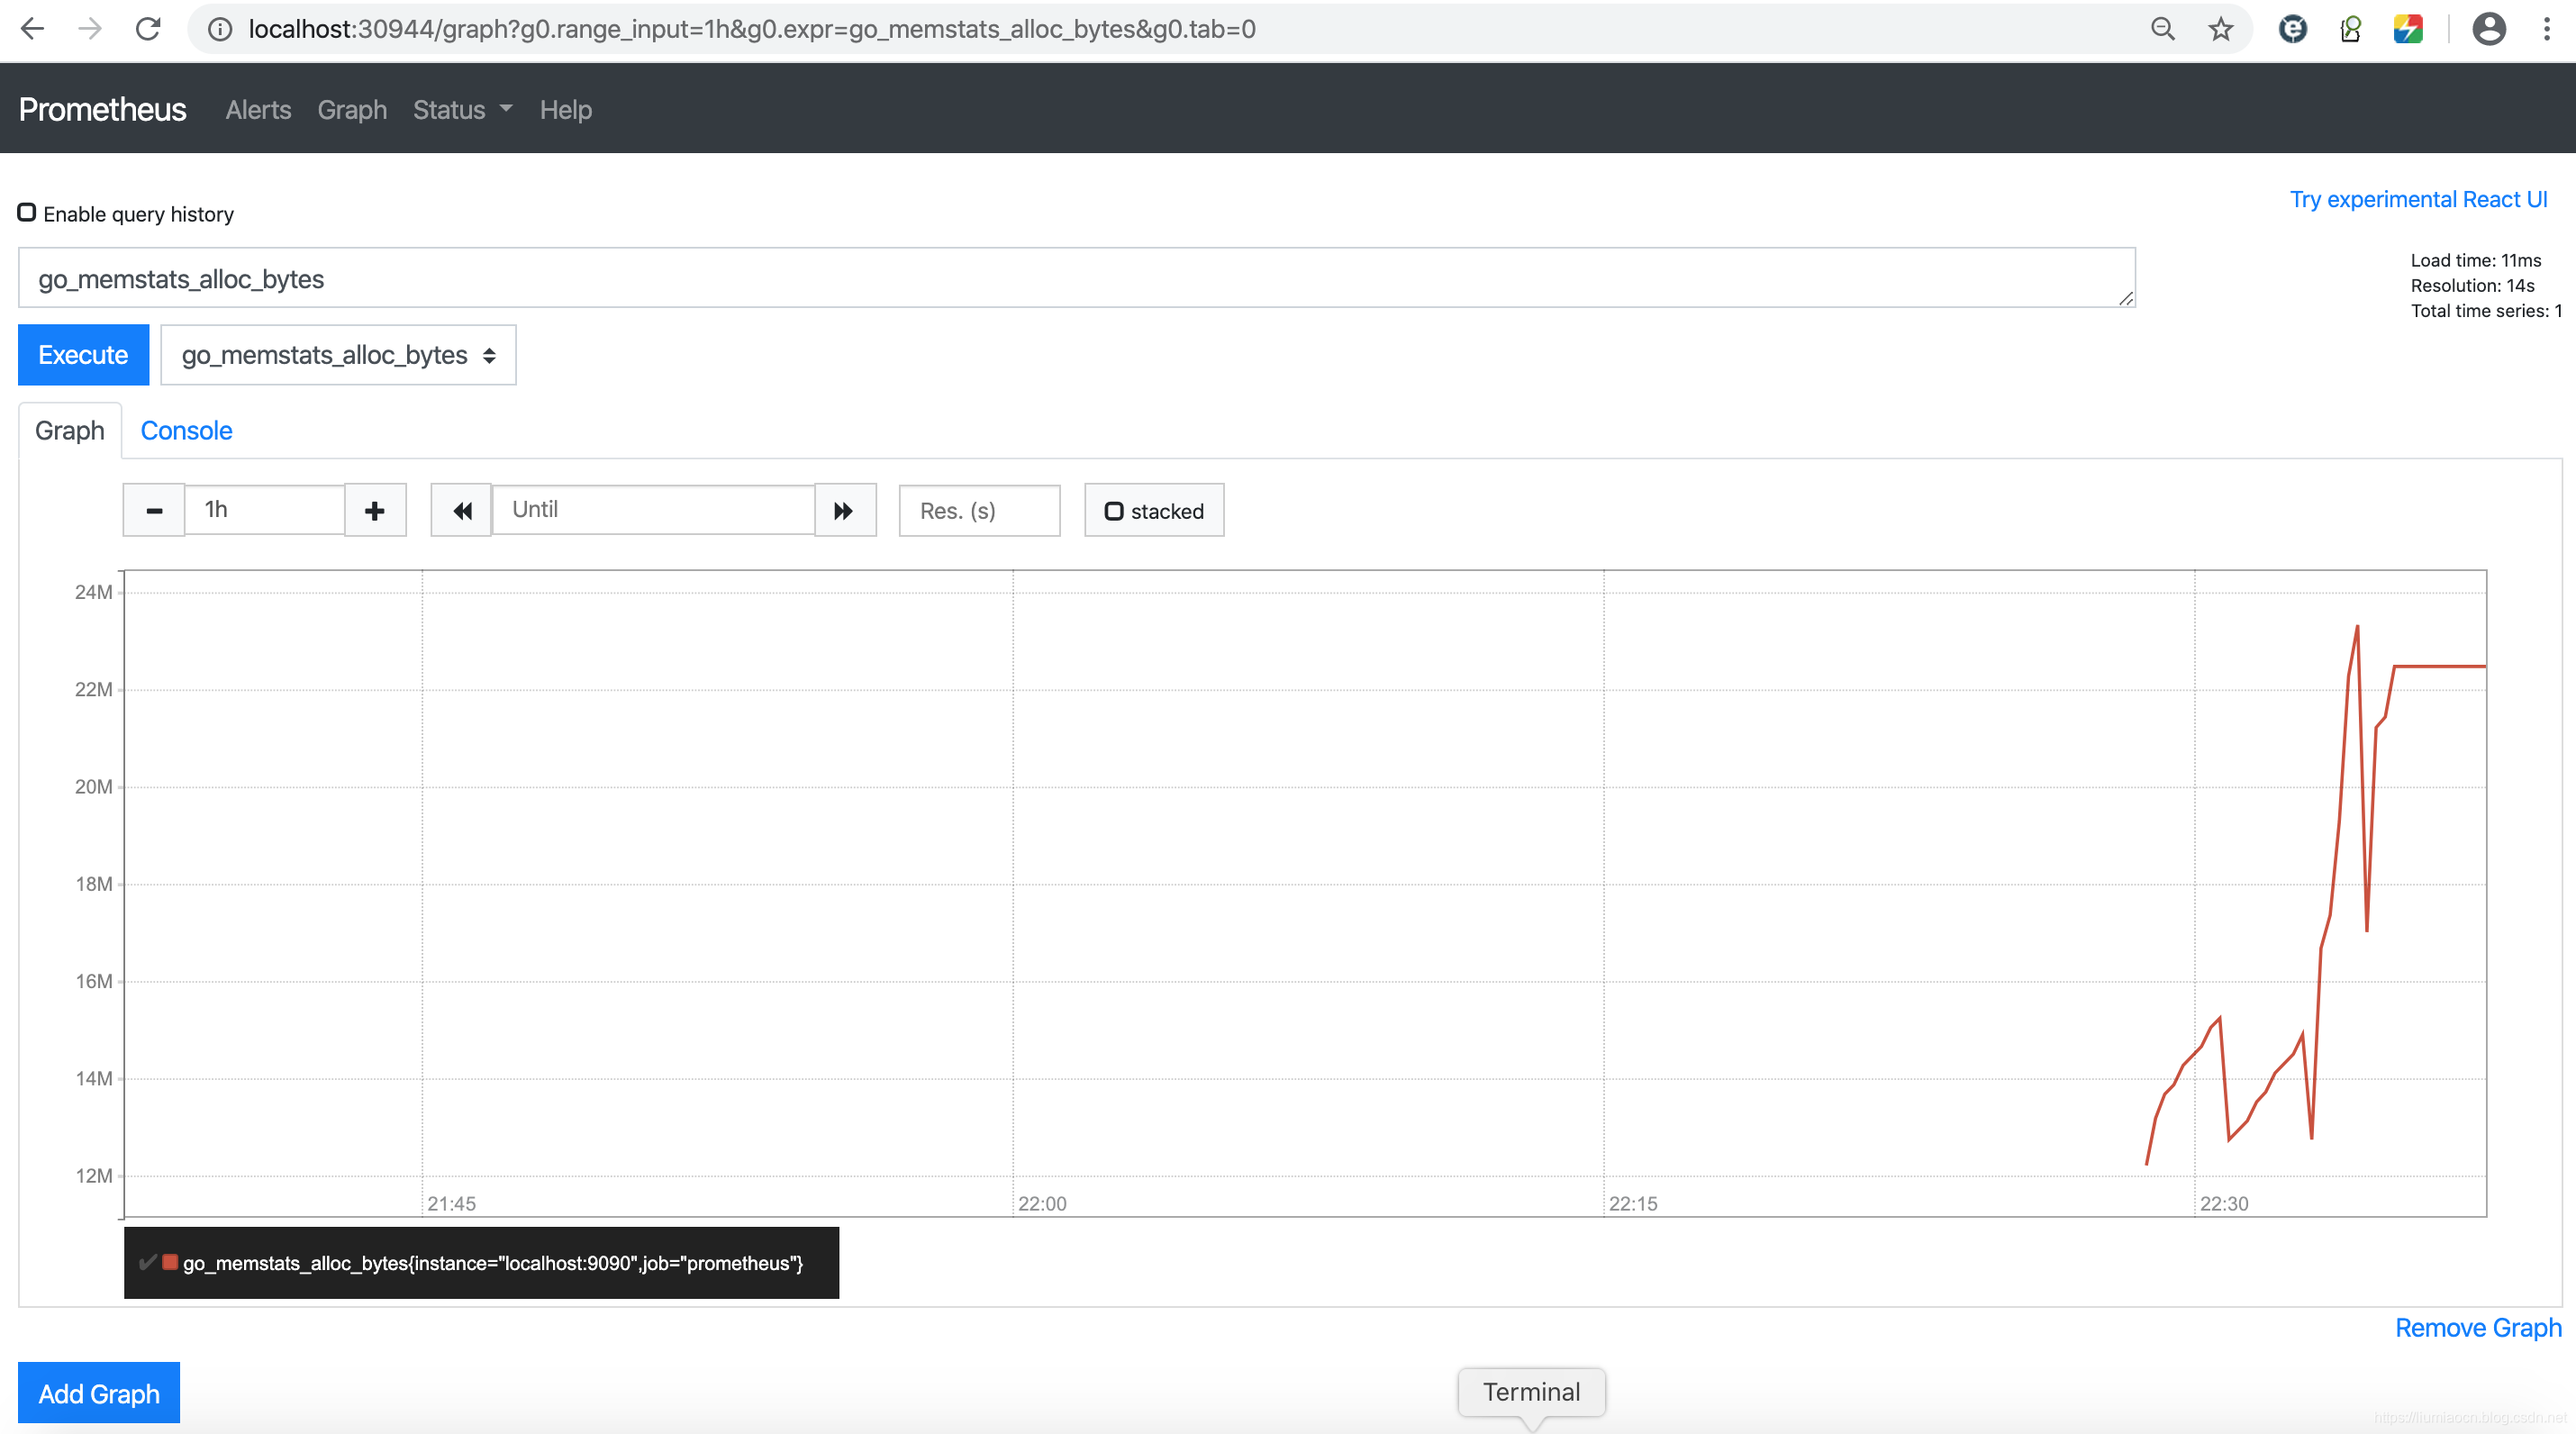
在30944端口即可确认刚刚部署的Prometheus的运行状况
总结
在Kubernetes上直接部署Prometheus也非常简单,使用ConfigMap管理配置文件,然后使用卷方式挂载,然后创建Deployment和Service即可使用了。
